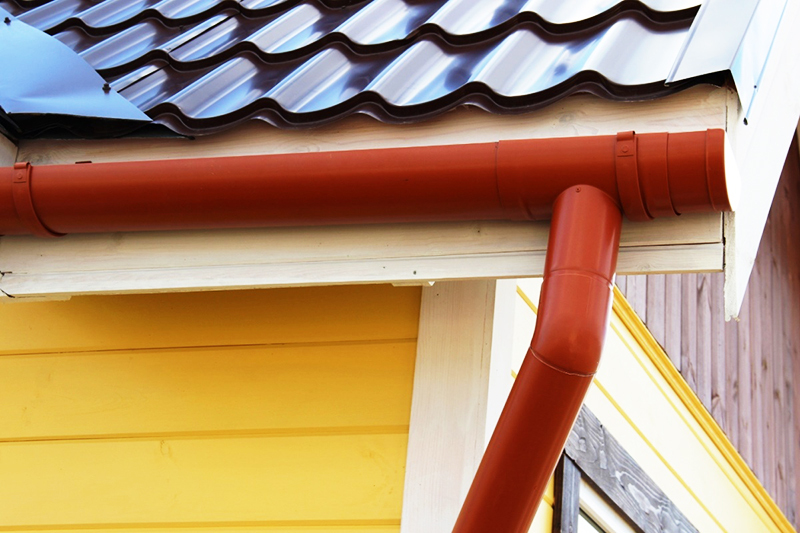
To give the structure a finished appearance and to protect it from excessive exposure to moisture, roof drips are widely used. Such systems can have different designs, which determine the installation order and service life. We offer you to get acquainted with their purpose and existing varieties.
Read in the article
- 1 Why do you need an ebb for the roof: the main purpose
- 2 Design features of drainage systems for different types of roofs
- 2.1 Gable roof
- 2.2 Flat roof
- 3 Characteristics of roof sills, depending on the type of material
- 3.1 Plastic: polyester and plastisol
- 3.2 Galvanized steel, aluminum and copper
- 4 Advantages and disadvantages
- 5 Calculation and design of drainage systems
- 6 Choosing a roof ebb
- 7 How to make an ebb for a roof with your own hands: popular methods
- 8 Self-installation of drainage
- 8.1 Training
- 8.2 Strip markings, fastening lines and slope of the gutter
- 8.3 Gutter installation
- 8.4 Downpipe installation
- 9 Errors made by inexperienced craftsmen
- 10 Water drainage protection from dirt and leaves
Why do you need an ebb for the roof: the main purpose
The need to install roof sills is dictated by their functionality. Correctly assembled structures collect water on roof, and then take her to drainage system. They are:
- provide protection of the building from the accumulation of water after precipitation;
- protect the joints from moisture;
- prevent blur foundation.
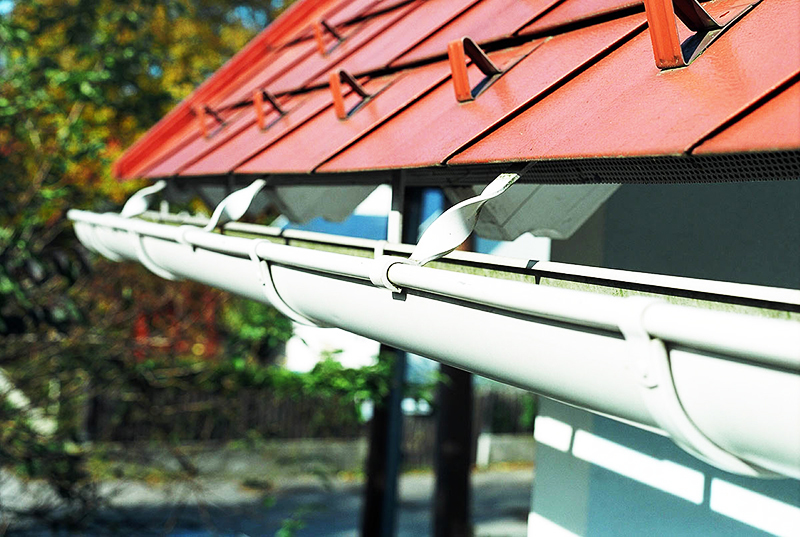
Systems are made from different materials, which allows you to choose the best option for a specific structure. Installation work is often done by hand.
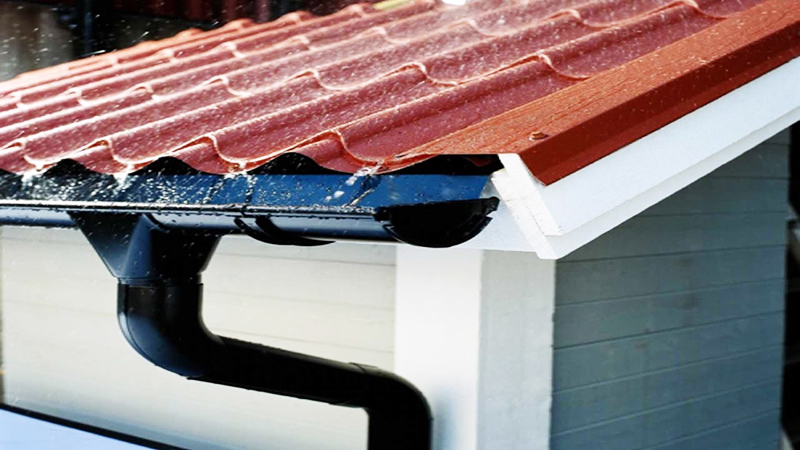
Design features of drainage systems for different types of roofs
The system includes many main and auxiliary elements. The first type includes gutters, pipes, funnels. To the second - fasteners and plugs. However, such structures are placed in different ways. The order of work depends on the type of roof. In one case, an external drainage system is provided, in the other - an internal one.
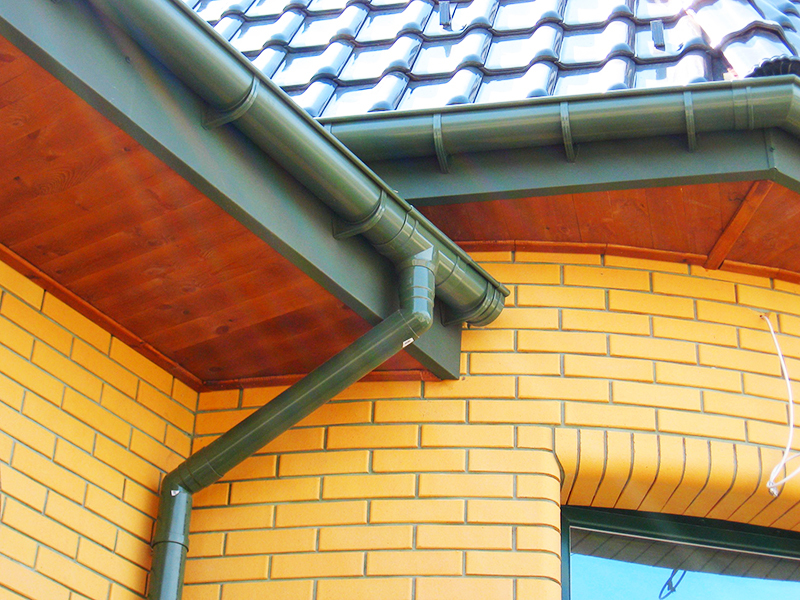
Gable roof
For a gable roof, an external drainage system is characteristic, which involves the installation of all elements outside the building. It includes:
- gutter. Used to collect rainwater from roof slopes. Consists of individual elements, the length of which can vary over a wide range;
- receiving funnels. Water, previously collected in the gutter, is taken and removed further through the system;
- gutters. Moisture is removed outside the house inside special receiver wells;
- auxiliary elements: connecting inserts, end caps, mounting brackets and other elements used during installation work.
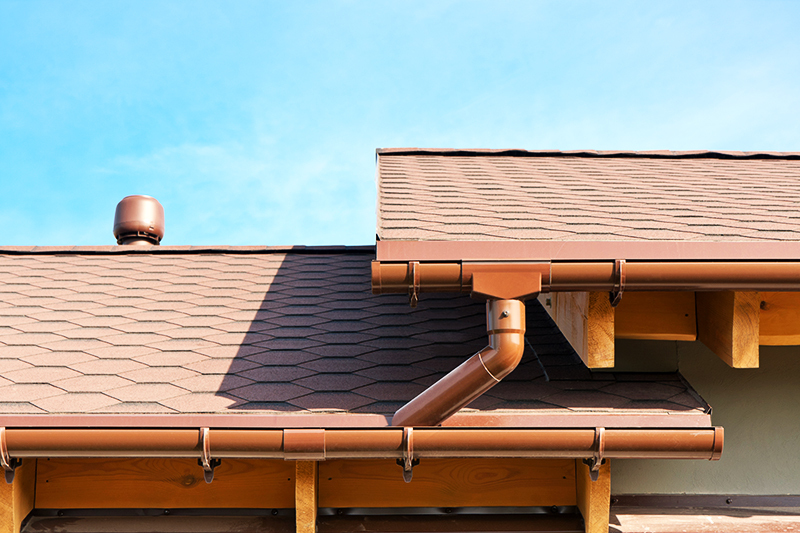
Flat roof
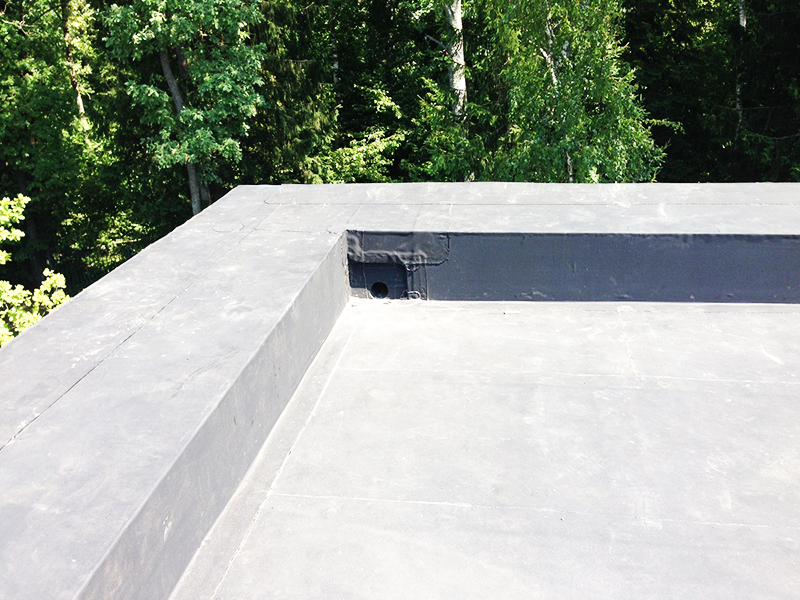
On buildings with a flat roof, an internal ebb is usually installed. The roofing material is laid in such a way that the water that got to the surface ran down the roof and fell into a special funnel. Then the collected liquid flows into a pipe located in the wall of the house or inside a special technical channel.
Related article:
Snow holders on the roof: advantages and disadvantages, main functions, existing varieties, advice on choosing, the procedure for installation on roofs of different types, the cost of finished products.
Characteristics of roof sills, depending on the type of material
The service life, appearance and cost of the structure depend on the material that was used for their manufacture. Manufacturers produce plastic and metal products of various configurations. We invite you to get acquainted with their distinctive features.
Plastic: polyester and plastisol
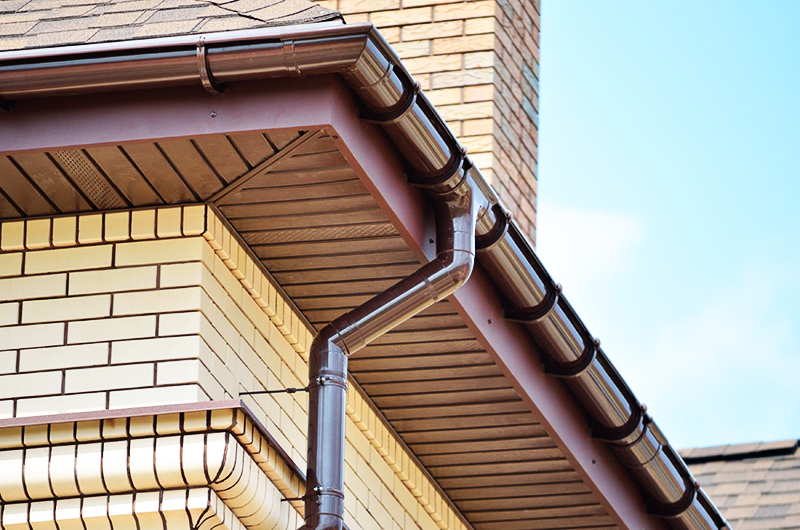
Polyester and plastisol are actively used in the manufacture of roof sills. These polymers are most widely used due to:
- increased strength;
- light weight;
- resistance to ultraviolet radiation;
- lack of characteristic noise during rain;
- durability. A properly installed structure has a long service life;
- availability. Plastic products are cheaper than their metal counterparts;
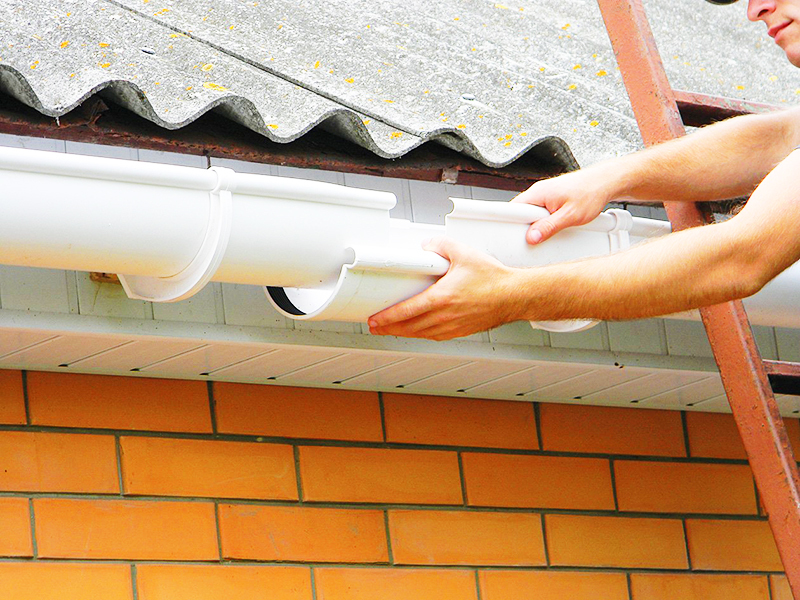
- the ability to perform installation work on their own.
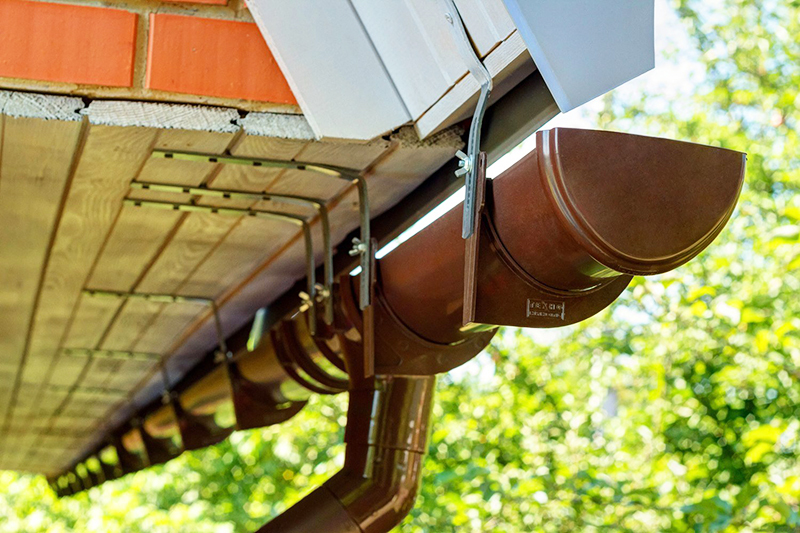
Plastic roof gutters have the shape of a shallow gutter with a length of 1 - 6 m. Fastening is carried out through special brackets, which are part of such products. Manufacturers provide the ability to choose a shade depending on the color of the roof.
Galvanized steel, aluminum and copper
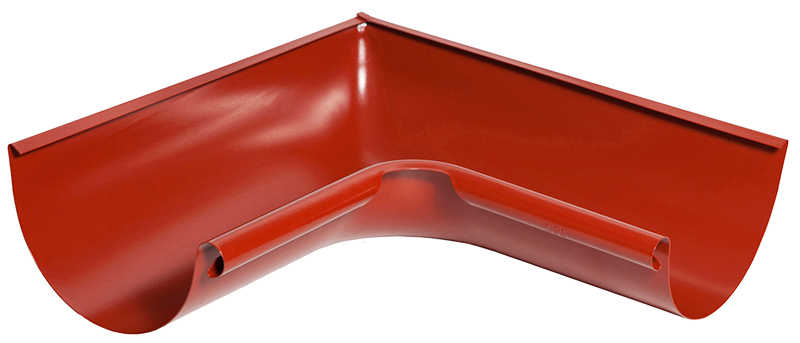
Traditionally, roof eaves have been made from a variety of metals. Such products can withstand a significant load and resist well the effects of external negative factors.
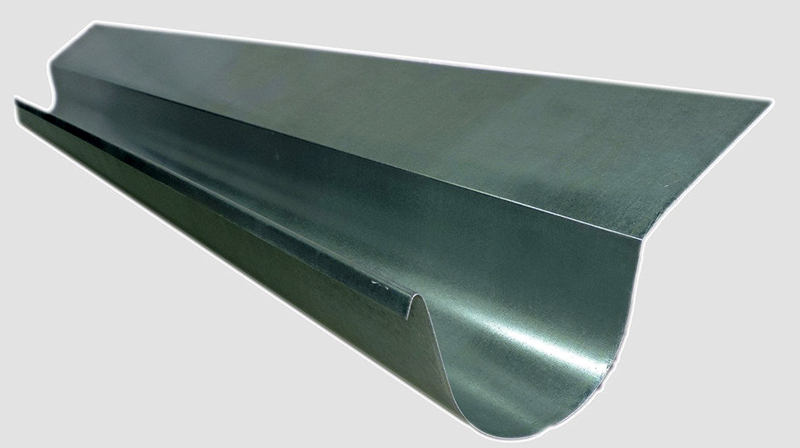
For the manufacture of galvanized steel castings, sheet material with a thickness of less than 1 mm is used. Additional processing with pural, polyester, plastisol reduces the noise that occurs during rain and gives the product the desired color. In the absence of a protective coating in rainy weather, the inside of the house will be quite noisy and uncomfortable.
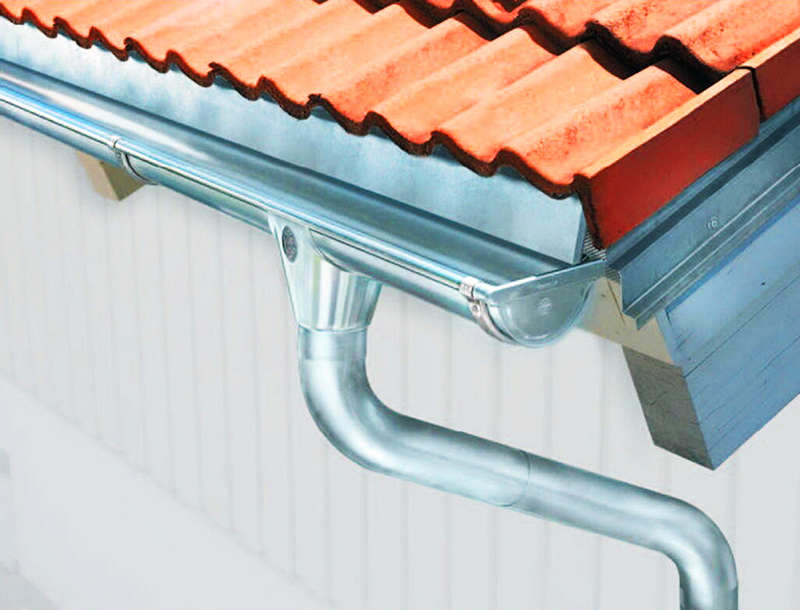
The thickness of the aluminum roof sills is 0.8 - 1 mm. To prevent corrosive processes, such products are covered with a layer of varnish of various colors. The lacquered finish gives them a more presentable appearance.
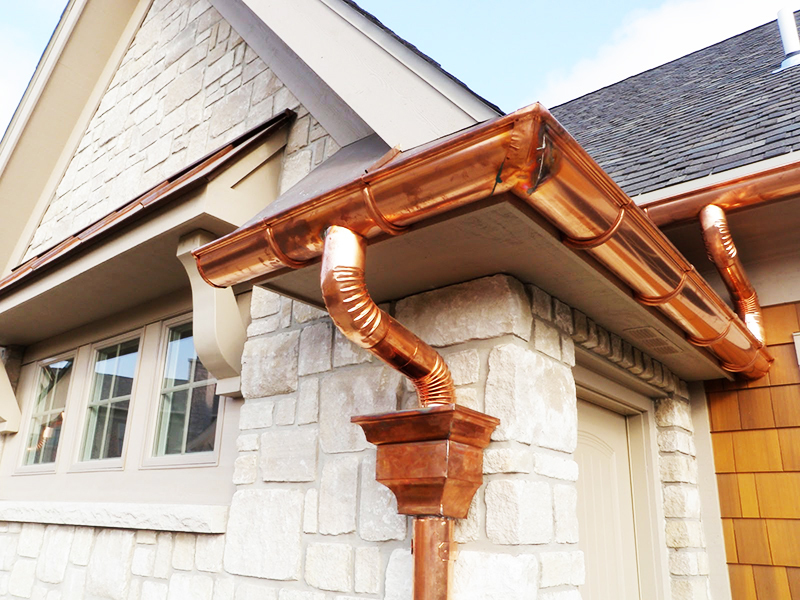
Copper roof moldings are oxidized or brass plated. Such products look attractive and have a long service life. However, the high cost has led many consumers to pay attention to devices made from other materials.
Advantages and disadvantages
The need to install roof ebbs is dictated by their undeniable advantages. Such constructions allow:
- prevent the negative effects of moisture on the walls and roof of the house;
- to give the roof a more attractive appearance, since the joints between the materials are closed;
- add resistance to the environment. They resist precipitation better. Are not afraid of significant temperature fluctuations;
- increase the rigidity of the building.
Among the shortcomings, it is worth noting the high cost of certain types and the fragility of plastic elements in low temperature conditions.
Calculation and design of drainage systems
In order for roof eaves to effectively cope with the task assigned to them, special attention should be paid to their calculation and design. This will allow you to calculate the required amount of materials and fasteners, and also significantly speed up the installation work. To calculate the number of required blanks, you need to know the perimeter of the roof and walls.
Attention! According to regulatory requirements, the length of the gutter should not exceed 10 m.However, experts do not recommend purchasing elements longer than 7 m.
When calculating the required amount of materials and elements, the following should be considered:
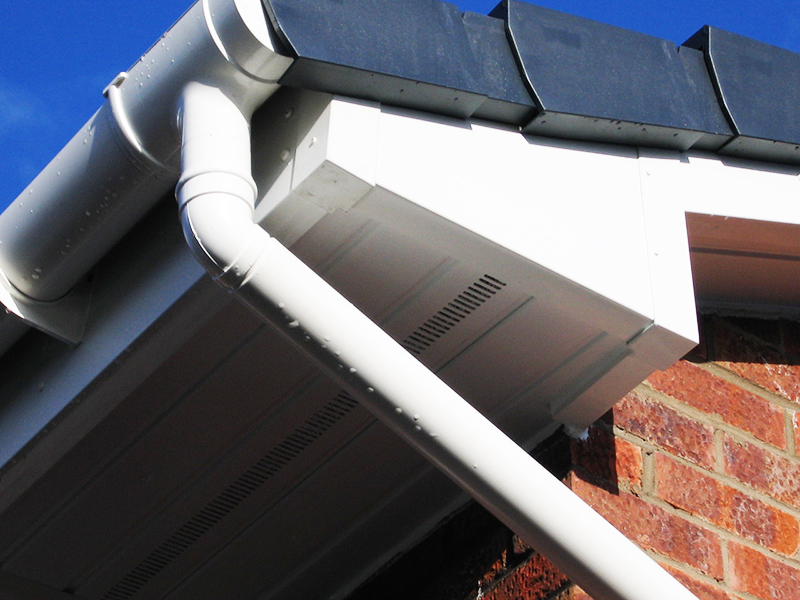
- the length of the gutters should be 10 - 15% longer than the perimeter of the roof. The excess will be aimed at trimming the elements and forming an overlap in the places of their connection;
- funnels should preferably be installed at each corner. Their number and location depend on the roof configuration. Usually they are placed every 8 - 10 m;
- the number of downspouts must correspond to the number of funnels;
- the fixing brackets are positioned in increments of 0.5 - 0.6 m. Near each funnel, they should be located on both sides.
The width of the gutter depends on the square of the roof. It is believed that for each square of the roofing plane there should be 1.5 mm of the cross-section of the roof drainage gutter. However, in practice, experts choose elements on a 1 to 1 basis. That is, a 100 mm wide gutter is taken for 100 m².

A comment
Mikhail Starostin
Head of the team of the repair and construction company "Dom Premium"
“The wider the gutter, the more water it can accept. However, on a small roof, a large element will look out of place. "
When developing a project, a bias is necessarily provided. Its size should be 20 - 30 mm for every 10 m. This is sufficient for stable operation of the system.
Choosing a roof ebb
When choosing an ebb for the roof, you should pay attention to:
- roof configuration;
- product material. It is selected taking into account financial capabilities and the general stylistic design of the building;
- manufacturing company. Ready-made kits will greatly facilitate the implementation of installation work;
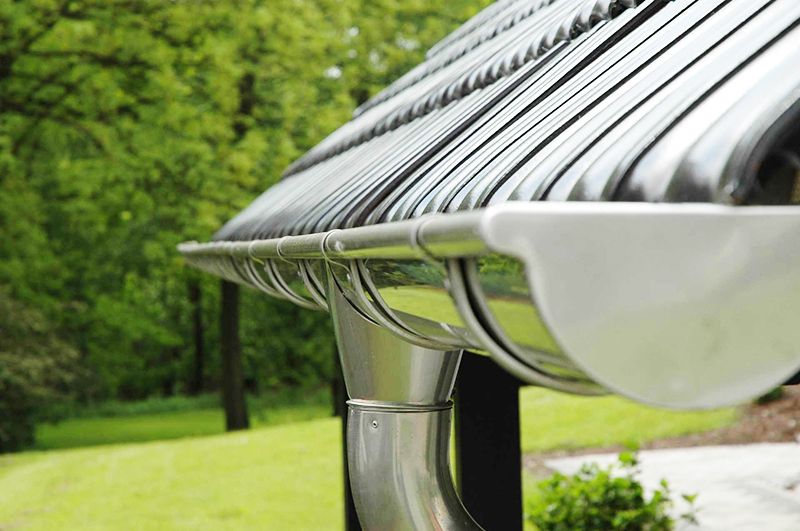
- gutter shape. Manufacturers offer products of round, triangular and rectangular shapes. The configuration of this element plays not only an aesthetic role, but also affects the usability of the system.
Advice! If gutters of different configurations are available for sale, give preference to rounded products. Blockages rarely occur in them, and therefore cleaning will have to be done rarely.
How to make an ebb for a roof with your own hands: popular methods
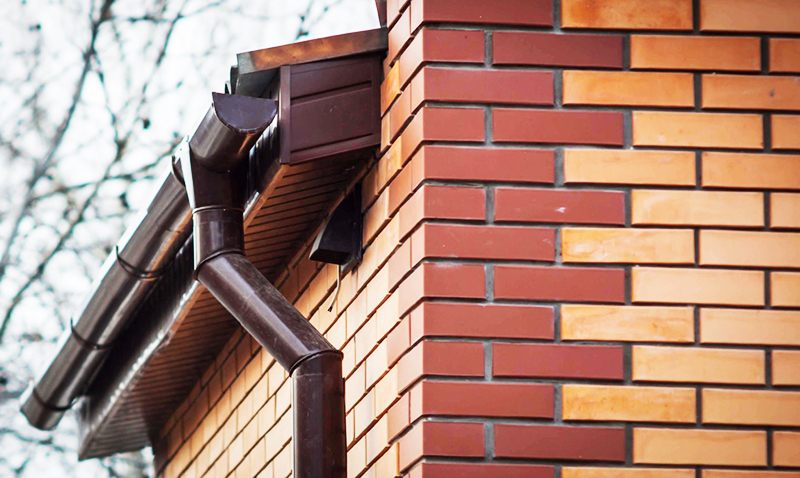
If it was not possible to purchase finished products with the desired parameters, you can make ebb tides for the roof with your own hands. This is usually done:
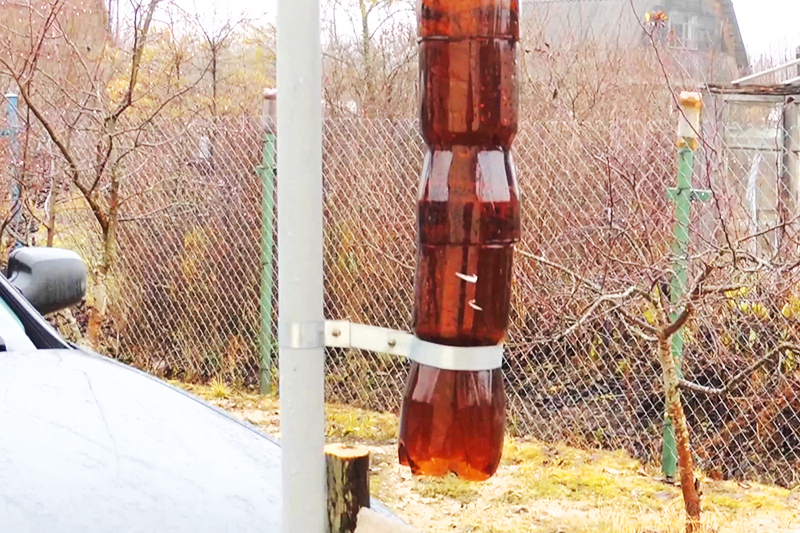
- by cutting a pipe made of plastic or metal. This is the most affordable option. The selected element is cut in half using a suitable tool. In the absence of a pipe, you can use plastic bottles;
- using a bending machine. A more complex option, involving the presence of special equipment. For the shaping of the ebb, metal sheets with a thickness of 0.7 mm or more are used. They are cut with metal scissors or other suitable tool into strips, the width of which is 10% greater than the width of the finished product. The workpiece is bent, guided by the instructions attached to the equipment. Sheets are cut into strips, the width of which increases by 10% of the width of the finished product;

A comment
Mikhail Starostin
Head of the team of the repair and construction company "Dom Premium"
"A protective coating is applied to the inside surface of the finished product, and the outside is painted in a suitable color."
Self-installation of drainage
Installation of roof sills is usually straightforward. If desired, everything can be installed by hand. We suggest that you familiarize yourself with the sequence of actions so that the mounted system will serve for a long time, ensuring timely water drainage.
Training
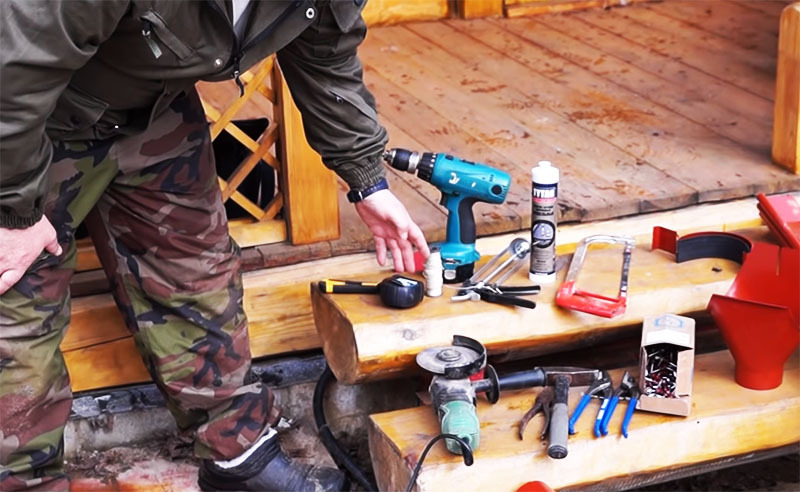
The required number of components and consumables is calculated in advance. To complete the work you will need:
- sander with thin discs that are suitable for cutting metal;
- measuring tool. You will need a linear and tape measure of a suitable length;
- fasteners;
- metal bar;
- locksmith's tool;
- inextensible cord to help pinpoint the location of the brackets.
Strip markings, fastening lines and slope of the gutter
The accuracy of this stage is determined by the final result. If you incorrectly mark out or choose an insufficient angle of inclination, the system will either not work at all, or will not be able to provide sufficient water drainage. The work is carried out in the following sequence:
| Illustration | Description of action |
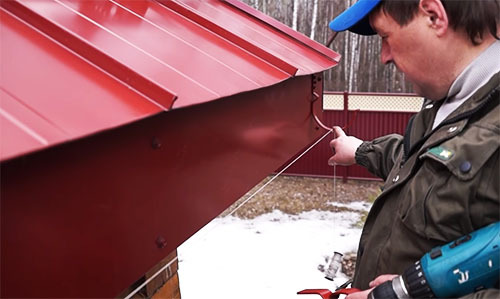 | Marking is carried out, and extreme hooks are attached. They are positioned in such a way as to provide a sufficient slope for water drainage. The difference between the height of the attachment is chosen so that for every 10 m of roof outflow, there is a displacement of 2 - 3 cm. A thread is pulled between the bolted brackets |
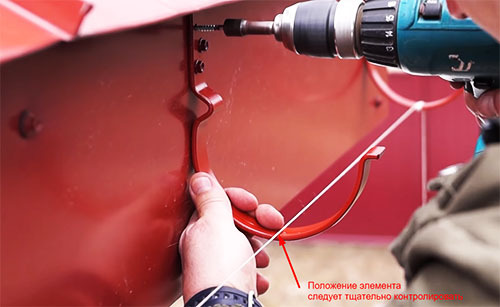 | With a given step (usually 60 cm), the remaining brackets are attached. They are positioned in such a way that they are mounted 10 - 20 cm from the funnels and away from the junction of the individual elements of the gutter. |
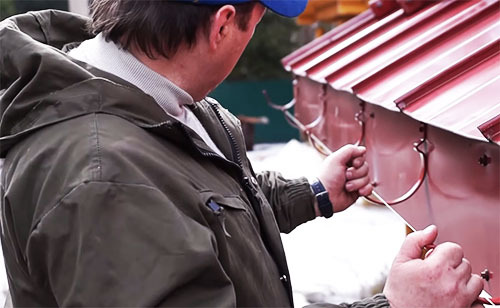 | After installing all the brackets, check their spatial position and location. Only after that the thread is removed |
Gutter installation
The gutter is installed in the following sequence:
| Illustration | Description of action |
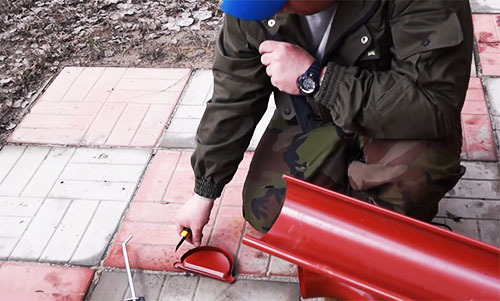 | The gutters are cut to size, taking into account the location of the brackets. The maximum length of one element should not exceed 10 m. A hole for the downpipe is formed |
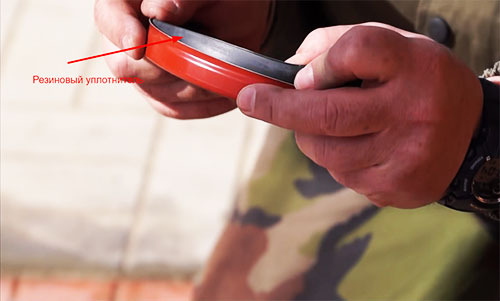 | A rubber seal is inserted into a special groove in the plug. Before that, it is cut into elements of suitable width. The plug is put on the end of the gutter |
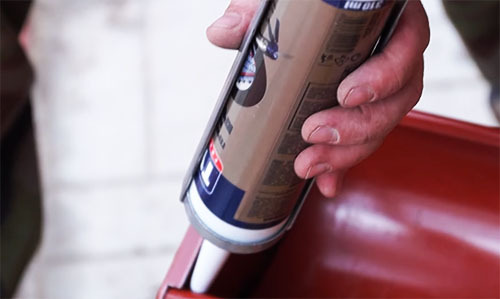 | To ensure sufficient tightness, the junction of the elements from the inside is coated with a bitumen-based roofing sealant |
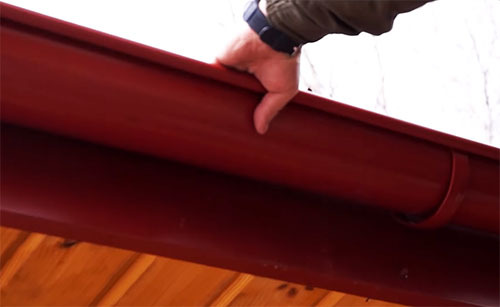 | The assembled gutter is installed in the brackets |
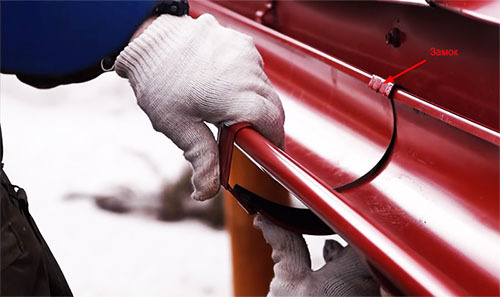 | Connections of individual fragments of roof sills are made using a special lock. A rubber gasket must be placed at the junction, and treatment is performed with a bitumen-based sealant |
Downpipe installation
The work is carried out in the following sequence:
| Illustration | Description of action |
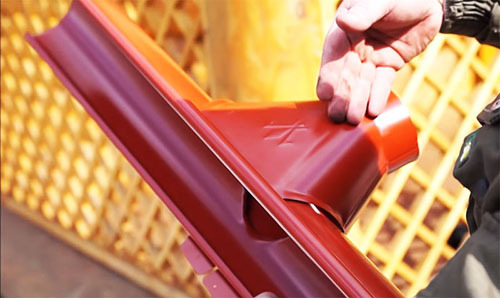 | The gutter connects to the downspout expander. Its design allows for installation after installing the gutter |
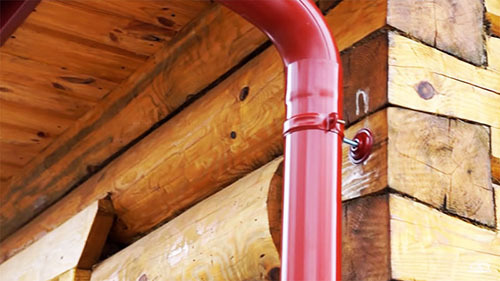 | The rest of the downpipe elements are installed. The latter is attached to the wall |
If you still have questions about the procedure for performing installation work, we suggest watching the following video:
Errors made by inexperienced craftsmen
The service life of roof drips will be significantly reduced if:
- wrong slope selected. If the value is large, water will not get into the drain. If there is a shortage, stagnant areas will appear, and therefore the system will simply stop working;
- not enough brackets. Such products are designed for a certain load. With their lack, individual elements will not be able to resist significant effort;
- leaky connection of individual elements. This will inevitably lead to leaks;
- incorrect spatial position of the gutter. The element should protrude from the roof edge by about 20 - 25 mm.
Water drainage protection from dirt and leaves
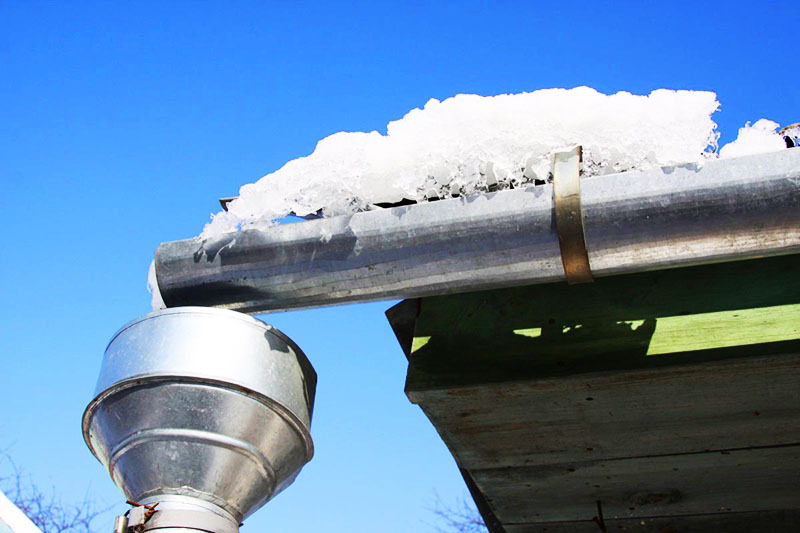
Even if the installation of the ebb was carried out correctly in compliance with all regulatory requirements, the system needs protection from dirt and leaves. For this, a special mesh is installed inside the gutters, which prevents the appearance of blockages.
Share in the comments if you have had to install roof sills? Which design did you prefer?

