Considering today's prices for the work of specialists in various fields, many home craftsmen are trying to master more and more new professions. This trend was not spared by the electrical installation in apartments or private houses. However, this activity requires some skills and knowledge of at least the basics of electrical engineering. After all, electric shock is dangerous not only for health, but also for life. Therefore, the topic of today's conversation will be the installation of an electrical panel. We will look at 7 main points in the production of such work.
Read in the article
- 1 Safety: the first thing to consider
- 2 Calculation of the cross-section of wires and power of automation
- 3 Assembling the electrical panel and connecting the protective automatics: the third step
- 4 Fourth stage: fixing the panel on the wall
- 5 Internal connection of consumers to protective automation
- 6 The penultimate stage: marking the machines inside the switchboard
- 7 And the last is the connection of the input, initial tests
- 8 Conclusion
Safety: the first thing to consider
Some craftsmen neglect safety rules. Meanwhile, this is the first thing that should be carefully studied. It must be remembered that they were written on the basis of many tragic mistakes. When working in an apartment or a private house, you need to remember at least the main ones.
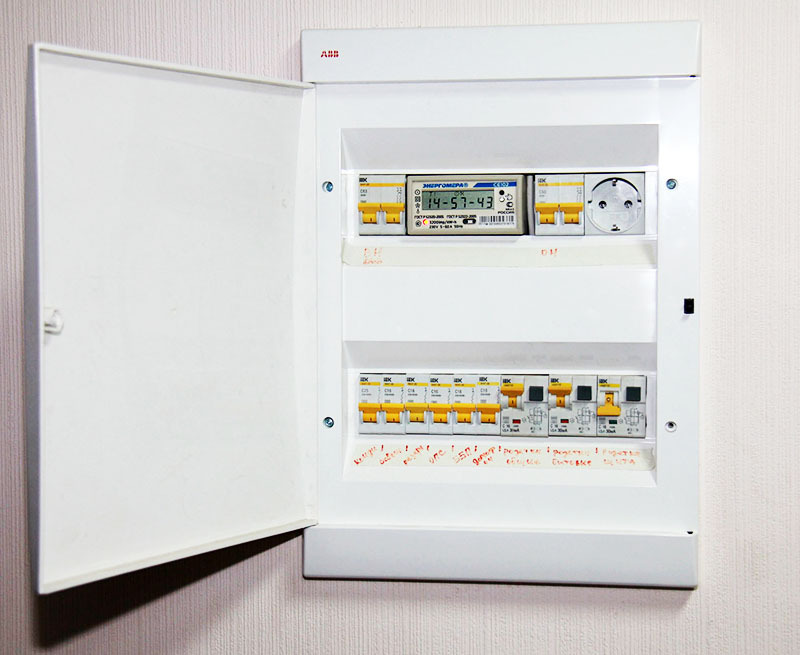
First, before starting work, you should carefully inspect the tool. Any crack in the handle of a screwdriver or pliers is a reason for their mandatory replacement. Indeed, during work, such a flaw is fraught with electric shock. Also, do not neglect personal protective equipment - rubber protective gloves, dielectric mat.
Secondly, it is not allowed to work without removing the voltage. The exceptions are cases in which it is necessary to ring the phase wire. The voltage is removed from the input circuit breaker or the main switch on the street. The owner does not have the right to enter into it, this is the work of the power supply company.

One more thing. When assembling the switchboard, you must be extremely careful. There are no trifles in such work, the slightest defect can subsequently lead to an emergency. You should also observe color coding - it can save lives.
Calculation of the cross-section of wires and power of automation
In order for all calculations to be performed correctly, a detailed plan of each of the rooms should be drawn up, indicating the location and connection of household appliances. After that, the rooms are divided into groups. This is done in order to be able to calculate the load for each room, wire cross-section and automation power. Also, when performing this work, it will become clear which of the groups will require additional protection in the form RCD.
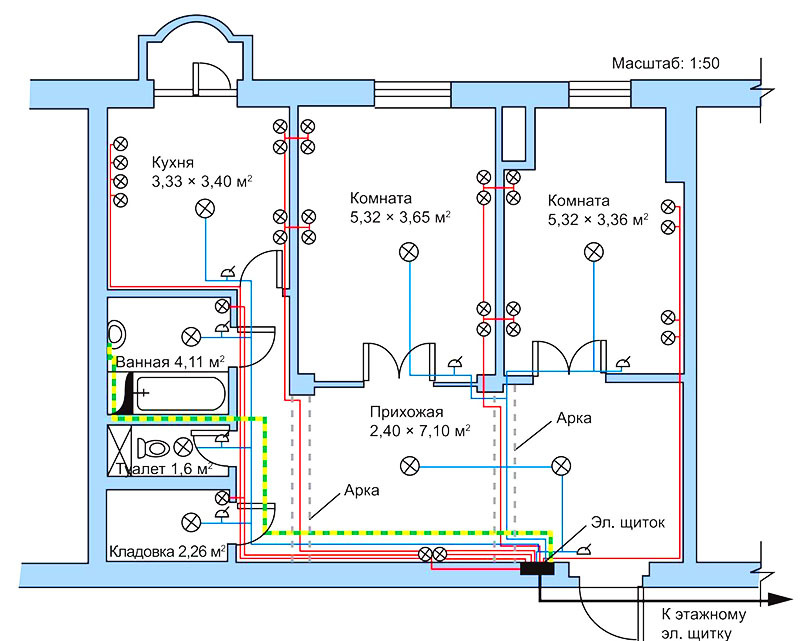
The plan diagram can be drawn by hand, but after assembling the shield and complete wiring, you should not throw it away. This plan will be useful later in the production of repair work.
Assembling the electrical panel and connecting the protective automatics: the third step
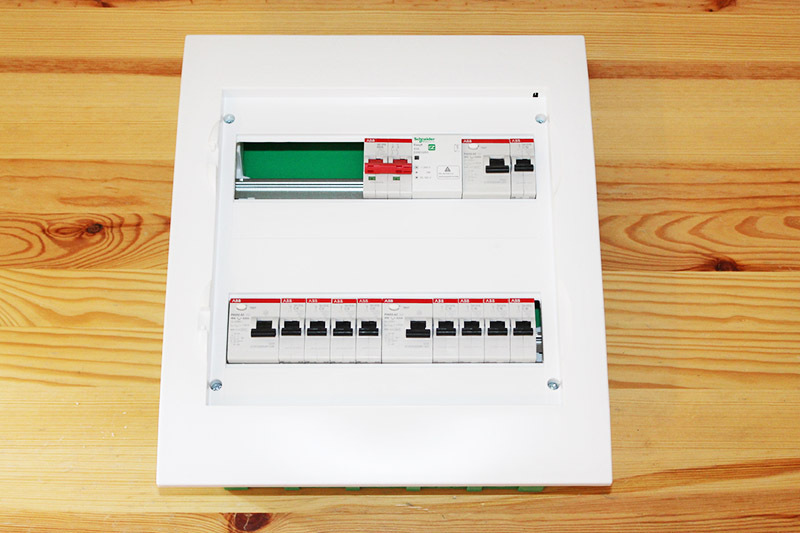
After all the calculations for the load have been completed, you can start assembling the electrical panel. Recently, such elements are increasingly made of plastic, installing a DIN rail and 2 tires (neutral and ground) inside. Depending on the size of the box, there may be a different number of rails in it.
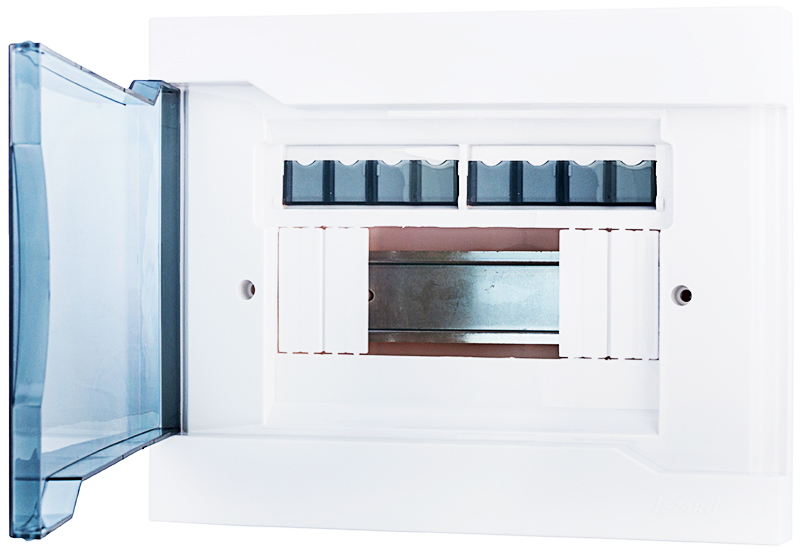
If the box is small (for one DIN-rail), then an introductory machine is mounted first, then electric meter (if necessary), followed by protective automatics in groups and lines. If the box is for 2 DIN rails, and the number of groups is large, as is the case when assembling a shield for a private house, then the automation of individual lines moves lower.
Having placed all the automation in the right order, the electrician proceeds to disconnect it. The order is as follows:
- from the lead-in AB to the electric meter;
- from an electric meter to an RCD;
- from the RCD to the group machine;
- from the machine of the group along the lines.
In fact, there is nothing super complicated in this work. The main thing is to grasp the essence.
Fourth stage: fixing the panel on the wall
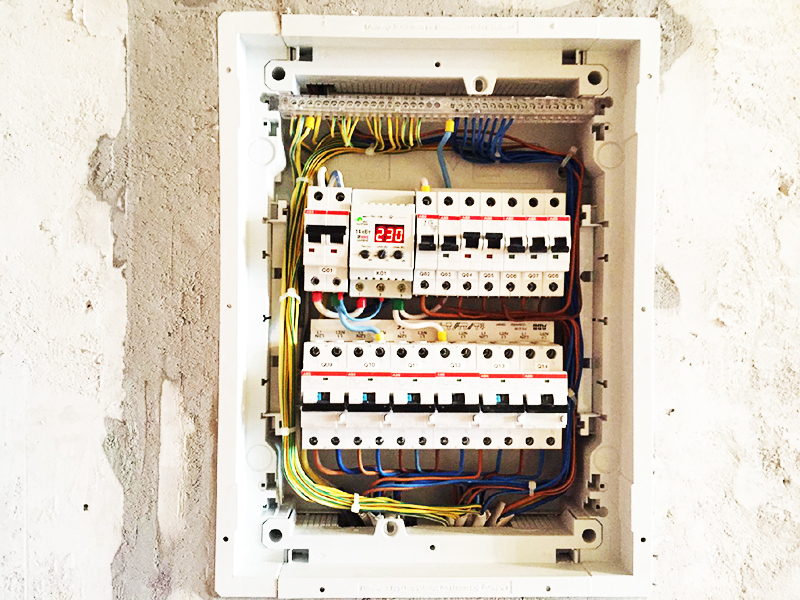
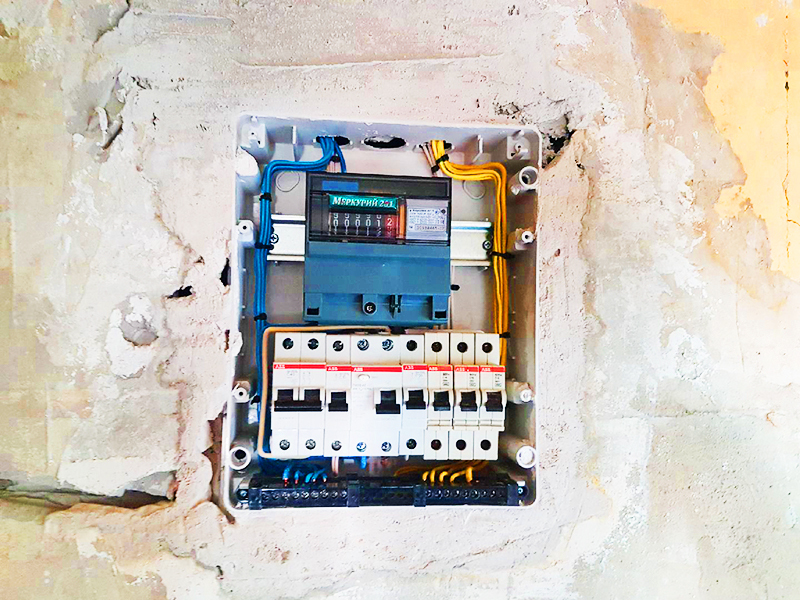
There can be 2 options - internal or external installation. Recently, home craftsmen have taken an easier path, which is the external fastening of the box. In this case, the insulated lead-in, as well as the cables that go to the apartment or private house, are brought inside, the box is leveled and fixed to the anchor bolts.
Internal installation is more difficult, but only if there is no niche for the box in the wall. If it is, then the assembled shield is placed inside, also with fixation on the anchor, and then the slots remaining on the sides are putty. However, plaster is not the main thing at this stage. It is more important here to connect all the wires outgoing to the living quarters.
Internal connection of consumers to protective automation
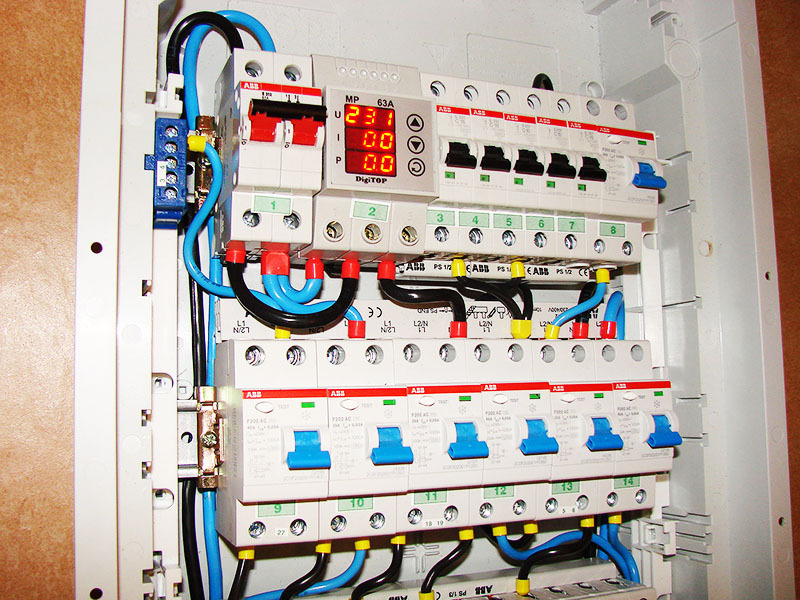
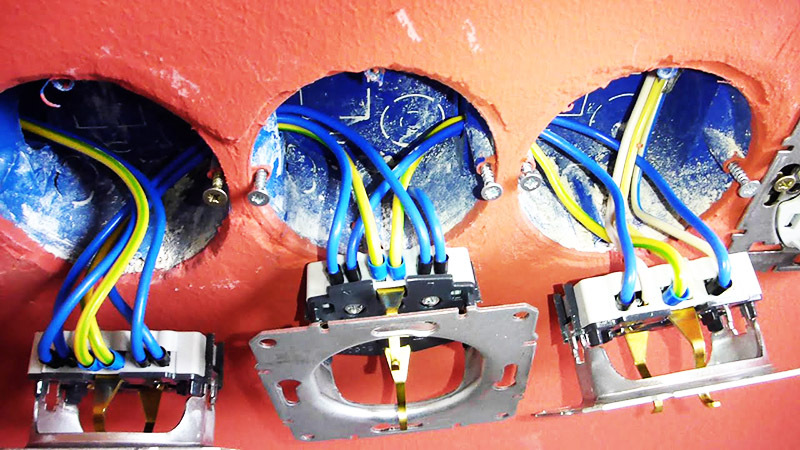
The cables outgoing to consumers are connected in accordance with the previously drawn up plan diagram. The phase conductors must each fit its own machine. At the same time, in no case should they be confused. Indeed, for each line, an AB with a certain current load was selected, and the power supply to some of them goes through an RCD.
Special attention should be paid to the switching of protective grounding and neutral conductors. If power is supplied through an RCD, then the neutral to the common zero bus of the line or group cannot be connected. Such an installation will lead to an unreasonable operation of the residual current device.

A comment
Vladislav Mikhaltsev
Locksmith for the operation of water supply and sewerage systems, LLC "GK" Spetsstroy "
“All internal installation is carried out without connecting the main power cable to the input machine. These veins remain insulated until the last moment. "
The penultimate stage: marking the machines inside the switchboard
After all the switching of the cables inside the shield is completed, the machines should be marked. For this, tags are glued on the inside of the door, which can be replaced with plain paper with the marking of the purpose of the machine and the line to which power will be supplied through it. A similar marking can be done using tags that are attached directly to the cores.
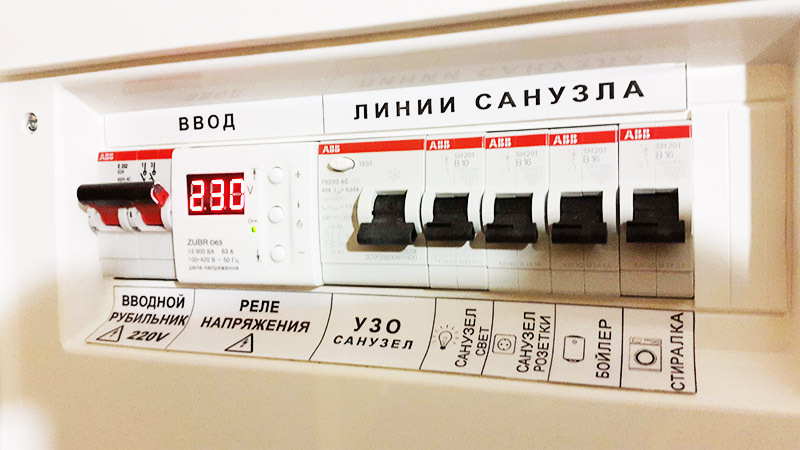
Some believe that such work will be an irrational waste of time (after all, the plan remains on hand), but this is not the case. The circuit can get lost, in the absence of a home master, an accident may occur that requires repair. An electrician who comes to the call will obviously not immediately figure out which line or group goes to which premises. Therefore, you should not ignore this stage.
And the last is the connection of the input, initial tests
The input is connected only by a specialist of the power supply company (in the absence of an additional switch in the courtyard of a private house). Do not rely on personal protective equipment and perform such work without relieving stress. Contacts on the introductory machine are thoroughly stretched. It is worth re-broaching on the remaining AB, in order to avoid heating terminals.
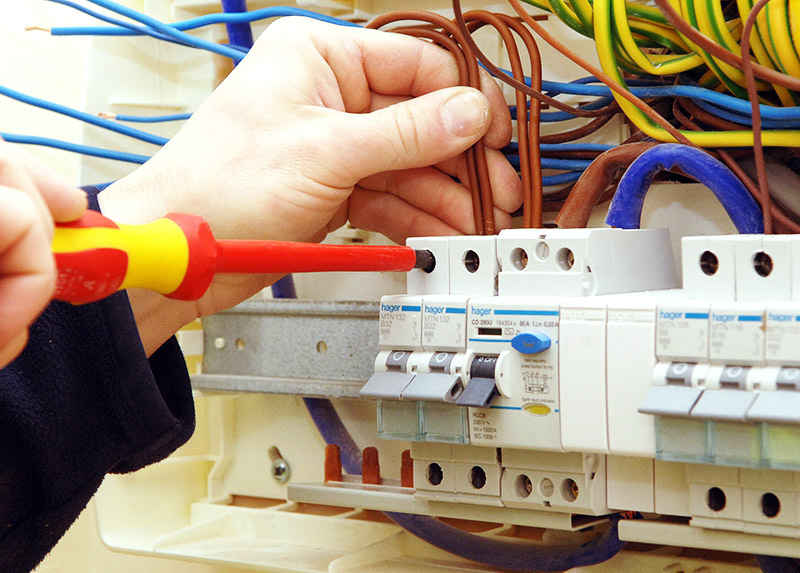
Further, all automation is turned on, and after that the presence of voltage on the groups (power and lighting) inside each of the rooms is checked. It makes sense to re-check that the cables are correctly positioned inside the switchboard. To do this, the machines are turned off one by one with a check in rooms using a conventional indicator screwdriver or multimeter. Decorative overlays sockets close only after the master makes sure that all the veins (phase, zero, Earth) are connected correctly. A professional and experienced electrician can do without this, but a beginner home craftsman is better off playing it safe.
Conclusion
Installation of an electrical panel, subject to the seven listed points, although difficult, can not be called impracticable. To carry out such work, it does not matter whether the home craftsman has experience in electrical installation. The main thing is knowledge of safety precautions and careful step-by-step compliance with all the rules. And in this case, it will be possible to save a considerable amount that would have to be paid to specialists. And it remains to be seen how skilled they will be. And here's another thing to keep in mind. If you have doubts about your ability to complete what you started with quality, it is better not to even start the work.
I would like to hope that the information presented today will be not only interesting, but also useful to our reader. If you have any questions on the topic, ask them in the comments below. HouseChief editors will definitely answer each of them as soon as possible.
In the discussions, you can express your personal opinion about the article or share your experience in installing shields, if any. This will be very useful for other craftsmen who are just planning a similar job. And one more request, do not forget to rate the article, we welcome any opinion.
And finally, we bring to your attention a short video that will more fully reveal today's topic.
