Kitchen mixer during operation experiencing tremendous daily workload. As a result, it is much more easily damaged than most other elements of home catering. If your faucet has worn, it is time to change. This means that you will have a difficult choice decent, yet at an affordable cost, "the candidate." In order not to make a mistake, you may have to understand the variety of proposed models, identify their strengths and weaknesses. And if you decide that you will cope with the work of their own hands, you will also prepare the necessary tools and materials, assembly and installation of the mixer in the kitchen. The recommendations gathered in this article will help you in all phases of the work.
Content
- Types of kitchen mixers
- How to choose a faucet
- Installation Mixer in the kitchen with his hands
- Materials and tools
- Dismantling of old crane
- Assembling the mixer and podvodok
- Methods and equipment for installation mixer
- Installing the sink
- Installation on countertop
- Installing wall mixers
- Connect the pipes and check
- How to connect filters
- Types and options breakdowns fixes
Types of kitchen mixers
All kitchen faucets can be divided into three large groups - single-lever and double wishbone or dvuhventilnye, and touch.
Single-lever is much easier to manage. Open, close and adjust the water temperature can be movement of the finger, the back or side of the palm. This makes it possible to operate the device without rinsing soiled and freeing the hands of employees. This has the advantage - the mixer is less dirty, and cleaned it is necessary much less frequently. There are single-lever products with flexible hose, slide out from the spout if necessary.
Dvuhventilnye - devices known from Soviet times for mixing hot and cold water, equipped with two valves. In order to spray the water has reached the optimal temperature, it is necessary to rotate both valves. These systems are not so comfortable and are recognized only in retro lovers. With the valves can not be quickly controlled mixer, it is inconvenient and wasteful. Therefore, this apparatus is justified only if the style designed to support a particular interior. Manufacturers realize release copper two-lever faucets, ceramic, stone, bronze. Possible to avoid inconvenience, if the structure is supplemented by special lever, by which to turn on and off the water. Will only adjust the valves so as to be a desired temperature.
Touch - presents a huge variety of shapes and colors. In their design there are whatsoever handles and faucets. Systems respond to the appearance of the hands under the spout and triggered automatically. For certain water temperature programmed device. The main advantage of these mixers - no need to contact the users hands. That is why such devices are often used in public places with high cross. The only negative - the device is powered batteries, and if they run down, the solar cells will cease to work. It is necessary to make regular replacement of batteries.
How to choose a faucet
The first step is determined with how and where it will be located in the kitchen faucet. It's one thing if a mixer is installed in a new kitchen, under which it has been specially selected sink and faucet. Another thing, when you want to replace the old faucet. Then the following parameters must be considered:
- Shell depth;
- the location of the drain;
- Tapping place mixer;
- diameter of the existing holes;
- the distance from the point of connection to the wall.
Choosing a sanitary device, pay attention to the material of manufacture. Cheap versions of the soft alloy such as silumin, outwardly look quite decent, and for the kitchen, where the cook infrequently and wash the dishes in the dishwasher, fit perfectly. Minus these cranes in their fragility. They often quickly fails thread - cracks and crumbles. Repair of such cranes are subject only to the gasket.
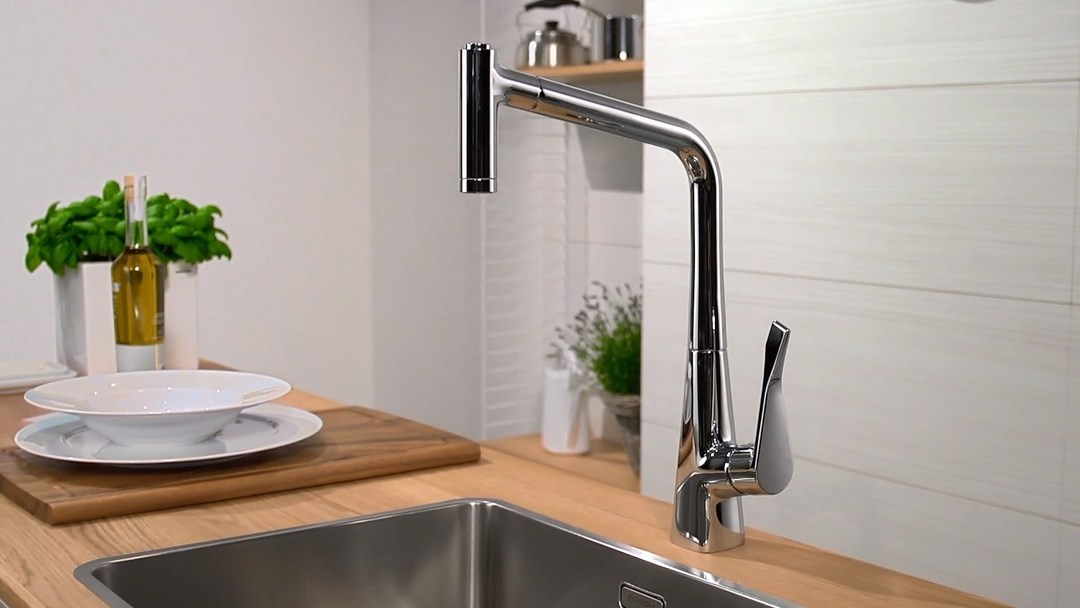
Considered more durable valves, made of brass, stainless steel or similar high-strength alloys. These mixers are virtually no wear. Spoiled only gaskets or rings may be in them. The surface is often an imitation chrome - matte and glossy, nickel and aluminum.
In a couple of washing of natural or artificial stone can pick up the coated article under the shell material - it will have the same texture and color. The picture shows the various options of such combinations.
See also:Kitchen design with a window 60 photo examples
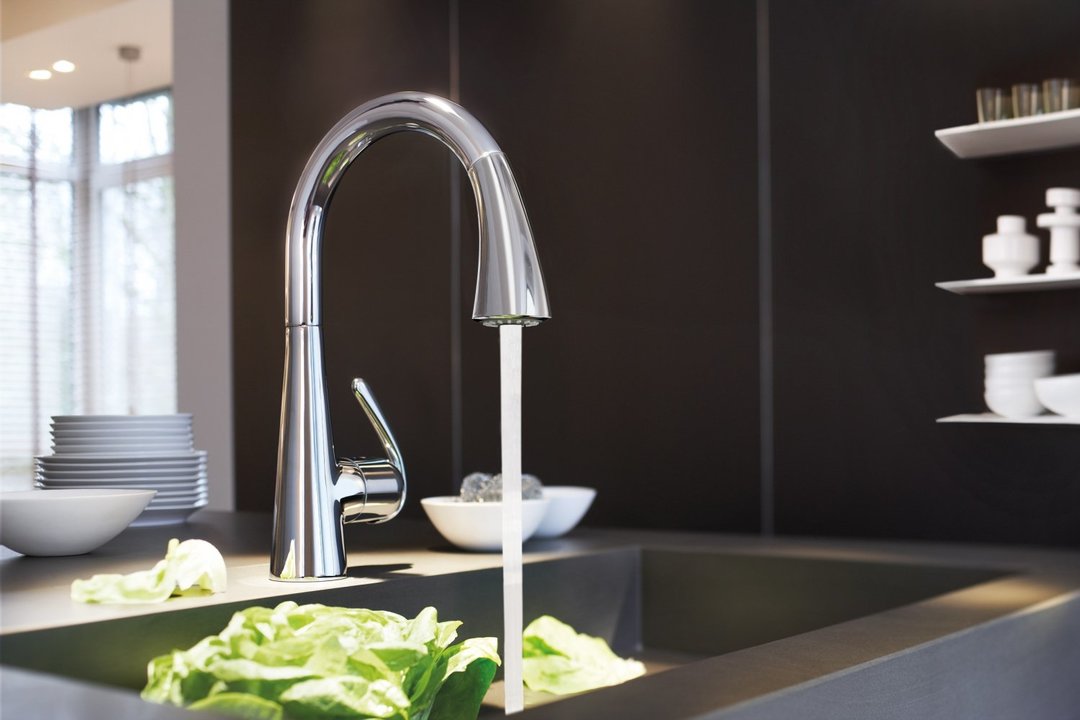
In order to tap perfectly suited to the old sink, you need to compare the diameter of the plunge hole and fastener. Block must fit snugly into the opening. Next, choose the height and length of the nose. Spout should correspond to half the length of the washing depth. Optimally, if the crane location allows you to stream, falling exactly in the center of the bowl. The height should allow to put in a washing pan high, but this should comply with the measure - high rise provokes the formation of a large number of spray. Ideally, if a high mixer supplemented retractable showerhead. It can lower the lower, immersed in a pan or kettle standing on the side of the table top.
Pay attention to the angle of rotation of the crane. If the sink is installed close to the wall, enough angle to 90 degrees. For a double shell with crane, installed in the middle, a device which can easily be rotated by 180 and even 360 degrees.
Installation Mixer in the kitchen with his hands
The first thing to do before installing itself - verify the completeness of the purchased kit and to purchase the missing gasket. If the model budget, you can hardly find in a box of high-quality rubber accessories. Therefore, it is better to replace them with worthy examples.
Materials and tools
To set the mixer you need to prepare and buy everything you may need while working.
You can not do without:
- spanner 10;
- tong - for working with hard to reach nuts in the shell assembly;
- two rubber sealing washers;
- polushayby metal;
- a pair of nuts;
- fum tape for sealing connection points;
Most often, set the sealing material is sold complete with mixer, but if the "native" pad not inspired confidence by visual inspection, be sure to purchase these items separately.
In addition to the above, you will need:
- pliers;
- screwdriver;
- rag;
- pelvis;
- Lantern;
- plumbing hoses - fittings for water. These parts are usually available in the bundle, but often they are too short.
podvodok length should not be too big and not too small. It will be optimal if the fold locations appear creases. Build factory liner is not recommended - should be replaced with a new one.
If you change the mixer, do not leave the old worn hoses. Over time, they still have to change.
Dismantling of old crane
Before starting work on the installation of the crane should be cut off the water, spread out on the bottom of the wash rag. It protects the sink surface from mechanical impact accidentally fallen metal parts, and also do not give small spare parts to penetrate into the sink.
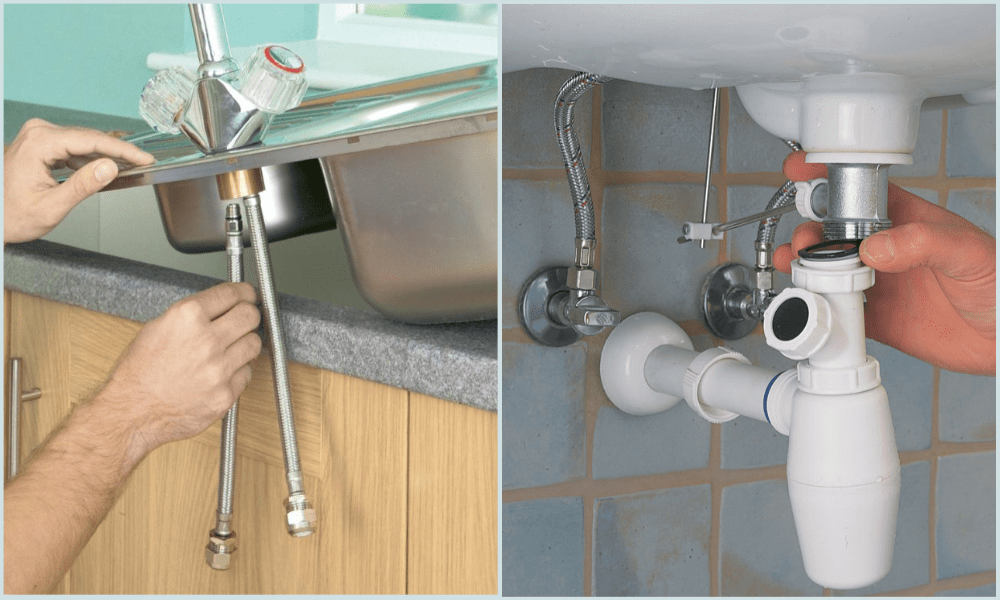
When the mixer replacement is necessary to dismantle the old faucet. To do this, perform the following steps:
- disconnect the hose from the inputs of hot and cold water using a spanner. The hose can remain water, therefore it is necessary to substitute a bowl to collect it;
- wipe dry pipe thread;
- unscrew the nut and metal polushaybu, which is fixed on a sink faucet;
- take out the mixer from the discharge opening together with the connector.

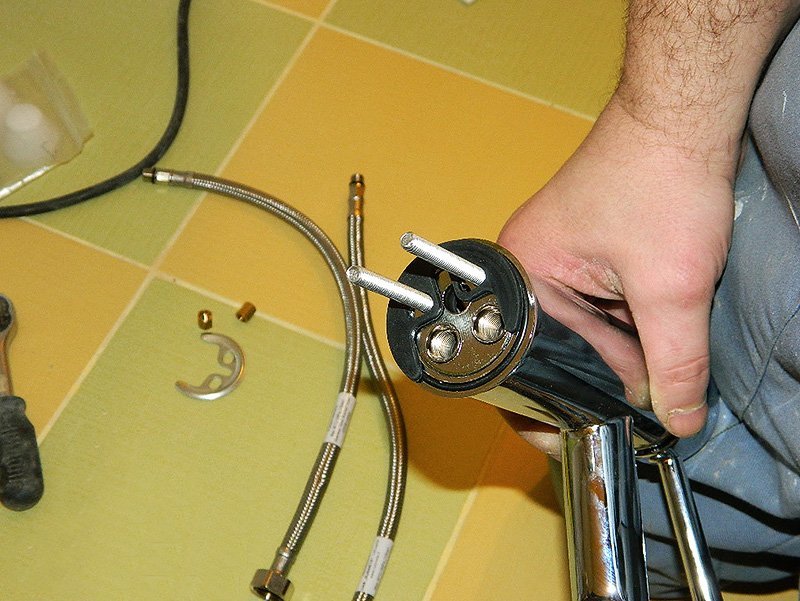
Assembling the mixer and podvodok
Assembling the mixer starts with connecting it to flexible hoses or rigid conclusions. When installing the 2-gate system will first need to make the assembly. You need to insert the spout - spout to the body, as if to guard ring. Combine them into a single unit, which is twisted by hand, tightening too much. We make a few turns around the end fumki liner. Tip tape can not wrap as the hose has a rubber gasket. Then immerse the end of the hose into the hole on the mixer and twists, first manually and then hold out spanner 10. Second Liner mounted similarly. After that, attach pin - one or two, placing them up thread. The final touch - is passed both hoses through the O-ring, bring it to the base of the faucet body and fix.
Methods and equipment for installation mixer
Mounted kitchen mixer can be directly on the sink, on the counter or on the wall. Selection of a particular method of cleaning due to the technical features, capabilities and preferences of the owner of the kitchen.
Installing the sink
Installation of the mixer is done in several steps:
- Starting mixer mount, attach thereto liner. All connections must be protected against possible leaks by a fum-tape wound on the thread. Because of this they will be tight and will not let the water out.
- Set the annular rubber gasket to the base unit, for which it is threaded through the connected hoses. It is necessary to ensure that the insert fell exactly into the groove.
- Set faucet on a sink by sliding through the cutting opening flexible liner. It is better that someone held the mixer until you screw it to the sink.
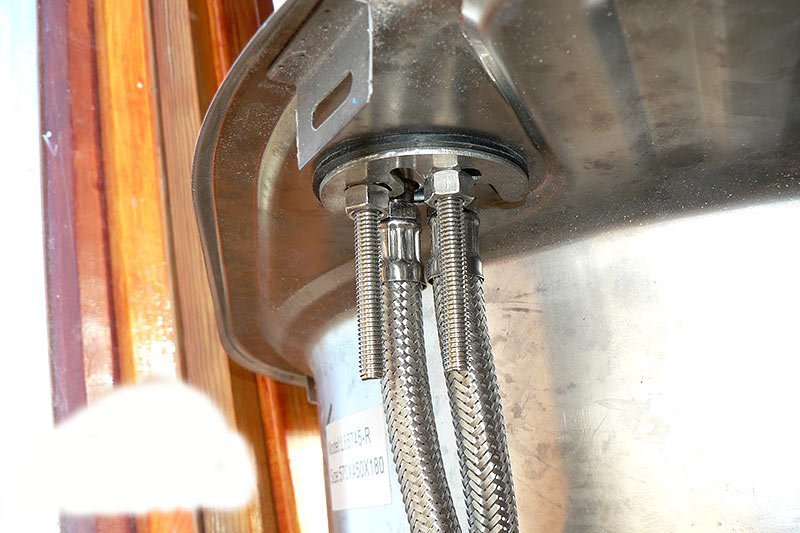
- Put through the liner compression plate is screwed into its threaded rods and baits to them nuts.
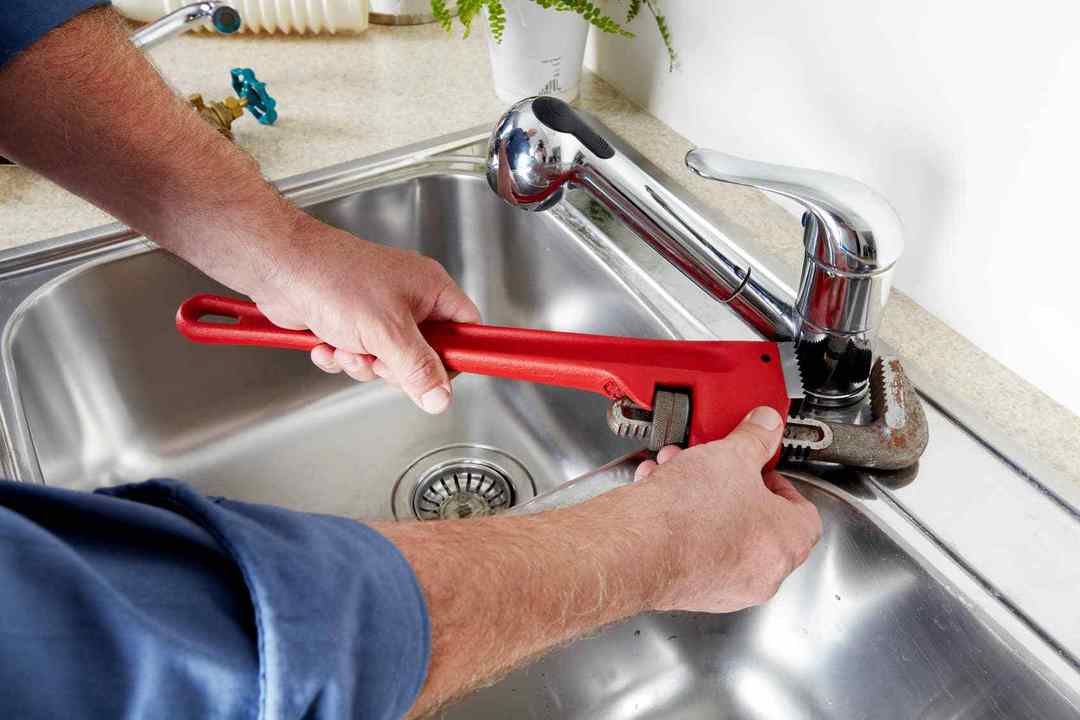
- Mixer fix in the desired position and tighten the nut with the socket wrench. It is more convenient to do it together.
- Check the position of the O-rings - make sure that they are not moved during installation.
- Set washer in place and connect hoses to the outputs of the cold and hot water. Required we clean the tubes using skin and wound fumki layer, which must be wound overlapping, or other sealant.
As a sealant can be used linen thread. In this case, the pre-coat the thread sealant paste.
- Mount the siphon and test the system. It is better to check for leaks under the maximum head of water. In the event of leakage need to tighten the screw connections and space to make a retest.
See also:The design of the kitchen-living room of 25 square meters - ideas and solutions
Installation on countertop
Sometimes washes are no holes for tie-mixer and then resorted to mounting on a countertop.
This method, in addition to the tools shown above, require the use of:
- electric drill;
- a set of corresponding task drills;
- jigsaw.
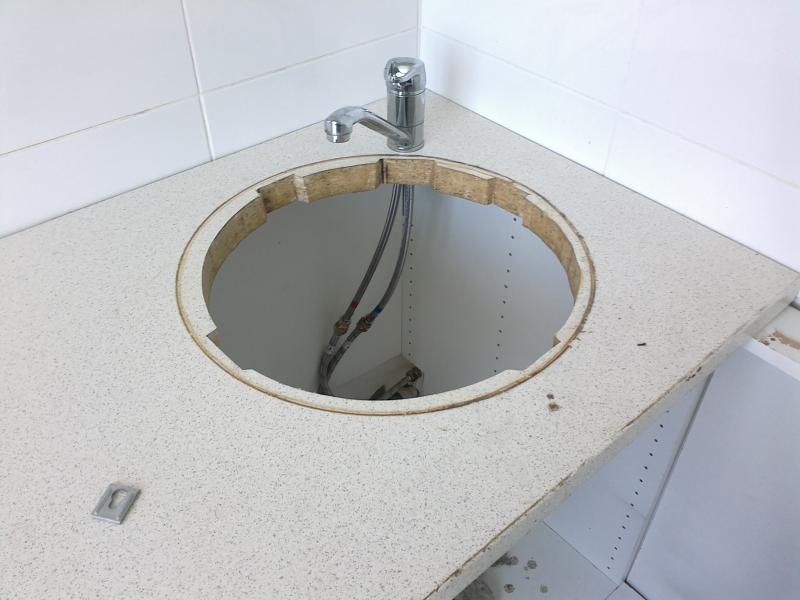
The peculiarity of this installation method is that the removal of washing is not required - the cutting hole by simple manipulations will appear in the very top. The rest of the installation steps do not differ from the previous method.
The table top must cut a hole of appropriate size at a specific location. The following practical issues should be considered when choosing a location:
- mixer using water should not fall on the working surface of the headset;
- you must provide a convenient use of leverage;
- spout must be positioned so that the falling water enters the washing center.
To cut a hole for mounting, the base circle pencil mixer. Make holes in the corners of the marked perimeter or in a circle. Install and connect jigsaw drilled points. Received hole must be cleaned from the sawdust and polish sandpaper. The main thing is not to overdo it with the size of the hole, otherwise the compression ring will not be able to block it.
Subsequent installation is made similarly to the installation of the mixer on the sink.
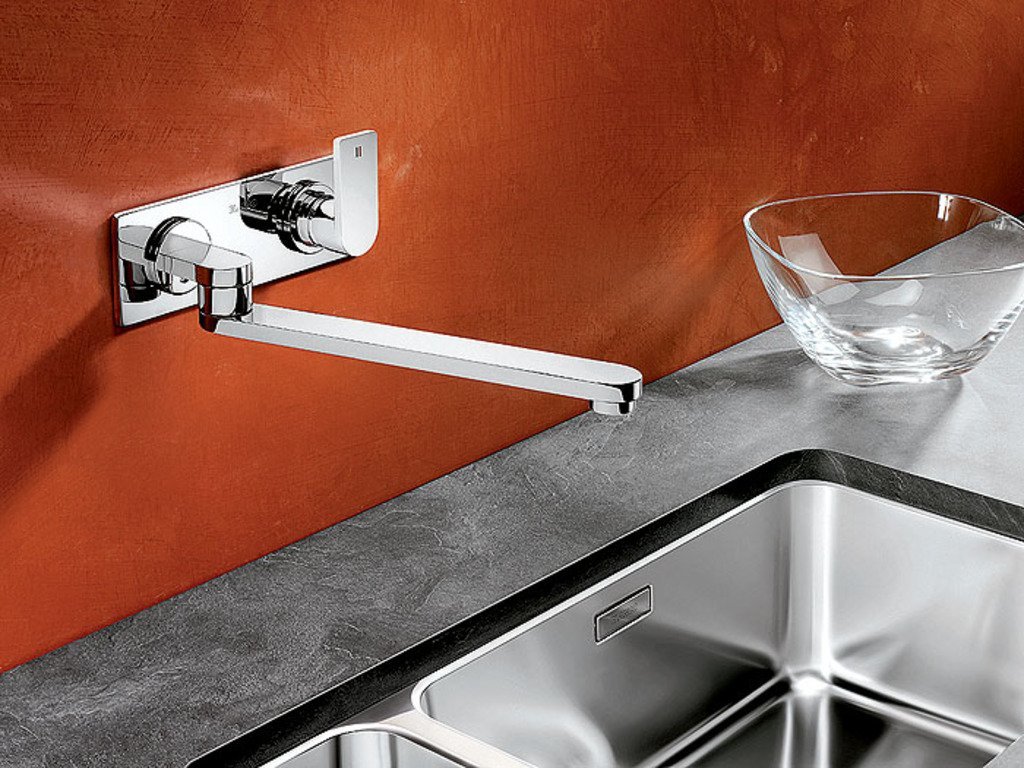
Installing wall mixers
Faucet mounted on the wall - a non-standard solution that allows you to save a lot of working space. Another plus of this decision - at the base of the mixer does not get water, so that the gasket and screw connections last longer.
For this construction must be at a stage of mounting tap wiring terminals equipped in the wall with hot and cold water. To them it will be attached mixer. In this case, the flexible liner will not be needed.
Sometimes the pipe or hose is passed over the finishing, but it looks very unsightly. At the open liner is accumulated grease and dirt to be cleaned. At the same time moisture gets on the table and destroys it. Therefore correct hide inside the tube wall under the lining.
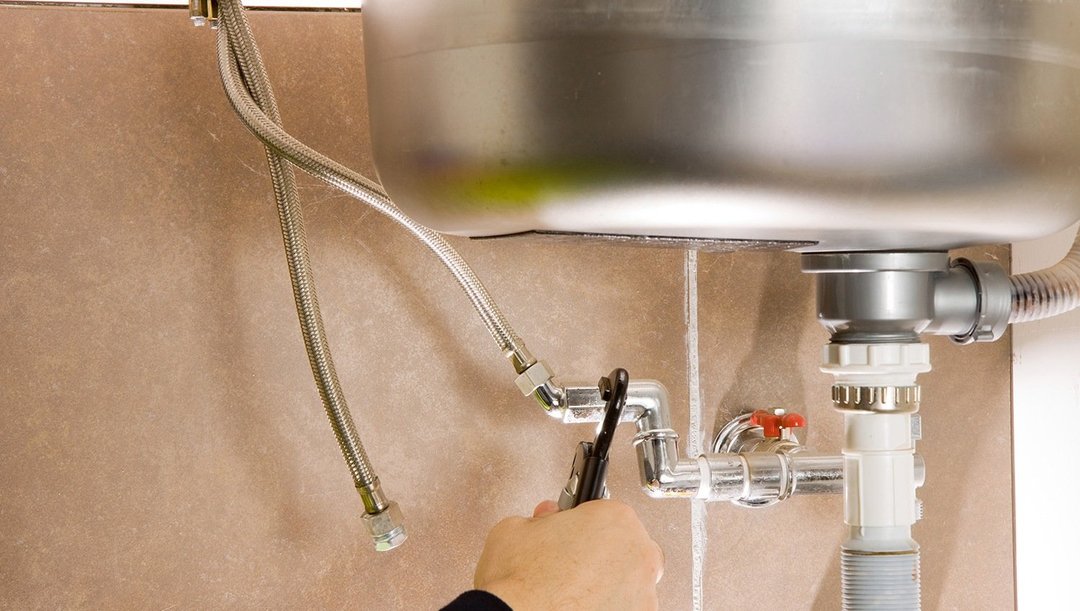
Connect the pipes and check
After washing installation and fixing the connection can begin to tap podvodok flexible system. The first step is cleaning and isolate the threaded connections. It can be applied to the threads of the sealing paste and linen thread reel, or use special sealant tape. The tape must be wound lap to ensure the fixation of the hose. Undoubtedly, the second method is much more convenient. After that connect to the pipe fittings and clamping them with the wrench. Watch out for power force - it should be the average.
The final stage - check connections. It is necessary to turn the water on full, and for several minutes to monitor the integrity of the system. If the water drops leaked through the thread, we need some clamping force and keep the water again.
How to connect filters
The use for drinking and cooking food clean water - one of the ways of maintaining health - you and your loved ones. In our time, to get potable water in the conditions of the apartment is a snap. To cope with this task will help a special filtering systems.
See also:Fitted kitchen design Q4. m
If you have already purchased a kit for purification of water, you'll notice that it includes several tubes, mini crane and key. Keep in mind - no sealing tapes, sealing pastes, and you do not need threads.
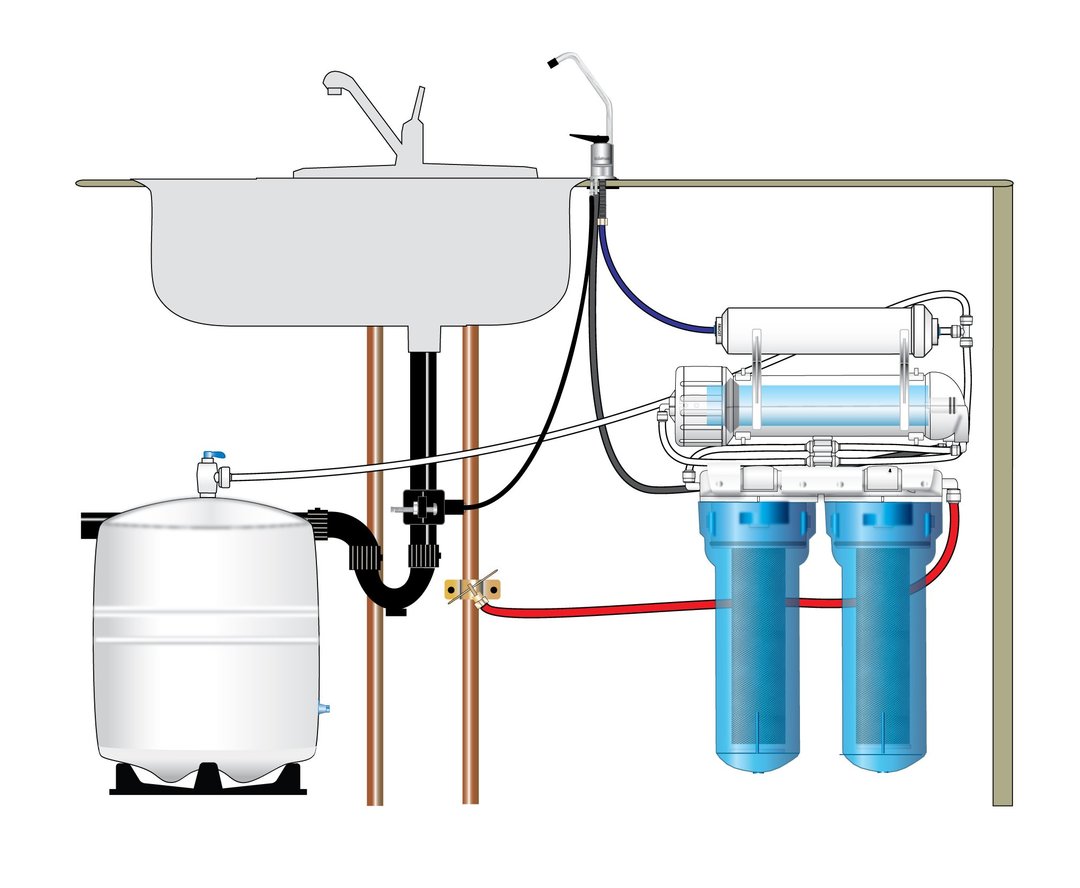
Step by step guide connecting the filtering system
- Cover the cold water with a crane, placed under the sink. It is located on the pipe and hoses connected thereto for supplying cold water to the mixer. Not to be confused with the "hot" faucet - open the cold water and check if it pours.
- Turn off the hose and instead install a tee, which was included, and have him screwed liner. Open cold water and check the tightness of joints.
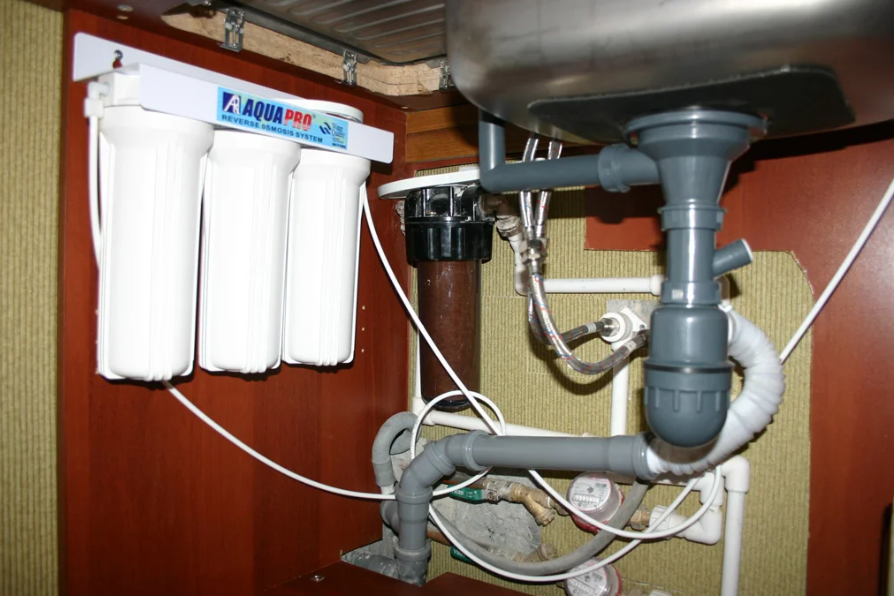
- Determine the filter installation site. It is better to place it on the cabinet side wall. We recommend placing it in such a way that the filter produces the coarse, was within easy access - you will change it more often. The bottom should be at least 10 cm so that you can replace without hindrance. Stand back from the doors of this distance - about 10 cm, in which it can not damage the hoses. Included is a template that will facilitate the fixation procedure. The screws are screwed into the marked points.
- Remove the caps and connect the tube to the filter in accordance with arrows pointing in the correct direction in which it should move water. First insert tube through which the raw water is supplied from the system and connect it to one of the outputs of the previously installed tee. Then insert the tube into the filter outputting side without the ferrule against the stop.
- Connect the tap for drinking water from a kit or a special mixer with two spouts - one for ordinary water, the second - for drinking. Such a device makes it possible to avoid breaching the additional holes in the sink or countertop, but it will cost more than the standard version. Another drawback - when leaving the mixer down you will not have any water source.
Separate tap must first be secured to the sink or work surface, and only after that connect to it from the filter tube. To install mixer two in one you need to find out - whether in the construction of the adapter to which you can insert the tube supplying drinking water. If it does not exist, it is necessary to cut the tube with metal tip and put on her nut. After that, insert the nipple and nut is screwed onto the thread.
- We are checking the tightness of the system filter and wash for 4 minutes. The water may contain impurities and a white foam.
Types and options breakdowns fixes
The mixer does not always need to be replaced. Sometimes one element is sufficient to replace, and tap again to earn a conscience. We will understand - what damage the kitchen faucet may arise during the operation, and how to fix them.
The most common error of the following type:
- a leak at the junction of the spout to the body. Because of the continuous rotation of the spout wears rubber sealing ring and valve starts to leak. To replace the pads, you must disconnect the nose, remove the old gasket, install a new wound on the connecting thread sealing tape and attach the piece to its original location;
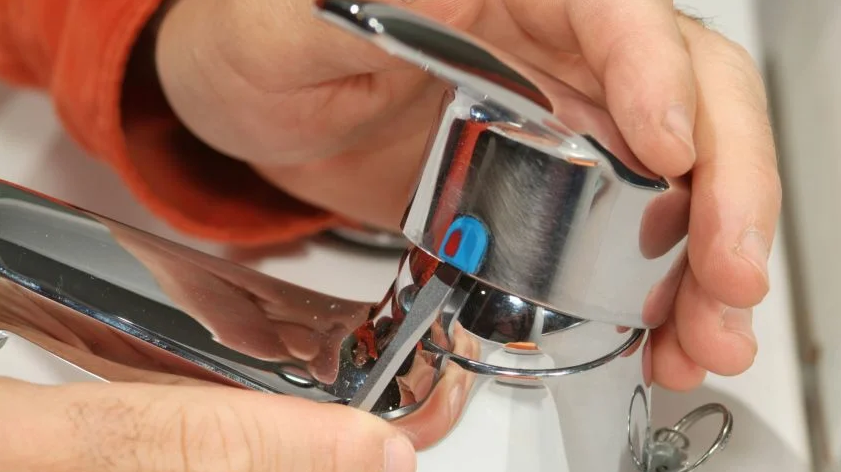
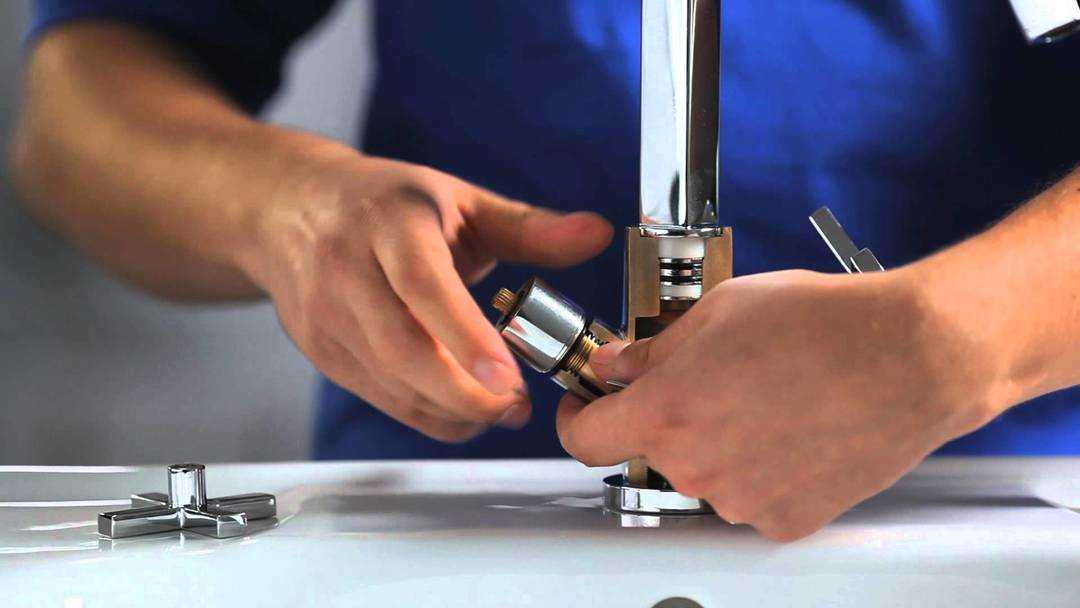
- to flow out of the control lever. The reason - the failure of the cartridge. To determine the wear of the cartridge can be from the fact that the lever became ill rotate, the water temperature began to change spontaneously, the water can not be cut off completely. Require replacement cartridge for a mixer housing which is necessary to remove the cover, unscrew the screw and remove the lever and the decorative cover. Take an adjustable wrench, unscrew the nut that holds the cartridge, and extract it. Put into the cabinet a new cartridge and assemble mixer;
- leakage twin valve - the wear on the rubber washer head parts or destroyed itself gate head. For troubleshooting remove the plug from the failed valve, unscrew the screw that secures the valve, unscrew the head, change a new one. If head parts OK, I only have a lining.
In that self-install a kitchen faucet, there is nothing impossible. Only need to stock up on the necessary knowledge and tools.
More information about the installation process of the mixer can be, watching the video: