- Installation and setup of satellite TV
- Choosing a device
- Preparing for installation
- Installation procedure
- Tuner setup
Satellite data transmission technologies can be found in almost every home. Many users believe that installing and configuring satellite TV is a very complicated procedure. In fact, there are practically no special difficulties in all these manipulations. The most important thing is to understand all the most important nuances. How to configure the satellite dish yourself? The answer to this question can be found in this article.
to content ↑Installation and setup of satellite TV
Satellite TV is increasingly gaining popularity among users. Here everything is quite simple, because the subscriber does not always like the list of channels from the cable. Yes, and TVs with Full HD quality require high-quality content, with which the satellite manages to cheer.
Of course, you will not be hindered by the connection and installation of digital cable TV, but the assortment of TV channels will be several times less, if you compare it with what the antenna can provide.
Important! The price of the device does not exceed the cost of cable TV.In addition, you can easily install somewhere in a country house or in the country, with which cable TV can not cope.
to the contents ↑Choosing the device
Before installation, it is worthwhile choosing the operator whose services you will use. In other words, we need to select an antenna. If you are a beginner in this business, then you are lucky, because now we will talk about the nuances of choice in more detail.
So, the whole point of this TV is to receive the signal directly from the satellite, which flies somewhere in space. The satellite transmits the signal, the tuner is engaged in its processing, and only then we see the results on the TV screen.
Today you can select both open and coded channels. The entire list can be placed separately, or it may be included in the package of channels that the operator owns. The encoding of TV is only needed to monetize the channels. Satellite operators therefore exist, making browsing more convenient.
Important! For reference, Russian-language broadcasting occurs from completely different satellites, which are located in different positions. To receive a signal without interference, it is necessary to direct your antenna straight to the desired satellite. If the selected paid satellites are nearby, then there is a possibility that you will be able to receive the signal from both at once.
Here are some important points:
- If you would like to watch 30 free channels in Russian, then direct your device to a satellite named "Yamal 201".There are many other satellites, but "YAMAL" is best filled.
Important! If you are talking about the choice of the operator, it is best to give preference to Tricolor-TV, NTV-Plus or Raduga-TV.More information can be found on the official operators' websites.
- It is necessary to highlight one more thing: do you need paid or free broadcasting? To find free content, you can use the special service Frocus.net. To connect paid channels, use the official websites of satellite communication operators.
Important! For owners of a widescreen TV there is good news - some operators have already started broadcasting in HD quality.
- There is one more nuance - the direction of the antenna on the satellite. Here everything will depend only on the location of the device. The windows in your apartment can go in the wrong direction, so you'll have to have the installation right on the roof. If the chosen direction does not work out for some other reason, then you should choose another satellite.
In order to install the satellite dish yourself, you need to prepare well. Now you will learn how.
to the contents ↑Preparing to install
If you have already decided on a satellite, equipment and operator, you can safely run for a new purchase. In order not to swim in terms, we will start talking about all the components that will be included.
What's in the box?
- Tuner( receiver or receiver) - this is the device that is engaged in receiving the signal and converting it for subsequent viewing on TV.
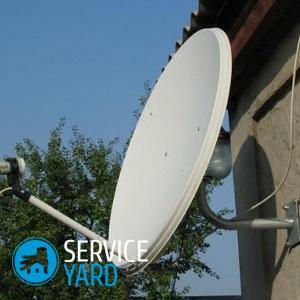
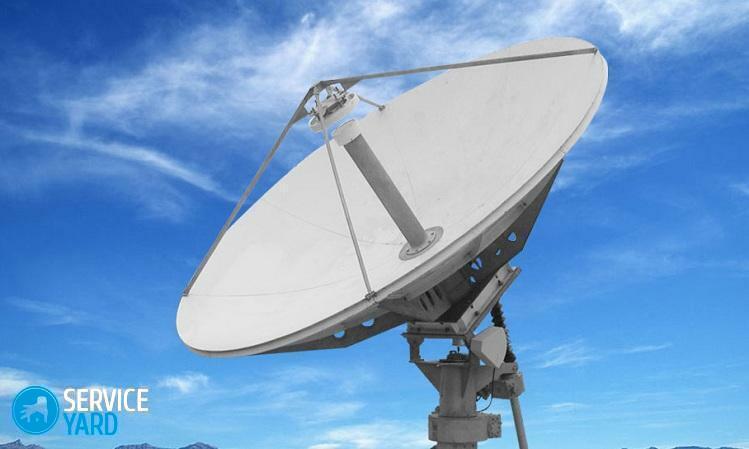
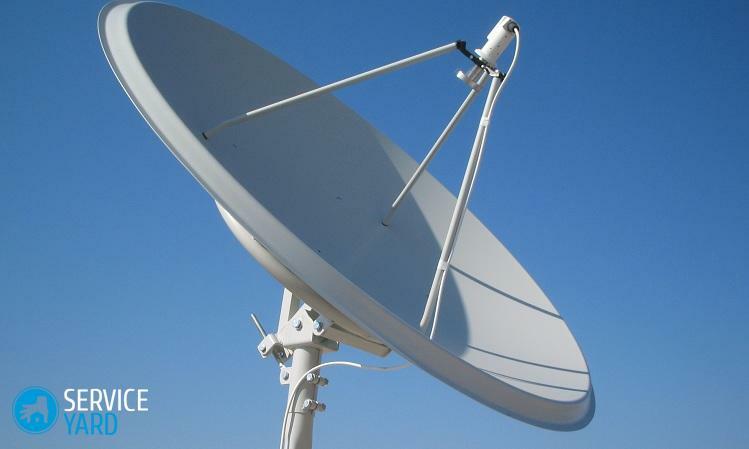
- Plate( Antenna) - this device is needed in order to receive the signal from the satellite. The waves are reflected from the plate and run to the convector.
- Convector. This gadget is engaged in receiving the signal that reflects the plate. The convector itself redirects the converted signal to the tuner.
- Bracket is a metal construction that captures all equipment.
- Cable is a special coaxial conductor connecting the convector and receiver.
- DiSEq is a special device that is needed to connect several convectors to one cable.
- F-ki. With the help of these devices, the cable is connected to the other components.
- Well, the basic set of connecting wires: tulips, SCART, HDMI-cable.
Before we take up satellite TV with our own hands, let's talk about all this equipment.
Plate
When choosing a plate, it is worth looking only at its diameter. For good reception, just 90 centimeters. But those who are going to receive signals from several sources at once, it is necessary to take into account the dependence of diameter on the degree distance between satellites.
Convector
Here everything is also not so simple. Just as the satellite depends on the polarization of the convector. Here you should not neglect the advice of a specialist.
Important! Those who plan to watch both on TV and on a personal computer at once, must acquire a convector with two terminals.
Bracket
This design is quite simple. Usually it keeps on 3-4 anchors. Choose a bracket with a length of legs, which will allow you to quietly turn the antenna in the required direction.
How to configure the satellite dish yourself? So we came to the answer to this question.
to the contents ↑Installation procedure for
The entire assembly is performed according to the enclosed instructions. In order to finish what has been started, you need to follow these tips:
- Choose the correct direction of the dish. In this you can use the special service agsat.com.ua/satdirect. On the map, you just need to poke the installation site flag, and select the desired satellite in the side column of the interface. The software will tell you the right direction.
- Before installing the plates, it's best to check the reception quality without fixing, keeping the device in your hands. If reception from the satellite is not lower than 70 percent, then you can proceed to the installation.
- If you have picked up and determined the installation site, then take the punch and make holes for the mounting bracket. Anchor should be chosen, starting from the material of the wall and the massiveness of all equipment.
- After fixing the bracket, we take up the fastening of the plate. Do not rush to tighten the nuts, because you still need to specify the exact direction.
Installing a satellite dish yourself should no longer cause any questions, but how to set up and connect all equipment?
Connection
In order to connect everything, you need:
- Cut somewhere 1.5 cm of insulation from the cable and bend in the opposite direction to its braid. Cut the foil screen by 1 cm.
- Screw the F-ku onto the prepared end of the cable.
- Repeat manipulations with the other end and connect it to the receiver. The first end must be connected to the convector.
Important! After fixing and connecting, you need to set the dish on the satellite. For correctness, it is better to use the compass and the signal level in the tuner. If you managed to achieve excellent reception quality, then fix the nuts on the antenna and its fasteners. Then fix the cable itself.
to the contents ↑Tuner setup
The most correct recommendations and instructions can be found in the documentation for the tuner, but if you for some reason lost it, then we will help you:
- Select the language in the tuner menu.
- Compare the version of your firmware with the latest update.
- Set the correct time and time zone.
- Select the desired satellite and fill in its settings.
- Now output the signal level to the display. If the quality of the proper level, then start scanning the satellite, which will give you access to the TV channels.
Now you should not have any questions about how to set up the satellite dish yourself and connect it. And if you do everything, guided by our advice, high quality TV with a wide range of channels you are provided!