Contents:
- How to clean the printer with
- hardware
- print head cleaning
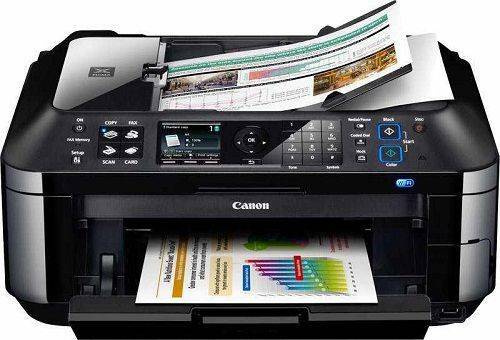
laser printer Usually, users begin to wonder how to clean the Canon printer when continuous strips or poorly printed text and images appear along the sheets. The most common cause of this is the contamination or malfunction of the printers( print cartridges, printheads).In some cases, the problem can be dealt with on their own, in others - the help of specialists is required. Canon printers are divided by the printing method into two types: inkjet and laser. They are different in design and, accordingly, their cleaning is also different.
How to clean the printer with
hardware Inkjet printers use special ink as a printing medium. Deteriorating print quality is most likely due to clogging or failure of the print head. Modern inkjet printers have software tools that allow you to clean the nozzles without dismantling the head. Before carrying out this procedure, make sure that there is clean paper in the tray.
Most often, the menu provides two types of cleaning - standard and deep. To enter the menu in Windows, it's easiest to go to the control panel, find "devices and printers"( other ways of entering the menu "Printers" are possible).Opening this panel element, you need to find the right printer and right-click on it. In the opened context menu select "Properties".In the window that appears, activate the "Maintenance" tab and select the type of cleaning. Before starting the program, it is suggested to determine - clean all the cartridges or only black.
During this process, the ink is supplied to the nozzles under increased pressure and the impurities from the print head are washed out. Therefore, the cost of ink is much higher than for conventional printing.
Cleaning the print head
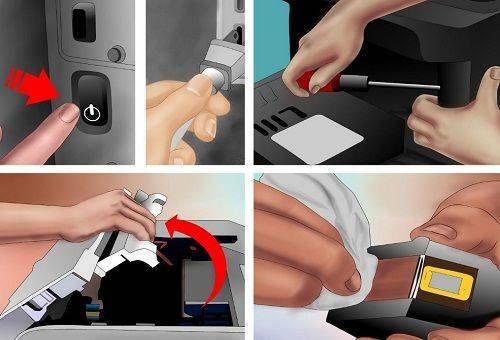
If after performing the hardware cleaning the device still prints not qualitatively, you can take it to the workshop or try cleaning the Canon printer yourself. This procedure is lengthy and requires certain knowledge. To clean the printhead at home, you will need the following:
- Wide, shallow, flat-bottomed container( tray, saucer, plastic lid from the can)
- Bandage or wipes.
- Medical syringe( 20-50 ml).
- Washing liquid.
- Pipes from dropper or cambric tube of the appropriate size.
- Desirable - medical gloves.
As the washing liquid, it is best to use "Mr. Muscle", which is used for washing glasses( with sal ammoniac), other uses can not be used. You can use the "Master Shine" for the glass.
Do not wash the print head with solutions containing ethyl alcohol and acids. Even if you can clean the nozzles, then the device will not work after such a procedure - you will have to buy a new one.
When everything is ready, you can proceed directly to the washing process:
- At the bottom of the prepared container, lay a 2-3-layer bandage( or a piece of cloth) and pour a thin layer of washing liquid.
- Remove the printhead and place the bottom pad in the container on the bandage.
- Fit tubes of suitable size 4-5 cm long by removing the rubber gaskets( they must also be rinsed well).
- In the tubes, pour the washing liquid and leave for 2-3 hours, if necessary pouring a solution into the tubes.
- If the liquid level in the tube does not decrease, it means that it does not pass through the nozzles due to heavy contamination. In this case, you can try to stretch the solution forcibly. To do this, the tip of the syringe must be inserted into the tube and slowly pulled out the piston. It is not advisable to press the piston, creating an overpressure, as it is easy to break the head.
- Drain the dirty liquid from the container, replace the bandage and repeat the procedure until the liquid, passing through the head, stops staining.
- Gently pat the bottom of the printer, put the gaskets on the fittings and install it in the printer. Insert the print cartridges and check the printing. Allow to stand for several hours and reprint the printout.
If the printed sheet is of good quality, the print head has been completely cleaned of dirt. If the print is bad, you can try to re-clean the device. In order to thoroughly clean this part, it is necessary to "soak" it for a long time - from several hours to several days, depending on the degree of contamination.
If the Canon printer does not print after rinsing, or if the print quality is poor, the print head may have failed and needs to be replaced. Before that, you need to check the quality of the ink( install original cartridges), perhaps the reason for poor printing is due to their poor quality.
After rinsing, do not dry the print head before installation.
You should not try to disassemble it yourself, it is likely to lead to breakage of the part.
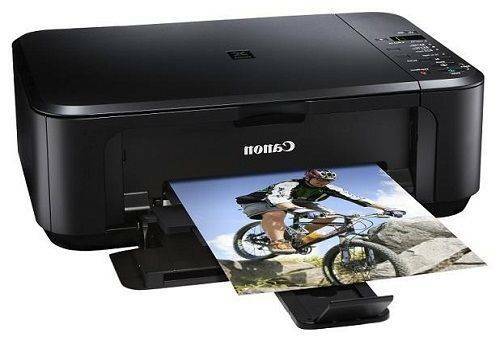
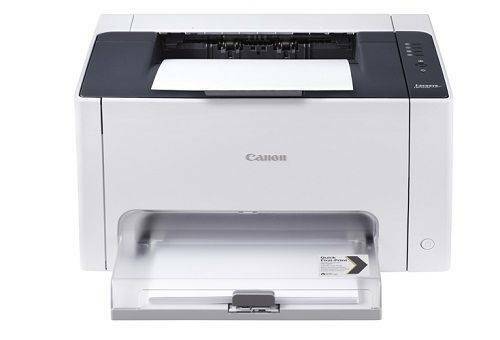
Laser Printer
The Canon Laser Printer is a reliable, economical and durable device. The deterioration in print quality is due to the most frequent problems with the cartridge. Points and stripes on paper usually appear in the event of damage to the photosensitive drum( photovoltaic).They can be caused by the ingress of foreign objects( paper clips, staple staples) together with the paper or the wear of the photographic paper. Usually this part of the cartridge can withstand 3 to 5 refills. For any damage, the photosensitive drum must be replaced.
Another very common cause of damage to the photolab is the habit of users to shake the cartridge after the toner runs out. This allows you to print a couple of dozen pages. But this should not be done, since this "economy" will result in sensitive expenses.
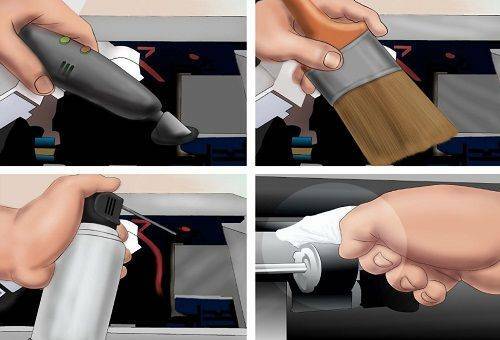
During printing, the photosensitive surface of the shaft is completely covered with a thin layer of toner. The part used for drawing letters and images remains on paper, the rest is scraped off with a special plate( squeegee) and poured into a container for the spent powder.
You can not use it again, because at the time of printing, the grains are exposed to high temperatures and are sintered into larger fractions. When the toner cartridge shakes, a portion of the waste toner enters the main compartment and is used for printing. And the large factions act on the thin surface of the drum like an abrasive, quickly disabling it.
Approximately the same thing happens when the refill of the cartridges is poor, when the "specialist" falls asleep toner without cleaning the container with the spent powder. After a while, the capacity will overflow and the workout will not only "sharpen" the photovolta, but will also fall inside the Canon printer, contaminating and damaging the moving parts.
Disassemble, refill and clean cartridges does not make sense for several reasons:
- Refilling and servicing cartridges in service conditions is inexpensive and is carried out on special equipment. One filling is enough for a printout of 1500 - 2000 pages.
- Toner is a very fine powder that easily enters the respiratory tract. This is very harmful, since it has carcinogenic properties.
- Dismantling and assembling a cartridge is a complex process that requires certain knowledge and skills. It is easy to break or lose small parts, without which the device will not work.
The Canon laser printer itself, subject to careful handling and care, can work without breakages for several years.