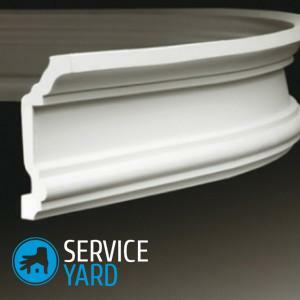
- Varieties of baguette
- How to attach a baguette to the stretch ceiling?
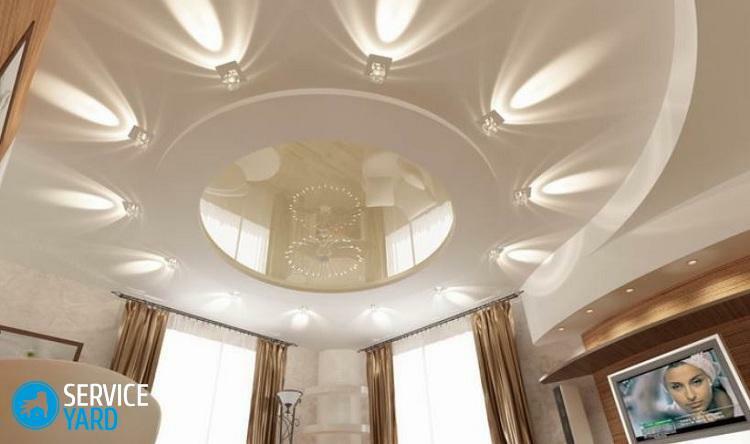
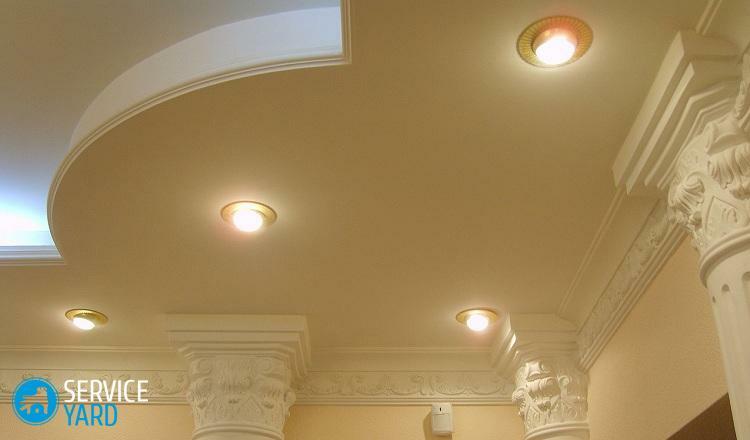
For many years, stretch ceilings were considered something sky-high and unreal, but today they are found in many apartments and private houses. There are many reasons why such ceilings have ceased to be the prerogative of exceptionally rich people. It is thanks to the simple installation, relatively low cost of the material, its excellent appearance, stretch ceilings have become popular among ordinary people with an average income level. Ceilings are perforated and executed with the 3D effect. Naturally, any type of ceiling coating requires a good edging, for example, such a popular baguette in our time. It is used today for the installation of almost all types of tensioning structures, so you need to pay attention to the following question: how to fix the baguette for stretch ceilings? The answer to this question is given in this article, because many people are engaged in repair work themselves, and this information will be very useful for them.
to the contents ↑Varieties of the
baguette Before you can deal with the ceiling itself, you need to understand why the baguette should be chosen as the material for fastening. There are a huge number of varieties of this product, which are classified according to the principle of fastening and the components used to make it. First you need to understand the differences.
The installation method distinguishes such systems:
- Harpoon system. It is used for installation of PVC film.
- Hook-free system. Used for the installation of fabric stretch ceilings.
Today in the market or store you can buy:
- PVC baguettes. Attached solely to the wall.
- Aluminum baguettes. Aluminum elements are attached directly to the ceiling and the wall.
According to the installation method, the baguettes are as follows:
- Visible baguettes. Such products, in addition to all their direct functions, also play the role of a decorative element. They decorate the whole plane, perfectly hide the joints of the film and ceiling, as a result - a single whole system is obtained.
- Invisible baguettes. Such structures are considered to be quite flexible, thereby completely repeating the stacking contour. Due to such unique properties, they can be used in other areas, for example, to make edging of arches, to decorate the plasterboard and vaults.
How to attach a baguette to the stretch ceiling?
In fact, the whole process is divided into a large number of stages, each of which is important in its own way, so all of them must be considered separately. So, the installation of the baguette for stretch ceiling consists of the following stages:
- Preparation.
- Marking.
- Baguette holder.
Surface preparation
First, we determine the set of tools required for operation. You will need:
- Screwdriver.
- Rotary hammer.
- Hacksaw.
- Hammer.
- Stepladders.
- Paint brush. Dowels and self-tapping screws.
 Then follows the preparation of the premises:
- It is necessary to free all the space at a distance of one meter from the walls around the perimeter of the room.
- Remove from the room all plants and, of course, animals.
- If something can not be taken out of the furniture, then these elements should be covered with a film.
- It is also advisable to drill the dowel holes in advance at a distance of 15 centimeters.
- Too large indents can not be done, otherwise - the material will begin to stretch and bend at the attachment points.
Important! When working with plastic baguettes, holes are made in special stiffeners. And in aluminum baguettes - in special shelves.
Be sure to take into account the moment of the location of the electrical cable in the walls. We must clearly understand where it is, so as to not accidentally damage it.
Applying the marking
To make marks on the plane, you can use such a device as a laser level.
Important! The ideal height of fastening the baguette is considered to be a distance of 5 centimeters from the ceiling. If you observe this condition when marking, you can avoid accidentally falling into the technical seams.
Get started:
- The laser level is fixed firmly and make marks in every corner of the room. Choose a place so that from it you can clearly mark each room.
Important! If the room also has an unusual shape and it is impossible to highlight all the corners from one place, then first apply all available marks, and then move to another place to continue the layout.
- Once you have done all the markup, draw smooth lines between all the points, as a result - you get a plane where the stretch ceiling will be. Take a paint string for this, hold one end of the thread on one label, and the other end on the other. Pull out the pinch, slowly, and release, from clicks on the wall will remain even lines. And so we do everything in a circle.
Fixing the baguette
The installation of the baguette for stretch ceilings always starts from the most difficult or inconvenient corner. Follow the instructions clearly and follow each step carefully:
- Fastening the first element. In the corners of the baguette we saw in a special way, namely, we saw only the back wall, and the front one remains whole, and then bend the profile in the places of the saw.
Important! Do not join the profile directly in the corners, even if they are perfectly even. The fact is that when stretching the canvas, the greatest load falls on the corner, as a result - the film simply tears at the junction.
- We attach the second baguette whip. It must be installed end to end with the first element in such a way as to fit the joint horizontally. Take care that the steps do not form.
- As soon as you reach the next corner, measure out the distance. You can do this by unfolding the profile outward with the rear wall so that the groove under the harpoon is on the bottom, then press one end into the corner, and the second - set along the level line to the fixed overlapping baguette.
- Put a point a centimeter away from the location of the future joint, you will have to shift to the angle.
- The rear wall should be sewn with this mark.
- The outer corner is even easier to prepare. Push the end of the profile into the end, where the baguette is already attached, draw a straight line along the corner along the back wall. That's what will be washed down.
- On the hike mount, make one more mark, with it necessary to retreat two centimeters from the first mark. This is the second wash.
- On the resulting marks, cut the back wall and cut out the remainder. You can do this with a conventional knife or pliers. Then bend the baguette right in the middle of the notch.
- After attaching the battens, each joint must be treated with adhesive tape or household tape.
This is the end fitting of the baguette for stretch ceilings!
We hope you managed to do everything qualitatively and neatly, and now the ceiling in your room looks perfect, and the realization that this perfection is achieved with your own hands adds moral satisfaction and a sense of true comfort and comfort in your own home.