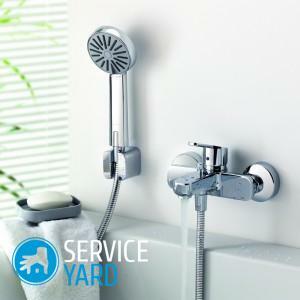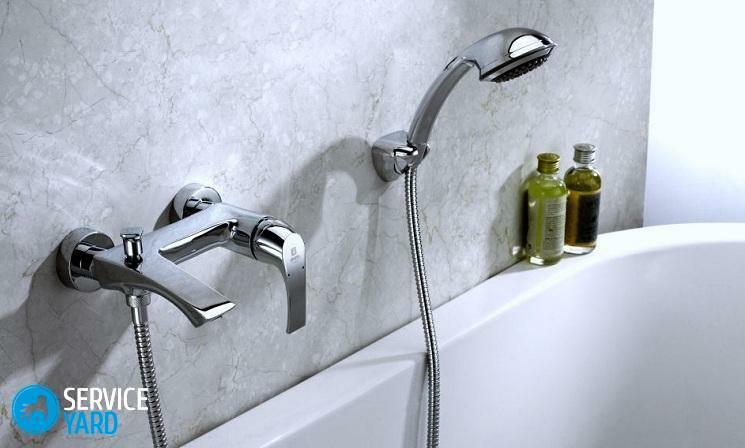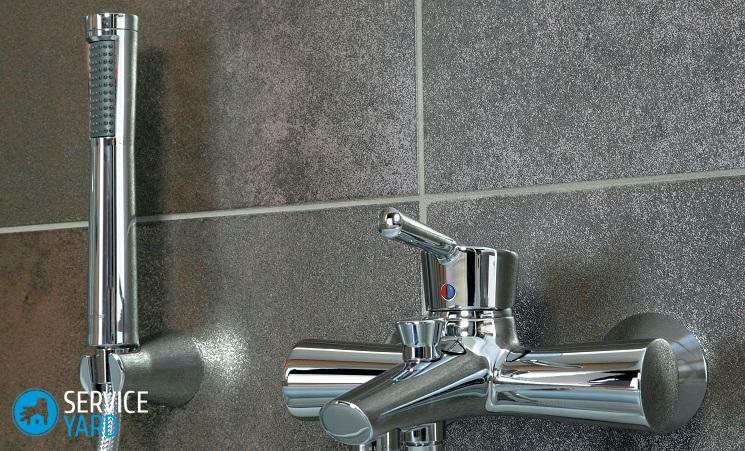
- Classification
- Causes of malfunctions
The mixer is one of the most important accessories in the bathroom where there is hot and cold water. This device allows you to adjust the head and temperature of the water leaving the tap. In addition, the device is equipped with a switch that redirects water from the tap to the shower. The mixer, like all mechanical devices, is not insured against malfunctions. The design is not too complicated, so it is possible to eliminate the malfunctions yourself. The theme of today's article is a mixer device for a bathroom with a shower, repair of such a system and the associated difficulties.
to content ↑Classification
All mixers that are used in bathrooms are divided into 3 varieties.
Sensory
The command to switch the device on and off is performed via a photocell. This is the most modern faucet for a bathroom with a shower unit and its repair is quite complicated, so in this case it is advisable to contact a professional master.
Valve
They have an extremely simple device: body, spout and valves, designed to control the design manually. Regulation of water supply is carried out by crane-boxes.
Important! Modern models are equipped with ceramic plates, the older ones with rubber gaskets.

Lever
These models have recently become more popular. In addition to the body and spout( gander), the device is equipped with a ball or ceramic cartridge designed for mixing cold and hot water.
Important! Ceramic cartridge can not be disassembled and repaired. If it has become worthless, the only way out is to replace it.
The water head and temperature are adjusted by means of a handle fixed to the cartridge lever. The top cover is covered with a decorative cover.repair of the single-lever mixer for the bathroom is simple and can be done by yourself.
to Contents ↑Causes of Damage to
Consider the most typical faults and the causes of their occurrence.
Leakage at the junction of the hull with a gander
This is one of the most common failures. Frequent rotation of the gander in different directions leads to wear of the rubber gasket. To replace the gasket with a new one, it is necessary to do the following:
- Unscrew the fixing nut.
- Remove the gander.
- Remove the old worn gasket from the groove of the gander.
- Replace the old rubber gasket with a new one.
- Place the gander in place.
- Wind the thread, on which the fixing nut will be installed, with a 2-3-layer FUM tape.
- Screw in the fixing nut.
As you can see, repairing the mixer's gander in the bathroom with your own hands is not an easy task.

Water flows from under the control lever of the
This breakage is often found in single-lever mixers. The cause of the problem is the cartridge failure. Remove the leak by removing the mixer and replacing the cartridge.
There are still signs of cartridge failure:
- The lever becomes difficult to manage.
- Spontaneous change in water temperature.
- There is no supply of cold or heated water.
- The crane opens and closes not completely.
The procedure for replacing the cartridge is as follows:
- Remove the red-blue plug from the mixer body.
- Using a small Phillips screwdriver, unscrew or loosen the fixing screw.
- Remove the lever, unscrew the decorative cover.
- Using a wrench, unscrew the nut that the cartridge is secured inside the housing.
- Remove the old cartridge.
- Insert a sound cartridge into the housing and then assemble the mixer in the reverse order.
Important! The protrusions on the cartridge body must coincide with the recesses in the housing. If they do not match, the tap will leak.
Two-valve device: the valve is flowing
The reason for leakage of the valve is a violation of the integrity of the sealing washer, which is located on the crane-buks. There may also be a breakdown and a crane-axlebox. It is not difficult to replace these parts:
- Remove the plug from the leaking tap.
- Remove the screw that connects the mixer body and the valve.
- Unscrew the axle of the axle box using a swivel or carabiner key.
- Replace the mobile crane or O-ring.
Flowing switch from the tap to the shower
There is a gasket between the body and the switch, which is very likely to wear out. This provokes the leakage of the switch. The procedure is as follows:
- Remove the switch( button), keeping the stem stationary with the help of pliers.
- Remove the stem and valve.
- Remove the worn seal, replace it with a new one.
- Assemble the switch in the reverse order.
The device and repair of the shower faucet: the button or faucet-shower valve has failed
If the included button does not return to its original position, then the reason for the failure of the spring. The order of disassembly is similar to that described. It remains only to remove the damaged spring and install a new one in its place.
If the switch is faulty and the water is pouring out simultaneously from the tap and shower, then the stuffing box that is located on the switch stem is most likely worn out. The fixing procedure is as follows:
- Remove the switch.
- Remove the stem.
- Replace the worn seal with a new one.
- Assemble the switch.

Water leaks at the connection of the shower hose
The reason for the leak is the wear of the hose. When leaking the mixer at this point, replace the gasket:
- Unscrew the hose nut, then remove the washer residues.
- Replace it with a new paronit washer.
- Before tightening the nut, wind the 2-layer FSM tape onto the thread.
The connection point for the hose and shower head
flows This fault is eliminated elementarily. There is a round gasket under the nut on the hose. It is easy to replace, even without using any tools.
Weak water pressure, or repair of the mixer spout by our own hands:
- If the water flows from the tap in a thin trickle, and the neighbors have a normal head, the reason is in the clogging of the aerator filter that is on the tip of the gander. Carefully unscrew the filter and check the head.
- If without a filter-aerator the head is normal, then the diagnosis is correct. Rinse the aerator with running water, and then reinstall it.
As a rule, the device and repair of a bath mixer is not particularly difficult( unless it is a question of modern, innovative models).A little patience and elementary skills of handling a metalwork tool are all that you need.
