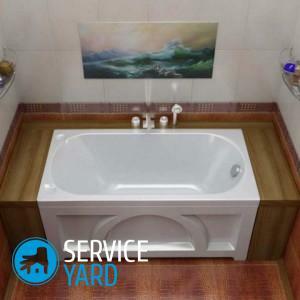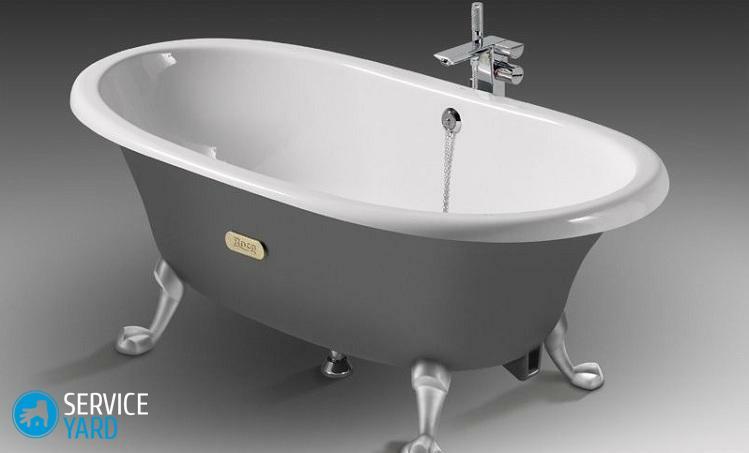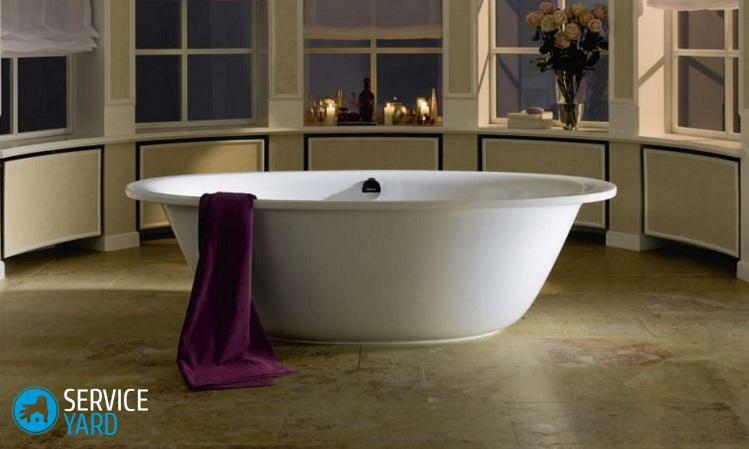
- What should I do: color or buy?
- We paint the cast-iron bath of the house
- We repair the bath with epoxy enamel
- We use acrylic
- Method "Bathtub"
- We paint the plumber in gold
- Useful advices and recommendations
Unfortunately, there is nothing eternal and permanent in this world, respectively - the bath is no exception. Over time, even with the
due care, its surface begins to fade, becomes covered by bloom and rust stains, and the presence of chips only aggravates the problem. In order not to spend money on buying a new one, you can paint the bath enamel at home. This is a fairly simple process, with which you can not only restore it, but also to present a completely new design.
to the contents ↑What to do: color or buy?
Let's start with the fact that an independent restoration of the bath will cost you several times cheaper than buying a new plumbing. Thus, you not only give a new life to an old bathroom, but also significantly strengthen its surface than prolong the duration of operation. In addition, the painted plumbing looks completely new.
In order for your bath after the painting to last for a long time, the following rules should be adhered to:
- Try as little as possible or do not soak the bathroom linen at all.
- Carefully choose detergents, since strong ones have destructive effects on the painted surface.
- Do not fill the bath with water and leave it for a long time.
We paint the cast-iron bath of the house
Restoration of the cast-iron bath should be carried out in the following cases:
- If there are mechanical damages on the surface or various types of cracks and chips.
- Yellowed enamel, resulting from improper care.
If you decide to restore the method of painting the bathroom, you should take into account its advantages and disadvantages.
The main advantages of self-painting the bathroom:
- Paint is much cheaper than buying new plumbing and its installation.
- Due to the rich assortment of various colors and textures, you can choose exactly the tone that fits perfectly into the bathroom interior.
- You have the ability to make the painting process yourself without using strangers.
- This procedure does not take much time and effort.
Unfortunately, in addition to the advantages, there are a number of drawbacks: - Before interior painting, you need to carry out a number of preparatory work - leveling and priming.
- The need for all surfaces to be treated with an antifungal agent.
- Unpleasant and sharp smell of paint.
- The chips are fairly prominent.
Important! It should be borne in mind that the average lifetime of the paint on the bath surface is from 10 months to 3 years, taking into account the correct application.

Choose the paint
The quality painting of a cast-iron bath at home depends entirely on the paint you choose. To date, the best option is to use an enamel spray, which greatly simplifies the painting process.
Important! It should always be remembered that enamel is a toxic substance. Therefore, beginners are not advised to paint with sprays.
Also often used for painting is acrylic. It is very easy to use, so even an amateur can work with it. This is due to the fact that acrylics spread over the surface with a uniform layer, so the thickness of the coating will be the same everywhere.
To date, for painting a cast iron bath inside, the most popular are the following color mixtures:
- Jobi. This is a fairly high-quality and persistent paint. Due to the fact that it has a moisture-proof property, it is an ideal option for a bathroom. Its main advantage lies in the budgetary price position.
- Tikkurila. One of the most famous brands. In this case, it is better to choose Luja, as in the composition of this mixture not only paint, but also a primer.
- Dulux. This is the leader among the manufacturers of paint and varnish coatings. For painting the bathroom, you should pay attention to "Dulux Realife Kitchen &Bathroom ".
Important! It is forbidden to use oil compositions and car paints for painting the bathroom. In addition, they contribute to the further destruction of the base coat, they also harm the health.
It should also be taken into account that the materials used for painting the inner and outer surfaces differ significantly from each other.
How to paint a cast iron bathtub outside?
For these purposes, it is better to use alkyd based materials having a thick consistency.
Important! For exterior painting the bath can also be used and two-component paint - such as for internal works.
Alkyd paint mixtures have several advantages:
- Given that the outer surface of the bathroom is not so exposed to moisture, such mixtures are quite durable.
- Low price position.
- Ease and speed in applying.
- Dries up within 24 hours.
Required inventory
In order to paint the bath at home, you will need the following materials and tools:
- Roller or brush;
Important! Brush should be made entirely of natural bristles.
- Drill;
- Grinding head;
- Painter's knife;
- Tweezers;
- Acetone or special solvent;
- Rags( it should be lint-free).
Sequence of the work
The process of painting the bath can be divided into three stages.
Stage 1. Preparatory work for
Before preparing the bath at home, a number of preparatory measures should be carried out. This is necessary for the paint to grasp well and lie evenly:
- Clean the surface. This should be done with alkaline chemistry. After using it, rinse thoroughly and wipe the surface dry.
Important! Alkaline chemistry burns the skin very strongly, so always use gloves when working.
- Degrease. In this case, special chemical compounds will help you, you can even apply automotive ones.
Important! For degreasing, you can use the usual Fairy for washing dishes. The process of degreasing should be done 3-4 times in a row.
- Removing the top layer. You can remove completely all the enamel or just the top layer - this is purely your choice. Proceed this procedure with an electric drill with a grinding head.
- Again, clean the bath and dry it naturally or with a hairdryer.
- Already on a dry surface with a roller, apply a primer.

Stage 2. The process of painting
After the primer has dried completely, you can start the process of staining the bathroom:
- First paint the sides by applying a thick layer of paint on them, after which it will gradually drain.
- The side walls of the bathroom should be painted according to the same scheme, only taking into account the previously applied layer.
- Your further task is to evenly distribute the paint around the perimeter.
Important! Use a roller for painting. This will greatly facilitate and speed up the process.
Step 3. Drying
After you have finished, the bathroom should be closed for a period of 10 to 24 hours for drying. This is to ensure that the colored surface does not get different dirt and villi.
Important! The complete drying process lasts about 5 days, so you can not use the bathroom all this time.
Let's also consider other options, how to restore the bath at home.
to the contents ↑Restoring the bath with epoxy enamel
This is the oldest and most practiced way. The application process resembles the same painting. The difference is only in different composition. To date, epoxy enamel is divided into two categories:
- For professional use( they are very liquid and require application in several layers);
- For self-restoration( this option is quite thick, which makes it easier to work).
Important! Enamel, which is produced in cans, is very short-lived, and it only lasts for one year, after which it is necessary to carry out the process anew.
The main advantages of this method:
- The cheapness of the material;
- No need to dismantle the bathroom;
- Suitable for both cast iron and steel baths.
Cons
In addition to the advantages, it is necessary to take into account a number of drawbacks that are inherent in this method of restoration:
- Long drying time - about a week;
- Quite a long and laborious process of painting;
- Strong and unpleasant odor;
- Shock-sensitive coating;
- Short service life;
- Does not hide various surface defects;
- With time it starts to turn yellow.
Tools for working
In order to restore the bath with enamel, you will need the following materials:
- Roller or spray gun - for applying professional enamel, or fluting brush - for self-application;
- Tweezers;
- Drill;
- Abrasion tip.

Performing the work of
The restoration process is divided into several stages:
- Preparatory work. They are exactly the same as before painting: clean, degrease, remove the top layer, ground.
- Before mixing, prepare the mixture according to the instructions.
Important! Do not use all the ingredients at once;This is due to the fact that enamel very quickly seizes, and the application process is quite long.
- In order to apply enamel on the surface, you need to moisten the brush abundantly. After that, draw a vertical strip from the bottom to the edge. Next, wipe the enamel on the sides. The second strip of tinted so that when grinding it reaches out to the already treated area. The application process is as if overlapping. Thus, the first layer is applied. Allow mixture to grasp and immediately proceed to applying the second.
Important! During the application of the mixture on the surface, there may be streaks. If this happens, then you can remove them by making a smear with a clean brush to the place of smearing. With regard to the influx, they must be removed after the enamel has cured with the use of an assembly or painting knife.
- Drying composition will be about 3-7 days. You can withstand more time, as this helps to strengthen the new coating and extends its operational life.
Using acrylic
To date, this is the most popular method. On sale this mixture you can buy under the name "Stakril".
The advantages of this method include:
- Durability( can last for about 10 years on the surface);
- Ease of application;
- Forms an attractive glossy coating;
- No unpleasant odor.
The disadvantages are:
- If in some place there is a scratch, then rapid destruction and chipping of the acrylic layer will begin;
- High price;
- Long drying - from 2 to 3 days.

Tools for working
In order to restore the bath with acrylic, you will need:
- Roller or flute brush;
- Flexible spatula;
- Tweezers;
- Drill with grinding head.
Restoration procedure:
- Preparatory work. They are the same as for painting.
- Application of acrylic composition. It is best to apply a filling method in a spiral from the walls of the bath to the drain. This is due to the fact that this mixture is very liquid.
Important! Do not fill the areas with a flexible spatula.
- For drying, leave the bath for 2-3 days. The room must be closed. This is to ensure that the surface does not get dust and villi.
Method "Bathtub"
The essence of this method is that a new acrylic liner is inserted into the old cast-iron bath, which completely takes its shape.
The main advantages of this method are:
- Ideally smooth coating;
- Very strong acrylic;
- The operating period is about 15 years;
- No unpleasant odor;
- Possibility of use in the first day after installation;
- The surface will remain white and not yellowish.
The drawbacks of this method include:
- Quite a high cost, which can be increased if the bath is of a non-standard size;
- This procedure can not be done by yourself;
- In case of cracking, the mounting foam may shift;
- Due to the detachment of the liner and the continuous formation of condensation, an unpleasant musty smell may form;
- The possibility of re-restoration is not allowed;
- You will have to remove part of the coating of the edges of the bath when installing the liner.
Painting plumbing in gold
To date, it has become very popular to paint a bath and a toilet in gold. In order to enjoy such valuable plumbing, you should buy only a special spray with gold paint.
Important! Previously, such aerosols were very expensive, because they included particles of natural gold. Modern compositions, due to the content of artificial components in them, are in no way inferior to their predecessors, but they are much lower in price.
Materials for work
For this painting you will need the following materials:
- Spray paint;
- Aerosol acrylic lacquer - depending on your preferences, it can have both glossy and matte texture;
- Painting Scotch tape;
- Lint-free cloth;
- Water basin;
- Thinner;
- Sandpaper.
The sequence of work is as follows:
- Rinse well and degrease the surface.
- If you want to create a rough structure, then at this stage, you should sand the surface of the bath with a fine sandpaper.
- Places that can not be painted should be covered with paint tape.
- Let's start painting. To do this, you need to shake the spray and spread the paint at a distance of 30 centimeters. After 20 minutes, another coat should be applied.
Important! To paint "for gold" should be applied no less than 3-4 layers.
- After the paint has dried, it is necessary to apply a varnish on top of it.
Useful advices and recommendations
In order for everything to work out and the result pleased you, we offer you some tips that will help you with the work:
- At the preparatory stage, it is not recommended to use products containing chlorine.
- Bath restoration is best done in the warm season.
- Try not to touch the brush bristle during painting, as the layer of paint can give chipped because of fat in the future.
- After the restoration, the cuffs and gaskets should be replaced, due to the fact that the drainage holes become narrower than the walls of the bathroom.
- Apply two layers of acrylic mixture better. In this way, you will increase the operating period.
- For baths made of light cast iron with thin walls it is not recommended to use the liner.
- When staining, try to remove the faucet and shower mixer, since moisture is not recommended at this stage.
If your bath has become unusable, you do not need to immediately purchase a new one. Absolutely any plumbing can be restored and create a completely unusual design. And if you adhere to the recommendations of experts from this article, then the finished product will serve you more than one year.
