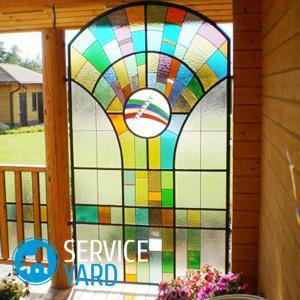
- About sketches and scissors
- Where can I find stencils for stained glass windows?
- Types of classical stained-glass windows
- Stained-glass window-glass
- Stained glass on glass
- Stained glass on mirror
Stained-glass window is an excellent decoration for any interior option. But professionally made stained glass windows are quite expensive. Meanwhile, there are many types of stained glass techniques, and some enable you to make stained glass on your own glass. The simplest, for example, allows you to make a ceiling stained-glass window, very similar to the real one, if you do not consider it too close. And more complex, but accessible for execution, allow to receive works which the expert without dismantling can not distinguish from "vsamdelishnogo".All possible options will be discussed in this article.
to content ↑About sketches and scissors
The basis of any stained-glass window is an element-wise sketch. Sketches for stained glass are always made in two copies. If you did on a computer and printed, there are no problems: printouts are completely identical. However, for a large-sized panel, the sketch must be drawn manually, and then copied using a color copying machine.
Despite such a seemingly serious name, the simplest blueprinting machine is just a sheet of glass( which then sits on the base), located on two chairs, with a light bulb beneath it.
Important! To properly make a stained glass on a glass, you must firmly remember: the assembly is carried out on the primary, the most accurate, sketch, and a copy from it will be needed for templates. Otherwise - inconsistencies are inevitable, and fitting fragments in the process of work complicates and even spoils everything.
Scissors will be required not simple, but special template, having three blades. Due to the third cut strip of width 1.76 mm. Before the beginning of cutting, the secondary sketch is pasted onto a sheet of thick, but thin cardboard( the best option is an 0.5 mm electric cardboard), and the paper-cardboard puff is cut already. Otherwise - when making fragments on soft paper, it will be difficult to circle the contour.
In the process of gluing, be extremely careful - the paper, sodden from any glue, stretches on smoothing, and glue follows along the entire plane. Each ready-made template is verified by a primary design.
Important! Pieces of both sketches should be numbered in advance( before cutting).
to the contents ↑Where can I find stencils for stained glass windows?
As a rule, in the process of creating a stained glass window on your own glass, the beauty of the original sketch will determine the final result. And if you try to draw something yourself, it is very doubtful that such a stained-glass window will be highly artistic. Even if you use winning scenes - fish, peacocks or roses, the composition, color balance and observance of the proportions of the picture is important.
It is necessary that the choice of the plot was justified by the functionality of the room:
- For the living room, symmetrical ornaments, elegant abstraction, are suitable.
- In the bedroom will look good leopards, Amazons, beautiful semi-naked maidens, angels, fantasy flowers that are in harmony with the general theme of the room.
- If you are looking for suitable stained glass windows for the bathroom, then you can choose stencils in fish, or something on the theme of the sea.
Important! For a partition in the corridor corridor, any abstract image or neutral theme, for example, a fire bird, will be appropriate.
For a certain stylistics of interiors, the image is selected in accordance with the characteristic theme for this design:
- A rustle of a whip is appropriate for Modern.
- Sakura branch - for the Japanese style.
- Curls of "goblet" - in Rococo.
- An intricate abstraction for Art Deco.
The best way is to use ready-made stencils that can be found:
- In shops and departments for artistic creation.
- The artists who own this technique.
- Print pictures found on the web( in this case, the uniqueness of your stained glass window will suffer).
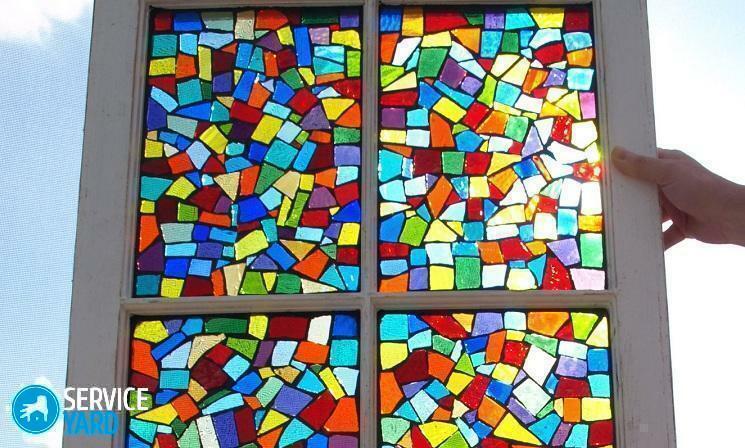
A few words about the dimensions of the sketches
For those who draw well, it is best to take as a basis some favorite illustrations, to choose a suitable plot and to develop your own sketch.
Important! When creating stained glass with your own hands, consider scaling images. When you transfer a small sketch to a scale glass, you get a distortion of the proportions and quite a lot of empty space. Therefore, small sketches draw preliminary on the squares - for a better increase in the figure.
Sometimes, in the final stage, you have to draw some elements to fill the voids. Ready-made stained-glass stencils in full size do not need revision. As a rule, the stained-glass drawings look beautiful, combining a floral ornament and a thin graphic frame.
Important! Do not rush to fill with stencils. If there is a choice, try out the colors on the drafts. Occasionally, replacing the background or central elements not only can change the overall impression of the drawing, but also form another aura in a room with stained glass windows.
to the contents ↑Types of classical stained glass windows
Choosing stained glass on glass to make your own hands, you must correctly determine the preferred design and technology.
Stained-glass windows
Since the time when Gothic cathedrals with beautiful stained-glass windows were being actively built, and until now the stained glass manufacturing technology has not changed much:
- Choosing a sketch.
- Drawing on a cardboard, where the color and size of each of the elements of the future work are drawn.
- Glass cutting, as well as the placement of glass elements in a brass or lead profile.
- Soldering of stained glass on both sides with tin solders and fluxes.
- Patinning and maintenance of the product. The price of stained-glass windows is quite high. Classic stained-glass window is used for decorating various rooms.
Stained glass "Tiffany"
Modern specialists practically do not distinguish between the technology of "Tiffany" and the technique of stained-glass windows. The difference in the process is that each of the glass elements is wrapped with a tape from the model foil with further soldering of the elements.
Important! Often, this technique is used to decorate ceiling plafonds.
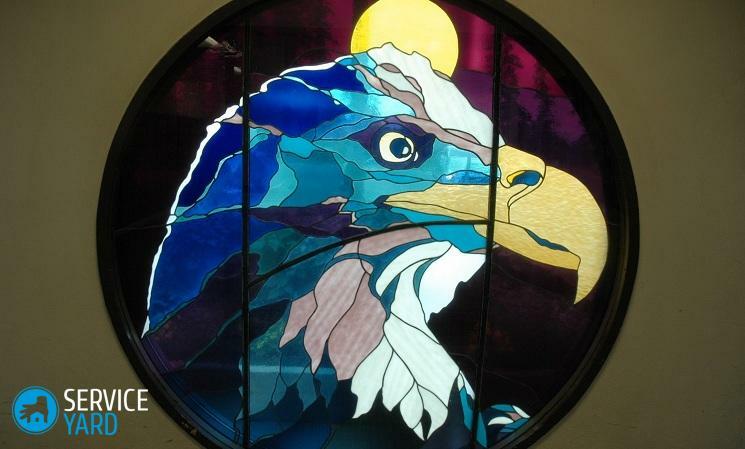
Fusing
For the manufacture of stained glass in this technique, only imported high quality glasses are needed, from which images are cut, fastened on a background glass and sintered in an oven at a temperature of 800 degrees.
Technique of imitation of stained-glass windows
Today the main mass of stained-glass windows is made on the basis of imitation techniques, characterized by their simplicity and relatively low prices. Moreover, almost every wishing person can create such stained glass on his own glass. Simulation techniques are divided into the following types:
- Filler stained glass.
- Film.
- Painted.
- Stained glass with contours of lacquer.
- Sandblasting.
Stained-glass window with its own hands
This type of stained-glass windows appeared not so long ago thanks to the company from England, which produced a special film that imitates colored glass. The essence of this technology lies in gluing to the glass base pieces of a multi-colored film. The film joints are closed on both sides of the glass using decorative strips that mimic the metal profile, creating something similar to the classic stained glass window.
Such stained-glass windows are durable and beautiful, and their appearance is not inferior to the classical ones. Their popularity is growing every day, and even a novice can make such stained glass by his own hands.
Materials for work
In order to create a film stained-glass window, you will need:
- Glass table with backlight.
- Stained-glass film.
- Scissors.
- Glass base.
- Rubber roller.
- Clamp for the tape.
- Knife for cutting films and tapes.
- Lead tape.
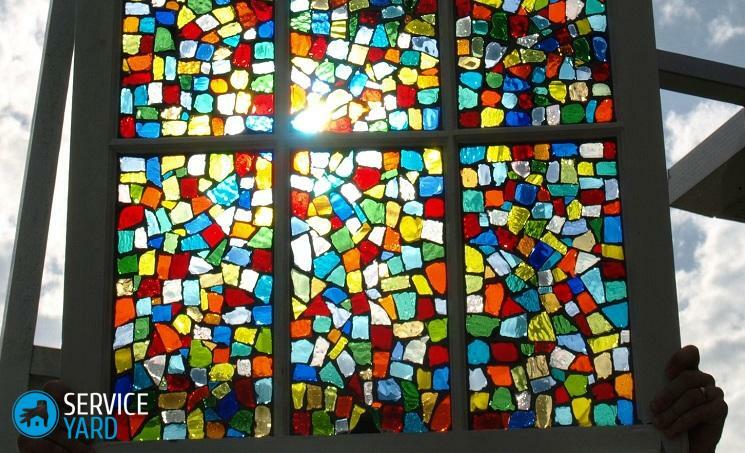
Procedure:
- To begin with, you should select the appropriate sketch that you need to attach to the glass base so that it does not move out during the stained glass manufacturing process.
- The substrate should be degreased and apply a lead tape along the contour of the drawing. It has a sticky bottom, a closed paper backing. During the application of the tape, the paper substrate is gradually removed. After the tape closes all the contours, it is pressed with a rubber roller, and the joints are pressed down by the clamp, for their reliable fixation.
Important! Be sure not to touch the adhesive side of the tape, because its adhesive properties can be lost due to the touch of your fingers.
- Then the glass is turned over, again degreased, all the fragments of the picture are cut out from the film along the outlined contours. After gluing each of the elements, it is necessary to roll it over with a roller in order to avoid the formation of air bubbles between the glass and the film.
- With the help of a knife, extra strips of film are cut off on the glass, which went beyond the contours. It should be done very carefully, so that gaps do not form between the joints of the fragments.
- On the stained-glass film, the lead tape is again applied to the contours. It should lie exactly on the joints, coinciding with the tape that is glued on the other side of the base.
Important! Film stained glass on the glass with their own hands can become a wonderful decoration of windows, interior doors and other glass surfaces.
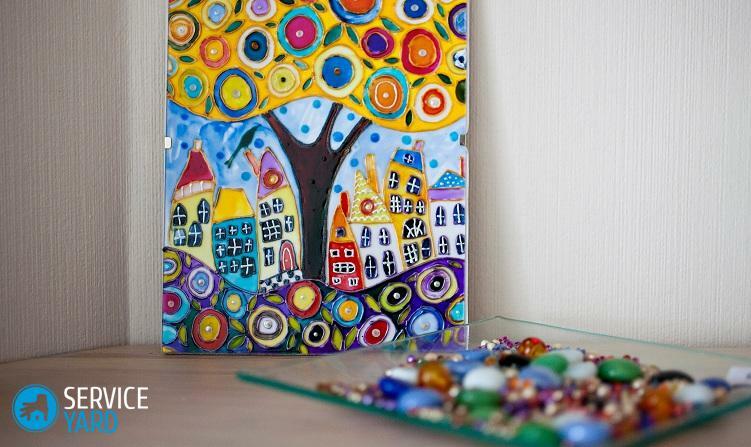
to the table of contents ↑ Stained glass on glass The cheapest and most popular version of stained glass on glass is the technique for making stained-glass windows with lacquer contours: - In order to execute the outline of the picture, a rather dense lacquer is needed, in which it is necessary to add bronze or aluminum powder - this will givecontour "metallic" view. The consistency should be a mixture of sour cream.
- In order to execute the outline of the picture, a rather dense lacquer is needed, in which it is necessary to add bronze or aluminum powder - this will givecontour "metallic" view. The consistency should be a mixture of sour cream.
Important! Some experts replace the varnish with epoxy, however, note that it is easier to work with varnish.
- The prepared mixture must be placed in a large syringe, with which the contours are formed. The path from the varnish should be slightly flattened after it has slightly hardened.
Important! This technique is suitable for painting corrugated glass, on which the drawing will look more advantageous than on a flat one.
to the contents ↑Stained glass on the mirror
For sure, many people in the house will find a mirror that looks boring and rustic. Having created a beautiful stained-glass window on the mirror, you can turn it into an accentual moment of the room's decor. The original stained glass pattern can transform both the mirror on the wardrobe and make an atmosphere of special elegance and chic in the interior of the room.
The mirror can be painted as a painted or flood-filled stained glass, and the "sandblast" technique is used.
Important! This type of stained glass was born in the late 19th century. It is based on the removal of the upper layer of the mirror surface by an abrasive material, which consists of a stream of a mixture of compressed air and quartz sand.
Of course, without a certain experience and skill in working with equipment, a beginner can not cope with making stained glass on his own hands in this technique. But having patience and desire, this technique can be mastered in a short period of time.
Mirror can be matted both over its entire surface and using templates to get a smooth pattern on the matted surface, or - on the contrary, on the smooth surface of the matte pattern.
Important! Depending on the sand fraction, a fine-grained or coarse-grained pattern can be created.
After the pattern is formed on the surface of the mirror, a protective layer of hydrophobic lacquer is applied from above.
Sandblasting technology
Sandblasting can be produced in several ways:
- Matting is the simplest way to process glass when a pattern is applied without patterns over the entire surface of the substrate. The result is a solid, frosted surface.
- In-depth sandblast - it makes it possible to handle certain fragments of the drawing quite deeply. To work in this technique, glass is used, the thickness of which is not less than 5 mm.
- Embossed sandblast - the technique of performing this kind of processing is similar to the previous method. The difference is that you need a mirror with a thickness of more than 6 mm. As an addition, engraving and drawing of relief are often used.
- When performing the technique of artistic sandblasting the pattern is applied in the form of intermittent matting, forming a tone and a semitone with beautiful, elegant transitions. In order to work in this technique, experience, skill and precision of execution will be required.
- Colored sandblast - obtained by using a flat, matting, relief or in-depth method with further painting the pattern with paints.
- Photo sandblast - a fairly new technique, which uses digital photo printing.
- Double sided sandblasting is considered to be the most complex technique. To make a stained glass on the glass in this way, the image is superimposed on the two sides of the mirror. It is necessary that the pictures match perfectly.
Stained glass window
To create a flooded stained-glass window you need:
- Apply the desired sketch to opaque paper.
- As a basis for stained glass, you can use any solid surface - vases, mirrors, windows.
- The contour of the pattern is then applied with a special contour paint. Can be used as a thick paint, and a contour tape.
Important! Often, contour paints produce gold, copper or black colors.
- Depending on the application method, a suitable type of stained-glass paint should be selected. So, for example:
- Drawing on a horizontal surface, you can pour both a varnish for glass, and a thick paint.
- In the process of drawing a picture on the surface, which is located vertically, the varnish and the liquid paint will spread.
- If a transparent pattern is conceived, then it is desirable to use a varnish for glass.
- If you want to make a relief stained-glass window, you need to use thick paints.
- To work in this technique, you need to purchase a paint dispenser - a pencil like a sharp tip. With the help of the distributor it is possible to drive the paint in the most inaccessible places, for example, very thin details of the pattern or sharp corners of the fillable fragment.
As you can see, it's possible to make stained glass on your glass with your own hands. Make a panel with lights or decorate partitions and doors with glass inserts. Start with a small one - you can make a stained-glass painting of kitchenware or a decorative panel. When you figure out the process of applying paints and contours, go to more complex projects.


