
- Basic rules of design
- Step-by-step manufacturing of
- photo album
photo album design All of us cherish favorite memories, regardless of whether we like to be photographed or not. That is why it is not very pleasant if the photos dear to the heart are stored in dusty boxes, in paper folders. Much nicer would be the fact, if the photos were stored in a practical and beautiful photo album. In this article we will tell you how to make a photo album by yourself.
to the contents ↑Basic rules for the design of
The final result depends on the original idea. Therefore, before you start working, it is advisable to consider in detail every detail on the product. In addition, we must not forget what the composition of the work and its plot are, especially if you give it to someone. So, let's talk about the main points of registration of work.
The plot of
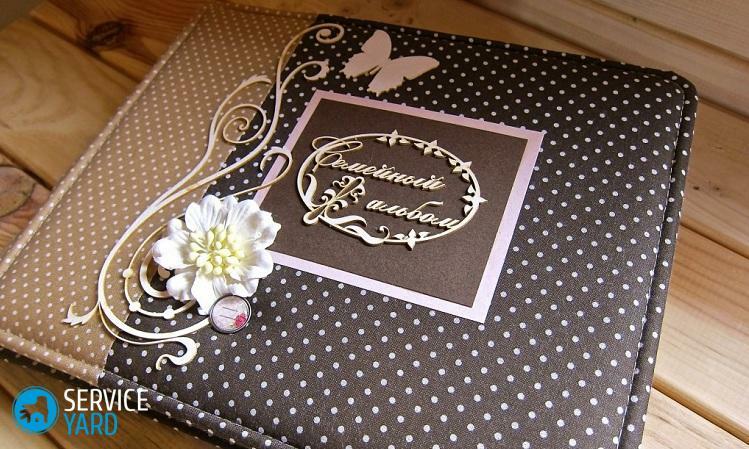
The subject is referred to as the implementation element of the idea. As a rule, they think about this component first of all. Usually they create albums dedicated to family life, a wedding, a newborn child. Also an album made by oneself can be presented to a relative, a colleague at work or a loved one.
Composition
The visual unity plays an important role here. Before making a photo album with your own hands, you need to correctly place all the stickers and photos on the pages, because such a component can not be neglected either.
When composing a competent composition, it is necessary to follow the following rules:
- Determine where the center of the composition will be.
- Arrange bright accents.
- Make sure that the colors on the pages are in harmony with each other and they have places for signing.
- Balance the proportions.
- Pick up suitable decor elements for the photo.
- A triangle must be observed: "title - photo - description".
Style
Special attention should be given to the style of work. Before you make out the pages and the cover of the photo album, you should decide which style personifies your family or loved one.
The main styles include:
- Minimalism. This style assumes a minimum of decorations.
- The lack of decorative elements is also characteristic of the European style. Its main feature is the variety of forms of photographs that are cut out in the form of a particular object( for example, a heart or a star).
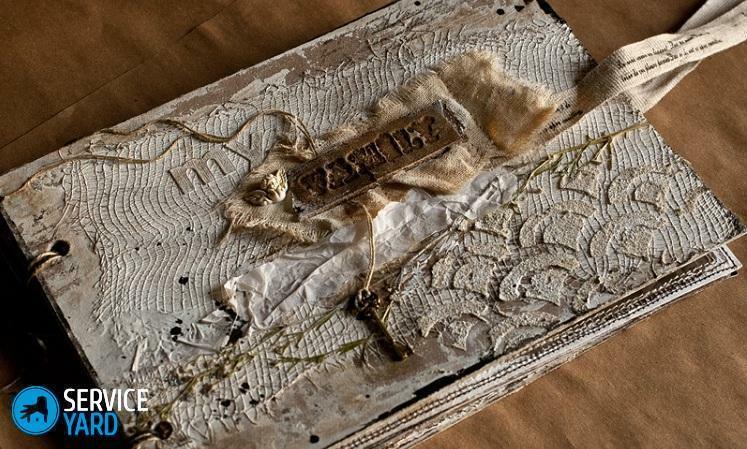
- Vintage style will suit lovers of history.
- The style of Shebbi-chic involves the presence of various lovely ribbons and laces. Photo album in this style will be an ideal gift for a little girl.
- American style is full of many decorative elements.
Techniques
The technique of making a photo album by one's own hands can also be different, and you can come up with your own.
The main techniques are:
- Stamping. By name it is clear that this technique involves the use of different stamps applicators.
- Decoupage. Here a special role is played by drawings, stickers, pictures, ornaments.
- Cropping. The main attention is paid to the photo itself: they are cut in such a way that the key moments of the image remain.
- Journalism. Usually this is the name of the photo, supplemented by original signatures.
- Distressing. The key point of this technique is aging paper.
Step-by-step manufacturing of the
gift photo album In this section we will tell you in detail how to make a photo album by yourself step by step for beginners.
Materials for the work of
The following materials are required for the work:
- Scrap paper.
- Thick cardboard( 300 gr / m²).
- One-sided adhesive fabric.
- Decorative fabric.
- A bit of a sintepon.
- Satin ribbon.
- Notebook.
- Needle.
- Silo.
We make a photo album by our own hands - a step-by-step master class for beginners
So, let's move on to making an album. In order for the gift to be a success, the following algorithm should be observed:
- Album layout. To ensure that the final result only pleases the user, you need to accurately plan each album page. Before you start the procedure, you need to plan everything competently on the template - its role can play a regular school notebook in a cage of the appropriate size. There you can sketch out the approximate arrangement of photographs and decorative elements.
- Now you can start binding the album for photos. To do this, you need to take a prepared cardboard and cut out of it three strips, the height of exactly 24 cm. The width should increase in proportion. After this, it is necessary to fold the sheets in such a way that the roots are formed, which gradually increase in size( it is better to draw them before the procedure).In the end, we'll get a book with a spine. On the line of this root all the details need to be glued together. Next, the waxed cord is flashed. The base of the photo album is ready by its own hands.
- Now you should pay attention to the design of the pages. This procedure can be carried out using scrap paper. Additional details can be glued with silicone glue or double-sided adhesive tape. The resulting backgrounds are glued to the "bare" pages of the album.
Important! It is worth considering that the volumetric decor should be placed evenly on the sheet, at the same time, it should not deform the pages of the photo album.
The cover of the album
The base of the album is made, the pages are decorated, but what to do with the cover? The cover of the photo album is the face of the future gift, which means it must look like it should be.
Important! The cover must be handled keeping the binding dimensions. Ideal for cardboard, width of 2-2.5 mm.
Consider the following course of action:
- Prepare two blanks for covers from cardboard with spine.
- Cut pieces of glue that match blanks.
- Arrange the spine between the blank of the covers, making an indentation of 0.3 mm.
- Fasten the parts with a glue cloth.
- Cut the sintepon corresponding to the size of the workpiece, and attach it from the top.
- This design should be applied to the fabric that was chosen as an element of decor.
- Leave three centimeters of fabric on each side. They will be attached to the workpiece with a double-sided adhesive tape. Where there is none, fix the structure with glue.
The final stage of
The production of a photo album is almost finished with our own hands. It remains only to build:
- First and foremost, you need to double-fold the double sheets of the ready-made binding. The first sheet should be attached to the cover.
- When the structure dries, go to its firmware: after opening the album in the middle, you need to map out the holes for the holes, then punch them with an awl and stitch them with a beautiful satin ribbon.
- The corners are fixed with special decorative corners. Do not forget about the additional cover decor.
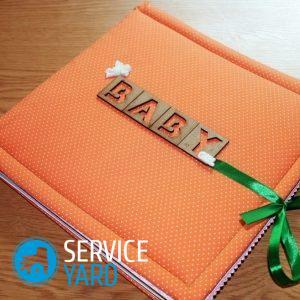
Photo album design for toddler
Recently, albums for kids are very popular. To make a photo album for the kid it is possible and with the hands it is very simple: simply to connect imagination and accuracy.
Remember that such an album for the baby will be the first, and therefore - the most beloved. That's why the whole soul should be put into the making of such a thing:
- . As the very first photos you can use photos after ultrasound, extracts from the maternity hospital, the first photo on the hands of the mother, the first steps and much more.
- As the decor of albums for newborns, often use booties, ribbons, which the baby wore from birth.
Important! Do not forget to add photos with cheerful inscriptions, because memories are erased with time. With time, this album can be supplemented with the first creative works of the baby.
Making and decorating the album with your own hands is a very interesting and fascinating activity. To this procedure, you can attract close people, and then it will also be fun.


