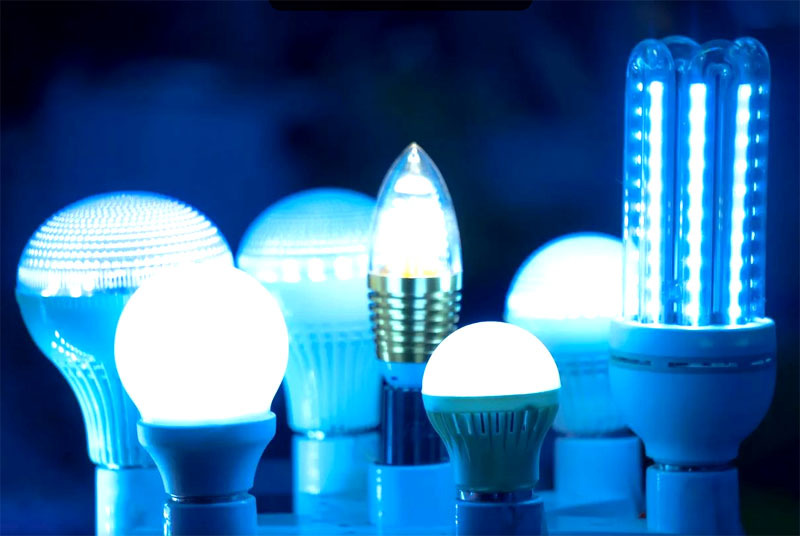
LED bulbs are quite common today. This is not surprising, because while maintaining the same brightness in comparison with conventional bulbs, they consume several times less electricity, and they work longer. But they are not eternal either. Is it possible to save a failed emitter? The author of the YouTube channel offers his own solution to this issue. AvtoClass, who knows how not only to repair an LED lamp, but also to make it much brighter without increasing the consumption of electrical energy and the load on the SMD elements.
Read in the article
- 1 The most common malfunctions of LED lamps
- 2 How to start repairing an LED lamp
- 3 Troubleshooting LED lamp
- 3.1 Selection of a capacitor by parameters
- 4 Checking the repair lamp and continuing work
- 4.1 Installing a powerful reflector
- 5 Complete LED Bulb Assembly
- 6 Spotlight test in comparison
- 7 Final part
The most common malfunctions of LED lamps
The popularity of LED lighting has led to the fact that many unscrupulous manufacturers began to increase production rates at the expense of quality. As a result, LED bulbs often do not survive even half of the manufacturer's warranty period. Many people who are faced with a similar problem simply throw such emitters into the trash can. But you should not rush to such an action. Such lamps can not only be "reanimated", but also made them much brighter. Let's try to figure out how to do this.
Most often (90% of cases), two malfunctions occur in LED lamps - one of the chips burns out or a capacitor fails. Any of these troubles are completely removable. Plus, no one will solder each lamp. But when there are 5-6 of them, you can take up the soldering iron. In this case, one of them can be used as a donor.
How to start repairing an LED lamp
The first step is to determine the cause of the LED lamp malfunction, for which it needs to be disassembled. To do this, first remove the diffuser. It rests on a sealant, and therefore it would be rational to use a thin screwdriver or knife here.
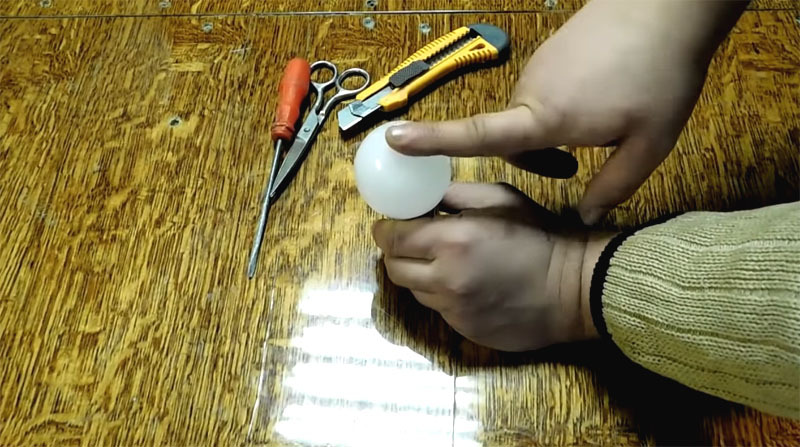
Under the removed plastic cap, you can see a platform with LED chips distributed over it, but so far you shouldn't pay attention to this. First you need to completely disassemble the light bulb. After all, even if a burnt LED is visible, there can also be problems inside. Yes, and for the homemade product described today, the platform will still have to be dismantled, and therefore it's time to pick up a soldering iron.
At this stage, you need to unsolder the center wire from the base, which means you need to warm up the contact.
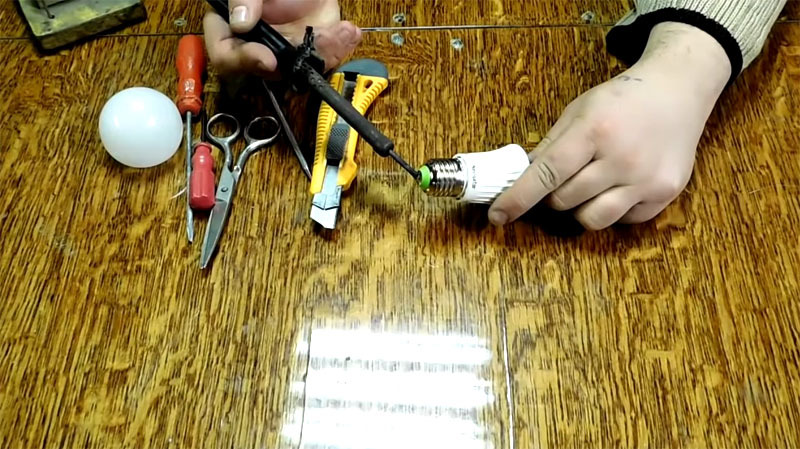 PHOTO: YouTube.com
Next, the second contact is soldered off, which is located on top of the threaded part of the base. Now, when nothing gets in the way, you can pull the platform with the chips out of the case.
Troubleshooting LED lamp
To begin with, you should carefully examine each of the LED chips located on the surface of the platform. By the way, it is made of aluminum and is a radiator that prevents the elements from overheating. If the LED is out of order, then a small black dot can be seen on its surface.
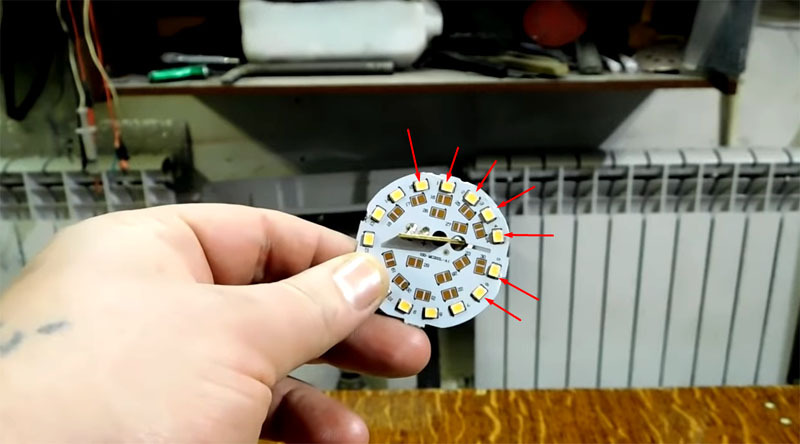 PHOTO: YouTube.com
In today's example, all the chips turned out to be clean, but the capacitor on the board behind the heatsink left much to be desired. He wasn't just swollen. It seems as if it was specially heated to a very high temperature or too high voltage was applied to the line. But in any case, it needs to be replaced, which means ─ either take a donor lamp, or look for a suitable one in terms of parameters. An electrolytic capacitor of 400 V and 3.3 μF is needed here.
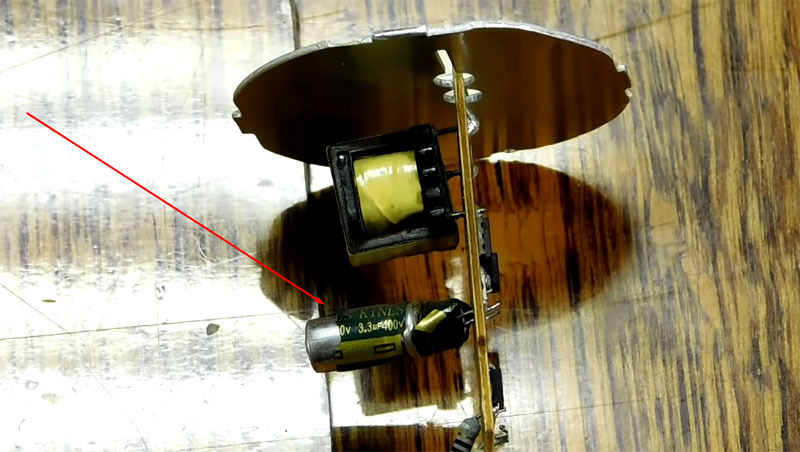 PHOTO: YouTube.com
Selection of a capacitor by parameters
When choosing a suitable electrolytic capacitor, it is better to give preference to the old, still Soviet. But now these are very difficult to find. One more thing. If the capacitor that fits the parameters is a little larger, then there is nothing wrong with that. The main thing is that there is enough space in the case. But it is not worth soldering an element that does not quite fit, even if its voltage parameters are higher, not lower than required.
 PHOTO: YouTube.com
Checking the repair lamp and continuing work
After replacing the defective capacitor, you need to check the repair lamp. For this, a "carrier" is used, or simply a cartridge with a wire attached to it with a plug at the end. (Just in case: the longer the wire, the safer). If everything is in order, you can continue to work.
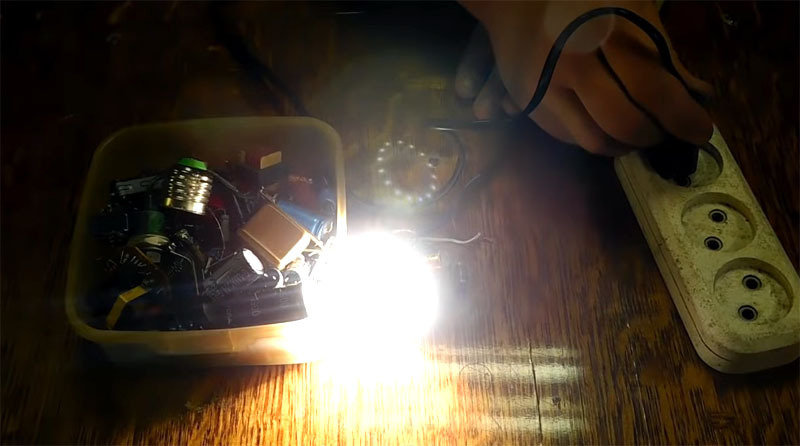 PHOTO: YouTube.com
Installing a powerful reflector
No changes were made to the scheme, which means that a powerful reflector will be required to amplify the power of the luminous flux. You can use an unnecessary CD as it. However, it will not be possible to use it in its usual form; small changes are needed.
Using a carpenter's "feather" 35, it is necessary to expand the central hole of the disc. In essence, this will be preparation. In the absence of the necessary tool, you can cut a hole of the required diameter using a conventional nylon cord.
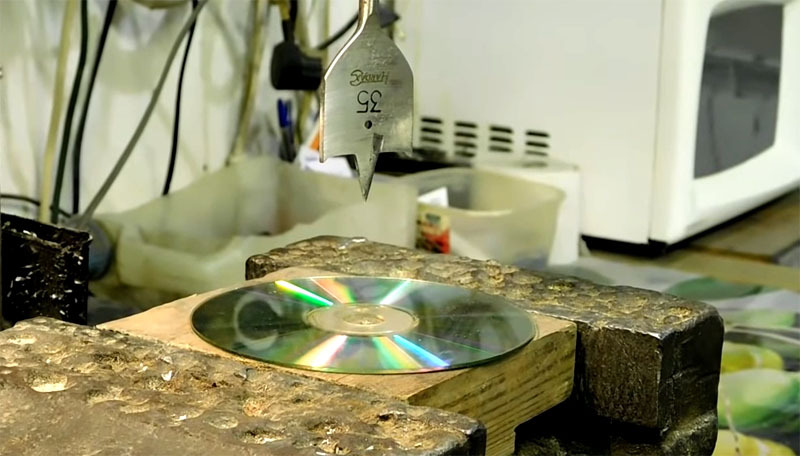 PHOTO: YouTube.com
Next, the reflector needs to be installed. This requires some quick-drying glue. The driver is guided through the hole in the disc so that the reflective side of the disc touches the back of the LED heatsink. It is in this position that the lamp platform and CD are glued together.
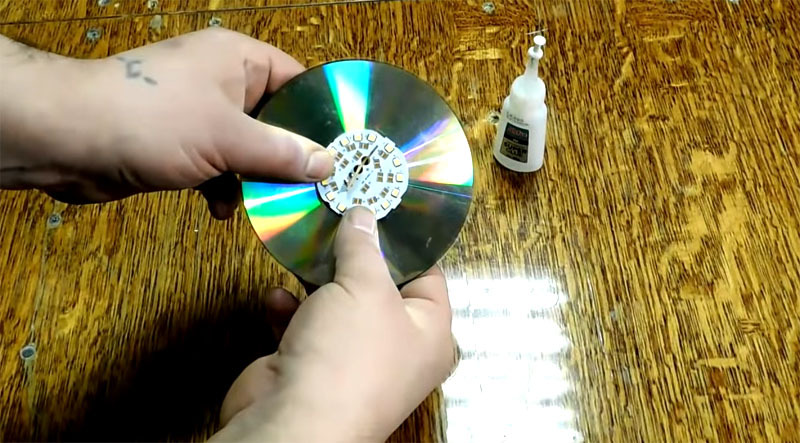 PHOTO: YouTube.com
Complete LED Bulb Assembly
In order to make it easier to assemble the lamp, it is better to remove the base from the body. The LED lamp is assembled in the reverse order, the necessary contacts are soldered. But here, too, there are some nuances. For example, you should not swap wires during assembly, even if they are long enough. Although the lamp will still work if replaced, it may flicker when the light is off. Of course, only bulbs of the lowest price category are subject to such flickering, but you shouldn't risk it either.
Also, do not glue the diffuser in place - now it is simply not needed. The use of a reinforced lamp in damp rooms, and even more so on the street, is not allowed. In fact, the resulting modified light bulb is nothing more than a home or garage mini-spotlight, which is capable of illuminating an area 2-3 times larger than a conventional emitter. In this case, the light will be much brighter, and therefore you should not look at it when it is turned on.
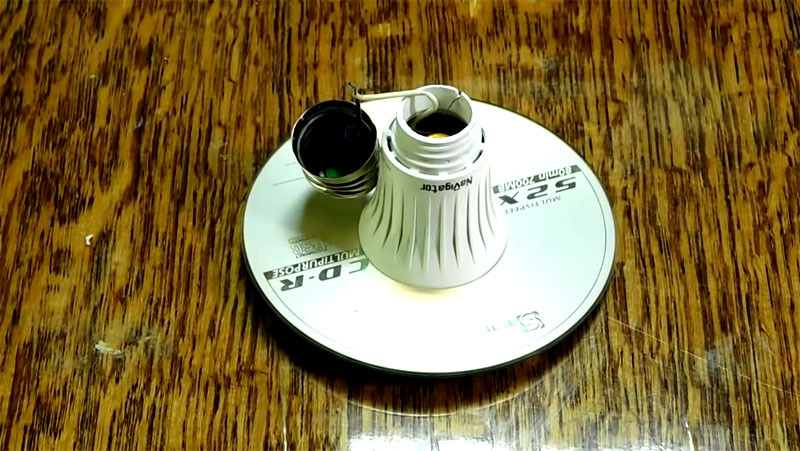 PHOTO: YouTube.com
After complete assembly, it makes sense to glue the back seam as well, where the case adjoins the CD. This is not critical, but this will make the spotlight stronger. In general, if a person first sees such a modernized light bulb, he is unlikely to understand its purpose. Even after explanations, it is hard to believe that the luminous flux of such an emitter is much higher than that of a simple light bulb. So, you shouldn't take their word for it. It's easier to screw the resulting mini-spotlight into the cartridge and check.
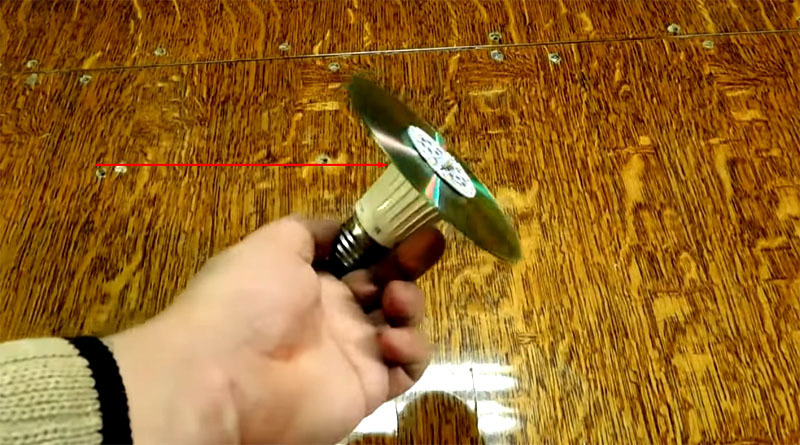 PHOTO: YouTube.com
Spotlight test in comparison
For clarity, it is always better to turn on another lighting device nearby, so that there is something to compare with. In the case of testing a mini-spotlight, it was decided to test it by comparing it with a conventional Armstrong ceiling lamp, in which 4 tubular fluorescent lamps of 18 W are installed. In today's case, an 11-watt light bulb was redesigned, which corresponds to one Armstrong tube. Conclusions are made to the reader.
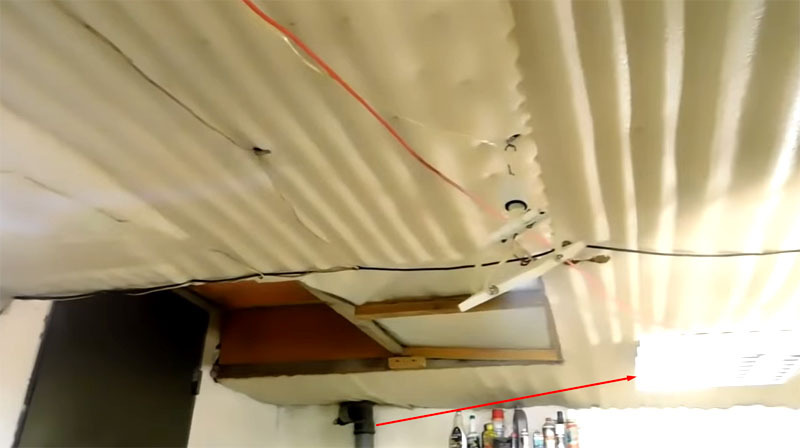 PHOTO: YouTube.com
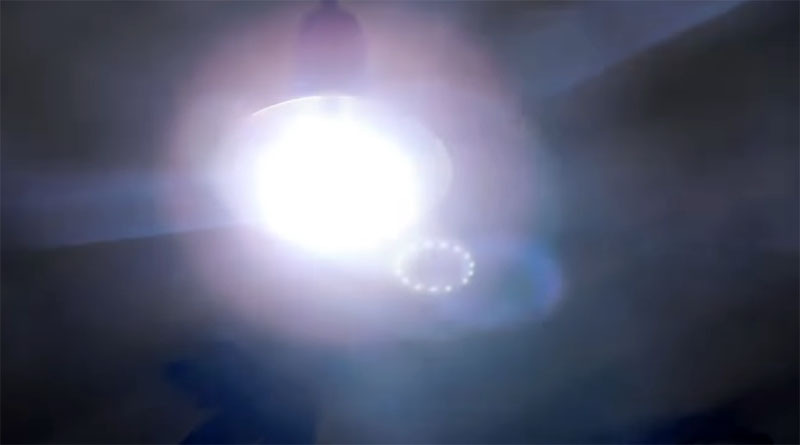 PHOTO: YouTube.com
Probably, comments are superfluous.
Final part
Many will say that it makes no sense to repair LED lamps, because today their cost is low. However, it can be argued that if such an emitter burns out more often than a conventional incandescent lamp, then frequent purchase will reduce, or even nullify, all the savings. And then what is the point of such "progress"? In addition, such a repair will not take much time, and the installation of a reflector will make the luminous flux from the bulb several times stronger. And the very fact of repairing electronics, albeit quite simple, can already give some craftsmen a reason to be proud. So the game is worth the candle, isn't it?
We hope that the information presented today will be useful to home craftsmen, users of our resource. Perhaps some information was missed when writing the article. If so, write about it in the discussions below. HouseChief's editors will definitely clarify all the incomprehensible points as soon as possible. There you can also leave your comment on the article, express your personal opinion about whether it is worth repairing LED lamps or it is better to purchase new ones. Also, please do not forget to rate what you read. Your feedback is very important to us.

