CONTENT
- 1 Types of one-key devices and their differences
- 2 What is a one-button switch and how it works
- 3 Recommendations for the selection of one-button switches from our editorial office
- 4 Mounting a switch with one key: parsing the diagram and sequence
- 5 How to properly connect an outdoor, indoor and backlit light switch: step-by-step instructions for beginners
- 6 What else may raise questions
Types of one-key devices and their differences
You have probably seen that modern types of dimmers prevail in houses, made in different designs, colors and other features. Switches are usually divided according to the type of installation, degree of protection, the number of contacts for connection. By the type of installation, one-button switches are:
- waybills (suitable for mounting to outdoor wiring);
- for hidden wiring (suitable for cables that hide in the wall);
- embedded (installed on the wires of lamps, sconces);
- checkpoints (light control comes from different places).
According to security, it is customary to divide switches with one button into devices for:
- wet rooms;
- outdoor installation (outdoors);
- closed rooms.
By the number of contacts there are:
- checkpoints;
- single-pole;
- bipolar.

One-button switches are most widely used, as they are characterized by simple installation and ease of maintenance. Even a beginner can handle the connection of the device, subject to the instructions and knowledge of the principle of operation of the switches.
HELPFUL INFORMATION!
When switching the contacts of the switch and the wiring in the room, wear gloves with electrical insulation and be sure to de-energize the electrical network.

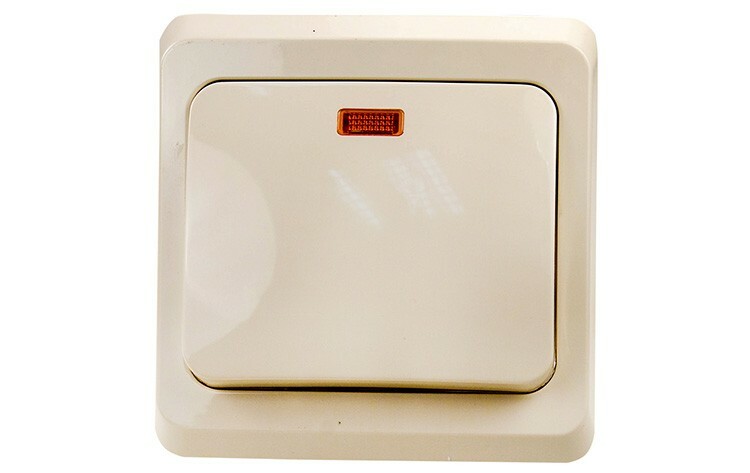
What is a one-button switch and how it works
A switch is an electrical device for mechanical use, by means of which the lighting (chandelier, lamp or equipment complex) is adjusted. When the device is turned on, the electrical circuit is closed between the contacts, due to which the light lights up, and when turned off, the circuit is opened.

The internal structure of a one-button switch consists of an operating unit, a mount, a dynamic part (button) and a decorative design (plastic case). Due to the complex of the main parts, the regulator is distinguished by reliable operation and long service life, which is important in current conditions.
Recommendations for the selection of one-button switches from our editorial office
Have you faced a problem when you connected a new switch, and during its operation, energy-saving or LED lamps began to burn out? This is due to the wrong choice of device. So that you do not make mistakes again, we suggest that you study a few useful recommendations that will prevent additional waste.
Base material - choose which is more reliable
Arriving at the store, carefully examine the one-button switch. Its lower part can be made of plastic or ceramic. The second option will last much longer, because it has the ability to withstand voltage up to 32 Amperes, while cheaper (plastic) models are limited to 16 Amperes.

Interaction with moisture - which devices are risky to buy
If you are planning to install an electric regulator for a lamp in rooms with high humidity (baths, toilets, showers or saunas), then buy a device with an IP marking. And the higher the number standing next to it, the greater the percentage of humidity it can withstand. For example, IP 44 is suitable for bath rooms, and everything above will show effective performance in outdoor conditions.

Control method: mechanical (manual) or electronic (touch)
Conventional mechanics are inexpensive and do not require special operating requirements. But devices with touch control should not be touched with wet or cold hands, since the sensors simply will not respond, and the light cannot be turned on. Therefore, variants with moving keys are of great advantage.

You may also be offered devices on the remote control. They are devices with two buttons and an IR sensor that receives a signal and turns on / off the lighting if necessary. Such devices will cost several times more, but they will save you when you are too comfortable lying on the couch.

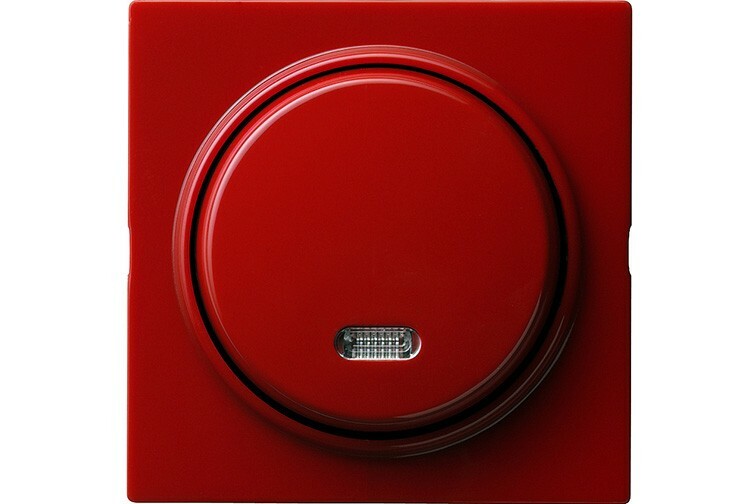
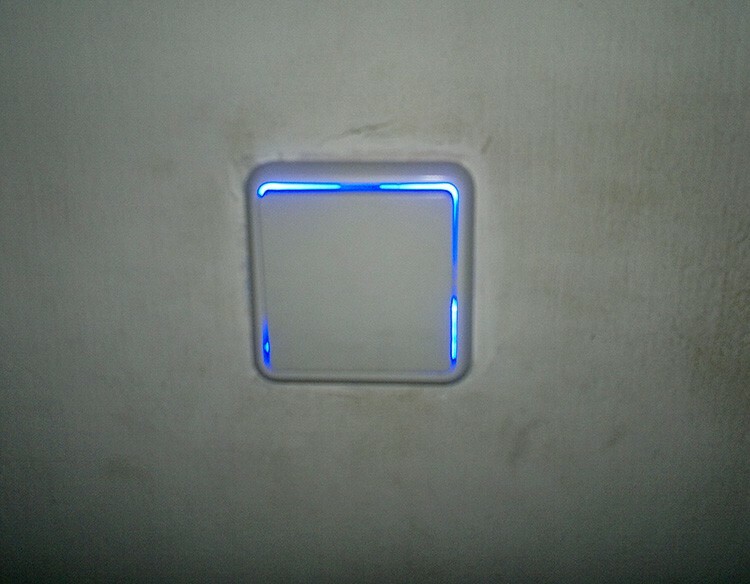
Backlight on the switch: is it necessary
Undoubtedly, the backlit device will be very useful at night, because you do not have to look for a switch on the wall in the dark. On the other hand, using such a switch on LED or fluorescent light bulbs, you will notice annoying blinking at night. This is due to the presence of an operating potential in the network even when the light is not turned off to feed the LED.

Design, color and material - how to match
If you have the exact interior planned and the color scheme is known, then, of course, stylish switches with one button will do, which will not stand out much from the decor. Brown or silver ones with a dial will look great in corridors and hallways, but again, it's important to be able to connect them.
Housing and interior without defects
When choosing, make sure that the regulator has no scratches, chips, cracks or other types of damage, both on the case and on the internal board. Remember, even the slightest deformation of metal or ceramics inside the device can play a cruel joke during operation: the switch will shock anyone who touches its case.
Mounting a switch with one key: parsing the diagram and sequence
It would seem that connecting the wiring in the switch with the existing wiring is a simple matter, however, for this work requires theoretical skill and practice, and in order to get it, we advise you to carefully study this chapter.
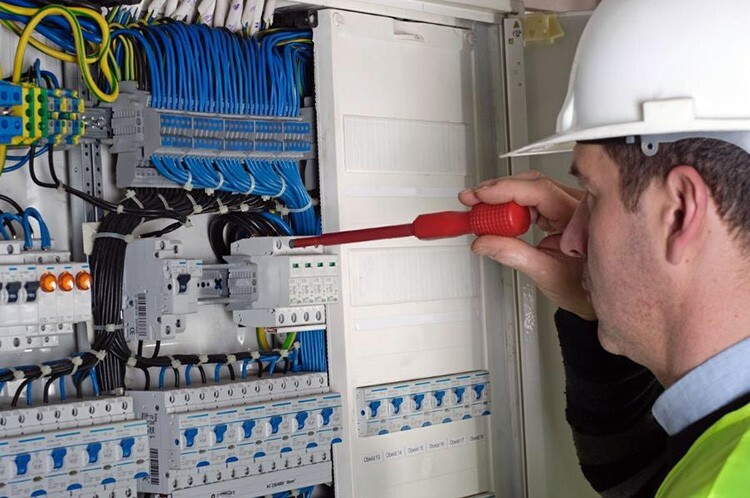
How to prepare for the switching procedure: what to have on hand and rules of conduct during work
First, learn the rules for working with electricity:
- Your hands must be protected, for this use special rubberized gloves or assembly gloves for electricians.
- Remember how to behave with bare wires: never touch them with your bare hands.
- Make sure all wiring is de-energized. For reliability, check the presence of voltage in the intended area with an indicator screwdriver and a multimeter.
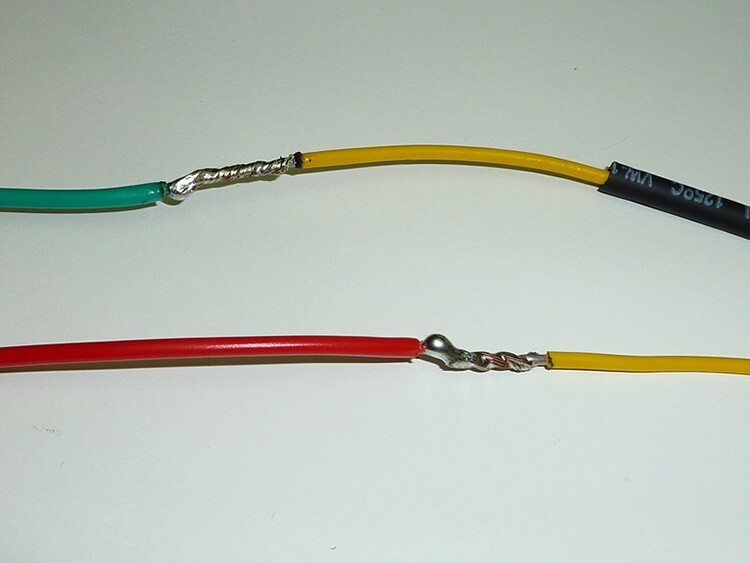
- Do not confuse the color of the insulation when switching conductors. Blue - to blue, green - to green, etc.
- Be sure to check the wiring diagram for the specific type of switch.
It is important to follow these recommendations at all times when you have contact with electrical work. It is forbidden to use improvised means for work, you must have: pliers, pliers for cutting insulation, electrical tape or heat shrink tubes, caps to hide the commutation, a screwdriver with an indicator.
Wiring diagram of a circuit breaker with one push-button, surface-mounted type
The connection diagram of a one-button regulator is quite simple, since it takes a minimum of time, where there is no risk of making a mistake. Let's consider it in more detail.
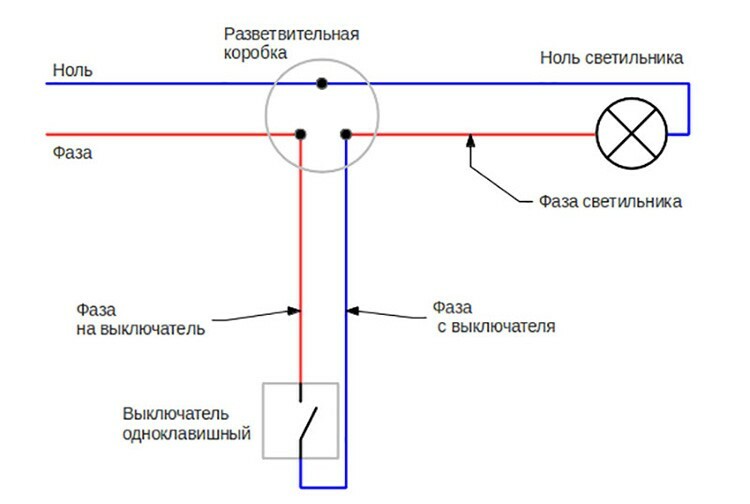
Two cores come from the electrical panel to the junction box (L - phase and N - zero). From the switch, the phase wire comes to the junction box and connects to the L core from the shield. The phase from the switch is also switched in the distributor with the phase of the light bulb, and the neutral conductor from the luminaire is twisted with zero from the electrical panel.
NOTE!
The phase of the switch must be connected to break. Otherwise, do not wait for the correct operation of the device.

Where to place the switch: making a choice according to the rules

If you are still little familiar with the operation of the electrical network, of course, you will not know why it is important to follow the recommendations for the location of the electrical appliance. The location principle depends on the room in which the installation is required. In addition, there are specific rules relating specifically to switches:
- It is better to install lighting control devices near doorways, at least 750 mm from the floor and 150 mm from the edge of the wall. This is done not only for ease of use, but also because such a requirement is written down in technical regulations.
- Position the one-button switch so that it is on the handle side when the door is closed. In addition, try not to block the space with pieces of furniture to the appliance.
- Light control points in bathrooms, closets, restrooms should be placed outside at a height of at least 800 mm.
- It is better to install switches in living rooms indoors for the convenience of adjusting sources at the same height.
- If it is necessary to install pushbutton switches for living room lights, aquariums or other types of decor, the rule of thumb is to place it in a convenient location.
HELPFUL INFORMATION!
The grooves for wiring from the switch to the distributor must be made at least 1.5 cm deep so that they can be hidden under the plaster without visible defects.

How to properly connect an outdoor, indoor and backlit light switch: step-by-step instructions for beginners
The way of connecting external, internal switches is different from each other. Also, separate knowledge is required and wiring for regulators with a built-in LED.
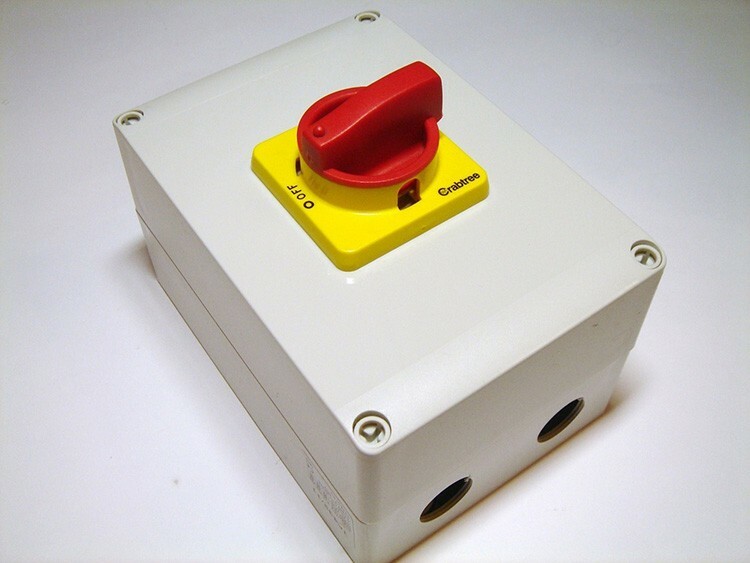
Connections for outdoor one-gang switch with high humidity
Armed with the knowledge and requirements for wiring connections, you can get to work. To perform all actions without errors, follow the instructions below.
| Illustration | Description of action |
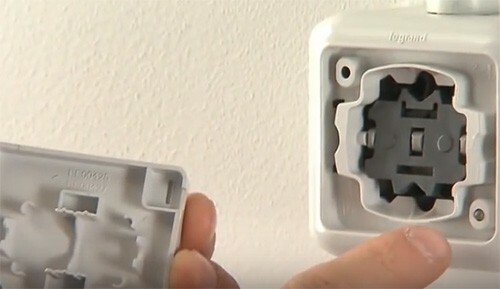
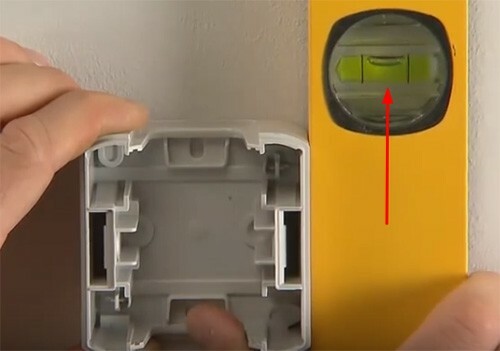 | We disassemble the switch body, leave only the back part and attach it to the wall, check the location with a level. If everything is correct, we make marks for the fasteners, if not, we correct the position. |
 | We fasten the plastic case with screws and again check the level, since the device could move during fixation. |
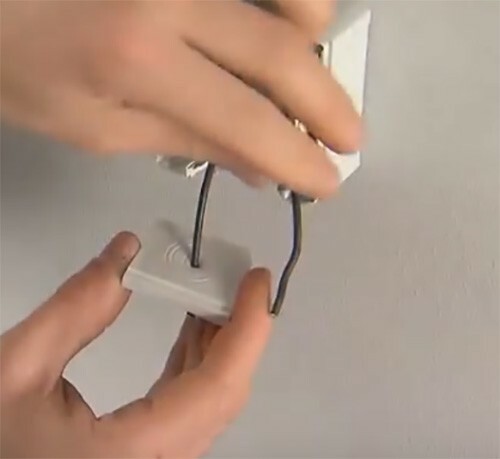 | We make a hole in the upper part of the case (it is usually removable) and pierce two cores from the cable there. We assemble the entire case to the circuit with contacts. |
 | Now you start switching the conductors as shown in the diagram. Zero to zero and phase to phase. |
 | Next, we collect the remaining parts, install the button and check the operability of the device. |
It is quite simple to make such a connection, because you do not need to punch grooves and use glasses for switching cores, since an overhead or external switch is used for open type wiring.
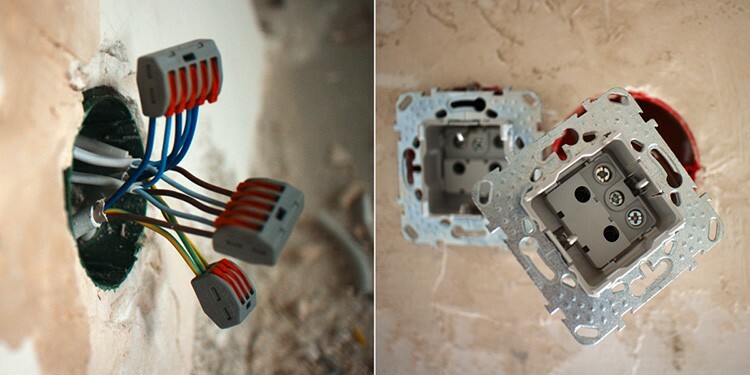
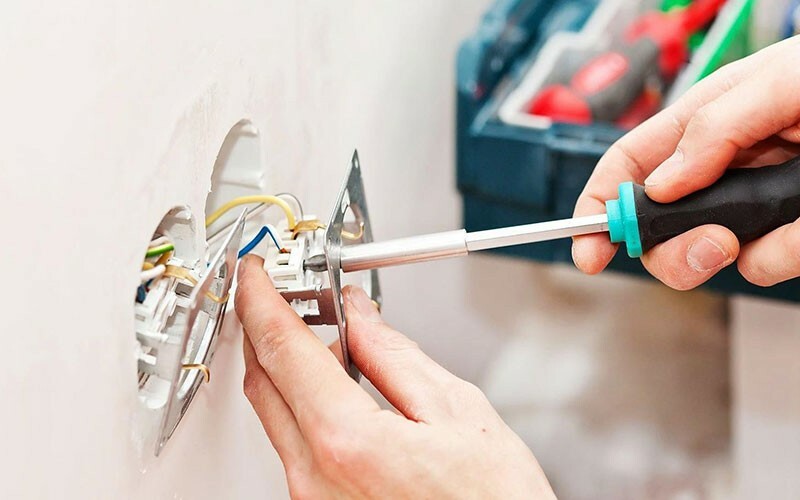
Installation of an internal light switch: commutation in the under-cover
First you need to prepare the grooves and stretch the wiring to the socket (you need to make two contacts into it: phase and zero, if the wiring is two-wire). Then follow the algorithm.
| Illustration | Description of action |
 | We disassemble the case of the switch and put the phase into it, connecting it to the desired contact (where the marking is L), screw it in with a screw. |
 | We put one of the contacts of the luminaire into the socket box, after removing the excess insulation and connecting this conductor to the opposite contact of the switch. |
 | We place the switch in the underset and press the paws, which will expand the fasteners, thereby keeping our switch on the wall. |
 | We attach a terminal to the conductor N, with which we connect it to the conductor from the junction box. |
 | We put the switch button in place and check its performance in contact with the LED lamp. |
HELPFUL INFORMATION!
To make it easier to work with the wires in the socket, make them longer, then just carefully assemble them when installing inside the glass.
Rules for installing a backlit one-button switch: clear video instructions
Please note that the connection diagram for a backlit one-button switch is slightly different from the way of connecting a traditional regulator. Therefore, for a better assimilation of the material, we suggest watching the video that we have selected for you.
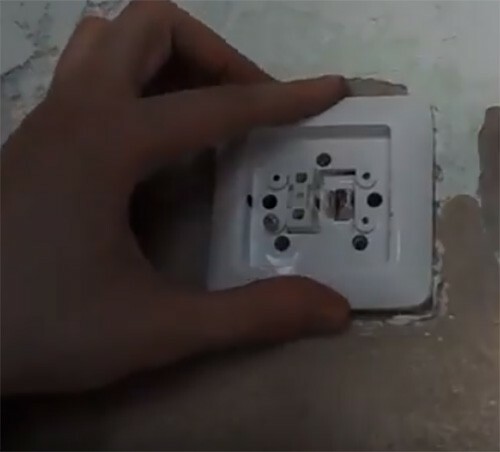
Replacing the old Soviet light switch in the apartment with a new one
Before proceeding with the replacement of lighting devices, you need to find out what wiring is laid in the room and select the appropriate switch. Then you can proceed to the step-by-step instructions.
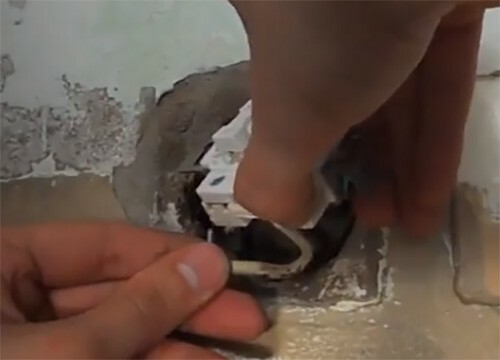
| Illustration | Description of action |
 | We turn off the electricity and dismantle the old one-button switch. To do this, unscrew all the bolts, then take out the mechanism and release the conductor contacts. |
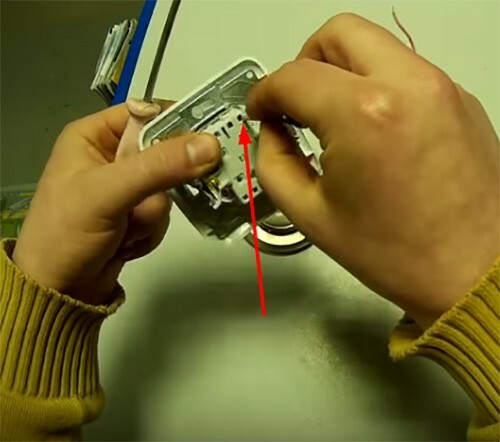
 | We take out the working mechanism of the new switch by unscrewing all the bolts. |
 | We connect the contacts to the switch terminals so that the wires do not get confused. Do not turn them over under any circumstances, but connect as it is. |
 | When the switch mechanism is conveniently placed in the socket box, you can fix it with screws. |
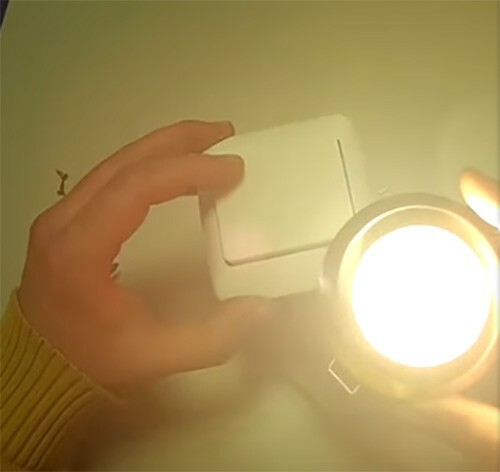
 | We put on the cover of the switch body, start the electricity and check the operability. |
If you made the connections correctly and securely fixed all the contacts, then the lamp will work flawlessly.
 Wiring diagram for a two-button switch in different ways.In a special publication of our portal, we will tell you in detail how to connect a switch with two buttons. You will learn how to connect a chandelier with three bulbs to a two-button switch, the subtleties of connecting two-button switches in houses with different grounding systems and errors that arise when connecting a switch with two keys.
What else may raise questions
In addition to the standard circuit for connecting switches, others can be used. A switch with one button can control both one light bulb in a chandelier and a whole complex of lighting, but for this there is a switching principle.
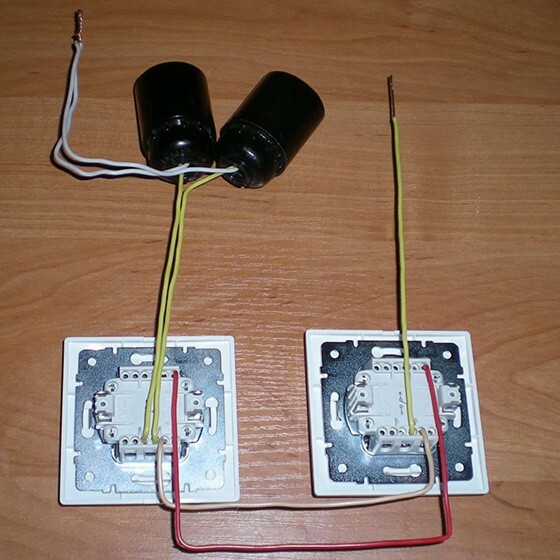
We connect a switch with one key to two lights
A one-button switch for two or more bulbs is connected through a phase. Pay attention to the diagram below.
The neutral conductor and the phase leave the main panel and come to the junction box, from where the zero is connected to the zero of the luminaire, and the phase is sent to the switch. From it, the phase goes to the phase of the lamp. Having organized a reliable connection, the lamp will work properly, otherwise you will provoke a short circuit. All bulbs in this case are connected in series.
Switch and socket from one distribution box: connection features
Connecting the switch and the socket to each other is possible when using one junction box. For example, if you need to make an outlet in the bedroom, where there is only light and a switch to it, you need to use the following diagram.
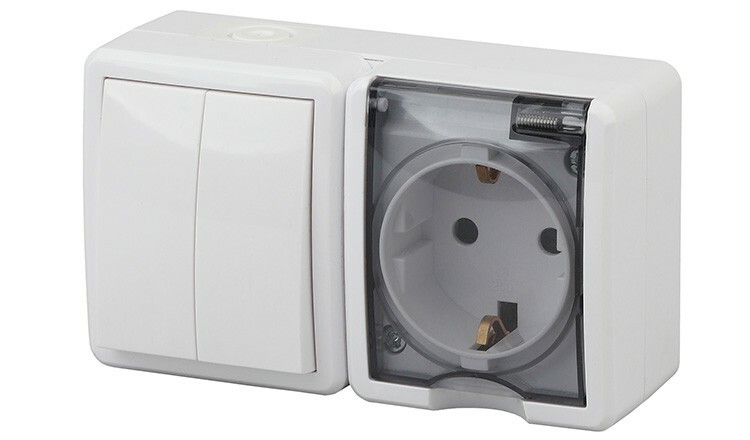
The two-core cable comes in a box where all the switching is done. We also start the conductors from the lamp, socket and switch here. From the electrical panel, the phase is connected to the phase of the socket and the input contact of the switch. For this, special clamp terminals are used. Further, a conductor emerges from the output contact of the switch and connects to the contact of the lamp. The zero of the luminaire is commutated with the zero of the socket and the electrical panel in the junction box.
Thus, you get reliable connections for all possible connection schemes for single-button switches: with and without illumination, for two lamps or one. Dear readers, if you have questions about one of the connection methods, please contact us through the comments under the article. We will definitely contact you as soon as possible.