CONTENT
- 1 When is it necessary to replace the electrical wiring in the house
- 2 How to prepare for replacing the electrical circuit at home
- 3 Stages of replacing wiring in an apartment with your own hands
- 4 How to lay a new route: installation basics with stages of work
- 5 Final stage: laying of cable channels with mortar
- 6 Features of the gasket
- 7 Safety regulations
When is it necessary to replace the electrical wiring in the house
Khrushchev and Stalinka buildings, which were built in the last century, had a specific design load for power grids. Today, when almost every home has modern household appliances, there is a serious deterioration in the power supply network. This is evidenced by the following signs:
- frequent short circuits;
- leakage of current through walls;
- fragility of the wiring;
- damaged insulation;
- the presence of corrosion;
- power outages when starting electrical appliances.
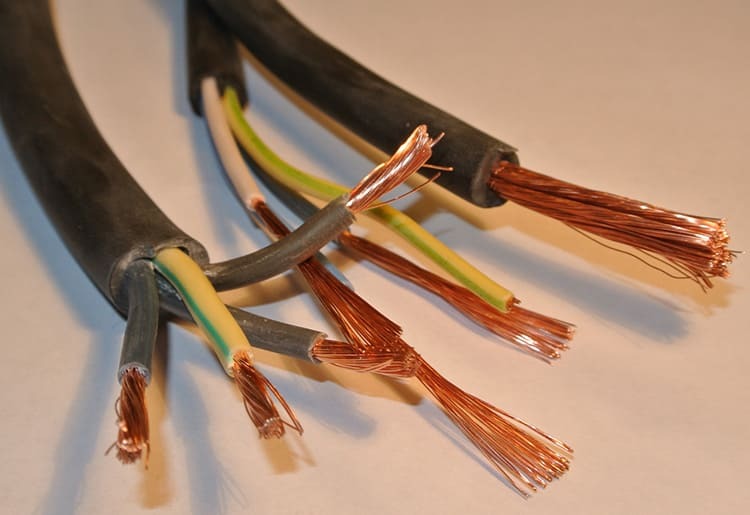
The old wiring is made entirely of aluminum. In addition, it does not have a protective grounding, so the risks of accidents and fires are too high. If not one, but several network problems are observed, this is a reason to immediately start a complete replacement.
How to prepare for replacing the electrical circuit at home
There are a number of tips from electricians to help you get the job done without the help of a professional. At the same time, the solution of all issues related to the replacement of networks requires at least initial skills in work and an understanding of the device of this element.
Drawing up a diagram taking into account all the details
A schematic drawing of the future wiring is necessary so that at the project level it is possible to determine the amount of materials, their sizes and other nuances. The compiled project indicates the number of consumers in each room, taking into account their capacity and the installation of additional safety equipment.
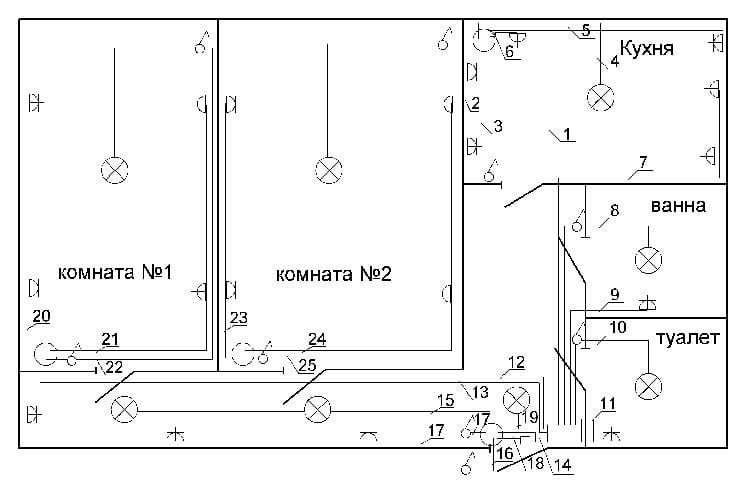
It is important to draw up a layout correctly, since it must be submitted for approval to a company engaged in the supply of energy resources to a specific area. After registering the scheme, the owner of the apartment can start purchasing the necessary components.
Calculation of the required materials
First of all, you need to purchase a sufficient amount of cable. Here you should start from the total area of the apartment and the number of consumers. Let's take a look at the example of a living area of 100 m². In this case, you will have to measure the length to each consumer with a tape measure. When there is a scheme, it will not take long. After taking measurements, they acquire a given amount of cable, but with a margin. As for the estimated power of the conductor, it is important to foresee how much the household appliances available in the apartment consume.
To do this, add up the power of all household electrical appliances with a margin of 100 W for each. Suppose the total amount is 2500 W, which means that you should buy a conductor with a cross section of at least 2.5 mm².
You will also need additional equipment, such as a residual current device (RCD) and circuit breakers. RCDs are installed only near the meter, but the machines can be mounted in places where the risk of a short circuit is possible. Such an incident can provoke a boiler, computer, washing machine and other devices that take on a lot of voltage at the time of start-up.
ON A NOTE!
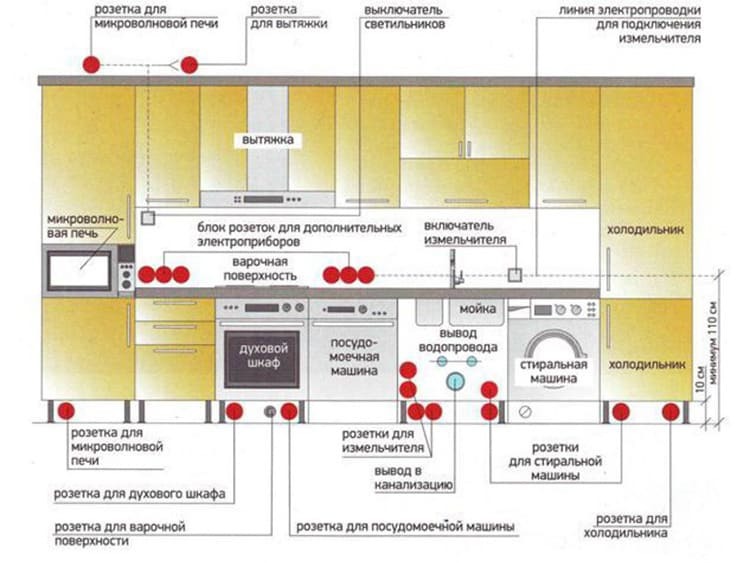
For the kitchen, you will need a cable, the cross-section of which is chosen with a margin, since this share of the apartment accounts for most of the working electrical appliances. When powering the bathroom, it is necessary to leave a cable for two sockets, and in the toilet, wiring is allowed only for lighting.
Components for organizing new electricity in the house
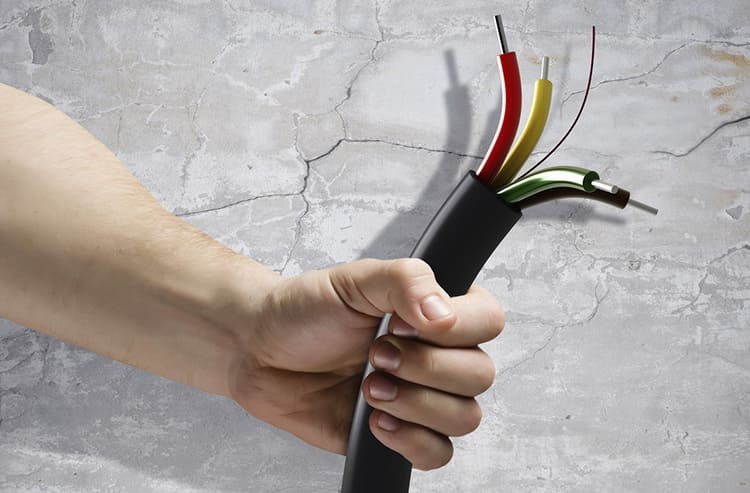
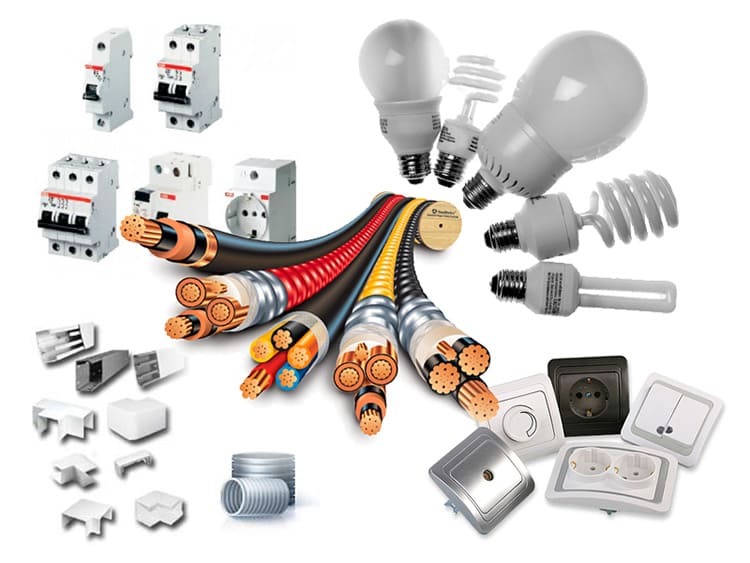
In addition to cables, you need to purchase more switches, sockets, caps and junction boxes. Don't forget about isolation. To ensure safety in an apartment, it is worth purchasing a main machine for 25-32 A, and a general-purpose RCD should be at least 30 A.

In addition, you need to stock up on some more materials:
- three-core cable length for a specific area;
- plastic clamps, ties, dowels for fixing switches and sockets;
- insulating materials;
- electric meter (shield if necessary);
- zero bus;
- switches and sockets;
- lamps.
Most stores provide an opportunity for the consumer to select the entire list of materials at one point. At the same time, you need to understand that the quality of the electrics must be excellent. Everyone understands that cheap cables and sockets can be short-lived, moreover, they often cause fires.
Stages of replacing wiring in an apartment with your own hands
In order for the process of diluting the electric line around the apartment to be organized, the whole process should be divided into several stages. This will make it possible to quickly and correctly independently create an electrical network without professional intervention.
Tools and equipment for work
Some items for the implementation of the electrical circuit can be found on the farm, but you will have to buy something in addition. In general, you should get the following list:
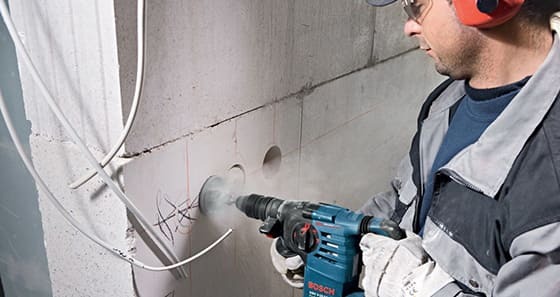
- Rotary hammer with various drills, as well as a crown bit (90-100 mm). With its help, it is easy to cut out places in the wall for junction boxes.
- Soldering iron and accessories (tin, solder). Its minimum power must be at least 40 W.
- Grinder with a stone cutting attachment.
- Pliers, wire cutters.
- Level, chaser, tester, assembly knife.
- Putty knife.
ON A NOTE!
All cables should be run strictly at right angles, there should not be any inclined wires. Firstly, it is unsafe, and secondly, the conductors wear out faster this way.

Dismantling the old electrical network
To completely remove all wires and old sources of energy consumption, you need to take care of de-energizing the room. You should definitely make sure of this. Better yet, ask the power engineers to turn off your line altogether for the duration of the repair. Further, we carry out everything in steps:
- We put on rubber gloves, check the indicator for the presence of voltage in the sockets and under the switch button. If it is absent, move on.
- We take out all the junction boxes in the apartment, pull the wires out of the walls, if necessary, if the wiring is too deep, we drill out the walls.
- We remove all external consumers (regulators, old sockets), remove the electricity meter with plugs.
- If necessary, cover up the defects in the walls with a solution. This action is acceptable if the installation of new wiring will be carried out in other places.

It remains only to remove the light sources. Old wiring, which is connected to the chandeliers, can be simply cut off with wire cutters or an assembly knife.
How to lay a new route: installation basics with stages of work
All stages of laying electrical networks in an apartment should be carried out sequentially. This will save you from torment in case of displacement of some elements.
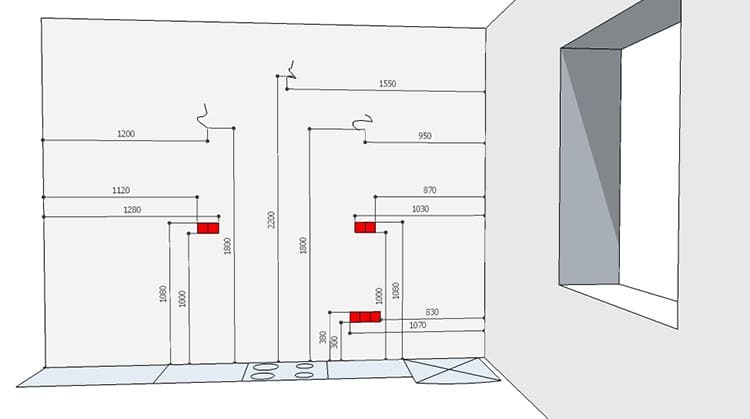
Marking and strobing
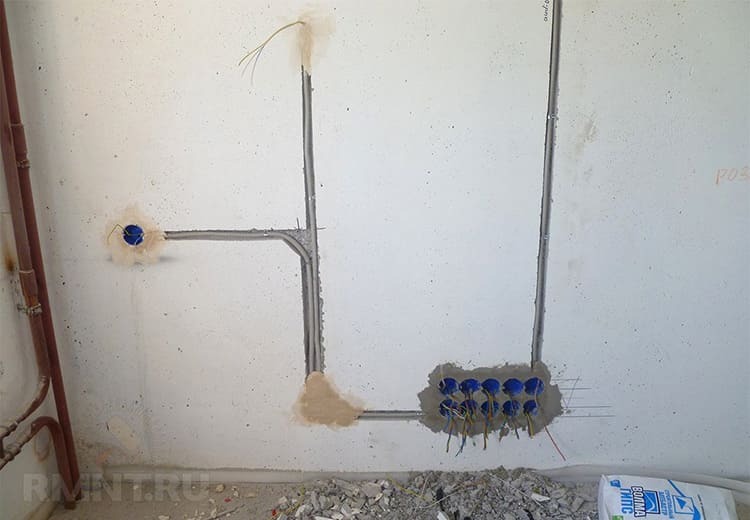
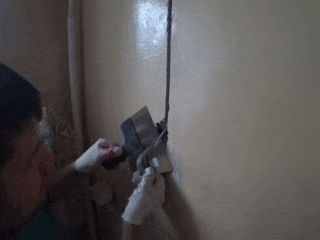
All work should begin by transferring the project from paper to the wall. It is necessary to mark the proposed places for laying the cables, and then draw the junction boxes and other consumers. Next, perform wall gouging according to this drawing. To do everything smoothly, you should use a wall chaser with a directing laser. After creating in-wall cable channels, they begin to create places for the case of sockets, switches and junction boxes.
To make them with minimal wall cracking, it is first recommended to drill the center of the marked circle, and then use crowns.

How to fix the cable correctly
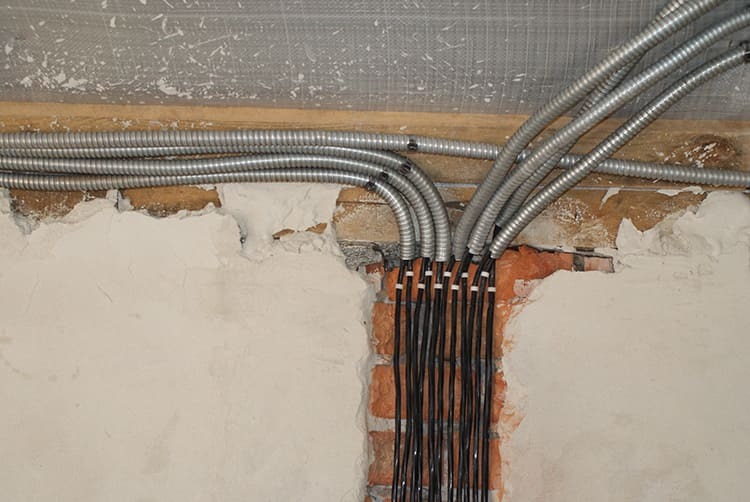
Having previously cleaned the grooves from debris and pieces of plaster, you can start laying the wires.
| Illustration | Description of action |
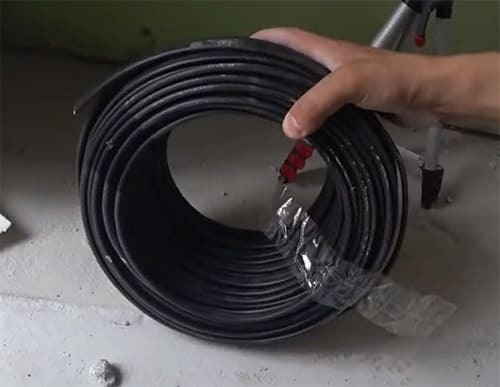 | We take out a large coil of cable, without completely unwinding it, measure out the required part for a specific section of the room. |
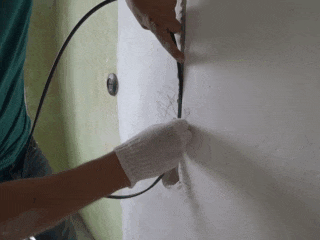 | Then we insert the cable into the prepared grooves. So that it does not fall out of the channels, we attach special clips to it. |
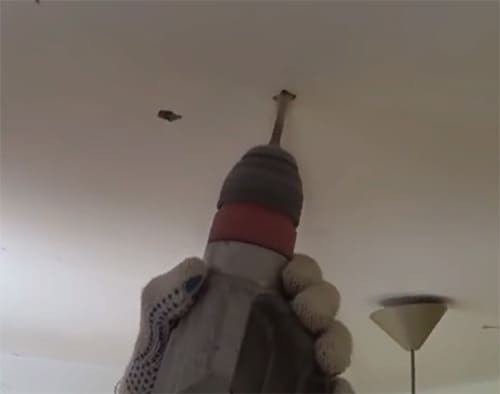 | We make holes in the ceiling for dowels that will hold the cable from above. |
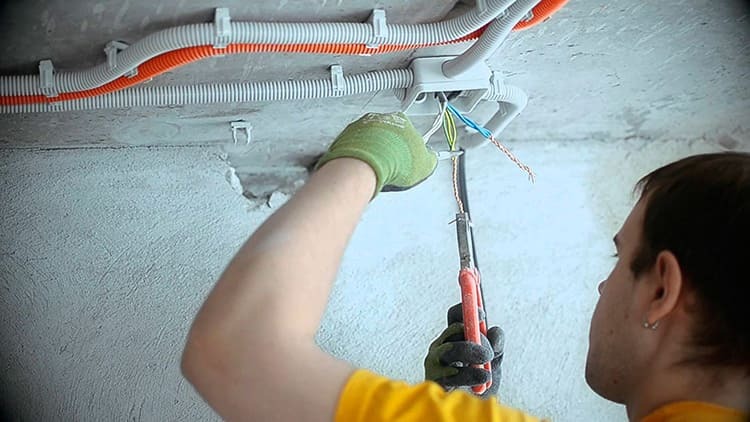
 | We pass the cable into all junction boxes. |
 | We fix all the wiring with each other with special clamps. |
 | Fill the strobe with a small amount of the solution and fix the case. We perform this action for all consumers in the apartment. When the boxes are fixed, we pass the wiring there |
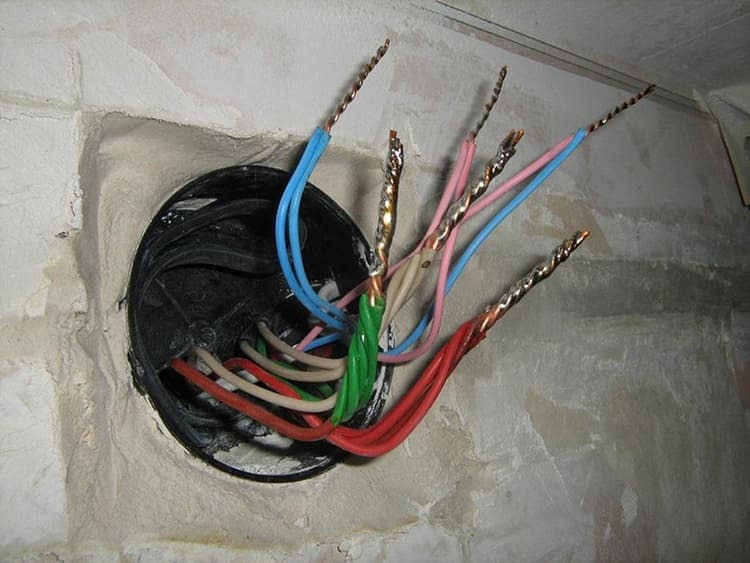
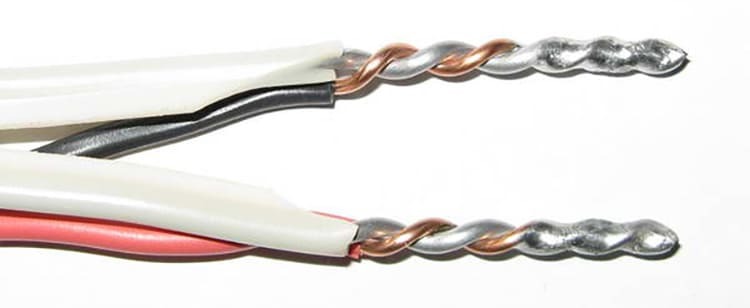
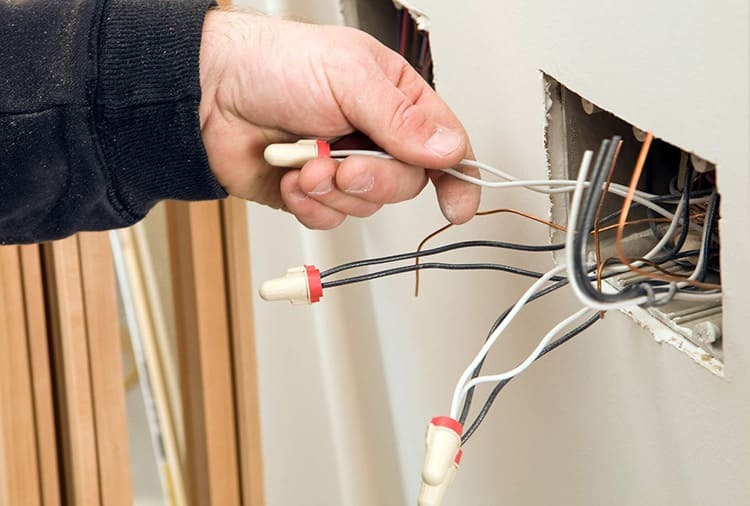
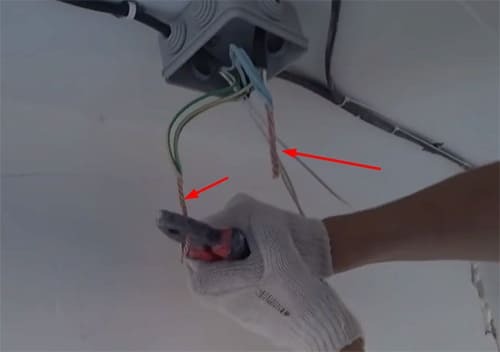 | We remove the insulation from the ends of the conductors in the junction boxes and twist the same contacts together. |
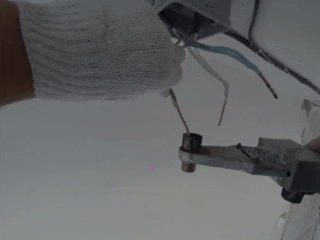 | We moisten all twisted contacts with an alcoholic solution of rosin and solder them together. |
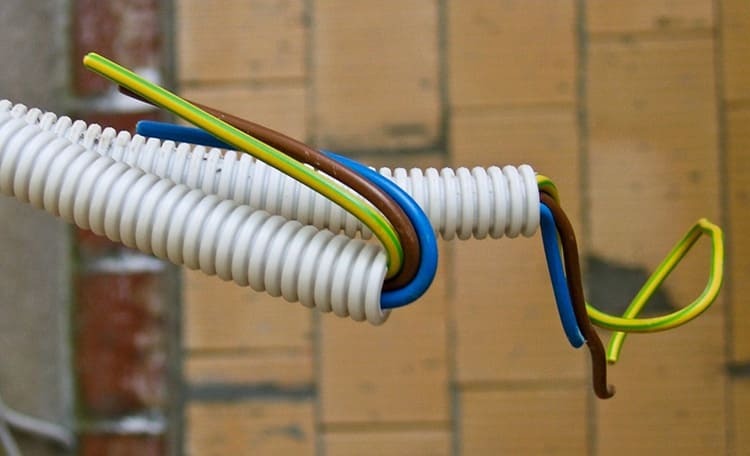
Further it remains connect all contacts to sockets and switches. Be sure to observe the color of the conductor and the corresponding contact on the consumer: blue - zero; red (brown) - phase; green-yellow - ground.
ON A NOTE!
All cases that are intended for switching the mechanisms of sockets and switches must be installed with a small round hole in the direction from which the cable comes.
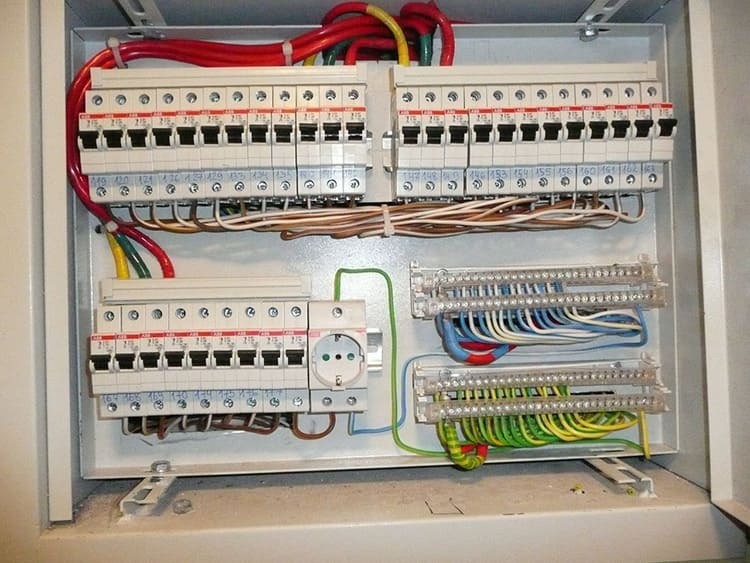
Assembling the switchboard
An electrical panel for an apartment is a metal case in which all electrical components are collected that supply the network to the main consumers in living rooms. Consider how to install all devices in the next video review.
Be sure to carefully study how to switch the breaker with other modules that ensure the safety of equipment and a person.
Rules for checking an electrical line with a tester
Suppose that the apartment has modern electrical wiring, which needs to be ringed with a device to make sure it works. This version of the chain must comply with existing requirements.
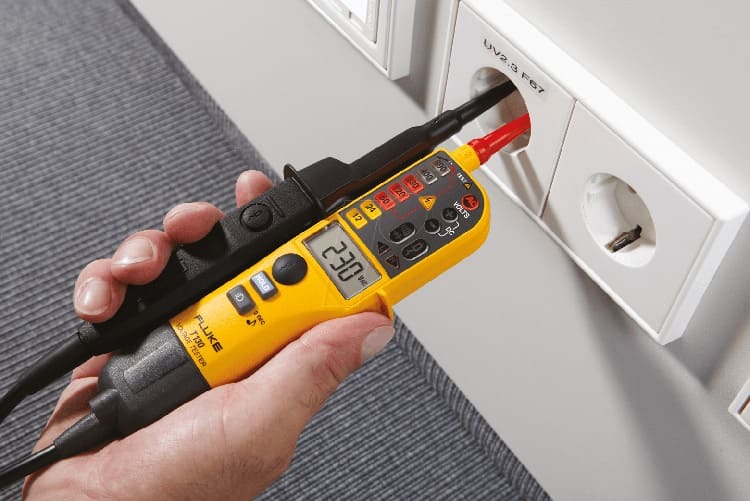
If the electricity has disappeared, then you can check the performance only by ringing the lines. When all rooms are powered from a specific switch, first of all it is worth checking only the line where there is no voltage. They act in stages:
- Check the voltage on the machine itself, if it did not work.
- Eliminate the malfunction of the cartridge on the chandelier, for which they disassemble the lamp and make sure that the wires are intact.
- When the light only disappeared in the chandelier, the problem may be in the lamp itself. Attach one tester probe to the base of the light bulb, and the other to its middle contact. If the light is working properly, the voltage will be shown by an arrow in the range from 0 to 1. Likewise, it is necessary to ring the contacts of the switch.
- If the circuit breaker still tripped, then here it is necessary to pull out the connected "zero" and "phase" from the machine. One probe should be leaned against one conductor, the other against the other. This will allow you to understand if there is voltage in the wiring zone for which the machine is responsible.
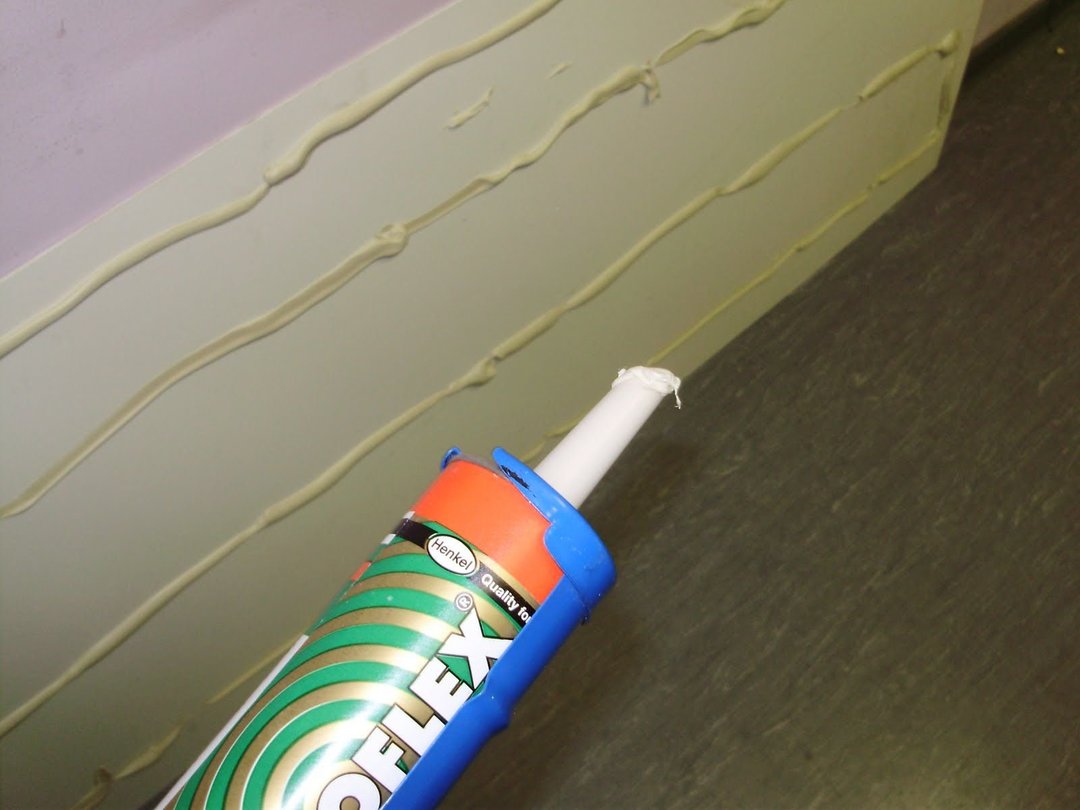
Final stage: laying of cable channels with mortar
Usually, the depth of the grooves in the walls is calculated approximately as 2-2.5 cm. Having placed wires in such channels, it is necessary to get rid of holes for final repairs. In other words, make the wiring hidden.
For these purposes, you will need a special cement mortar, mixed in an appropriate proportion with water. While the solution is fresh, it is collected in small layers on a spatula and gradually put into voids and cracks. For these purposes, a finishing putty can be used.
Features of the gasket
There are several relevant methods that are used to safely lay electrical wiring in apartments. As a rule, systems are divided into cable lines for sockets, as well as lines for lighting. The latter are located under false ceilings.
Home appliance lines
What provides for a separate connection of wires for electrical appliances? The situation is as follows: a separate cable is connected to each device that consumes electricity, which comes out of a separate junction box. To this junction box, a cable with an optimal cross-section runs from a common electrical panel. In the dashboard, the line is equipped with a separate RCD. This allows, in the event of a current leak or breakdown, to disconnect power only from household appliances, leaving workers with lighting and sockets for other use.
Cable routing in the ceiling
Stretch and suspended ceilings are popular due to their easy installation, as well as the ability to lay cables directly behind the canvas. For example, for lighting and switches you can run cables inside the niche, taking care of safety. For this, special insulation is created, which will prevent overheating of the conductors and the fire of the ceiling.
Please note that in such cases it is better to install the junction boxes on the walls. Since access to them in the ceiling is considered limited and in the event of an accident, half the ceiling will have to be disassembled.
Safety regulations
Special skills and knowledge of safety and labor protection rules will help to avoid troubles during electrical installation.


Special skills and knowledge of safety and labor protection rules will help to avoid troubles during electrical installation. The editors of Tehno.guru strongly recommend that you familiarize yourself with all the subtleties and requirements in the video below.
Dear readers, ask questions in the comments below the article. We will be happy to answer you and give you advice. Our specialists are online all the time.