Content
- Modeling of figures from polymer clay
- The image of a polymer clay doll, the first steps in creating a toy
- How to sculpt from polymer clay
- Bonding parts
- Baking
- Varnishing
- Varieties of clay dolls
Modeling of figures from polymer clay
In shops, museums and at puppet fairs, we can find incredible creations. Clay dolls are painstaking and difficult work. It takes a lot of time to mold a unique, graceful and adorable doll, sometimes it takes months. Of course, in order to learn how to create small masterpieces, it is not enough to watch a video on YouTube. But everyone can create something simpler, a toy for a child, a souvenir for friends or a pendant to decorate an apartment, you just need to master the basics of working with polymer clay. And of course, if you like it, you can continue to develop in this direction. To make dolls, you just need to study anatomy and develop imaginative thinking.

The image of a polymer clay doll, the first steps in creating a toy
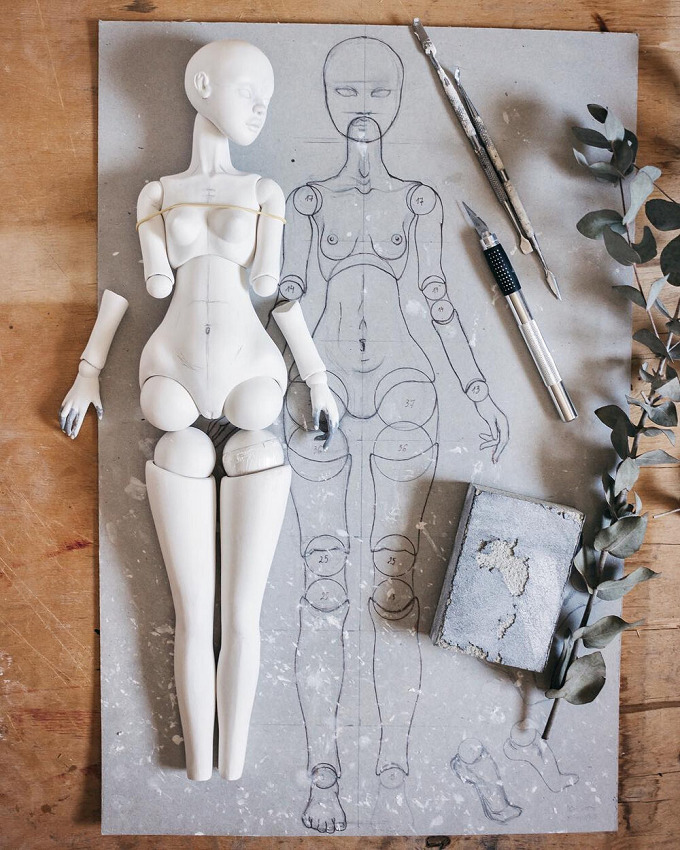
You can approach the creation of a polymer clay doll as a large creative project. To do this, you need to imagine in detail what your doll will be, what gender, what color it will have eyes, skin and hair. What kind of clothes she will have, take into account all color combinations in advance. Whether it will be a toddler or an adult character. What profession or hobby will he have? What character and what emotions will be reflected on his face. Record all your ideas in an album using pictures and prints and just words. The more detailed you present your creation, the easier it will be for you to move forward in your work.
How to sculpt from polymer clay
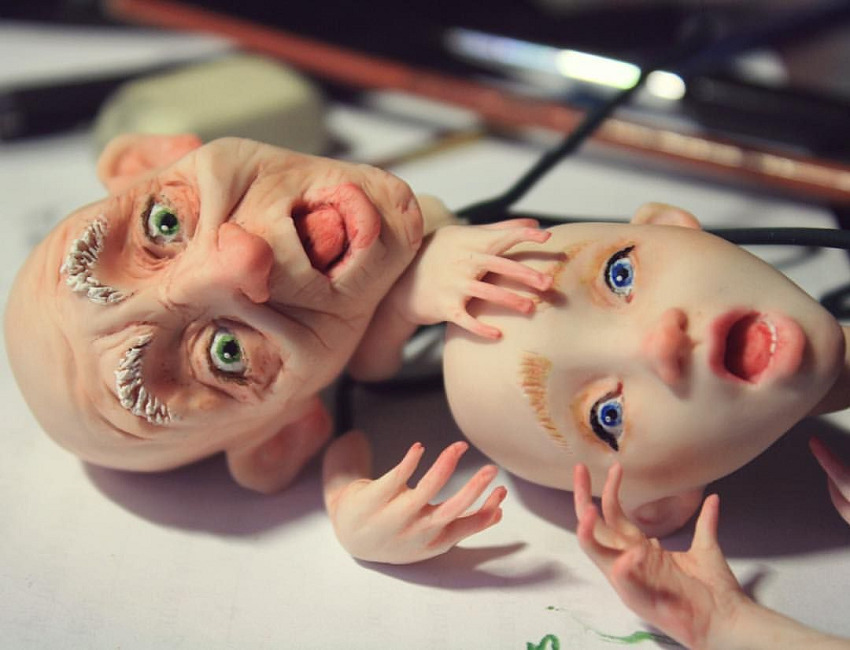
We have already mentioned that to make a doll, you need to know the anatomy at a good level. Put your time and energy into it, study it. Also check out at least one of two popular sculpting books. Professional forums will advise you on suitable books.
When you are sure of your plans, you will definitely continue the project, equip your workplace. It should be at eye level. The work should start with the largest and most common elements, gradually complicating and moving on to the details, the "blank" is gradually overgrown with details. Always keep in mind the final image of the toy. Flip through your sketches occasionally.
For a beginner, self-hardening materials are suitable. You can buy several different colors of clay. Or you can buy a large package of one color, of course light, and then paint the finished doll with watercolors. In stores for creativity, there are many tools for curly modeling, but it is not necessary to buy them, almost everything can be replaced with improvised means. Paints and clay must be fresh, check the expiration dates.
Bonding parts
We have already said that large elements are molded first, then smaller ones. They are also individually dried or baked. They need to be connected. Latex glue is perfect for this, it is transparent and does not leave marks. Epoxy glue is also good, but it can leave yellowish marks on light colored elements. It is worth paying attention to the setting speed of the glue, it should be fast enough, but at the same time leave ten seconds to adjust the position of the doll's parts.
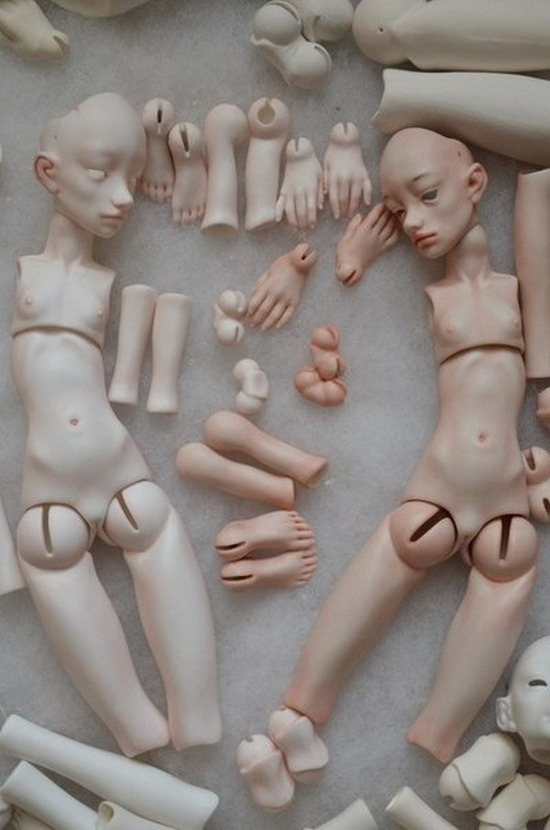
When working with glue, follow the manufacturer's instructions and observe safety precautions. Work with gloves, with open windows. Before applying the glue, the surface of the part must be degreased. Then apply glue, it is better to do this with a toothpick, spatula or brush. Connect the parts and hold together as written by the manufacturer on the packaging. Allow to completely solidify.
Baking

Needlewomen manage to bake polymer clay products in a microwave oven, in multi-cooking and in a grill, but it is impossible to guarantee an excellent result with these methods. The simplest and most common oven is the oven. It's good if your oven has an accurate temperature setting function.
Before you start baking, read what the manufacturer of the polymer clay you are working with has written about it. They always indicate the desired temperature and baking time. The baking time will be different for parts of different sizes. A small element can be baked for only four to five minutes, and large ones for an hour. The durability of the finished toy depends on the correctly calculated time. Having learned the initial data, preheat the oven in advance. You can bake it simply on parchment, or on ceramic tiles, a wooden or stone board, or on a steel baking sheet.
During the drying of clay products, various substances evaporate. After work, you should wash the oven very well if you intend to cook food in it. Some craftswomen, in order to avoid unnecessary hassles, use a baking sleeve when drying polymer clay products.
Varnishing

For a beautiful shine, polymer clay products are varnished. You can buy a special varnish for clay, depending on your idea, it can be glossy or matte. Many people just use construction varnish for wood. But acrylic varnish will definitely not work. Sometimes the product is not varnished, but then its surface needs to be polished.
Degrease the work surface before applying varnish. Apply varnish with a brush, sometimes several layers are necessary, then you need to let each layer dry completely before applying the next one, a hair dryer can help with this. And sometimes the whole product is dipped into a container with varnish, but this method requires a lot of experience.
Varieties of clay dolls
Usually, dolls of recognized masters are recognizable, we are talking about the author's style. These can be portrait dolls as realistic as possible. Often these are fairy-tale characters, also close to real anatomical proportions. But fantasy dolls are also quite popular, in which the author changes the anatomy according to his imagination, and sometimes invents completely new creatures.
If we break down very generally all types of dolls, we can distinguish three main ones:
• Static doll - most often it is an interior, collectible doll. It is not meant to be played. None of its elements move. Most often, she herself is also fixed on the stand.
• Ball-jointed doll - very widespread and demanded. Her arms, legs, head can move thanks to special elements - hinges. With this doll, you can change poses, sit it down, turn your head. In making, this is perhaps the most difficult doll, so for the first work it is best to choose the last type.
• Combined doll - in addition to polymer clay, other materials are used. For example, arms, legs, head are made of clay, and the body is sewn from fabric. Such dolls are no less beautiful, but less fragile. Often they let children play with them. Another common variant of a combined doll is when only faces are made of polymer clay. In this technique, wadded Christmas tree toys or primitive dolls are often made from fabric, sewing them on an interesting clay face.
