Today, at the peak of popularity, there are unique things that make the interior of the house inimitable. At the same time, it is not at all necessary to buy them - you can make them yourself and almost free of charge.
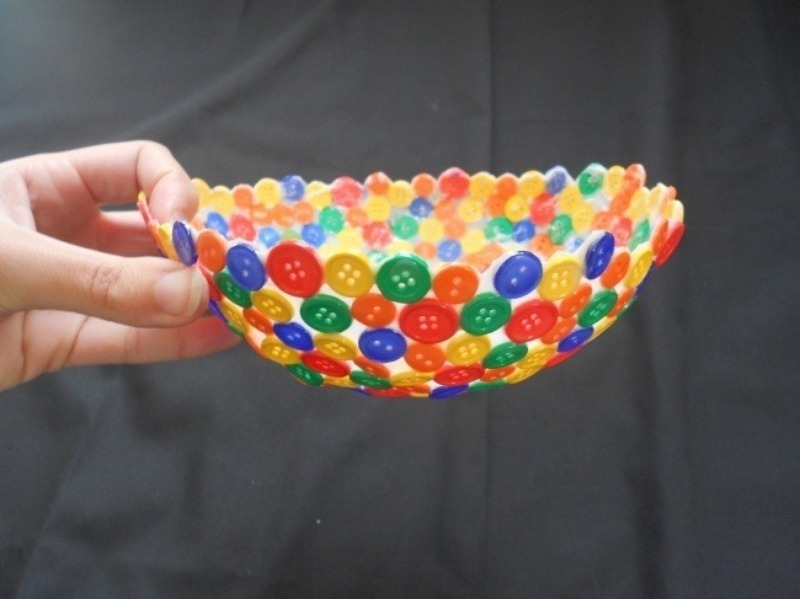
For example, a fun bowl for small things made from available tools will highlight the creativity of home owners.
What is needed
For crafts you need:
- many buttons of various colors and shapes;
- glue (PVA or any glue that becomes transparent after hardening);
- balloon;
- brushes for applying glue;
- scissors;
- paper;
- the container in which the ball will stand (usually a plastic bottle is used, which is cut both on top and on the sides along the volume of the ball).
Instructions
The whole process is simple and does not require any special skills. Even small children can be involved in the process:
- Inflate the balloon to the volume you need and tie it.
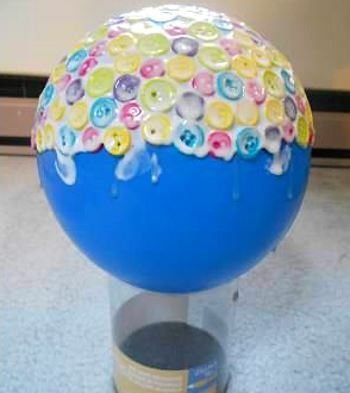
- We install the ball in that position in the container so that there is access to its entire surface. To prevent it from moving, you can drip glue on the sides and glue it to the container.
- Apply a layer of glue to the finished base with a brush. It should be solid and cover only half of the height planned for the dish.
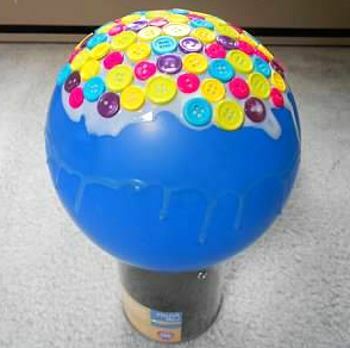
- We wait until this layer dries and apply the second one. The first coat should dry well and not stretch. It should form a film. We apply the second layer and glue the buttons. You don't need to apply all the glue on top at once. You need to apply it to a fragment of the future product and put the selected buttons one by one. And so process the entire ball to the depth that you need. The buttons themselves are best glued on top. In this case, you should press each button to the surface.
- When the top is done, you can put the ball on its side and run the button sticker along the sides. To roughly adjust its work, the ball can be turned over with the container. This will give you an idea of the shape and evenness of the dish. The buttons should fit together.
- Leave your product to dry completely for 3-5 hours.
- Apply a fixing layer of glue again, or two.
- We leave it overnight.
- The next day, we check the dish for dryness and lower the ball if everything is dry. We carefully remove its remnants.
- You can safely trim the edges or remove glue drips with scissors or a clerical knife.
The finished dish will definitely be noticeable in any setting. Of course, it is not suitable for storing food and cannot retain moisture. But you can store any useful little things in it.