Many DIYers spend a lot of their time in the garage. Where else can you give free rein to imagination and create something unusual and useful? But with the arrival of cold weather, it pulls less and less into the garage, which means it is worth thinking about heating. Of course, you can put a stove-stove or organize a firebox with oil as fuel, but today we will talk about a more unusual method. The author of the YouTube channel told about him Havran. This method is extremely unusual, which means that it is worth analyzing it in detail.
Read in the article
- 1 Heating from a conventional electric kettle: is this possible
- 2 Preparing the electric kettle for work
- 3 Radiator preparation: revision, adjustment
- 4 Continuing to work with the kettle
- 5 Connecting a kettle with a cast iron radiator
- 6 Filling the radiator with water
- 7 Improving the radiator from the electric kettle
- 8 Turning on the heater for the first time
- 9 Final part
Heating from a conventional electric kettle: is this possible
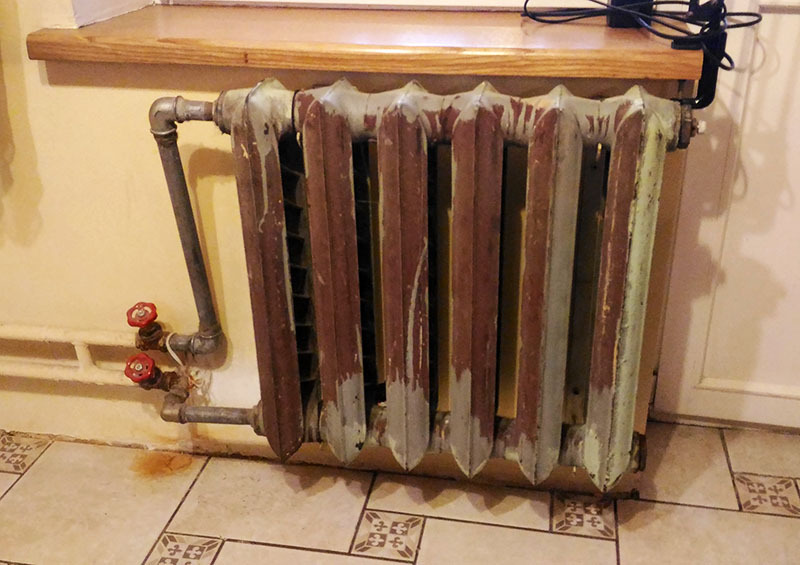
As it turned out, it is quite possible to make a good and simple heater from an old electric kettle. No matter how strange it may sound, but the cost of it will require a minimum. And this option will be budgetary only if the farm has several sections of cast-iron batteries. Although this is often not a problem, now everyone is changing cast iron in apartments for modern radiators made of aluminum, copper or bimetallic products.
Preparing the electric kettle for work
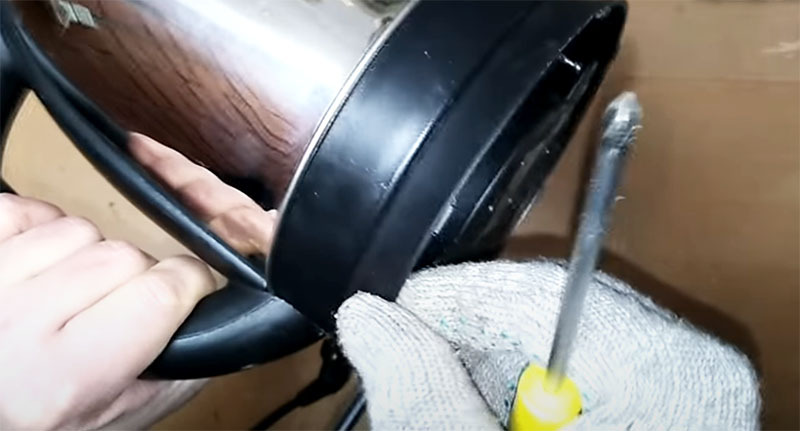
Electric kettles often stop working out of the blue. Usually there is no time for repairs, and their cost is low. We buy a new one, and the old one remains on the garage shelf to wait in the wings. Usually, all equipment repairs consist in the need to bend or tighten one or another contact.
So, the repaired kettle can be put into operation. First, a couple of self-tapping screws must be attached to the platform. Also, for these purposes, you can use any construction adhesive.
Radiator preparation: revision, adjustment
To make a radiator, you will need two sections of a cast-iron battery, assembled together. One side of them must be muted. The bottom plug with the fitting must be unscrewed in order to revise and improve the tightness of the connection.
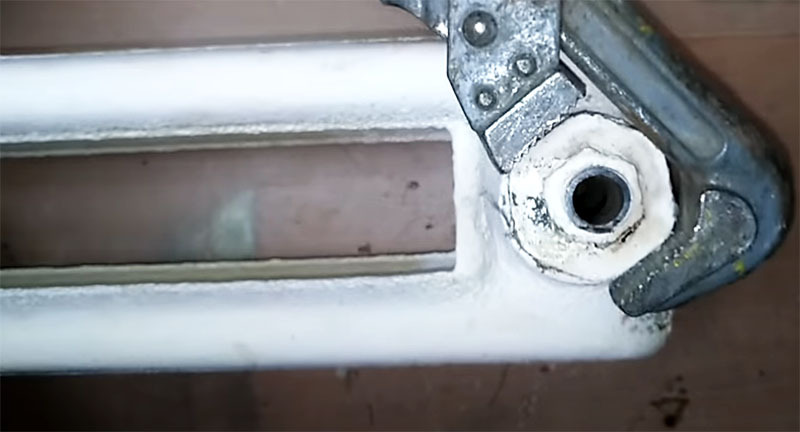
The long thread on the plug fitting is unnecessary, so it can be trimmed a little and then carefully chamfered. Otherwise, it will be problematic to screw the nut onto the thread.
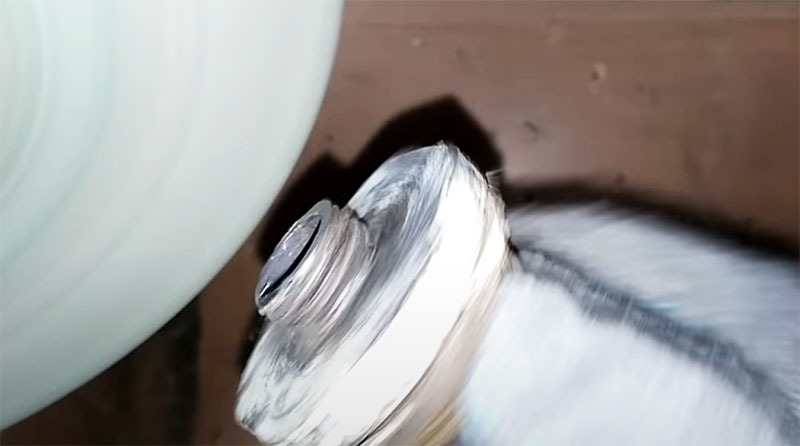
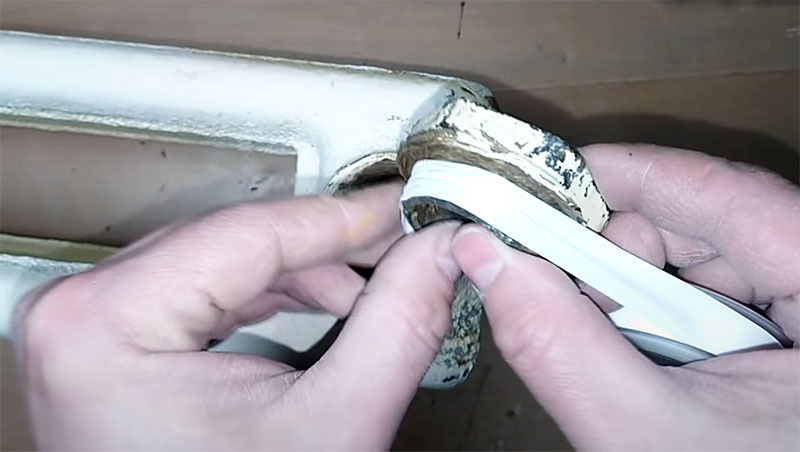
Further, a sealant (FUM-tape) is wound on the plug thread, and the element is screwed into place. The plug is pulled with a gas wrench. In this case, you need to apply a lot of forces - everything must be extremely tight.
Continuing to work with the kettle
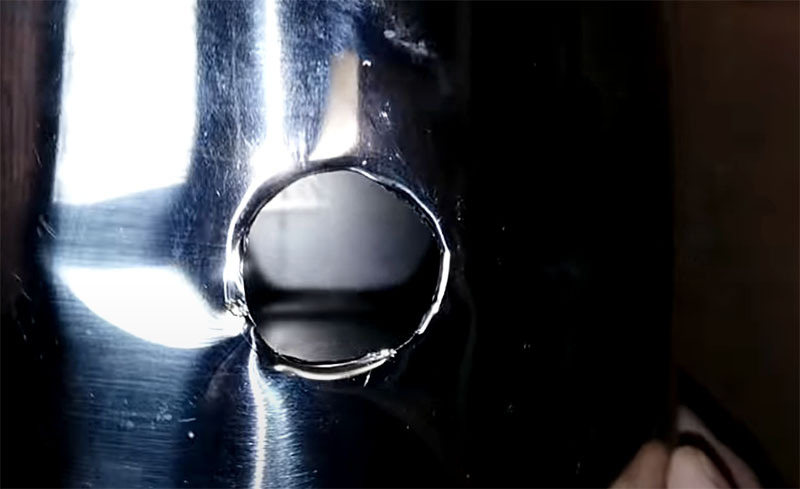
In the side wall of the kettle, you need to drill a hole with a diameter slightly larger than the fitting. The hole is located about 3-4 cm above the bottom with the heater. Here you will have to use drills of different diameters, starting with a smaller one, or use a special stepped one.
Connecting a kettle with a cast iron radiator
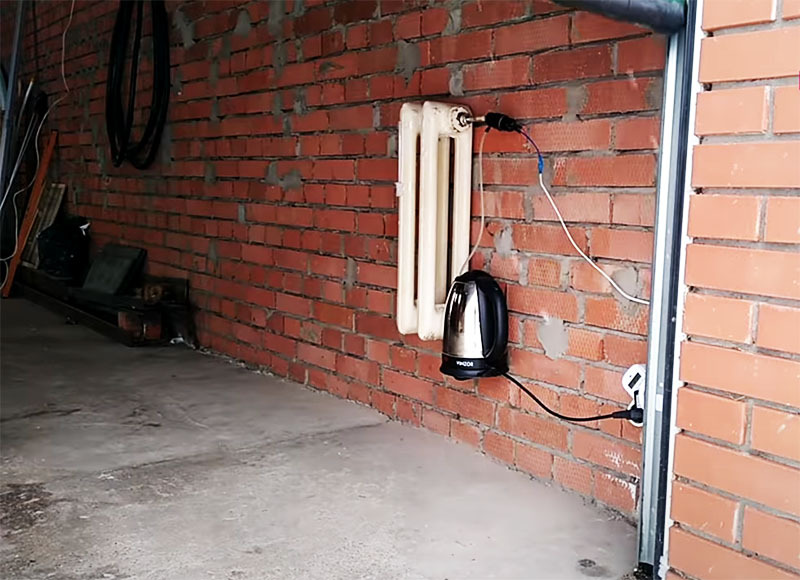
In order for the connection to be airtight, an FUM tape is wound onto the thread of the fitting. The area around - the area of the radiator plug, which will adjoin the outer wall of the kettle, is coated with sealant.
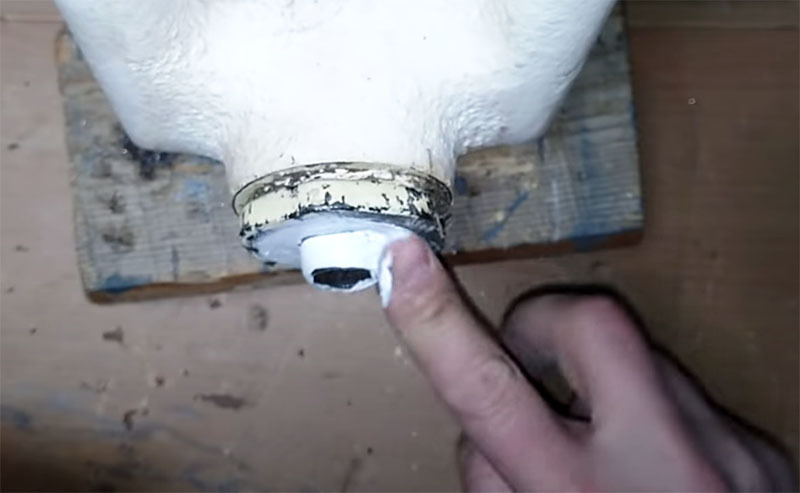
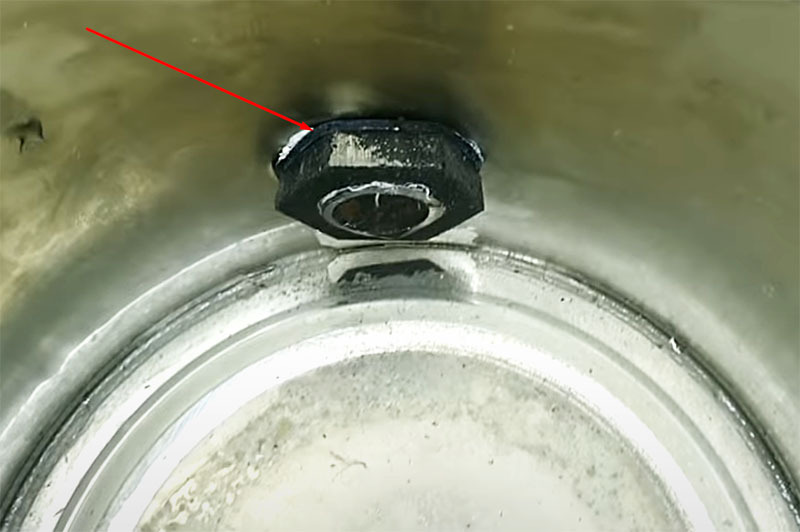
Next, a kettle is put on the fitting, and a rubber or silicone gasket is placed on the inside and a nut is screwed on. The main difficulty here is that it is very inconvenient to tighten the nut inside the kettle due to the small free space. But it is necessary to tighten it as much as possible.
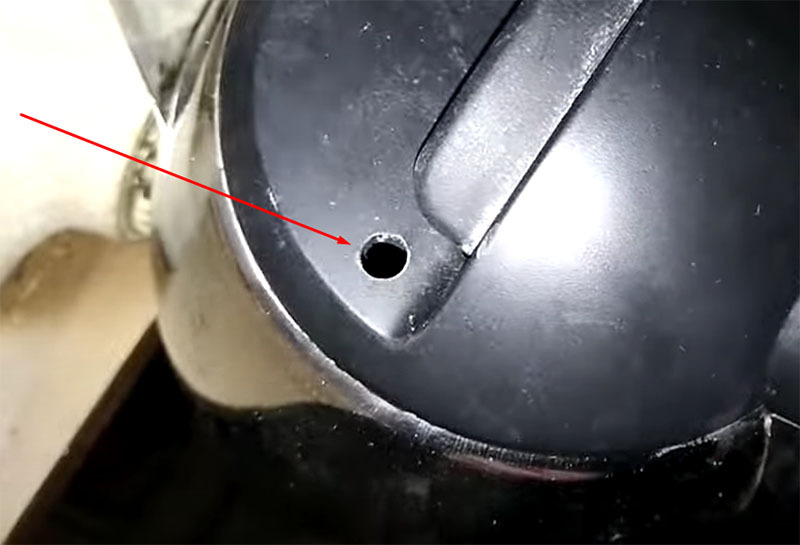
And the final touch - a hole is drilled in the lid of the kettle. What it is for will become clear a little later. In the meantime, we move on.
Filling the radiator with water
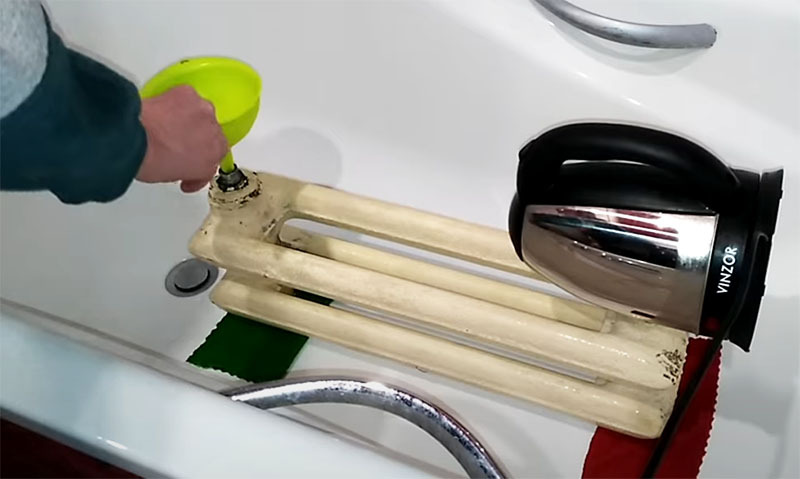
The radiator can now be filled with coolant. When filling the sections, it should be positioned so that the kettle is at the top. In this case, the radiator is filled to capacity.
Improving the radiator from the electric kettle
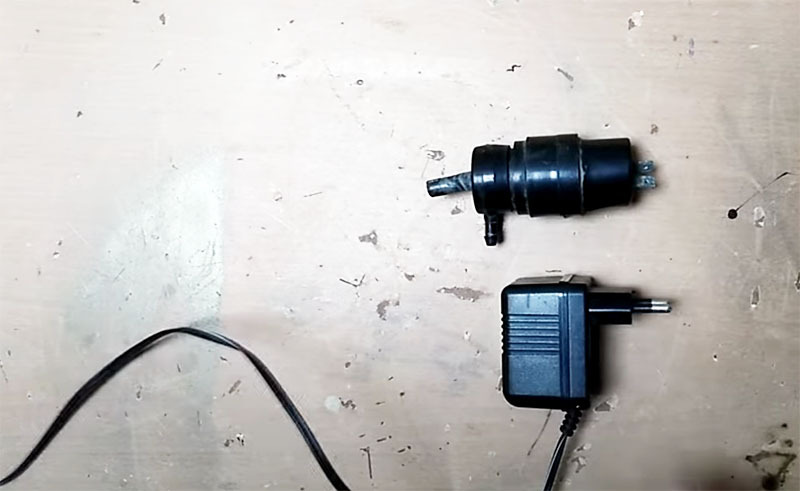
This could finish the work on the manufacture of the heater by plugging the upper plug, but we will try to add a couple more important nodes to the system. To arrange the recirculation of the coolant, you can use a pump from the car washer reservoir. It will be powered by any adapter capable of supplying 12V.
Using hoses, the pump is connected to the radiator from above. The scheme should be as follows - the pump picks up the coolant from the cast-iron radiator, directing it through a hose inserted through the hole in the lid into the kettle. Now it becomes clear why it was necessary to drill it.
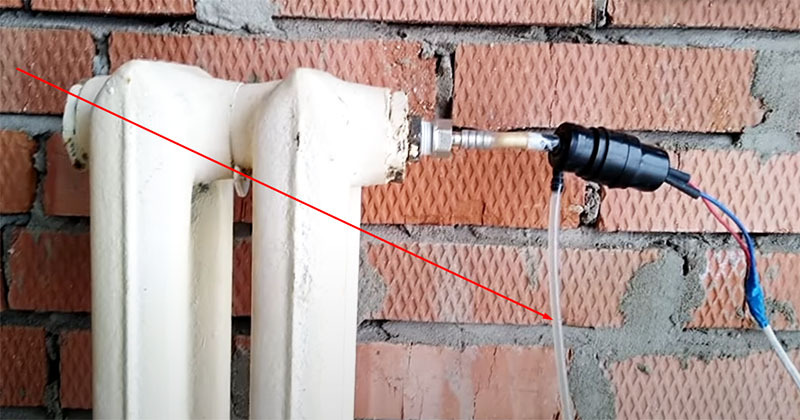
Interestingly, when such a radiator is installed in the working position, the kettle turns out to be from below, however, the law of communicating vessels will not work here due to the tightness of all connections.
Turning on the heater for the first time
Before turning on the heater, it is necessary to fill the kettle with about half of water. It is best to turn on the equipment through a timer, which will allow it to work without human intervention. If you connect it directly, after 20-25 minutes, the teapot's thermostat will work, turning off the power supply. Only the recirculation pump will remain running.
Final part
Today, there are many instructions on the Internet about devices that can be useful to the master once or twice in his life. As for today's review, the heater from the electric kettle will certainly not remain idle. By the way, in autumn or spring it can be transported to the country house by installing it in a greenhouse. As for the acquisition of old radiator sections, if you are lucky, they can still be found at a fraction of the cost. Here everything depends on the luck of the master.
We are sure that such a useful homemade product will come in handy on the farm for many of our dear readers. As for the manufacturing instructions, it turned out to be quite detailed. And yet, if you have any questions on the topic, the HouseChief editors will be happy to answer them if you explain the essence in the discussions below. We are also waiting for your comments on what you have read. What is your opinion - was the information presented today helpful? If so, we would be grateful for the appropriate assessment. Take care of yourself, your loved ones and be healthy!
