Electric dryer from scrap materials

Spring is approaching, and this, as you know, is the most suitable time for collecting medicinal herbs. It is at this time that all the most useful substances are concentrated in them. And here's one caveat: the faster you dry these herbs, the more benefit they will be. But it is undesirable to do this in the oven, because the high temperature does not always have a beneficial effect on the medicinal material. It is optimal to dry in a room at room temperature, but with constant air movement. The task is not easy, which can be solved with the help of electric dryers. Such a device costs from 3,000 rubles, in addition, it takes up quite a lot of space. Not every housewife will find an extra shelf in the kitchen for storing such a gadget and wants to buy a device for drying a basket of mushrooms or a handful of thyme. But you can make a rather effective dryer with your own hands from an ordinary cardboard box, and it will cost you 300 rubles maximum. Adopt the experience of a YouTube channel creator Musiy4uk - and you will definitely not regret it.

Read in the article

  • 1 What is required to make an electric dryer
  • 2 Sequential dryer assembly process: electrical part
  • 3 How and what to make a drying platform

What is required to make an electric dryer

So, the conversation will be about the use of scrap materials, which means that the cost of the entire product will be minimal.
Electric dryer from scrap materials
PHOTO: YouTube.com
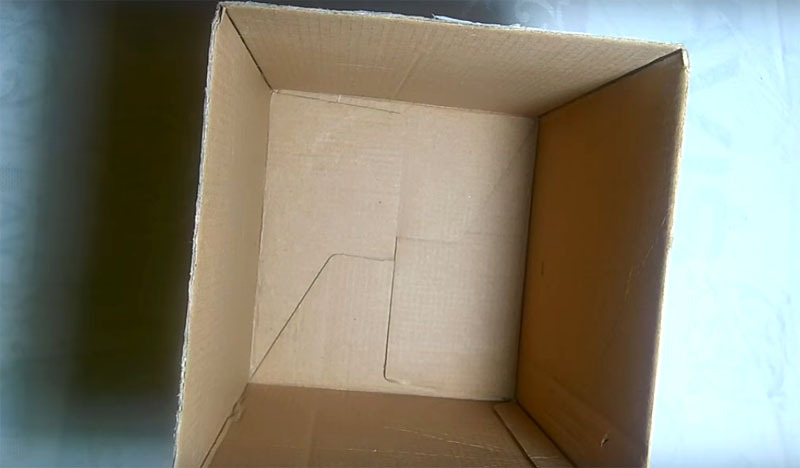
You will need a tall cardboard box. The size in this case is of little importance, but do not take too large a volume.
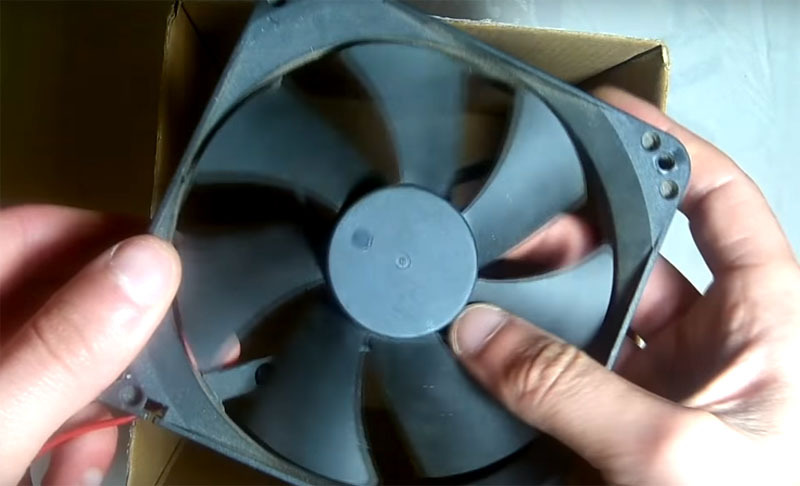
Another important detail is a computer cooler, a fan that cools the contents of the system unit. It costs about 150 rubles, and you can buy one in any store with electrical appliances, if you suddenly didn’t have a used one.
PHOTO: YouTube.com
Another important detail is a computer cooler, a fan that cools the contents of the system unit. It costs about 150 rubles, and you can buy one in any store with electrical appliances, if you suddenly didn’t have a used one.

In addition, you will need a 50-70 ohm resistor and a 12-volt power supply.

Sequential dryer assembly process: electrical part

So, the main principle of the future dryer will be based on a fan placed inside it.
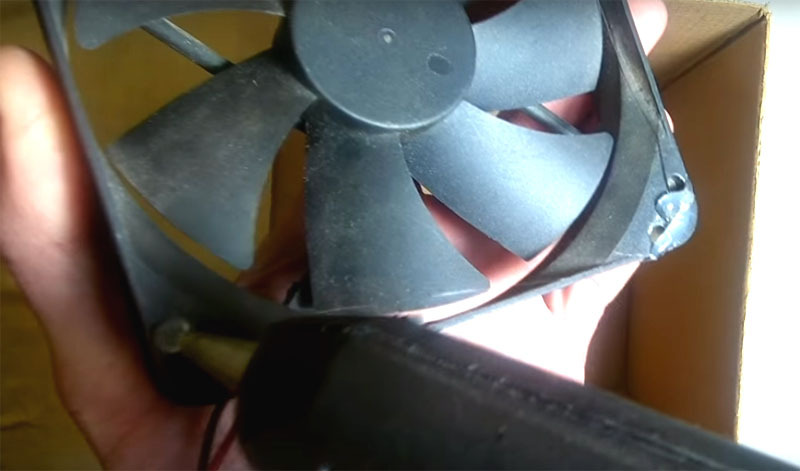
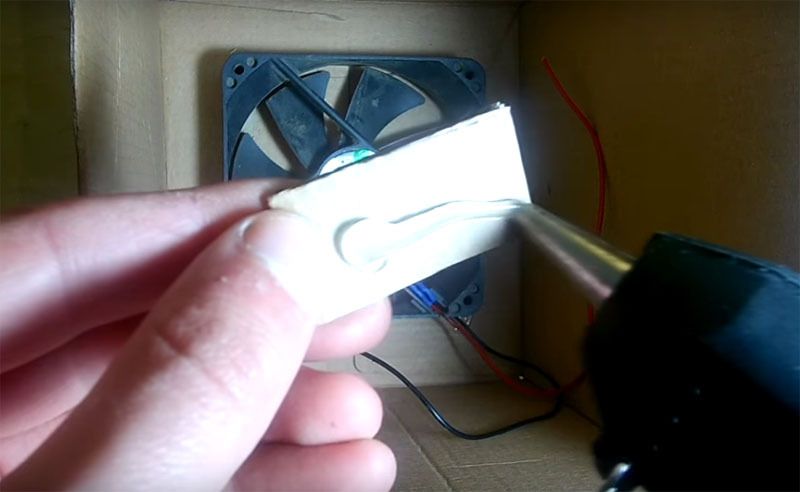
Start by gluing the fan to the bottom of the box. The best way to do this is with hot melt glue. Apply a few drops to the body of the device and just place it in the boxPHOTO: YouTube.com
Start by gluing the fan to the bottom of the box. The best way to do this is with hot melt glue. Apply a few drops to the body of the device and just place it in the box
It will turn out something like this. Free the wires to connect the fan to the power supplyPHOTO: YouTube.com
It will turn out something like this. Free the wires to connect the fan to the power supply
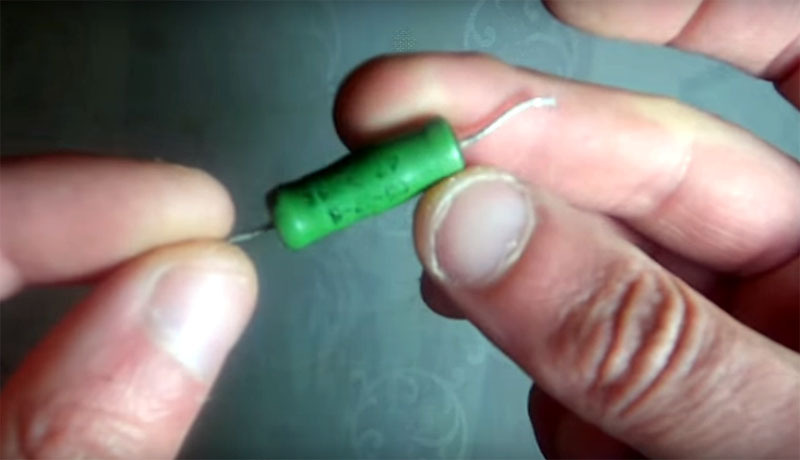
You will now need a resistor. Its task is to reduce the fan speed to acceptable values.PHOTO: YouTube.com
You will now need a resistor. Its task is to reduce the fan speed to acceptable values.
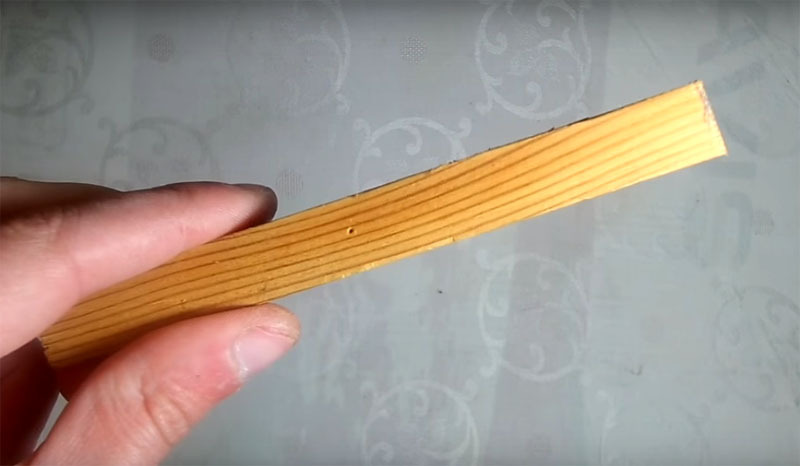
To secure the resistor, you need a small piece of wood that is long enough to fit right across the box.PHOTO: YouTube.com
To secure the resistor, you need a small piece of wood that is long enough to fit right across the box.
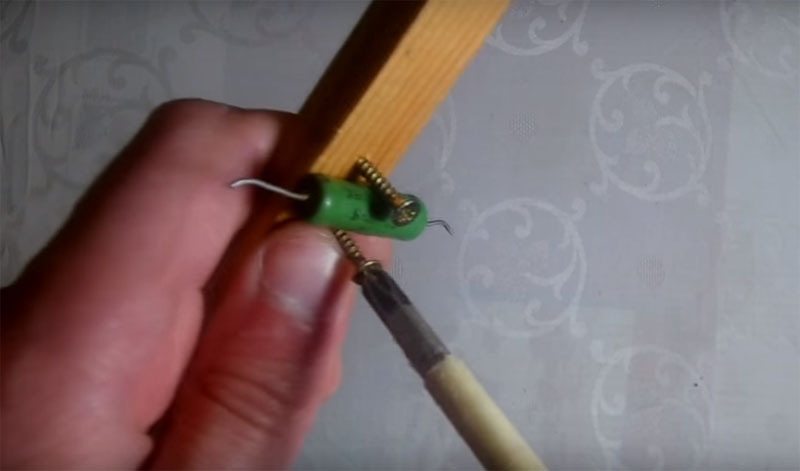
Fix the resistor to the bar. The author used self-tapping screws for this purpose, but there are also more elegant options for solving such a problem.PHOTO: YouTube.com
Fix the resistor to the bar. The author used self-tapping screws for this purpose, but there are also more elegant options for solving such a problem.
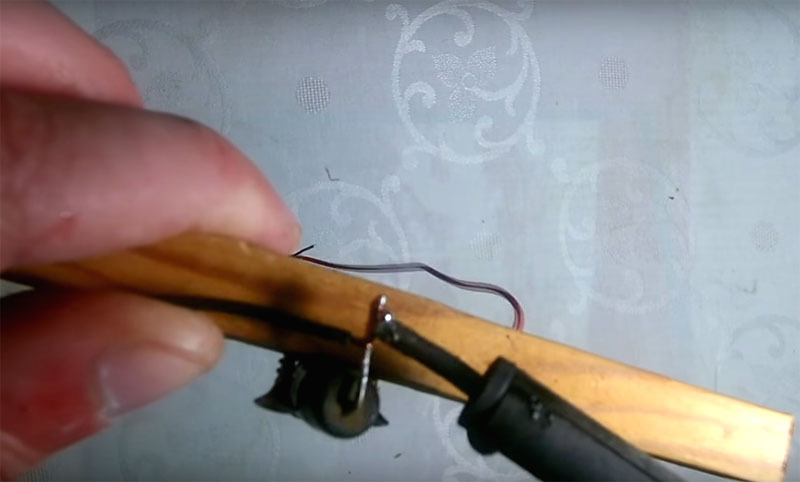
You need to solder wires to the contacts of the resistor, which you then connect to the power sourcePHOTO: YouTube.com
You need to solder wires to the contacts of the resistor, which you then connect to the power source
The bar with the resistor will be located just above the fan; to fix it in the box, you will need a couple of pieces of container cardboard and a glue gunPHOTO: YouTube.com
The bar with the resistor will be located just above the fan; to fix it in the box, you will need a couple of pieces of container cardboard and a glue gun
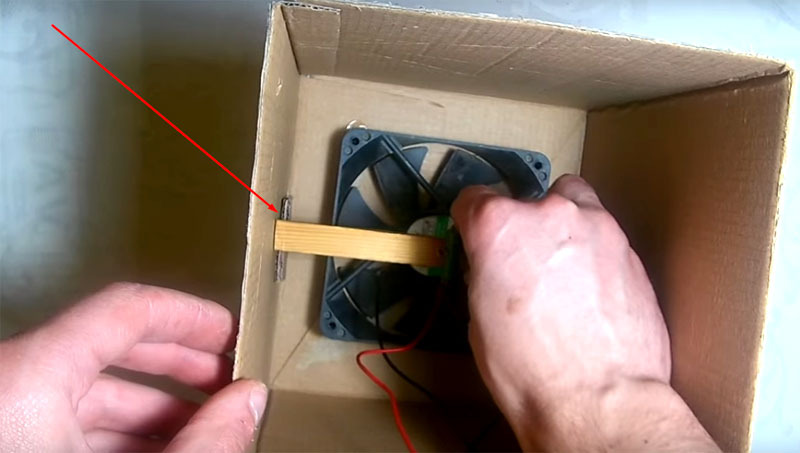
Glue the pieces of cardboard to the sides of the box and place a plank on them. Add glue right on top of this joint for stability.PHOTO: YouTube.com
Glue the pieces of cardboard to the sides of the box and place a plank on them. Add glue right on top of this joint for stability.
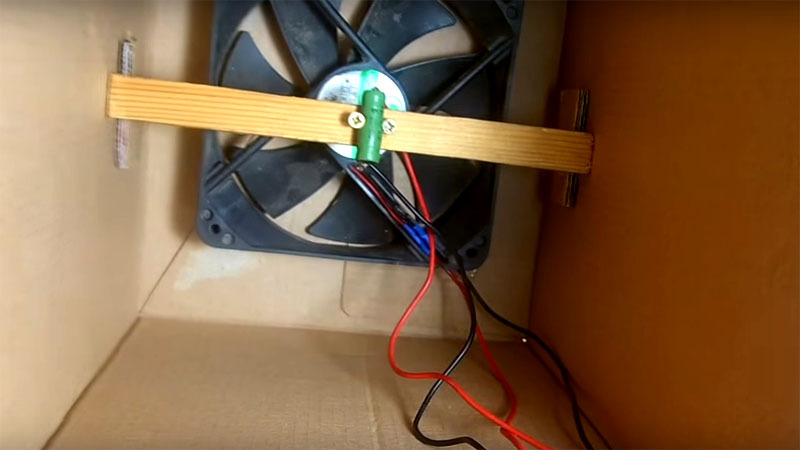
Now the resistor is located above the fan, it will also cool from air movementPHOTO: YouTube.com
Now the resistor is located above the fan, it will also cool from air movement
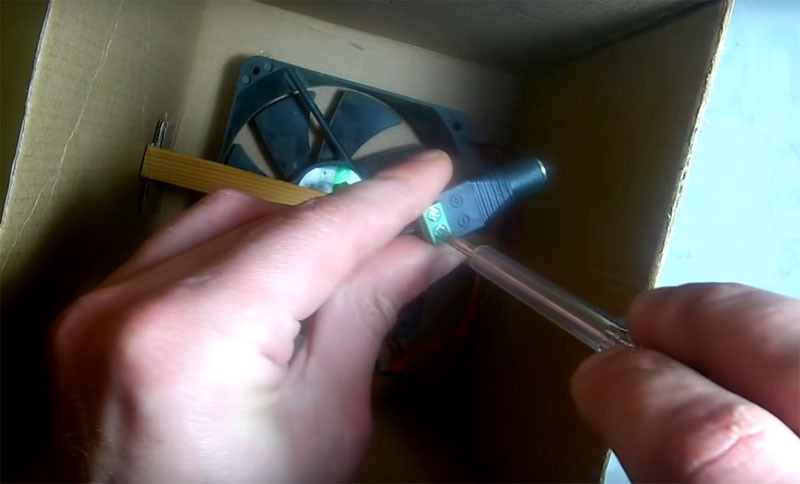
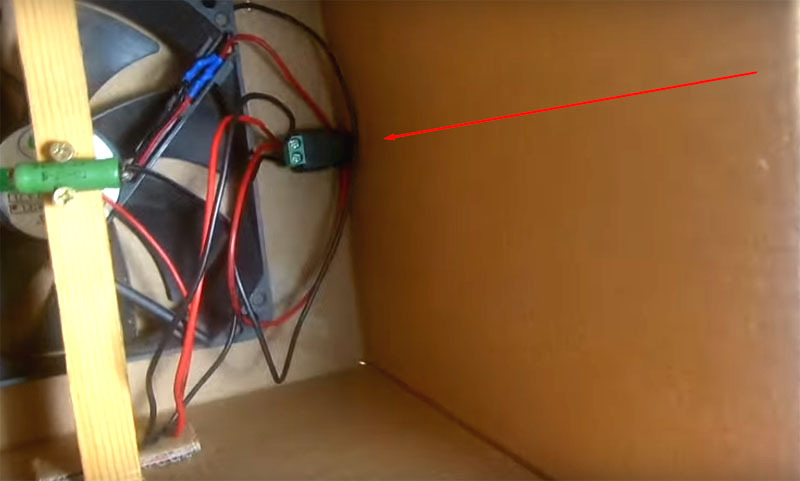
You will need an adapter to connect the power supply. Fix the wires from the resistor and the fan in itPHOTO: YouTube.com
You will need an adapter to connect the power supply. Fix the wires from the resistor and the fan in it
Now you can carefully slide the adapter out into the side of the box. Make a hole in the cardboard and secure the adapter with a little gluePHOTO: YouTube.com
Now you can carefully slide the adapter out into the side of the box. Make a hole in the cardboard and secure the adapter with a little glue
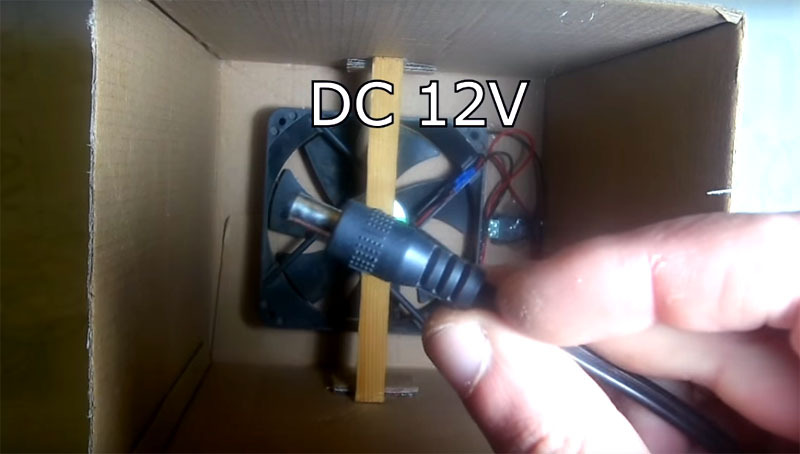
Already at this stage, you can check how your complete system works by connecting a 12 V power supply to itPHOTO: YouTube.com
Already at this stage, you can check how your complete system works by connecting a 12 V power supply to it

How and what to make a drying platform

Let's start by solving the question of how to keep the platform at a safe distance from a running fan.
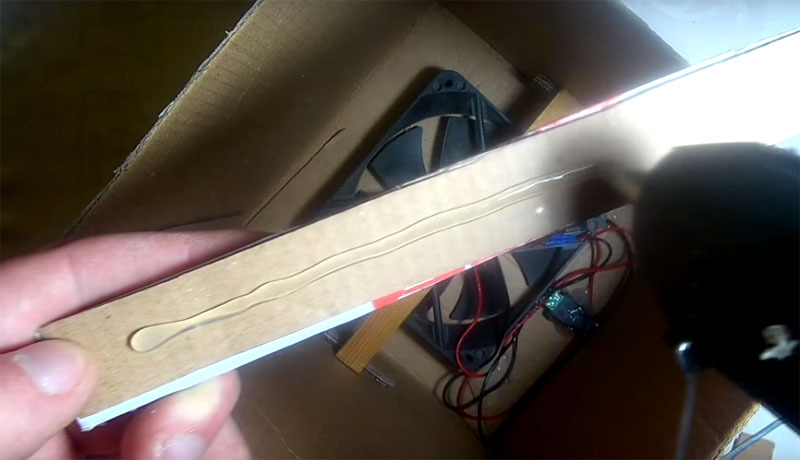
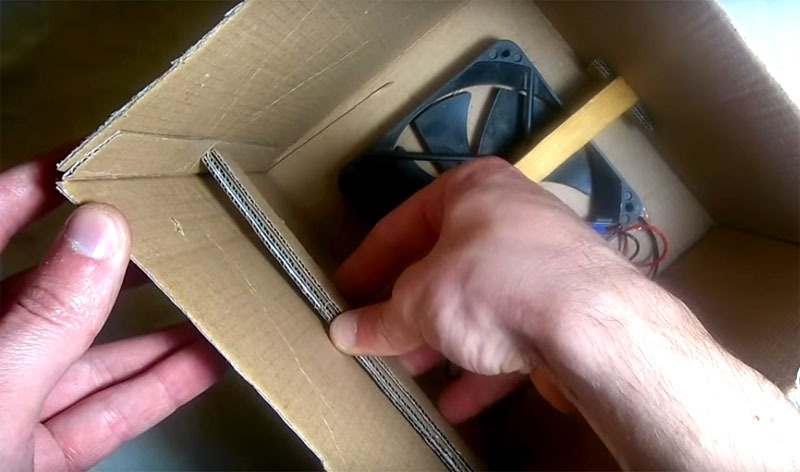
Again, you need the containerboard strips. Connect several strips with gluePHOTO: YouTube.com
Again, you need the containerboard strips. Connect several strips with glue
Glue these strips to the sides of the box and nothing else will fall below, to the fan.PHOTO: YouTube.com
Glue these strips to the sides of the box and nothing else will fall below, to the fan.

And now about the drying platform. The easiest way to make this platform is from the same cardboard, but there is one caveat: from the natural moisture of the materials that you will dry, the cardboard is deformed and saturated with unnecessary odors. What can be used in this case?
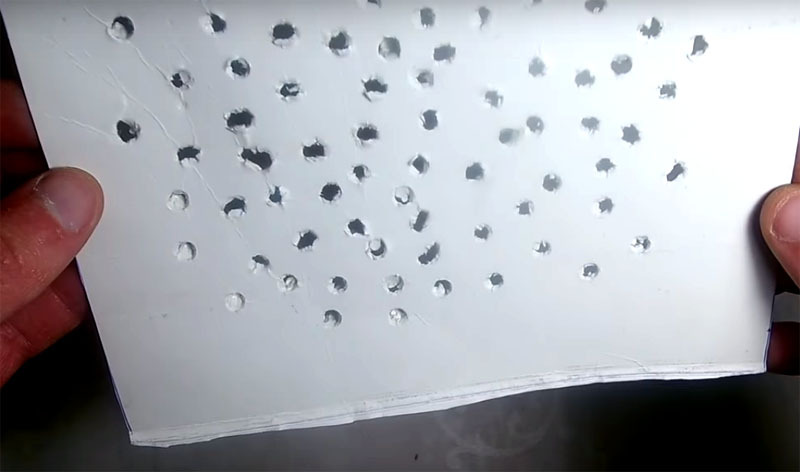
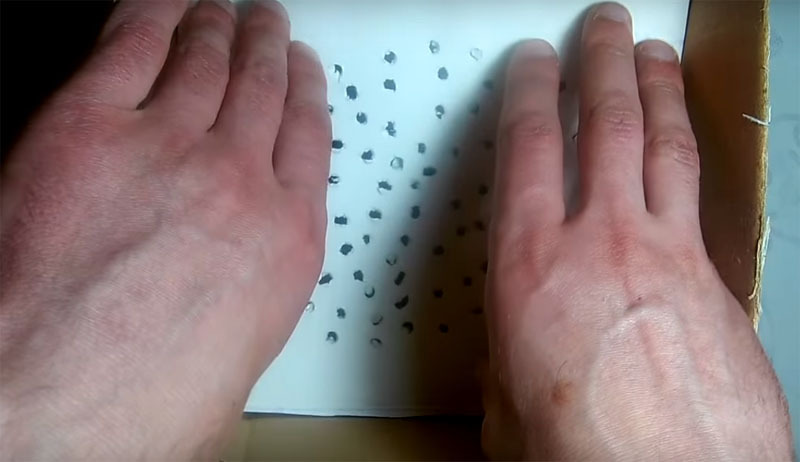
A very simple way out is a piece of thin foam, ceiling tiles. Cut out a suitable piece and pierce it in several placesPHOTO: YouTube.com
A very simple way out is a piece of thin foam, ceiling tiles. Cut out a suitable piece and pierce it in several places

Instead of styrofoam, you can use a hard plastic folder cover. Holes in it can be made with a soldering iron sting or a knitting needle heated over a fire. If you can find a suitable size, fine mesh grill is also a good option.
All that remains is to place your platform in the box and use the dryer for its intended purpose.PHOTO: YouTube.com
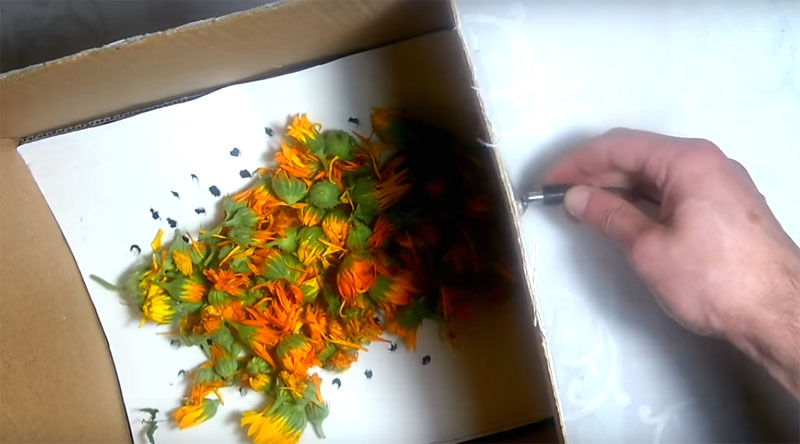
All that remains is to place your platform in the box and use the dryer for its intended purpose.
Place your material on the platform and turn on the fan. Such a dryer consumes minimal energy, works for an infinitely long time and very carefully dries everything that appears on the platform: it can be mushroom plates, like cut vegetables and, of course, herbsPHOTO: YouTube.com
Place your material on the platform and turn on the fan. Such a dryer consumes minimal energy, works for an infinitely long time and very carefully dries everything that appears on the platform: it can be mushroom plates, like cut vegetables and, of course, herbs

Yes, the task is not an easy one, and it will take you some time to assemble the entire structure, but the effort is definitely worth it. If you need to dry more food, multiple fans can be used. You can even make a fish dryer according to the same principle. In a cardboard container, flies will not attack it if you close the box with a net or a piece of tulle. Put such a device on the balcony - and the fish will dry up in a couple of days. In short, the idea is very successful, and it is worth taking it into service.

If you are interested in the topic of creating a homemade fish dryer, then in addition we suggest you watch this small video:

We are waiting for your opinions about this homemade product in the comments. Write about your doubts and options for improvement, it's very interesting. If you can make a dryer yourself, film the process on your phone or camera and send us a description, we will publish the most interesting master classes!

Discuss0