Keeping your garage tidy is the key to successful work. Not everyone can boast of this, because it is not easy to find a place for numerous tools and consumables for them. Cardboard and plywood boxes, plastic boxes - all this can often be seen on the shelves of the workshop; and it must be admitted that such storage systems ─ the most common, but not the most convenient. The materials are mixed in them, and in order to find something you need, you have to spend time sorting through the contents. It is for this reason that organizers that are provided for specific parts are much more convenient, because they allow not only storing, but also quickly finding everything you need. One of these ideas was suggested by the author of the YouTube channel Workshop Diy Is an organizer for grinder discs. And it's quite simple to make it, you can easily repeat this design for your workshop.
Read in the article
- 1 What is required to make an organizer
- 2 Assembling the disc organizer base
- 3 Shelves for disks and how to fix the organizer
What is required to make an organizer
Materials for making an organizer are easy to find, and you can literally use the leftovers after renovation in your bathroom.

In addition, you will need:
- common plastic water pipe ─ 2 pieces of 40 cm each;
- two corners for the same pipe;
- another small piece about 12 cm long;
- remnants of plastic.
Prepare from tools for work:
- grinder;
- drill;
- roulette;
- screwdriver;
- glue gun.
Assembling the disc organizer base
You will need a glue gun to assemble the base. Hot glue adheres perfectly to plastic parts.
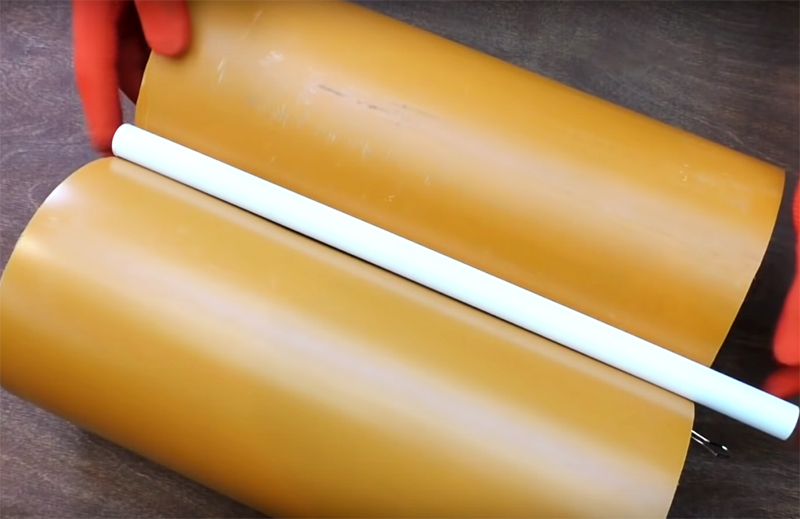
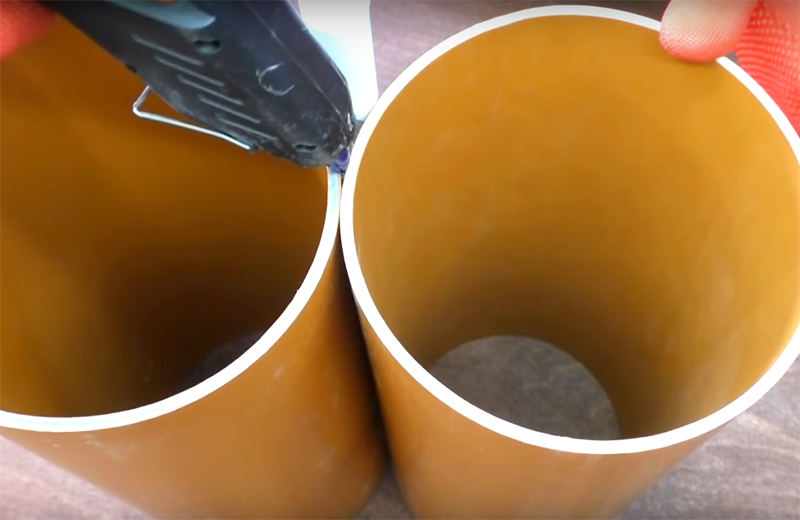
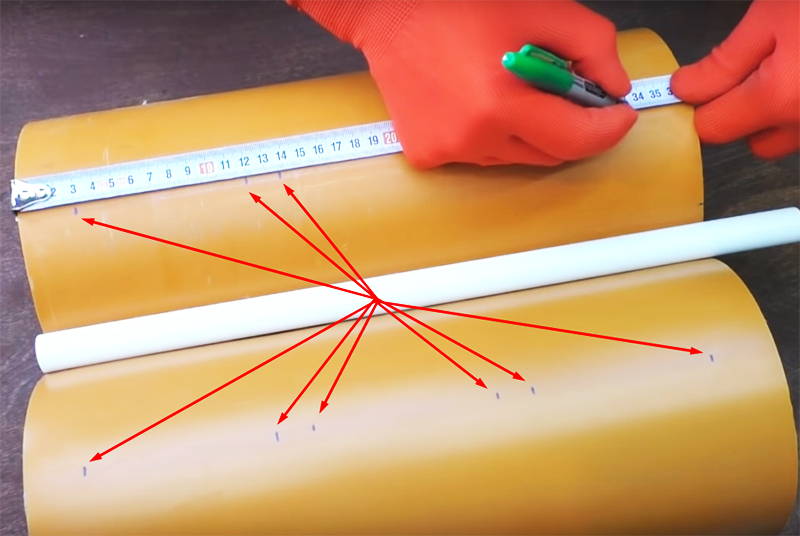
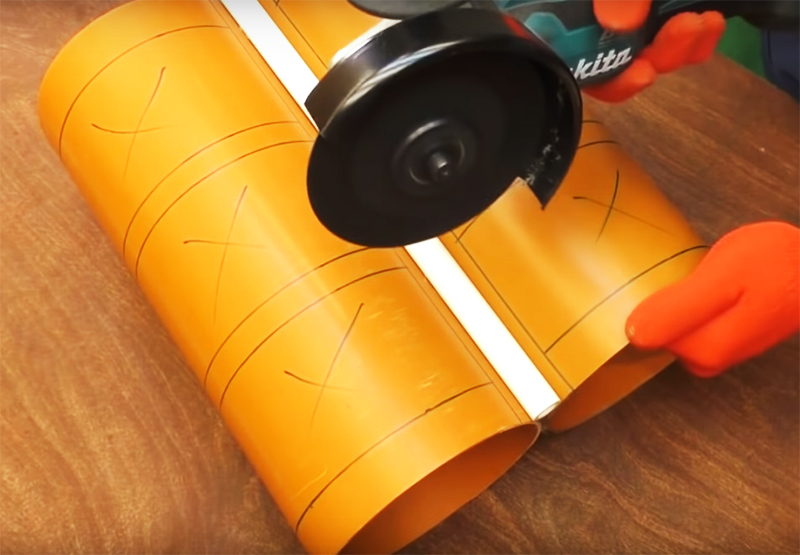
First, make large cuts with a grinder, and then finalize hand jigsaw.
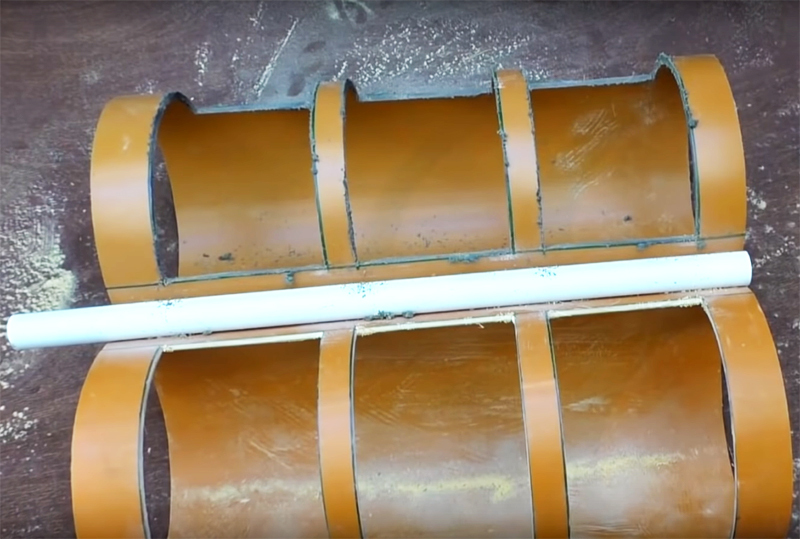
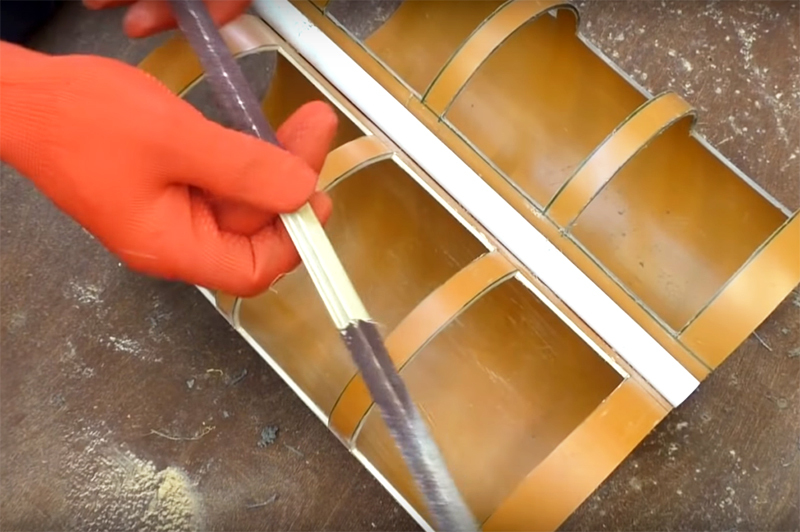
A small file is useful for this. If for some reason this is not at hand, you can build a homemade tool by wrapping a thin strip with emery. You can fix the emery with staples or with the same hot glue.
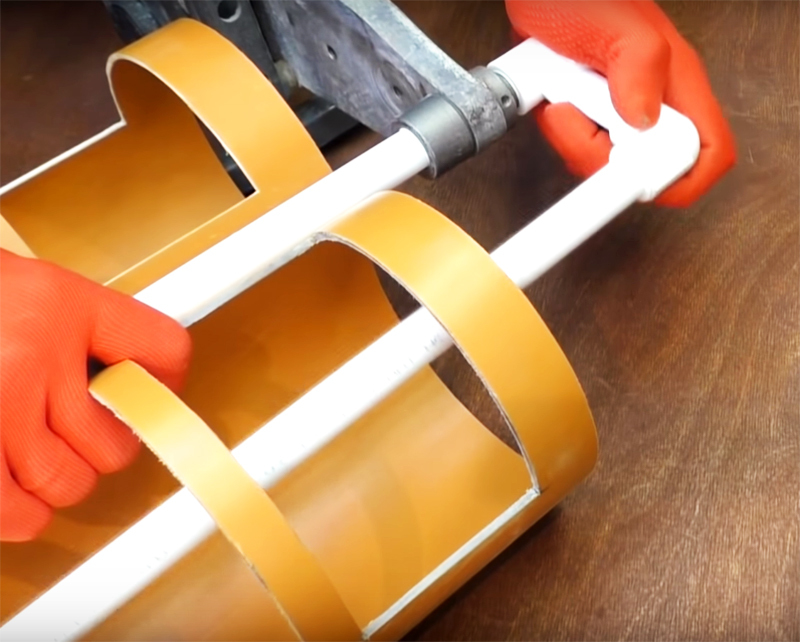
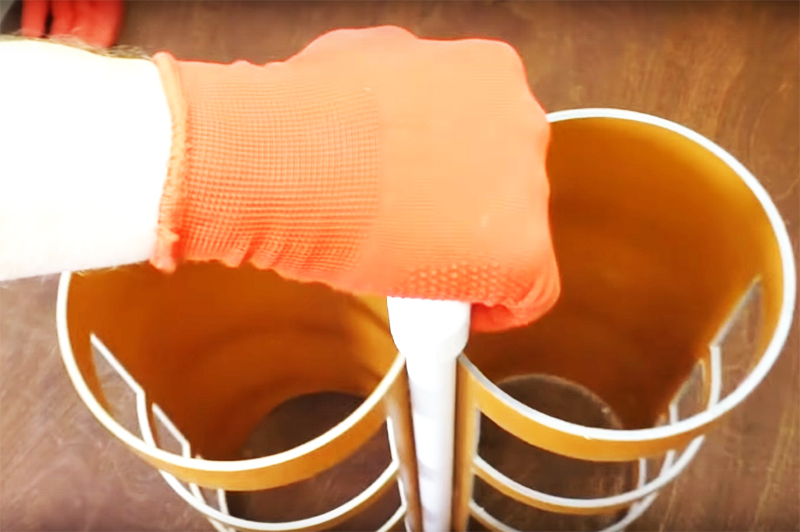
With such a handle, if necessary, you can easily carry the organizer to the place of work.
Shelves for disks and how to fix the organizer
Round shelves will be located on the finished plastic frame. There will be 8 of them in total, this is quite enough to arrange the disks according to their intended purpose.
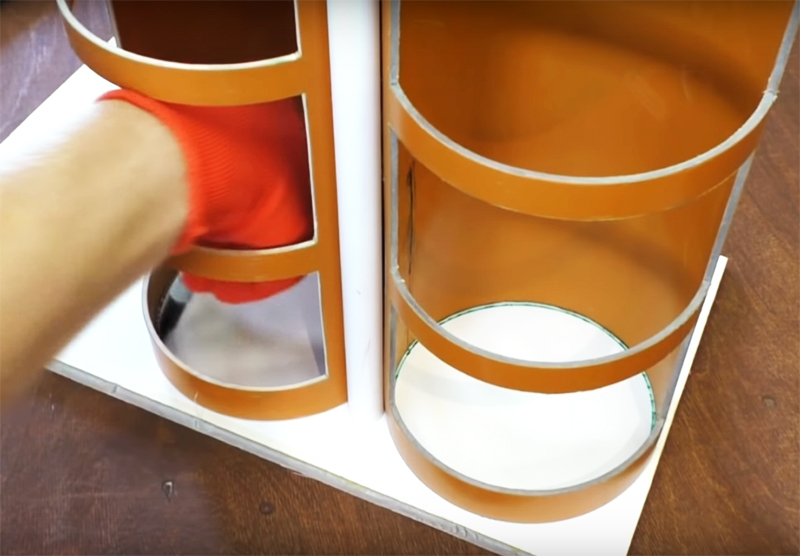
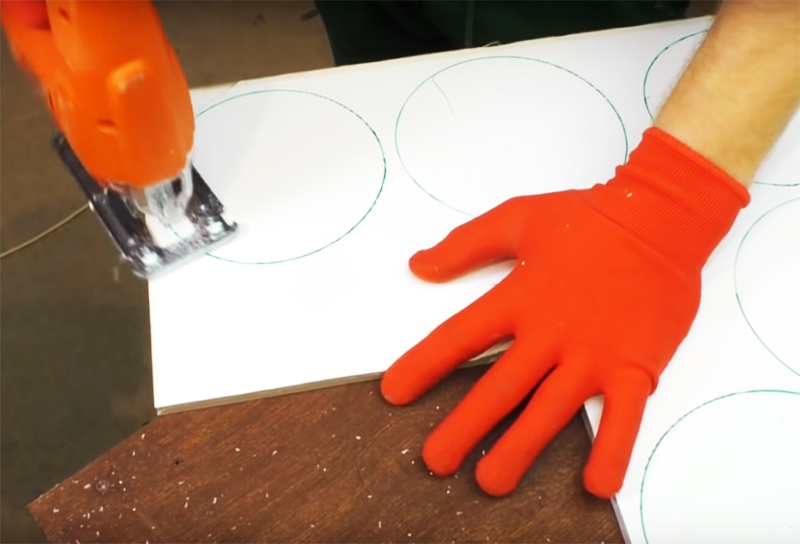
Try to follow the markings exactly, because otherwise the bottoms of the shelves will be difficult to put in place.

Pour glue on the outside and inside of the shelf, it will be much more reliable.
By the way, the author checked the strength of fastening such shelves with hot glue. He put sand-lime brick on the shelf, and the structure confidently withstood the load. And the grinder discs weigh very little, so you don't need to worry about the reliability of the fixation.
This organizer will have the ability to be mounted on the wall. So it will take up less space on the workbench, and if necessary, you can remove it and carry it by the handle.

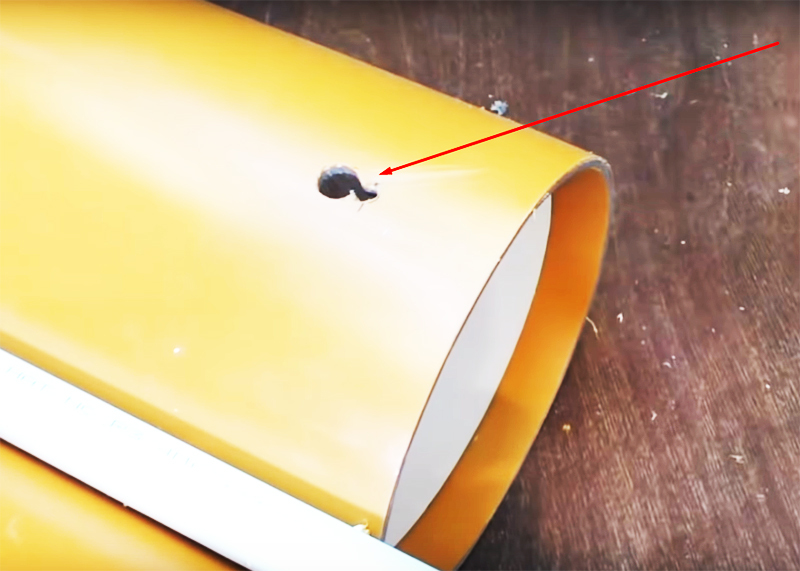
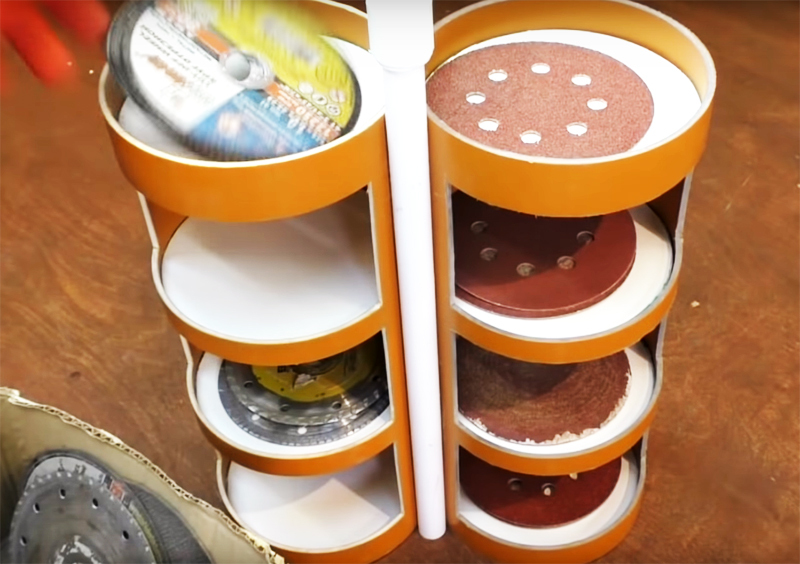
You just have to put the disks as intended on all the shelves.
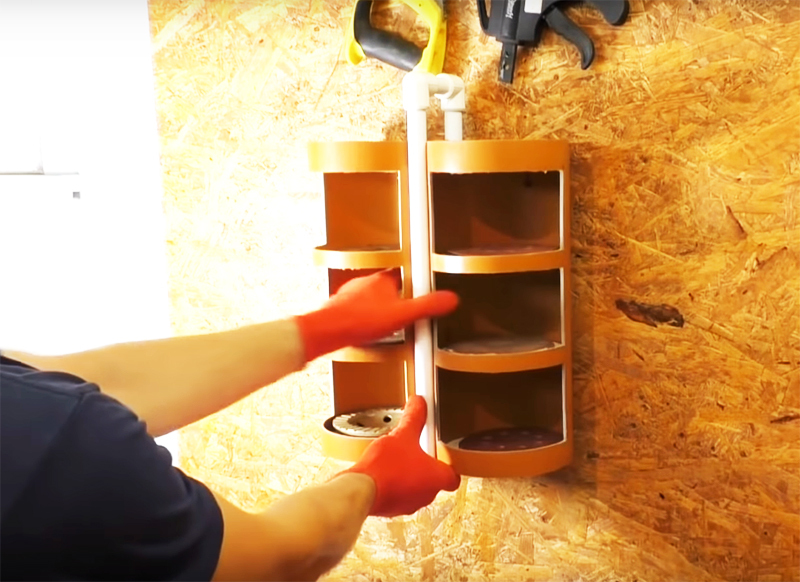
The idea is very simple and attractive at the same time, isn't it? Most importantly, the materials for manufacturing cost literally a penny, and in return you will receive a convenient lightweight organizer that can be mounted on the wall or carried by the handle.
This is not the only organizer idea. There are other options from craftsmen. For example - like this, in the video master class:
Which option did you find the most convenient? Write about it in the comments. If you tried to do something like this, we look forward to your impressions!

