If an addition is planned in the family, you should immediately think about what to take the child from the hospital with. Today, various products can be purchased without any problems. If there is no suitable option among them, you can sew an envelope for the newborn's discharge with your own hands. To do this, depending on the season, you need to purchase suitable materials and understand the sewing technology.
Read in the article
- 1 How to choose an envelope for a statement: useful tips
- 2 Do-it-yourself winter version of an envelope blanket for discharge
- 2.1 Materials and tools
- 2.2 Pattern of an envelope for a newborn: a sequence of actions
- 2.3 How to sew a winter statement envelope: detailed instructions
- 3 Diy demi-season blanket envelope for discharge
- 3.1 Materials and tools
- 3.2 Pattern
- 3.3 How to sew a blanket envelope for a newborn: detailed instructions
- 4 DIY workshop on sewing a summer envelope for a newborn
- 4.1 Materials and tools
- 4.2 Pattern
- 4.3 Sewing a blanket for a newborn with your own hands
- 5 Methods for attaching the transformer envelope
- 6 DIY decor options for an envelope for discharge from the hospital
How to choose an envelope for a statement: useful tips
Usually, there are no questions about whether you need an envelope for a statement. Every family traditionally buys a beautiful set. To purchase a suitable product, it is worth considering a number of parameters, among which the following are the most important:
- for whom the kit is purchased. Color and decorative design depends on this. For the girl, bright models with ruffles and bows are taken. For boys, less colorful products in cold colors with a restrained design;
- purpose of purchase. If the envelope will be used only once a day, it is worth choosing an elegant model. For daily use, it is worth ordering a multifunctional option;
- material from which the product is sewn. Regardless of the composition, it must be safe for the newborn;
- season of the year. For summer, a cotton product with bamboo insulation is suitable. For winter, it is better to choose a model with an insulating layer of alpolux, thinsulate, isosoft. Fleece is suitable as a lining.
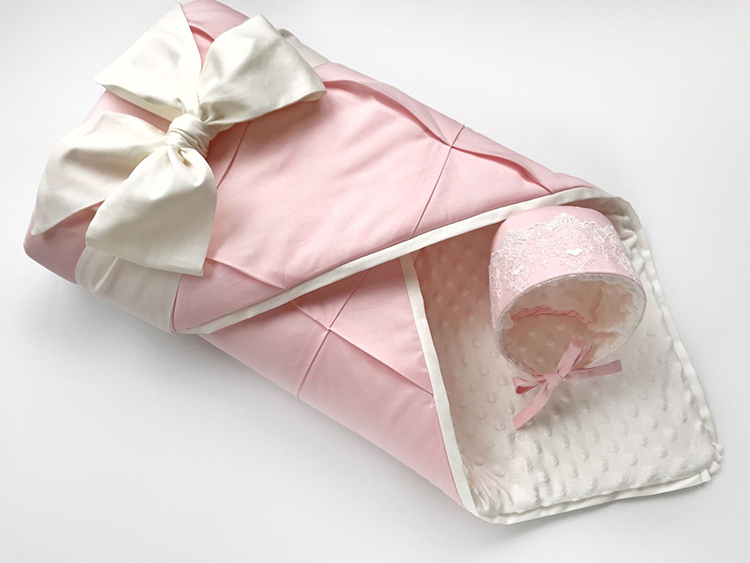
Do-it-yourself winter version of an envelope blanket for discharge
It can be quite cold in winter. That is why, having decided to sew a blanket envelope for an extract, it is worth a demanding approach to the choice of materials. The finished product should provide a comfortable environment for the baby, even at low temperatures.

Materials and tools
To sew a blanket, you must have in stock:
- insulation with suitable characteristics of sufficient thickness. Most often, holofiber or synthetic winterizer is chosen;
- fabric for the outer layer. It can be wool, boucle, raincoat, tweed, cotton denim;
- material for the inner layer. Choose a 30% wool, which allows you to create comfortable conditions for the child while walking;
- lightning;
- threads of a suitable color;
- shura for tightening.
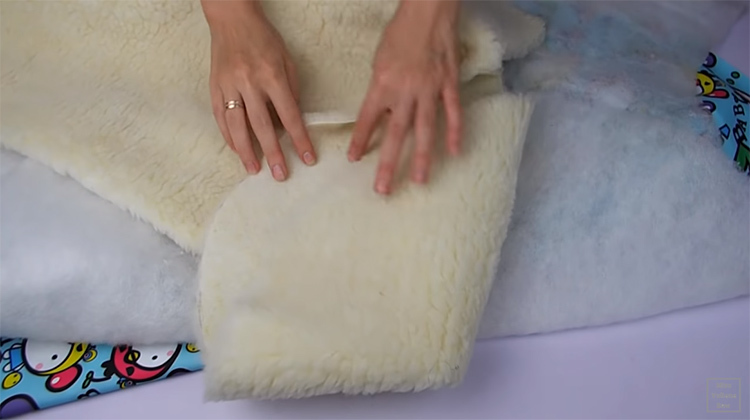
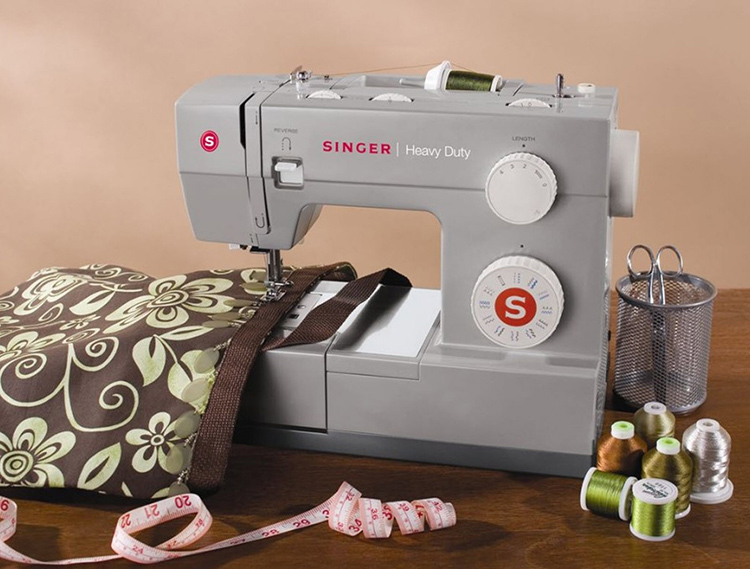
To sew an envelope for a newborn with your own hands, you must have in stock:
- sewing machine;
- needles;
- scissors;
- safety pins;
- meter.
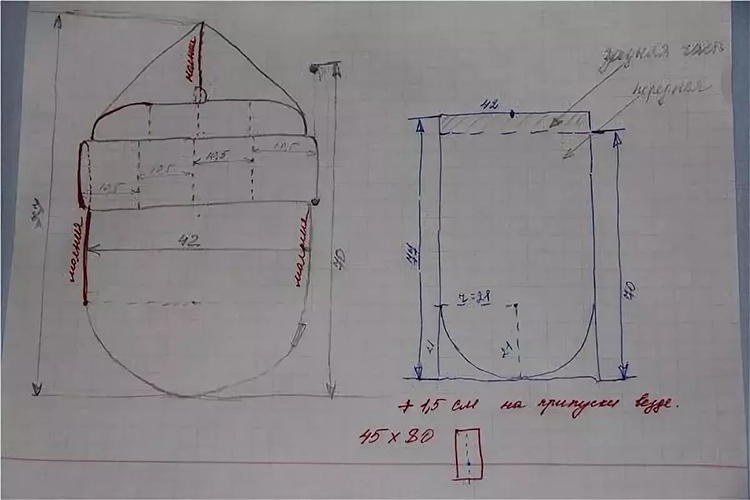
Pattern of an envelope for a newborn: a sequence of actions
In order not to think over all the details of creating an envelope pattern for a newborn, you should use the ready-made ones.
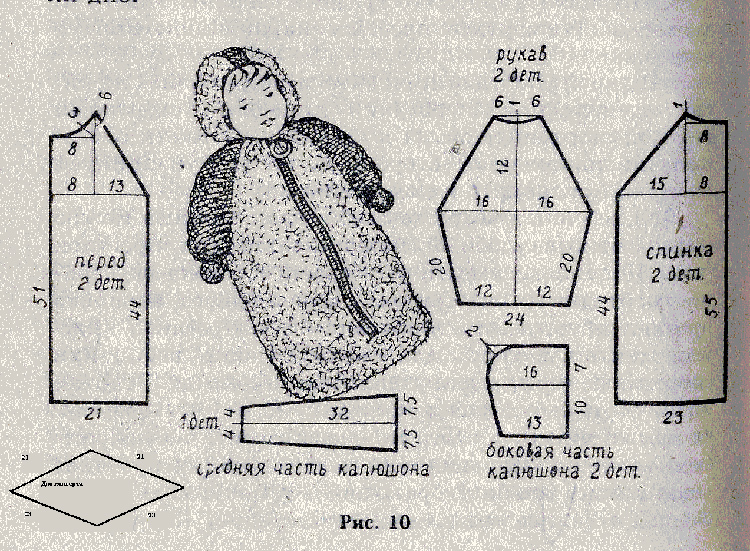
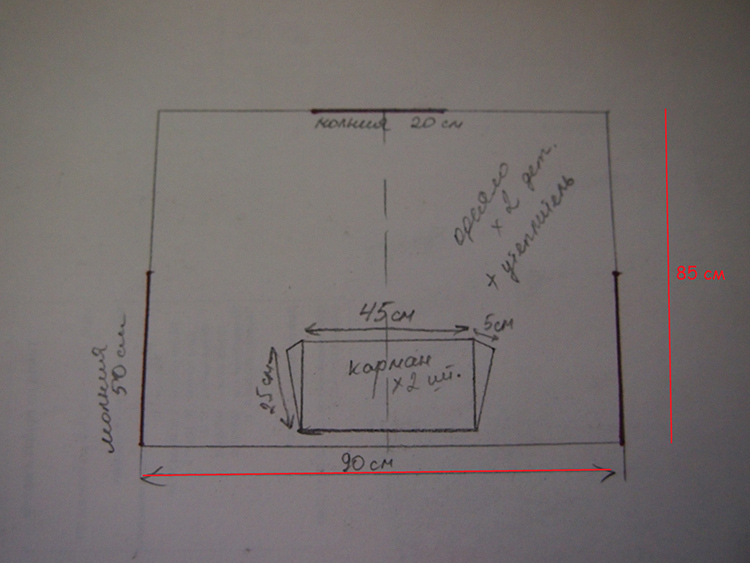
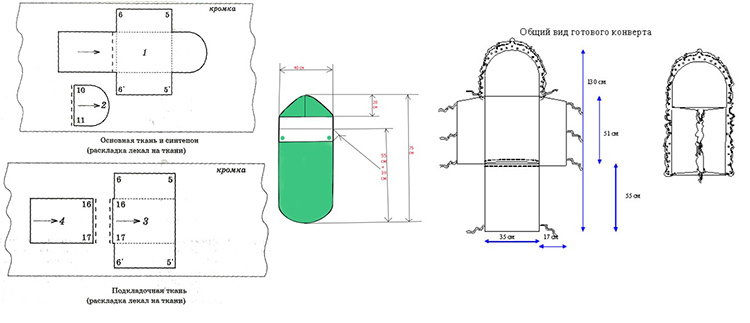
How to sew a winter statement envelope: detailed instructions
A do-it-yourself envelope sewing master class includes the following steps:
| Illustration | Description of action |
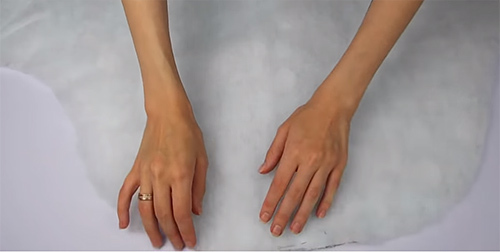 | All details are cut out and cut to size. The raincoat is laid with the right side out and sewn with insulation |
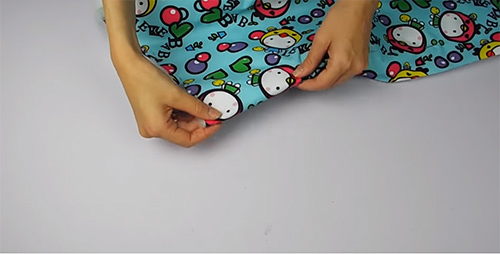 | The outer edge is folded over and fitted. The stitching should be about 5 cm from the edge |
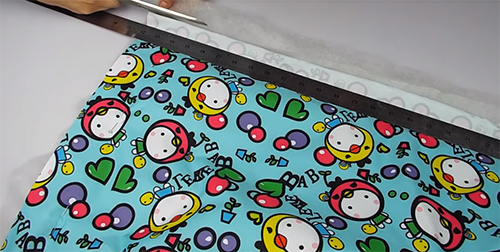 | To avoid thickening at the joints, the excess insulation is cut off |
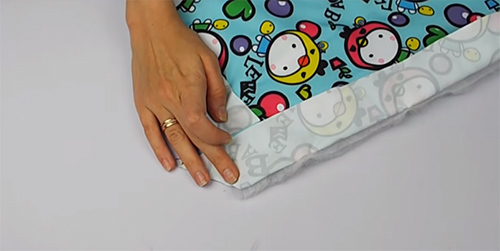 | The corners are formed. Folded in an envelope and sewn |
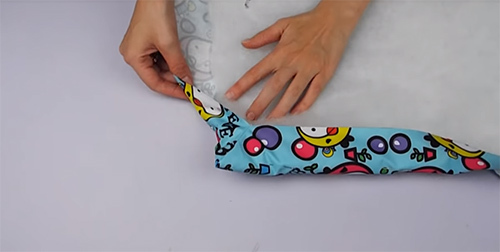 | The raincoat is turned inside out and sewn. Additional stitches are formed to prevent the outer layer from moving relative to the insulation |
 | Along the edge of the curly part, a drawstring 5 cm thick is sewn, folded in half. Previously, its length is determined using a meter. |
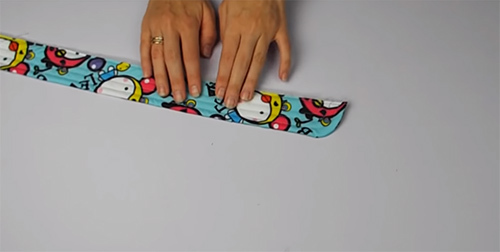 | Parts of the opposite side are being formed. They are made from raincoat fabric. A synthetic winterizer is laid inside |
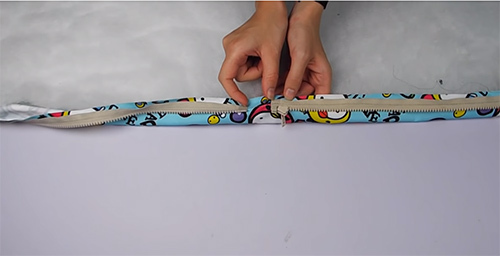 | Zippers are sewn on according to the selected pattern. Leave at the edges about 1 cm for attaching the inner layer. Excess material is cut |
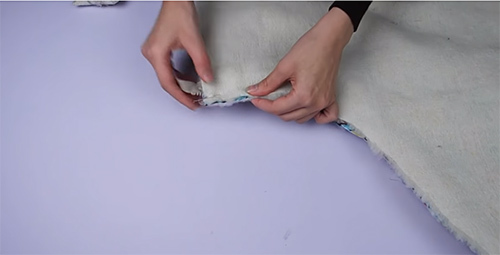 | The inner part is taken in and attached. The processing of internal seams is performed with a turn. At the end, decorative stitches are sewn on the front side. Insert the cord along the top |
Diy demi-season blanket envelope for discharge
Demi-season blanket-envelope for a newborn is sewn with their own hands from various fabrics. Such a product should provide a comfortable environment for the baby, even with significant fluctuations in the ambient temperature.
Materials and tools
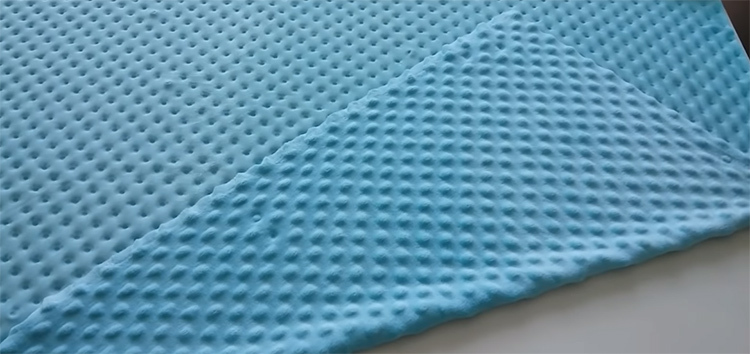
For sewing an envelope blanket for discharge with their own hands, they take a raincoat or cotton and plush. The first one will be used to make the outer layer, the second - the inner one. Another combination is acceptable. A synthetic winterizer is usually taken as a heater. To ensure a sufficient level of thermal protection, it is used in two layers. They usually sew a blanket envelope for a statement on a sewing machine. In addition to her, you must have in stock scissors, pins, meter.
Pattern
To sew an envelope for a statement with your own hands, you need to decide on the pattern of the model and correctly cut the material. Various options are available here. The choice is made depending on how long and how exactly you plan to use the finished product. If it is intended not only for the day of discharge, but also for subsequent daily use, it is worth choosing the option of an envelope blanket
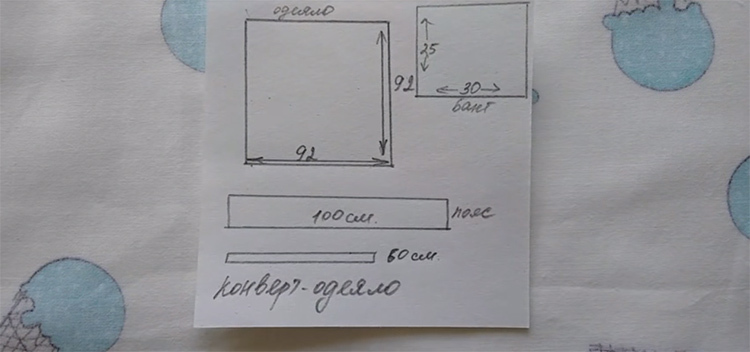
How to sew a blanket envelope for a newborn: detailed instructions
In order for the product to turn out to be of high quality, it is worthwhile to figure out in detail how to sew a blanket envelope for discharge. It is necessary to act in the following sequence:
| Illustration | Description of action |
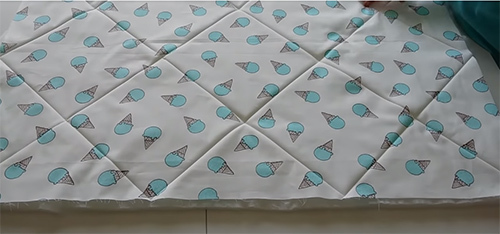 | All parts are cut to size. Plush is cut out a little shorter than the outer layer, as it stretches well enough. Cotton is combined with insulation and sewn on a typewriter to form cells of 22 × 22 cm² |
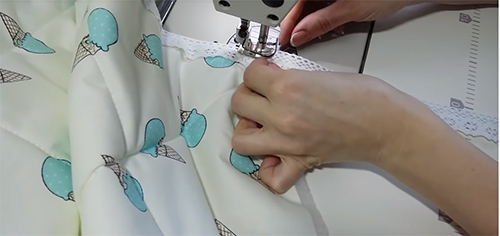 | A decorative tape is attached along the contour. They begin to sew, stepping back some distance from the edge |
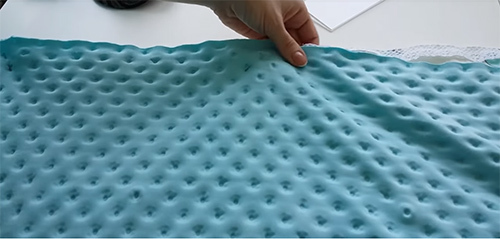 | Sew on plush. To do this, its front side is connected to the front side of the outer layer and attached along the contour, leaving a small area. The product is turned inside out, and the hole is sewn up with blind stitches. A blanket for discharge from the hospital is decorated with their own hands using a bow or other decor |
We also offer you to watch a video, which describes in detail how to sew an envelope for a newborn:
DIY workshop on sewing a summer envelope for a newborn
If you decide to sew an envelope for a newborn with your own hands, a detailed master class will help you understand the intricacies of the process. All work traditionally begins with the preparation of materials and tools.
Materials and tools
To sew a winter or summer envelope for a statement with your own hands, you need to prepare:
- sewing machine;
- needles;
- scissors;
- safety pins;
- meter;
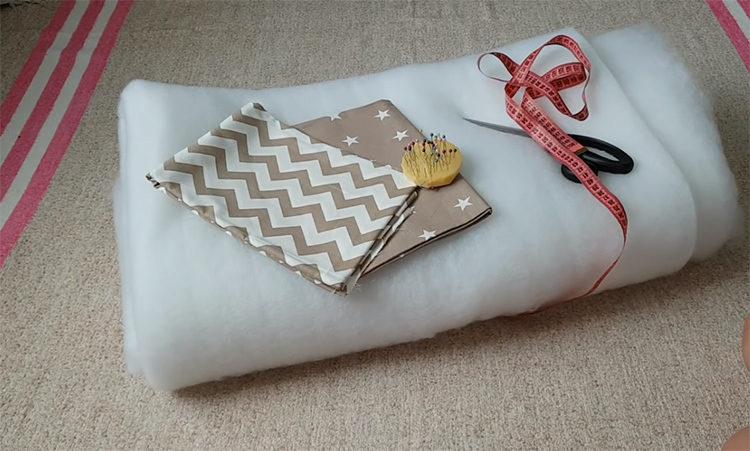
- cotton. You can use cotton fabric of the same color or with different colors. When thinking about how to choose material for a summer envelope for a statement in the summer, you should remember that it must create comfortable conditions;
- decor;
- synthetic winterizer. Considering that a winter envelope for an extract will be sewn with our own hands, the insulation should be of sufficient thickness.
Pattern
The following master class will help you to cut out:
| Illustration | Description of action |
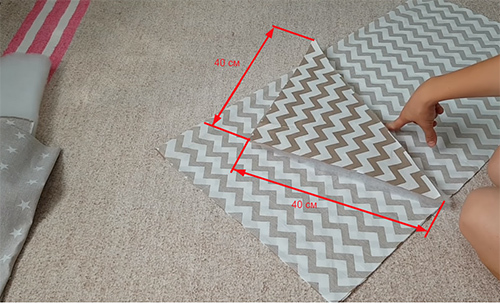 | Two squares with a side of 100 cm are cut out of cotton and padding polyester. Also, triangles with a side of 40 cm are cut. The size of the blanket for discharge for a newborn can be made smaller, for example, by 96 cm |
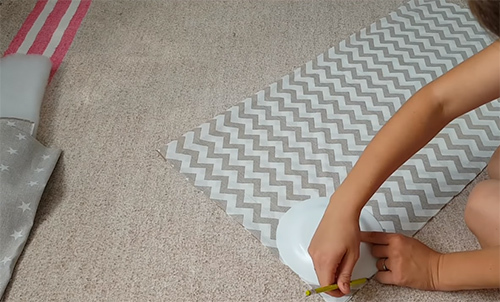 | The edges of the future envelope blanket are rounded off. To do this, circle a plate with a diameter of about 20 cm. You can also use the template |
 | The rounding is formed in the same way on the prepared triangles. First, the fabric is outlined, then the synthetic winterizer |
Sewing a blanket for a newborn with your own hands
After preparing all the elements, it is worth figuring out how to sew an envelope for a statement. You can act in the following sequence:
| Illustration | Description of action |
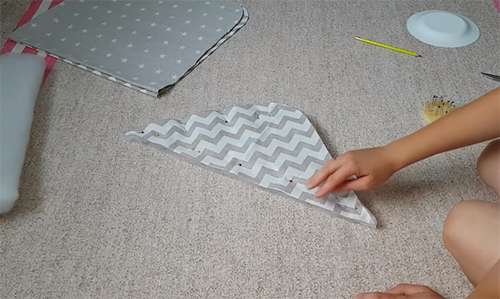 | In a triangular element, two cotton parts are stacked on top of each other with the front side inward and attached to the synthetic winterizer using safety pins. After that, the synthetic winterizer and the fabric are sewn along the large side, after loosening the tension of the sewing machine thread |
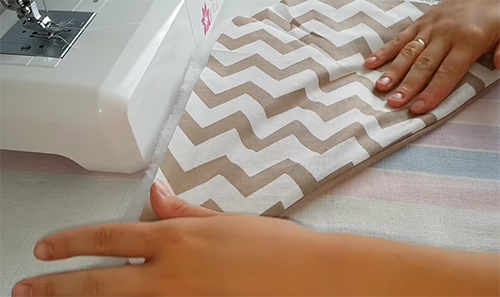 | Cotton is turned inside out, smoothed and sewn. The excess padding polyester is cut off |
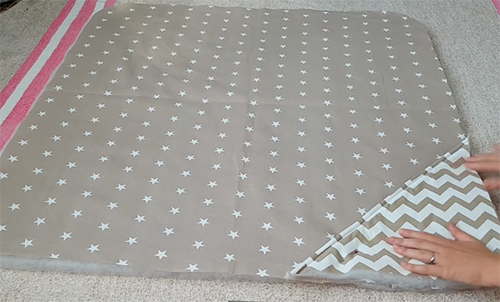 | On a flat surface, a layer of padding polyester, cotton face up, a triangle and a layer of cotton with the wrong side out are laid out. The elements are fastened together with safety pins. If you plan to sew a blanket with ears for the statement with your own hands, they should be laid between the triangle and the main element |
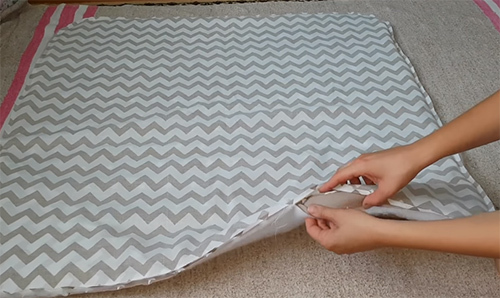 | The elements are sewn around the perimeter, leaving a small part to be turned on the front side |
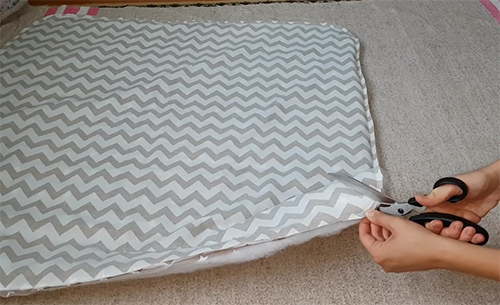 | In the corners, before reaching the seam, small cuts are made so that after turning the blanket onto the front side, it does not bunch |
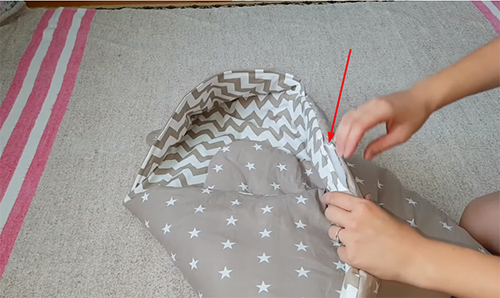 | The hole through which the envelope blanket was turned outward is sewn up with a blind stitch. To fix the elements relative to each other, the product is sewn around the perimeter. After that, a do-it-yourself blanket for a newborn is completely ready |
Methods for attaching the transformer envelope
If you decide to sew a transformer blanket for a newborn with your own hands, you should immediately decide on how the fastening will be done. The choice can be made in favor of:
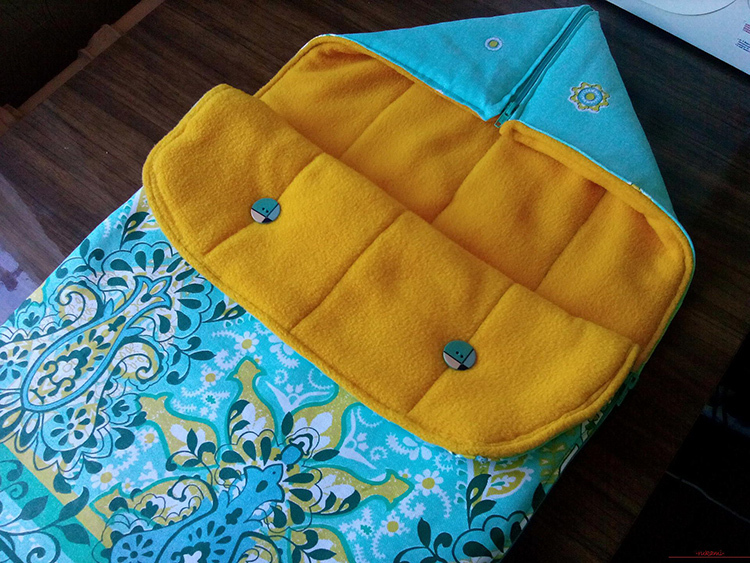
- lightning. The fastest and easiest option. However, there is always a risk of injury to the baby from sharp parts. In addition, in the event of a breakdown, replacement will be time consuming;
- ribbons. Such a transforming envelope for a newborn looks beautiful, but it will take time to adjust and fix it;
- buttons and buttons. Hard parts here can cause injury. But, if necessary, they can always be quickly replaced.
Attention! The mechanism should be chosen taking into account the age and activity of the baby.
DIY decor options for an envelope for discharge from the hospital
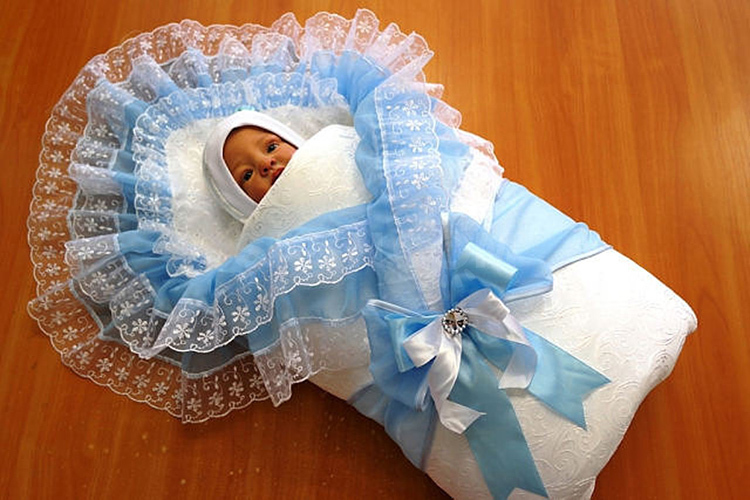
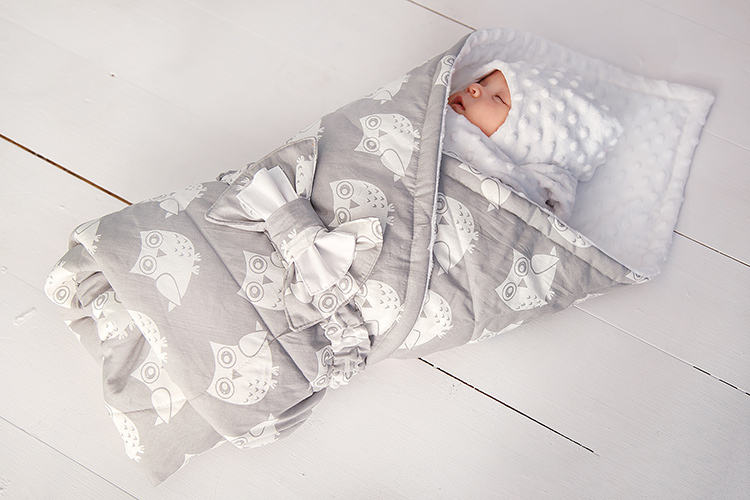
To make the product look beautiful and festive, it must be decorated. There are a lot of finishing options. The appropriate one is chosen taking into account the purpose of the envelope and the gender of the child. If you plan to use the blanket on a daily basis, you should choose a small lace that will retain its appearance after numerous washes.
1 out of 4

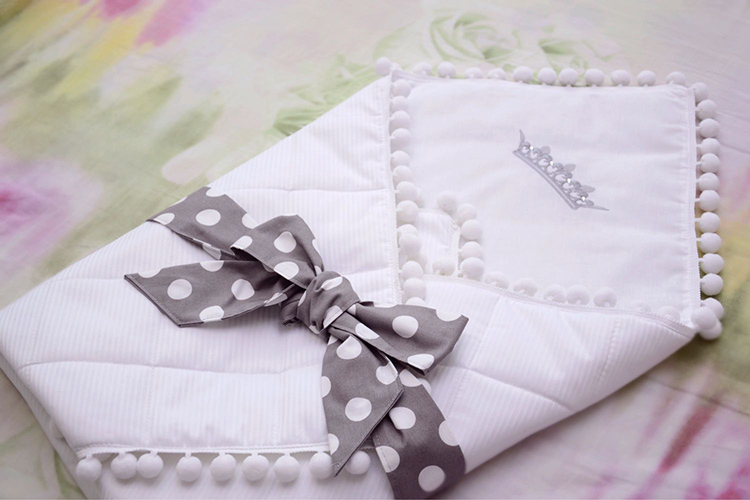
We offer you to watch a video that tells you how to make a bow for an envelope for a statement with your own hands:
Share in the comments if you purchased a ready-made envelope for discharge from the hospital or chose to sew it yourself.


