What is a housekeeper? Today this is not a servant in charge of all the keys in the master's house. Now this word means a cover or a case for a key, if we are talking about a pocket-bag version, and this thing is necessary in the household. Its main function is not so much to preserve the lining fabric of a bag or pocket, but to maintain order in them.
Content
- What are housekeepers
- A little about various materials
- Planks made of wood
- Plywood
- Unnecessary old technique
- Wood and... no hooks
- Hanger option combined with a shelf
- Master classes: making housekeepers
- We use the cut down place of the tree
- From a tree branch (or driftwood)
- From wine bottle corks
- Key holders made of leather
- How to create a decoupage decor model
What are housekeepers
Based on the place where they will be used, or the method of this very use, then we can call them pocket and wall-mounted.
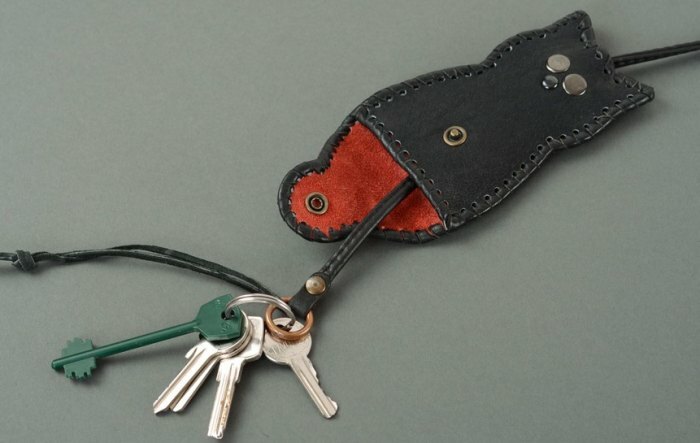
The key holder of the first type is made in the form of leather or textile handbags, inside which there are loops for attaching keys. Loops are made of both metal and a fairly strong cord, leather strips.
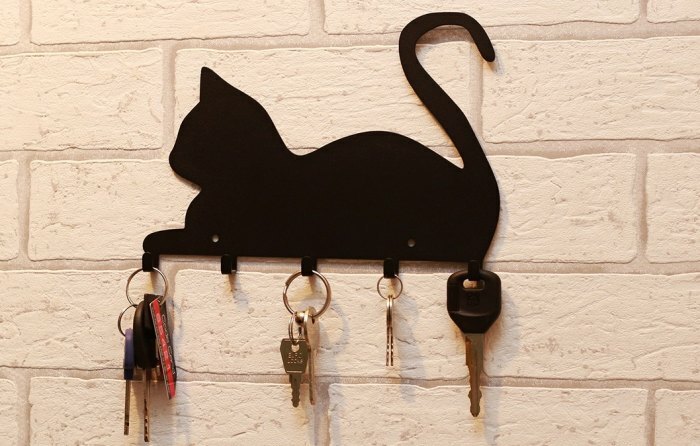
Wall key holder is a small hanger on which key bunches are placed. If keys are used frequently, it is best to keep the hanger open. The closed version - like a locker - is more suitable for rarely used keys.
The appearance of open-type wall hangers depends on the imagination of the owners. It can be just a wooden block with hooks from any material. This can be thick, shiny wire, wood knots, nails or screws, i.e. any thing that key rings can be easily slipped on.
The material for creating "key mixers" can also be completely varied: fiberboard or chipboard, hardboard, solid wood planks, plywood.
Many craftsmen recommend wood to people who want to make such a key holder with their own hands. This material is easier for beginners to work with.
A little about various materials
Planks made of wood
The key holder on the wall can be made of strips of various shapes and parameters - thin and thick, long and wide. Based on their size, you can "construct" a figure of a conceived shape.
Wood processing is also not difficult. A classically strict appearance is achieved by grinding the surface of the product with sandpaper or a special machine for this operation. The final finishing is done by applying paint, oil, stain.
Making the product can be complicated by removing soft fibers from the board (preferably pine) using a metal brush. This operation will allow the woody pattern to appear, especially if the product is then covered with a stain or varnish that includes dye pigments.
A similar effect can be achieved by using a blowtorch with some care.
Plywood
Working with this material is even easier because the plywood has a pre-finished surface. The master only needs to cut out the desired figure, sand the edges with sandpaper, paint and fix the hooks on it.
Unnecessary old technique
A key holder made of a panel that has survived from old technology will look unusual. It has holes for plugs. The panel should be cut out and the plugs should be inserted as key hooks.
The neck of an old guitar or violin can also be adapted as a key hanger by adding a few hooks to it. By the way, imitation of the headstock in the same role will also be interesting.
Wood and... no hooks
A key hanger can be made without attaching any hooks or magnets to it, but this requires natural wood in order to properly cut a gap in it. Key rings are then inserted into such a slot.
Saw through the slots both in the horizontal direction and under the bevel. Of course, the ideal option is to do this on a milling machine, but you can also use a circular saw or even an ordinary hacksaw, carefully processing the cut.
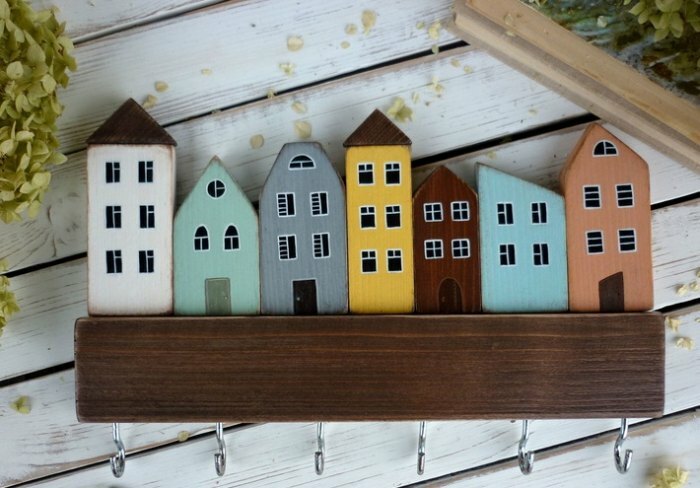
Hanger option combined with a shelf
The key holder on the wall, combined with a shelf for placing various little things, seems more functional. Such hallway accessories can be of different sizes and formats: for example, L- or T-shaped, with different hook attachment points.
The housekeeper is interesting, hookless. It "works" on magnets. They are glued to the bottom of the shelf. It is very convenient to use such a thing: the keys are attracted by magnets, and there is no need to specially "aim" in order to quickly attach them to the hook.
Magnets of the same type and shape can be attached to the key holder "from the facade", but if they differ, it is better to place them in the recesses the corresponding shape, leaving the magnet slightly - one or two millimeters - protruding, so that it would be easier to find it on touch.
Master classes: making housekeepers
In addition to the actual source material for the creation of this accessory, it is necessary to have other materials, as well as tools. The master will need:
- a special holder, which can be found in a building materials store, and made by experienced craftsmen themselves;
- hooks on which keychains will hang;
- pendants;
- drill;
- jigsaw;
- Phillips screwdriver
- for the final stage - acrylic varnish.
Actually, the master chooses the "manufacturing" material depending on his own preferences and imagination.
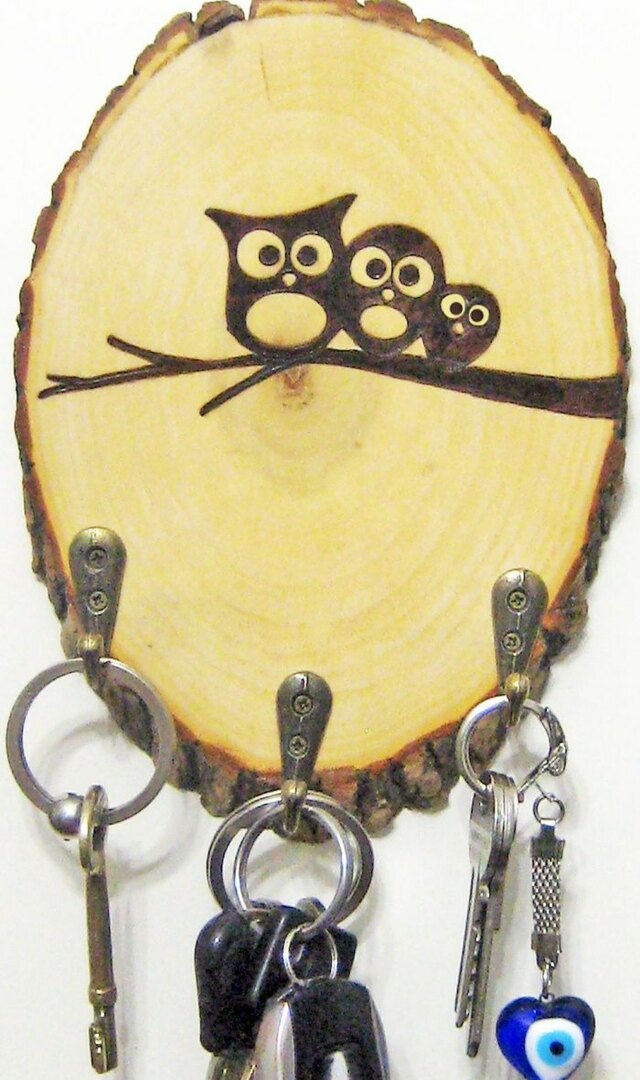
We use the cut down place of the tree
- The selected saw cut, moving along the fibers, is treated with an abrasive paper.
- The treated surface is then wetted with water.
- When the die is dry, sandpaper it again.
- Stain is applied several times in the same direction.
- This item is not required for the product, but if it is fulfilled, then the final version of the key holder will become unique. To do this, print any image, cover it and the base with acrylic varnish, and then place the picture on the saw cut and roll it with a roller.
- After a few hours, the material is moistened with water and a layer of paper is rolled off the saw cut. It turns out an original panel.
- The final touch is drilling holes in the wall for fasteners on which the key holder-panel is attached.
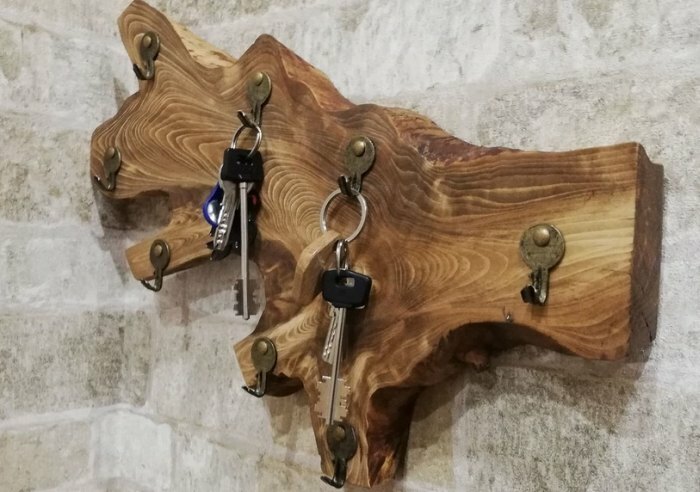
From a tree branch (or driftwood)
A key holder made of such material fits very well into the interior of the entrance hall of a summer cottage or a country house.

- Extra shoots are cut off from the selected branch, washed and dried.
- One side is cut off with a jigsaw.
- Several layers of stain are applied to the saw cut or painted with acrylic paint.
- When the coating is dry, a layer of varnish is applied, used for varnishing the furniture.
- Drilling holes for fasteners, equipping with fittings - and the key holder is ready.
From wine bottle corks
There are those who like to collect wine corks, just for fun. But these "exhibits" can be useful for creating an original housekeeper.
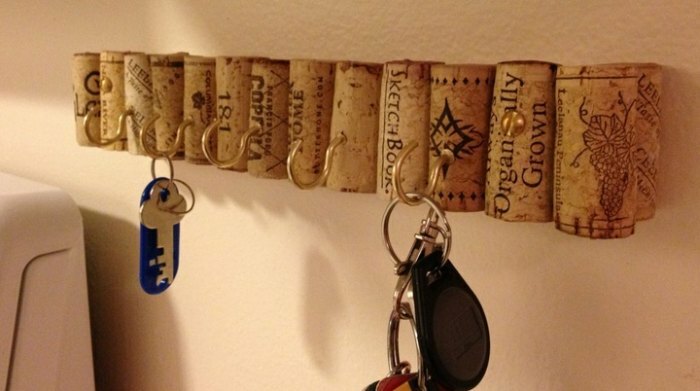
It looks like this:
- A base is cut out of a fiberboard.
- The bottle caps are cut in half and glued next to each other on the stove.
- Install hooks or some other items that are easy to screw into the cork.
- The decor item is ready, and now its place is on the wall.
Key holders made of leather
A leather key holder case is best made in a pocket version. To work, you need to arm yourself:
- a leather flap of a certain size,
- zipper,
- a carabiner on which the key will be attached,
- scissors
- with an awl,
- special glue.
When determining the size of the case, take into account that being in your pocket should not cause discomfort.
- Having picked up all the items necessary for work, they make a template for the future product.
- They circle it with an awl along the contour of a leather flap, punching holes along the way.
- The workpiece is cut out.
- The zipper is fixed in it with glue or attached on a typewriter.
- The two parts of the cover are glued together and stitched along the edge.
- A carabiner is attached to the inner seam.
You can add some decorative element according to your own taste.
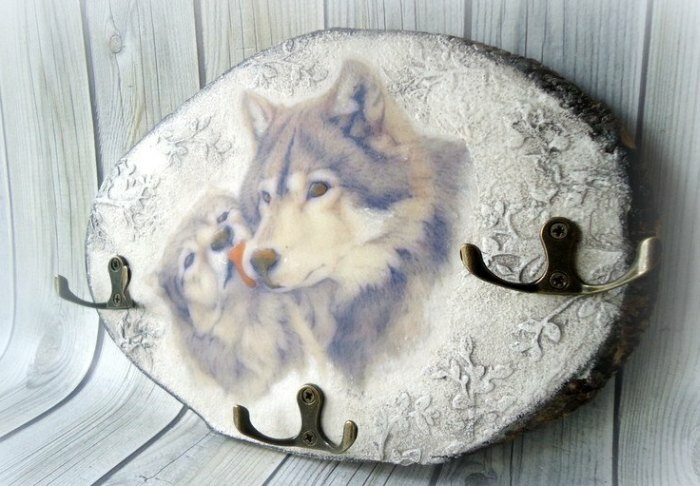
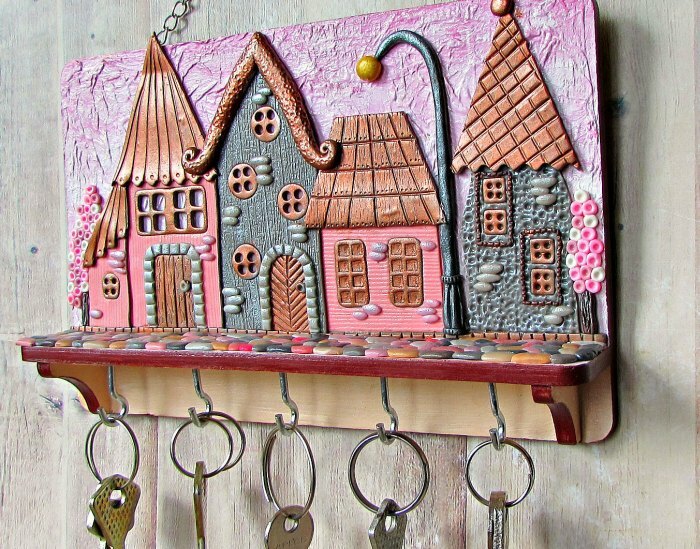
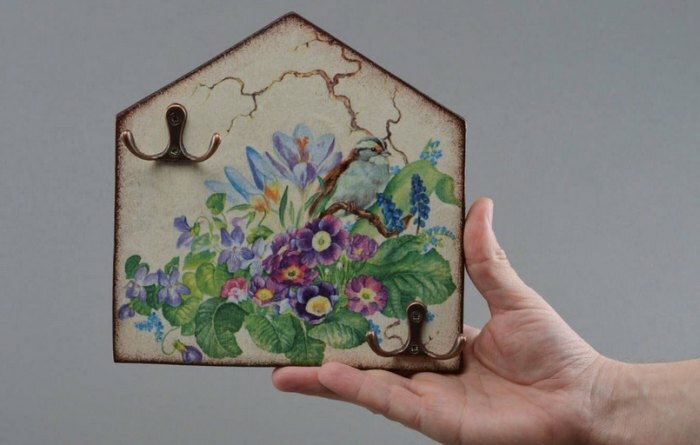
How to create a decoupage decor model
This key holder is distinguished by graceful shapes and bright colors.
And for work you will need the following items:
- plywood base blank,
- hooks,
- resistant glue,
- acrylic paint,
- coating varnish,
- foam sponge,
- scissors,
- napkins in four layers with a bright pattern.
The step-by-step actions of the wizard will look like this:
- The workpiece is covered with paint using a sponge. It is this method that ensures the creation of natural roughness on the product, which is characteristic of the chosen style.
- Let the future housekeeper dry.
- If necessary, the workpiece is covered with several more layers of paint.
- To apply a drawing, use only the topmost layer of a colorful napkin, warming it up with an iron and separating the desired layer.
- This layer is glued to the workpiece. Glue is applied only along the edges. and thin threads from the edges to the center.
- The model is varnished, applying it in six to seven passes.
Having attached the hooks at the right points, the housekeeper is again varnished.
Wall-mounted key holders and hand-made cases will become unique souvenirs.