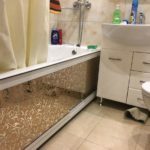
Even the most beautiful and stylish bathroom design will lose its luster if its central element - the bathtub will not look aesthetically pleasing. The outer lower part of any washing container, excluding freestanding models, looks untidy and repulsive. Sewer pipes and all sorts of household stuff peep out from under it, which does not at all decorate the interior. It's up to you how to close this space and how to give this area a neat and aesthetic look. The easiest and fastest way to do this is with a curtain or a ready-made screen with sliding doors made of plastic, MDF, metal or glass. However, the low strength of such structures does not allow us to hope for their long-term and reliable service. In such cases, you can build a do-it-yourself bath screen from materials that are in harmony with the rest of the finish.
Content
- Peculiarities
- Advantages and disadvantages of homemade screens
- Screen design requirements
- Dimensions (edit)
- Varieties
- By design features
- Deaf and monolithic
- Sliding
- With foot recess
- With inspection hatch
- With hinged doors
- By material of manufacture
- By design features
- Methods for self-manufacturing screens from different materials
- From timber and plywood
- From profile and drywall
- Made of MDF
- From plastic panels
- From polystyrene boards
- Brick
- How to choose a ready-made screen in the store
- How to install a ready-made screen
Peculiarities
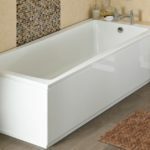
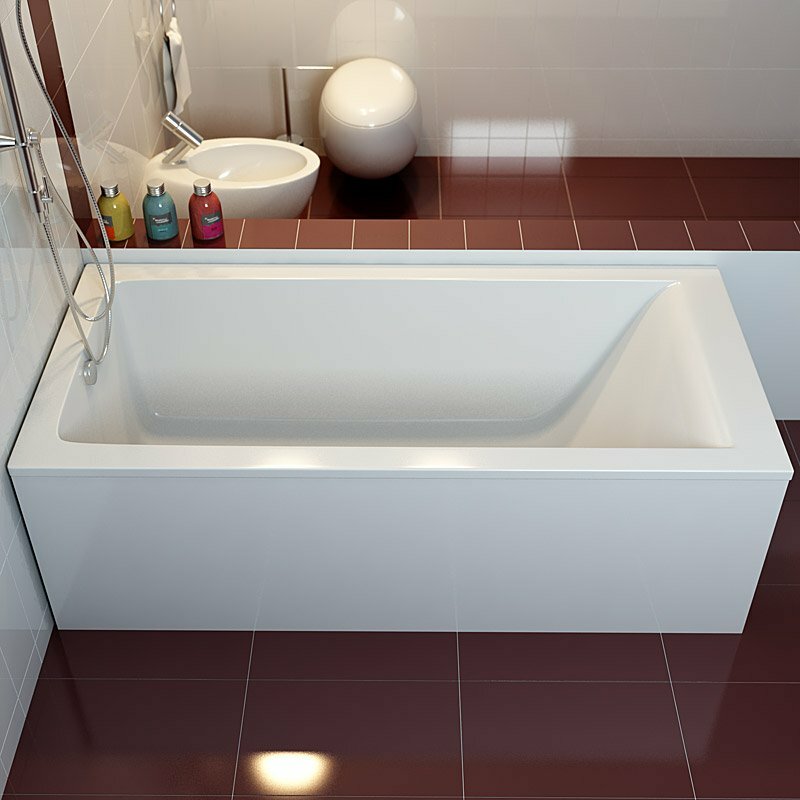
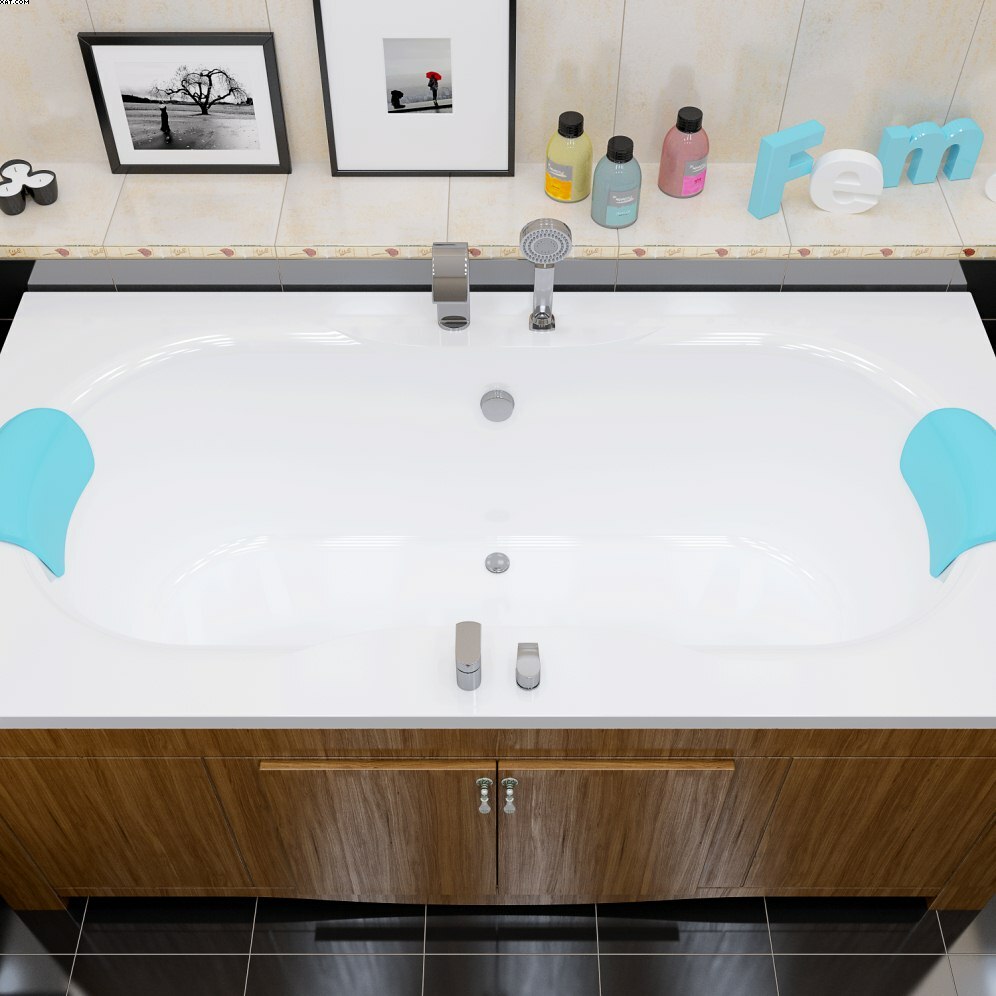
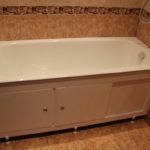
The main task of the screen is to hide unaesthetic legs, the side of the bowl and communications from the eyes of the owners. And although the appearance of acrylic and plastic products is not too repulsive compared to the outside of cast iron or steel products, they should still be decorated. The screen will hide all unsightly elements, little things in the form of jars and bottles. If the walls are tiled, use the same material to create the screen so that all the cladding fit together.
When designing a screen, you should remember the need to leave free access to communications to eliminate possible malfunctions, leaks. To do this, a hatch will have to be built into the structure, through which it will be possible to freely reach the pipes.


Advantages and disadvantages of homemade screens
The advantages of homemade bath screens lie in the possibilities:
- create a unique and unrepeatable interior detail;
- to make a structure with a shape and filling that will fully satisfy the needs of users;
- use materials that fit perfectly with the rest of the interior;
- endow the product with the functionality necessary for a particular family;
- save on the services of craftsmen.
In addition to the obvious advantages, homemade screens have equally obvious disadvantages:
- the process of installing a "fence" is very laborious - be prepared to perform a large amount of work;
- the room during the renovation cannot be used for its intended purpose;
- lack of construction skills can affect the quality of the product.


Screen design requirements
One of the main requirements for the screen is to provide access to water supply and sewerage systems. To do this, you need to provide the structure with swing doors. This makes possible quick leak detection and prompt troubleshooting. It is necessary to provide access to the entire surface of the floor under the bathroom - if a leak occurs, it may be necessary to urgently collect water and dry it.
Other, equally important requirements for the screen:
- the decorative "fence" should not interfere with comfortable use. Equipping the panel with legs, leaving a slit or a notch for the legs will make it much more convenient to clean the bathtub. or bathing a child in it - the toes will not rest against the wall and will bend much simpler. Such devices allow you to quickly notice the water accumulated under the bathtub and eliminate it;
- it is necessary to ensure ventilation of the space under the bathroom to prevent the formation of fungus;
- the material must be water-resistant and resistant to changes in temperature and humidity;
- it is necessary to equip the structure in such a way that all the contents of this niche can be quickly removed and clear the way for communications.
Dimensions (edit)
Panels for decorating the facade of the bath can differ not only in design features, but also in size. The choice of product depends on the dimensions of a standard bowl. There are standard and non-standard models. They can be from 105 to 190 cm in length.
The most common products are of the following dimensions:
- with length - 120, 130, 140, 150, 170 cm
- with a width - 50-56 cm
Before designing the screen, it is necessary to measure all sides of the bath, and only then proceed to the calculation of materials.
Varieties
All homemade screens can be classified according to two main parameters:
- by design features - linear and angular;
- by material of manufacture.
By design features
According to this criterion, the following varieties can be distinguished:
- deaf;
- stationary;
- removable;
- sliding;
- swing;
- straight;
- curvilinear.

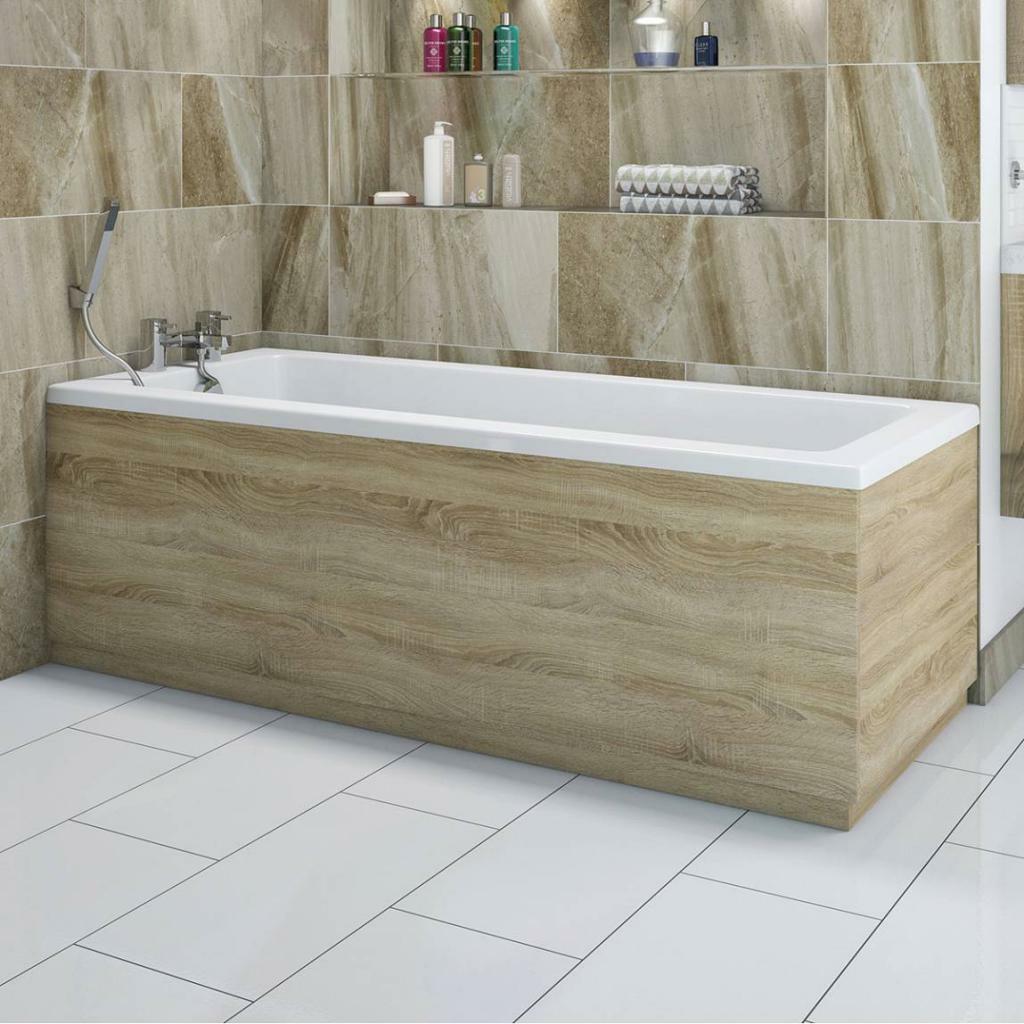
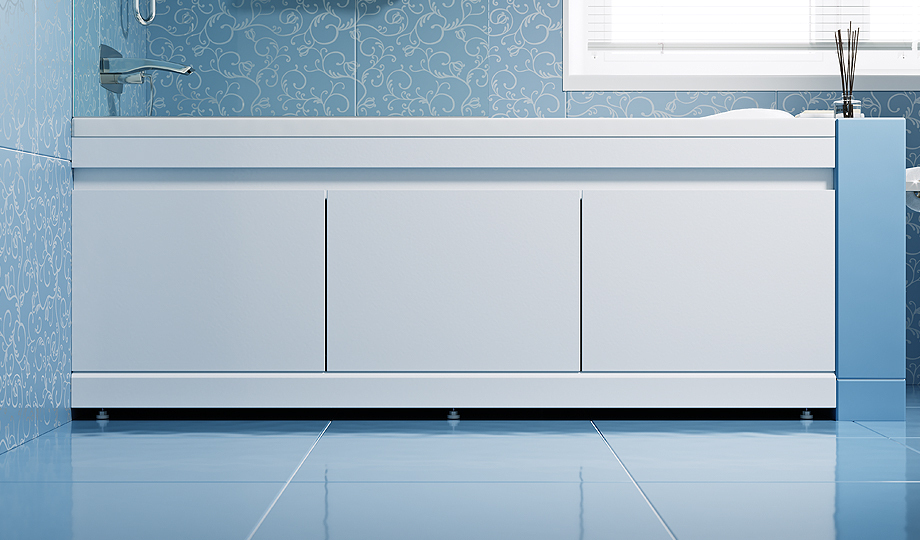
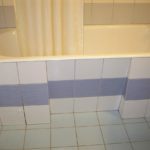
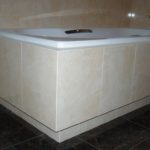
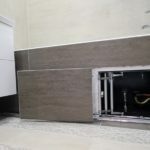
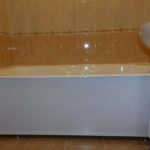
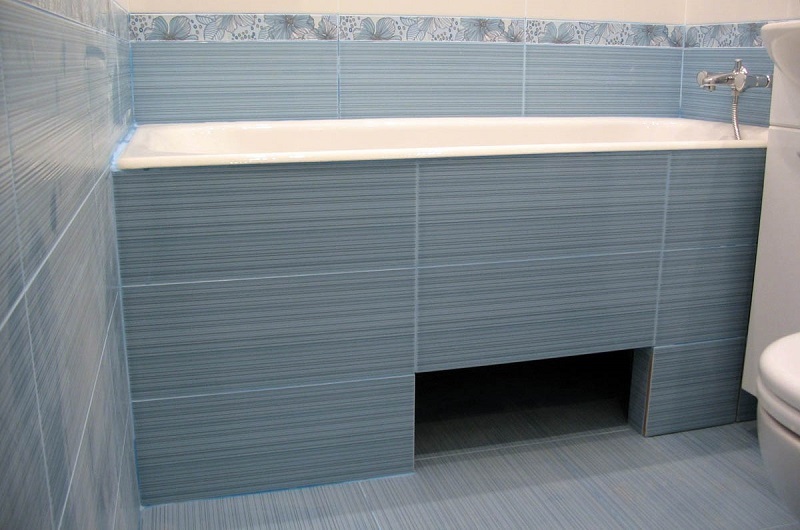
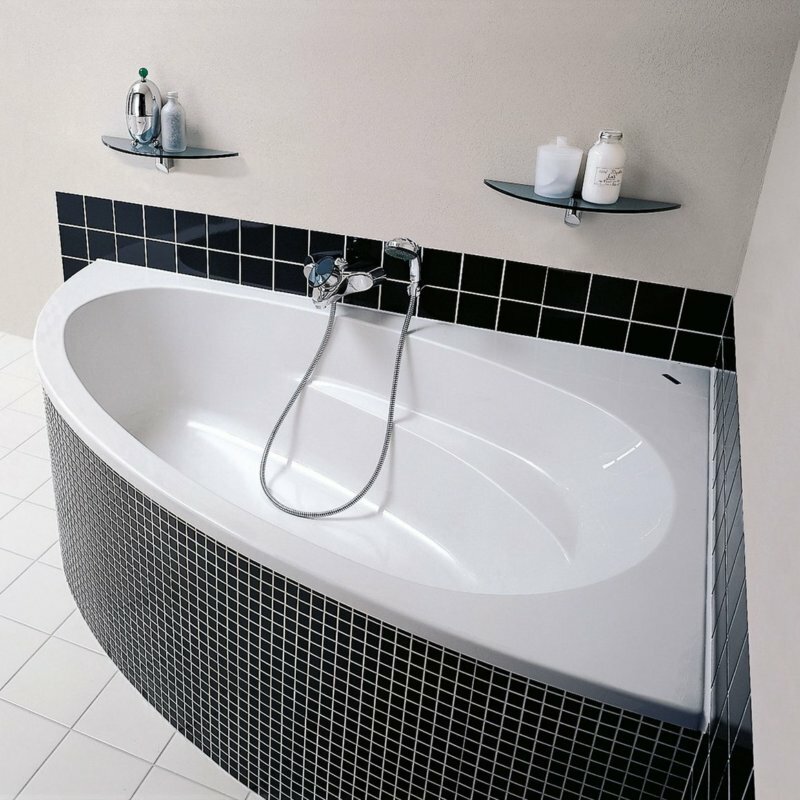
Deaf and monolithic
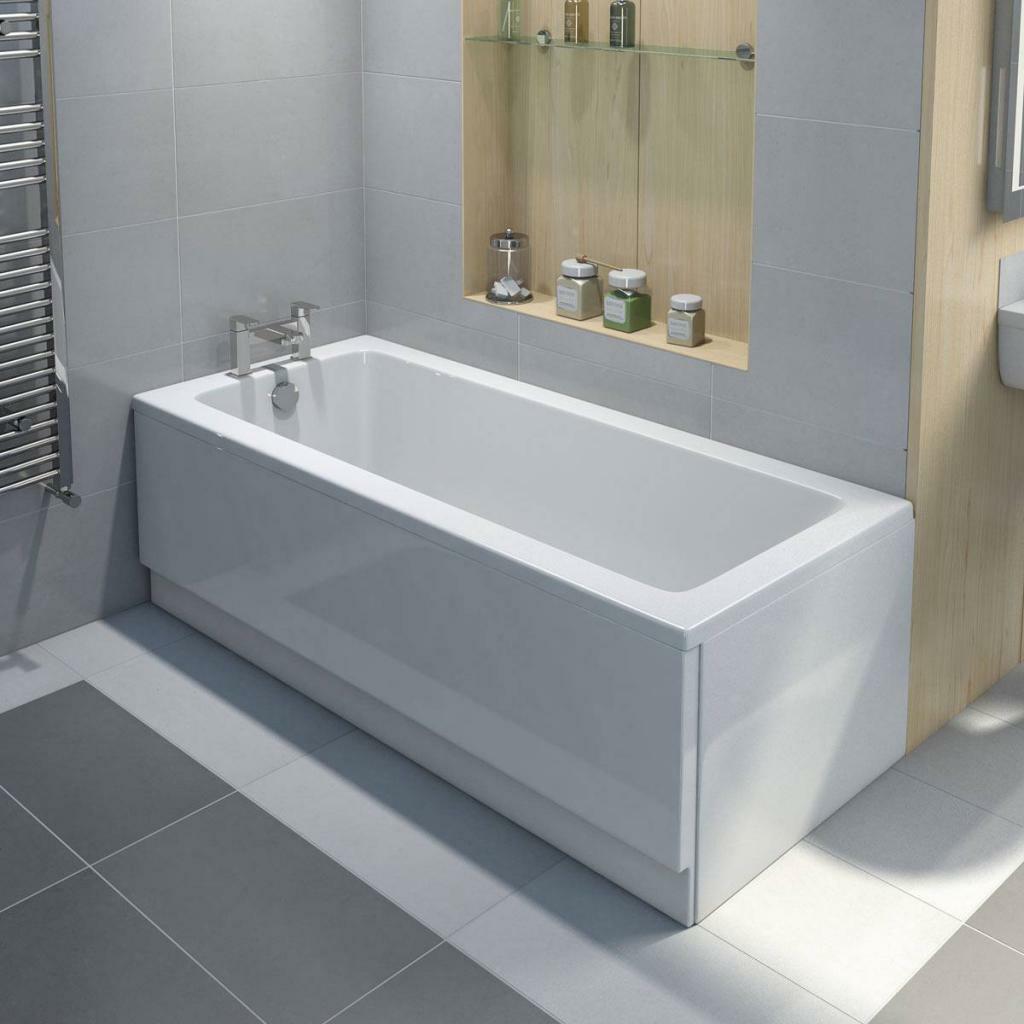
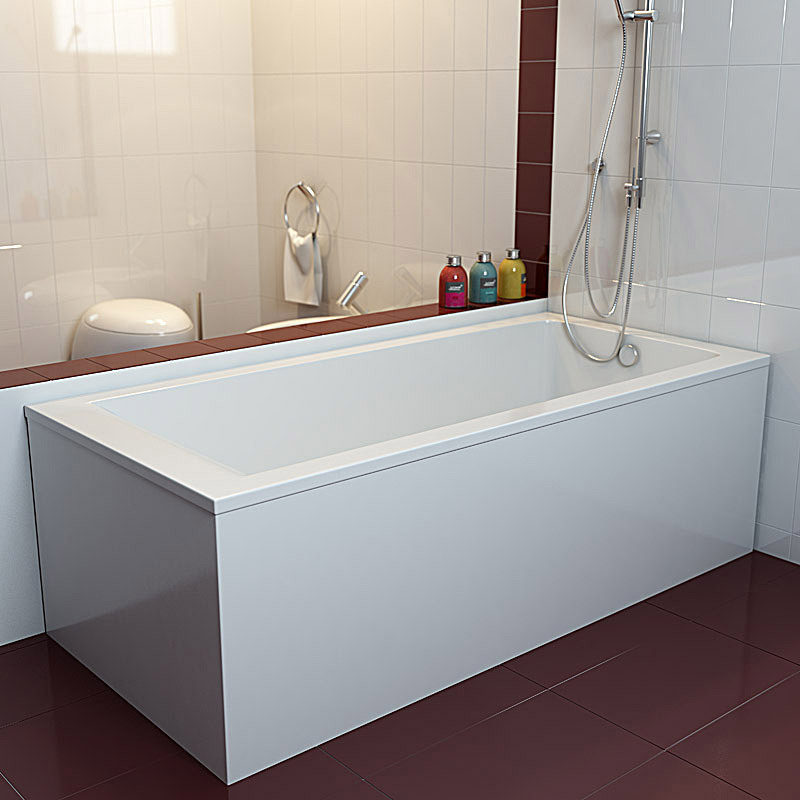
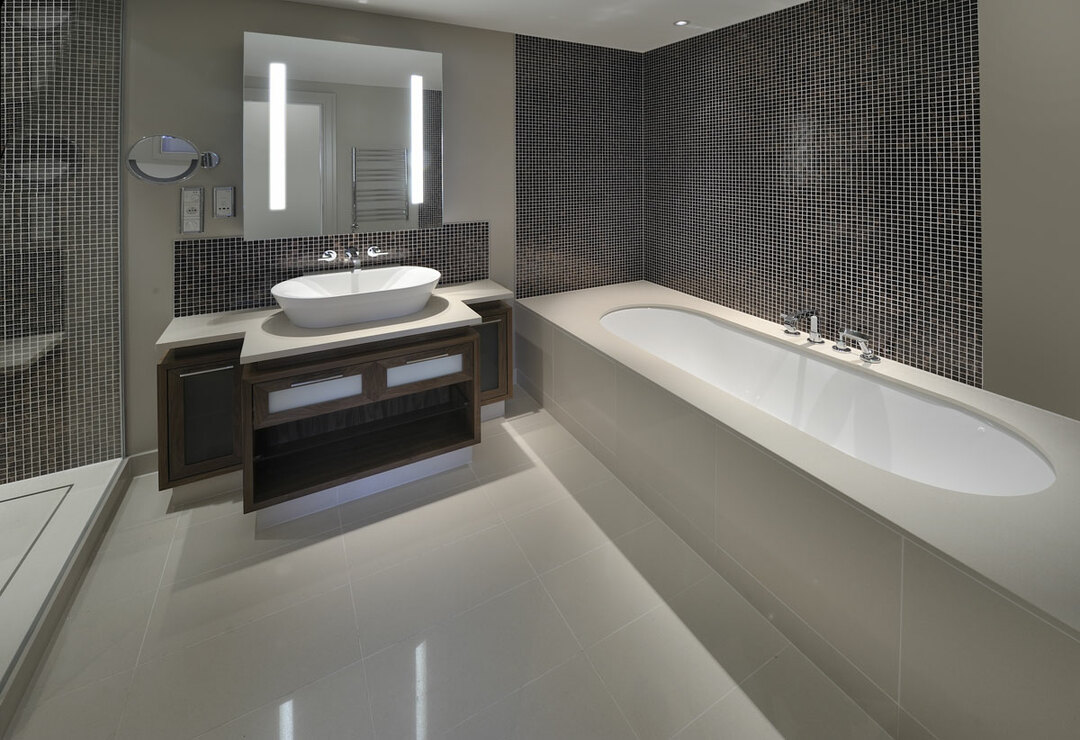
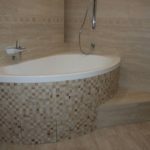
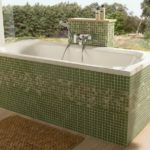
A blank screen is a solid structure. It can be decorated with the same material that was used to decorate the walls of the bathroom. This option allows you to harmoniously integrate the bathtub into the design composition.
Advantages of a solid or monolithic design
- This is the best option for decorating a bathroom, it looks especially luxurious when tiled with mosaics.
- Durability of the structure.
- Easy care. You can remove dirt with a damp sponge and common detergents.
There are also disadvantages, including:
- limited access to communications. In order to get to them in case of an accident, the master will have only a small hole;
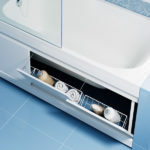
- unused area under the bathroom - it is inconvenient to store cleaning products behind a screen with small windows;
- it is difficult to reach the remote areas of the floor covering, corners through the hatch;
- complex installation - it will be necessary to perform several laborious tasks - to design a frame, sheathe it with plasterboard and revet the resulting structure with tiles.
In the conditions of multi-storey buildings, it is risky to use blind screens. They look very aesthetically pleasing, but in the event of a leak, you risk flooding all the apartments on the lower floors, and the entire fence may need to be dismantled. A private house is another matter - there you run the risk of flooding only your own basement.

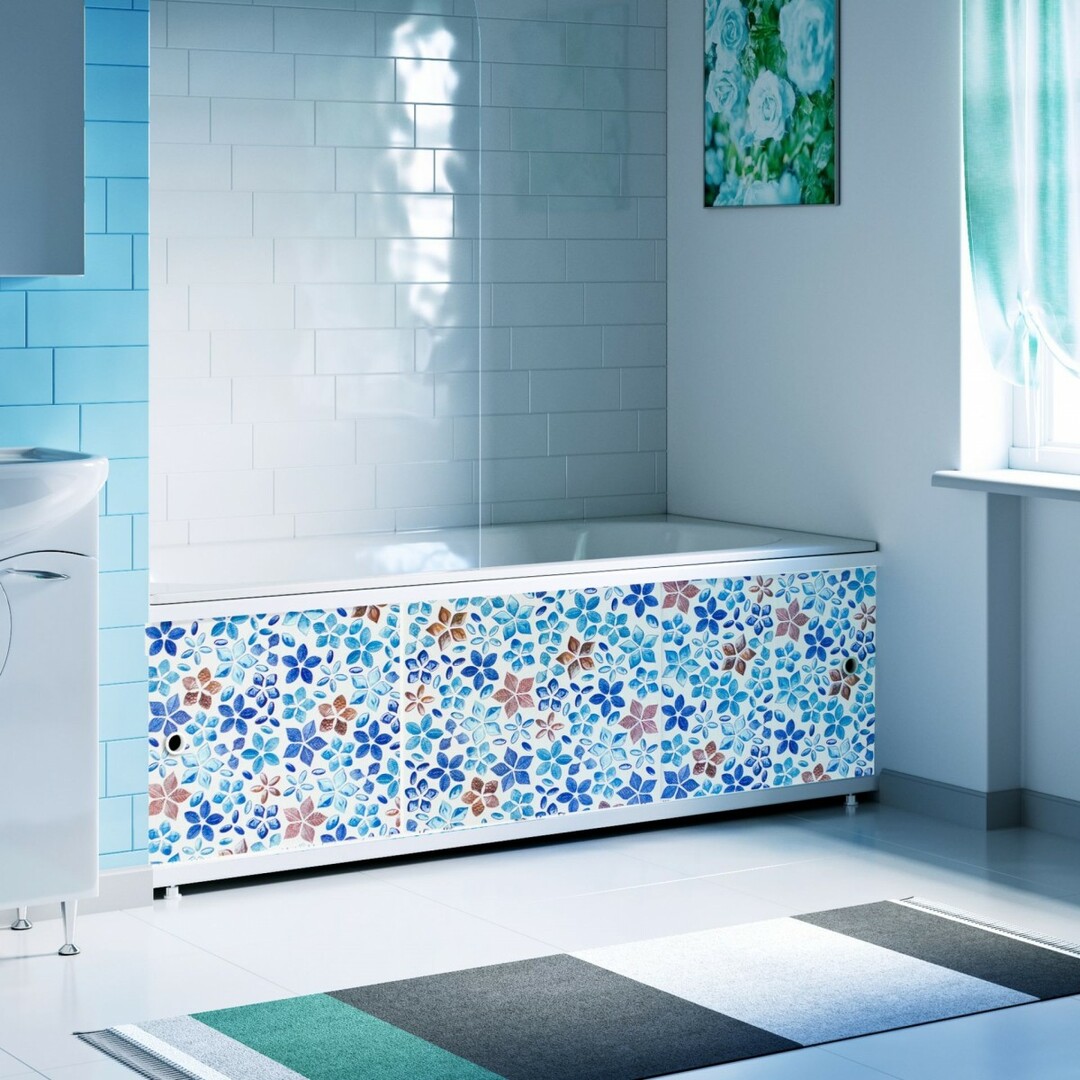
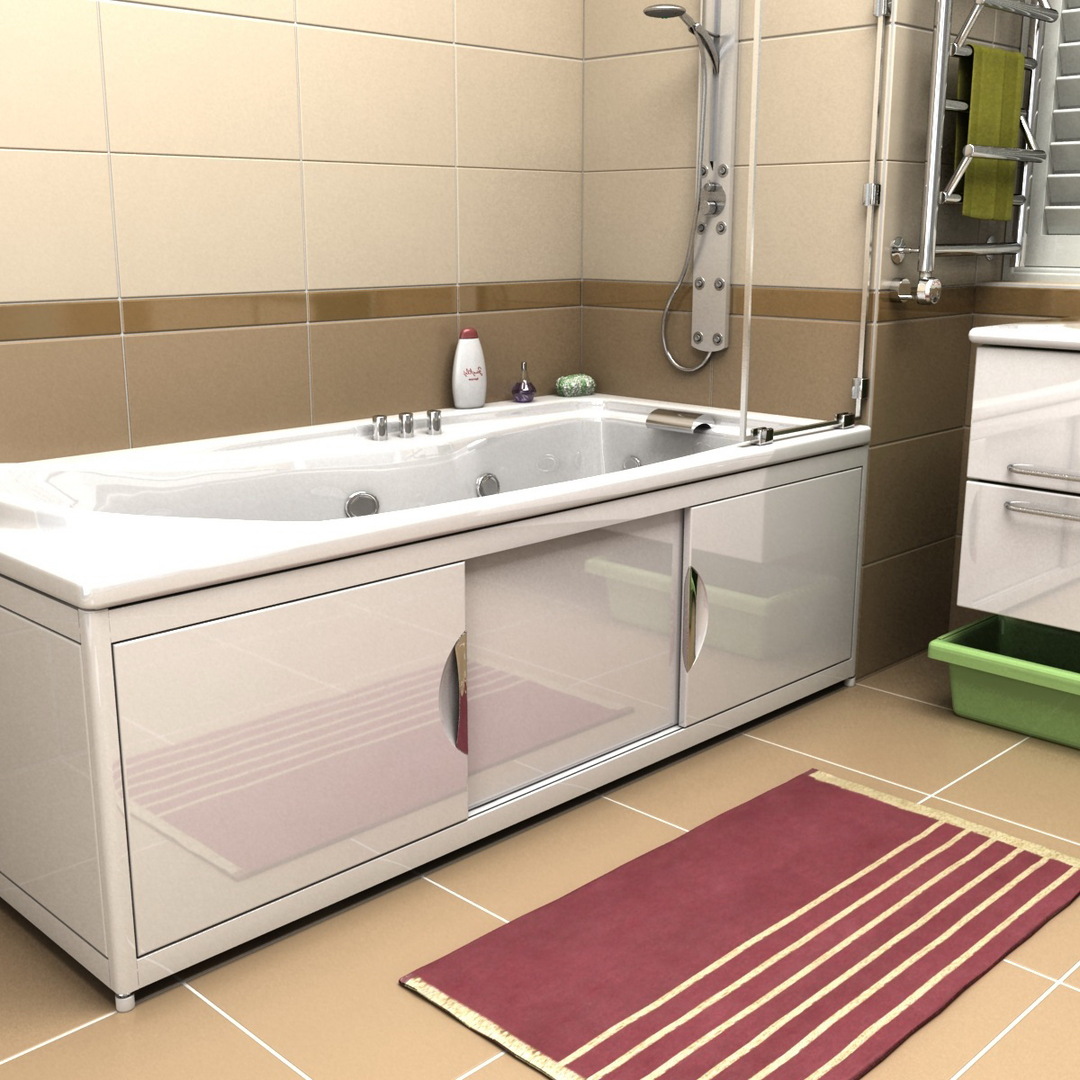
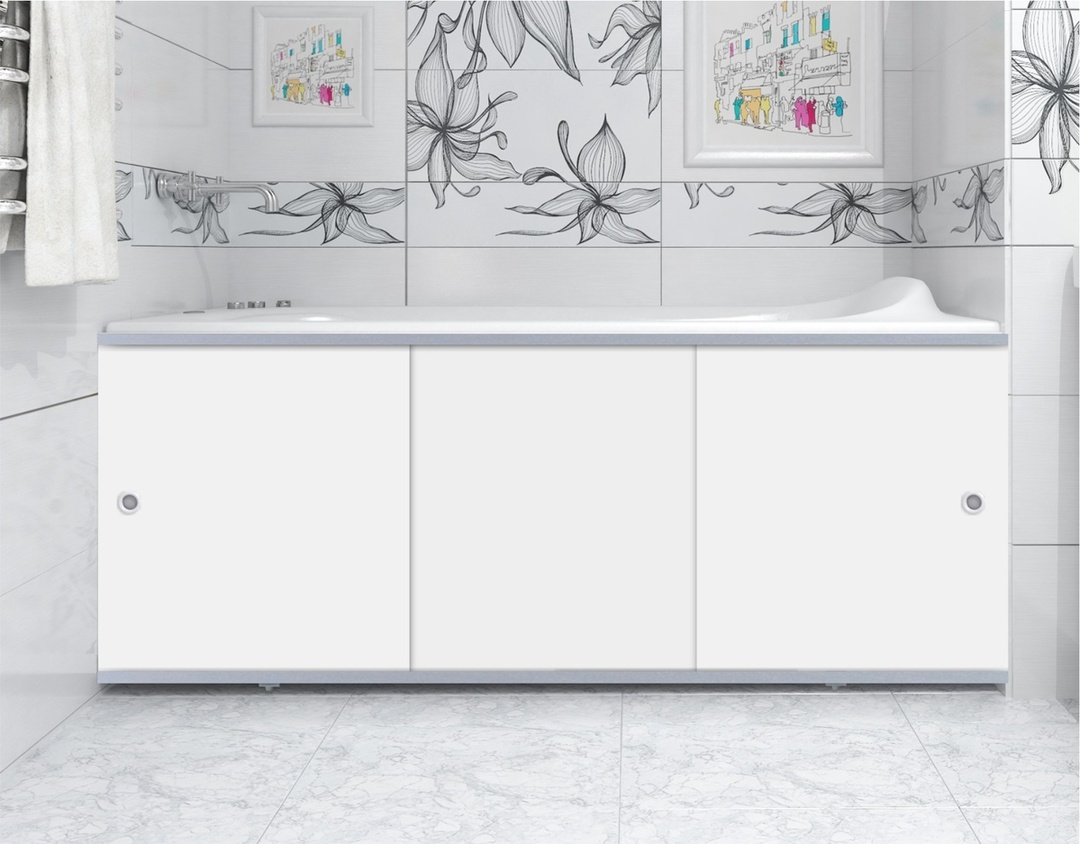
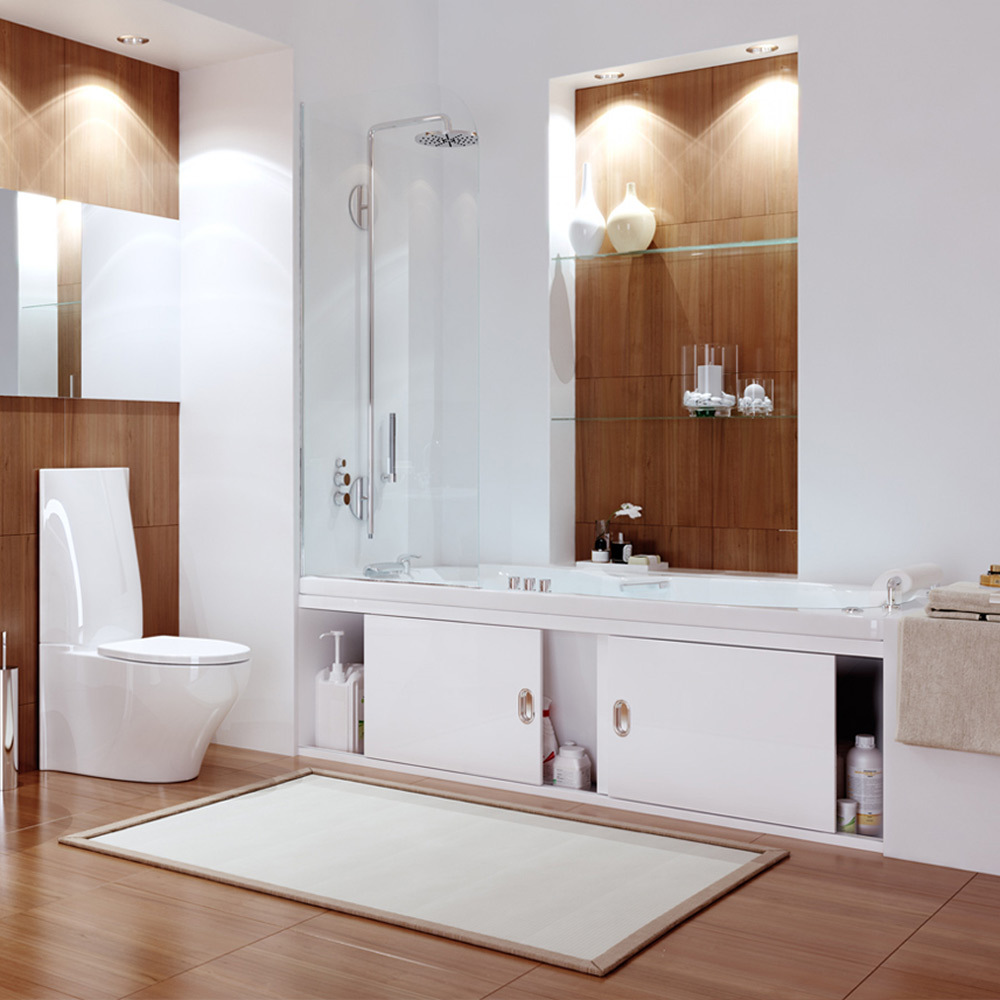
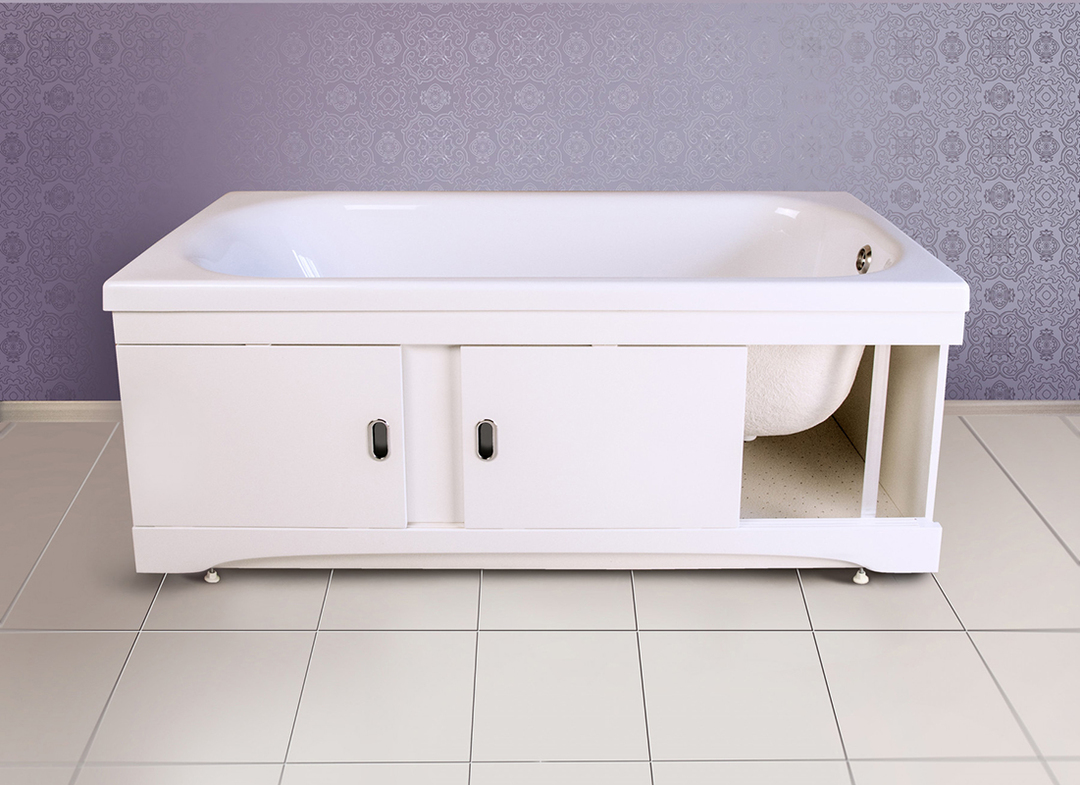
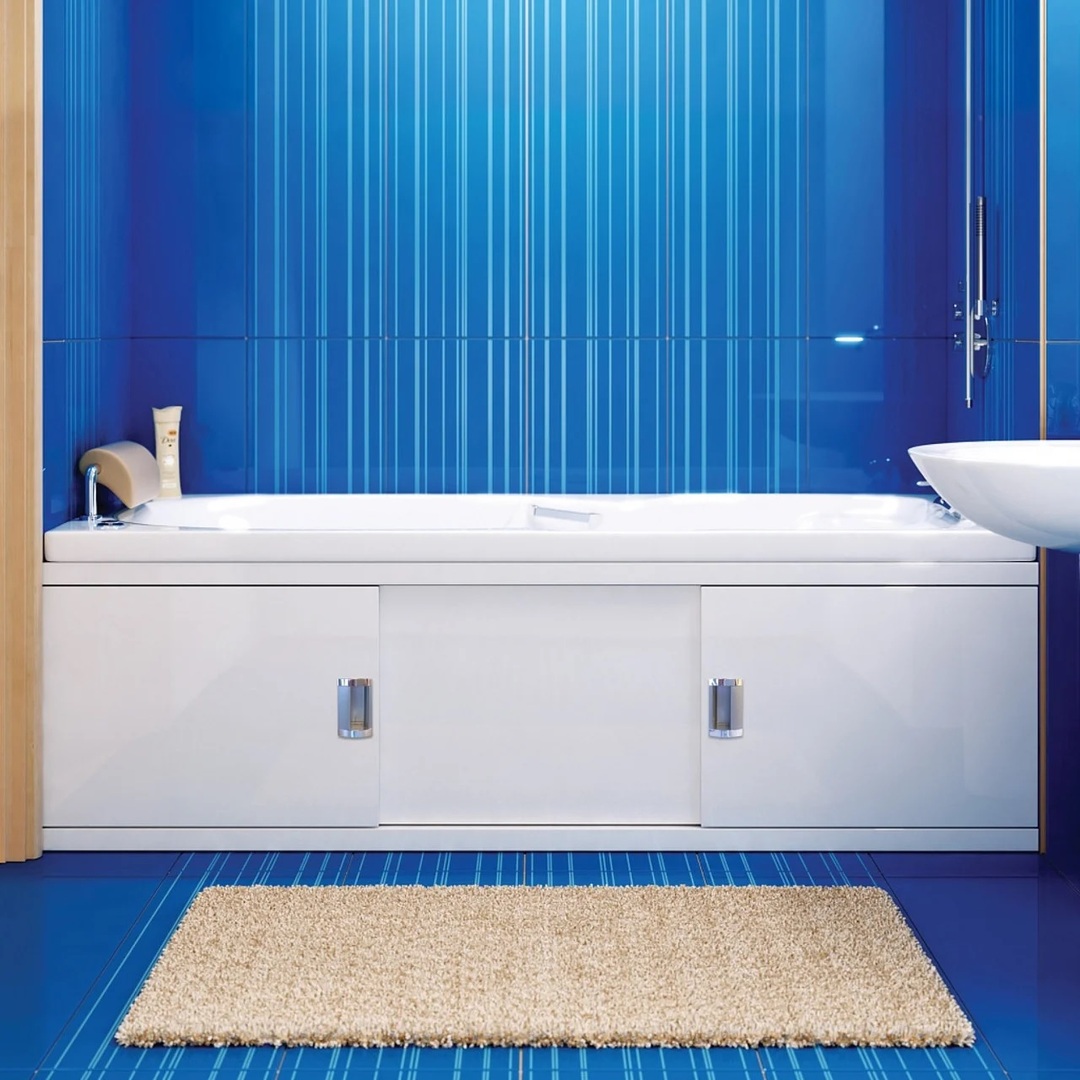
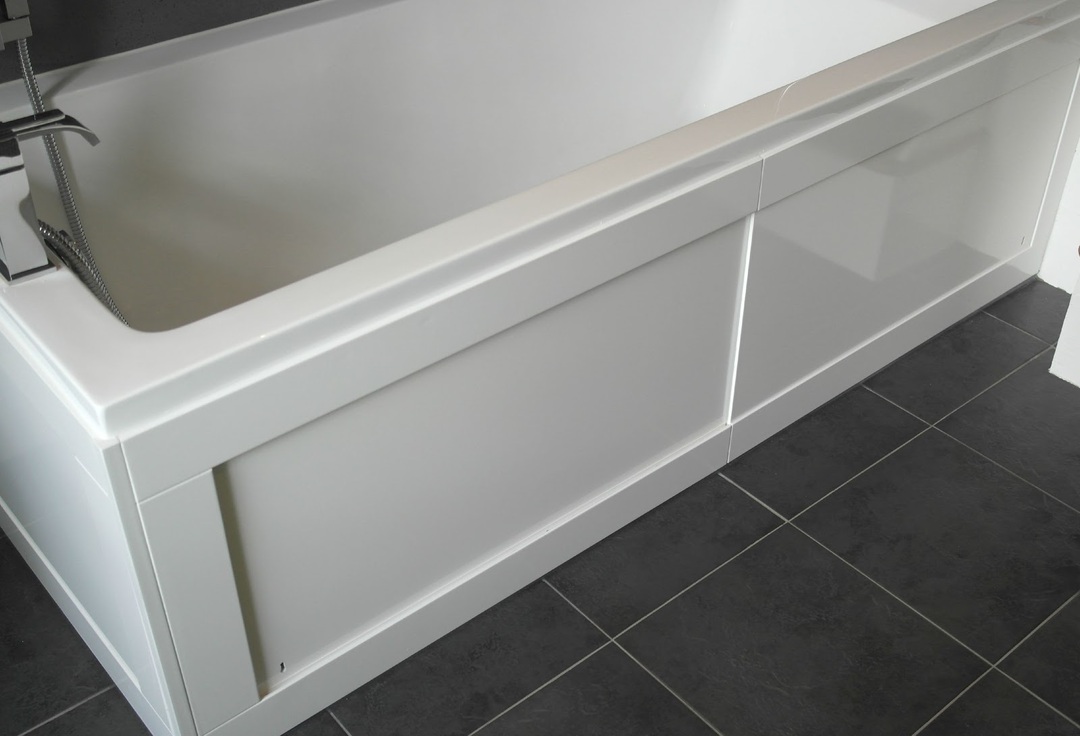
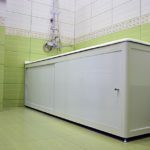
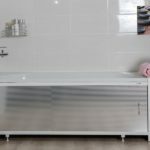
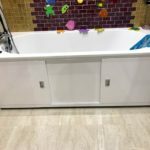
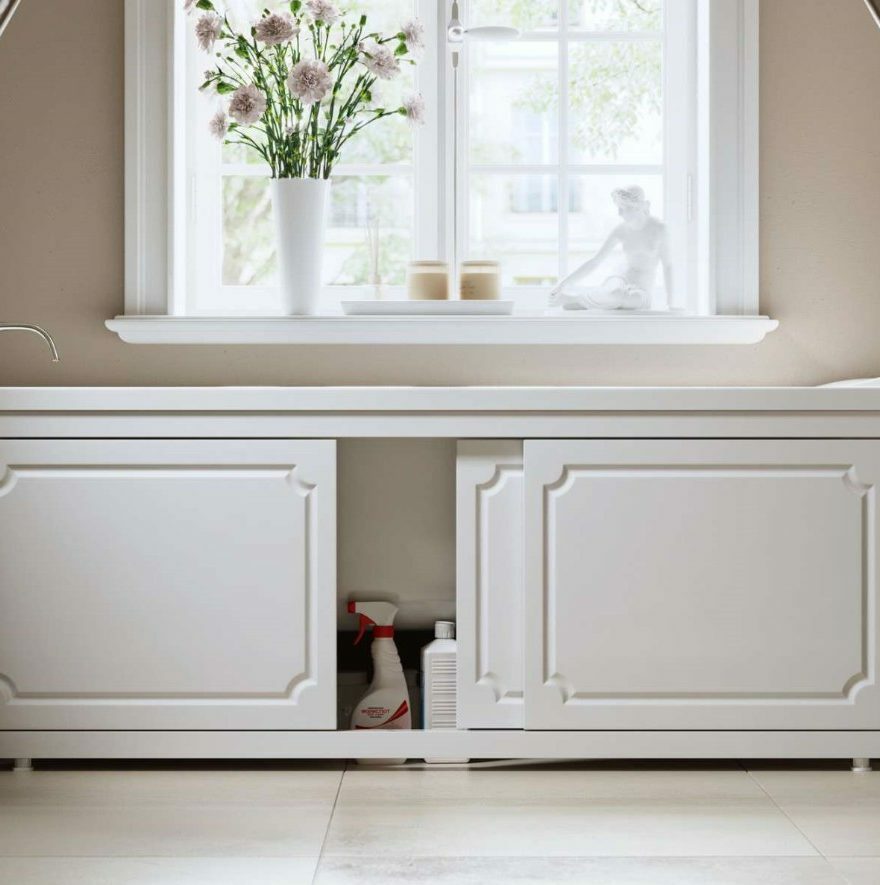
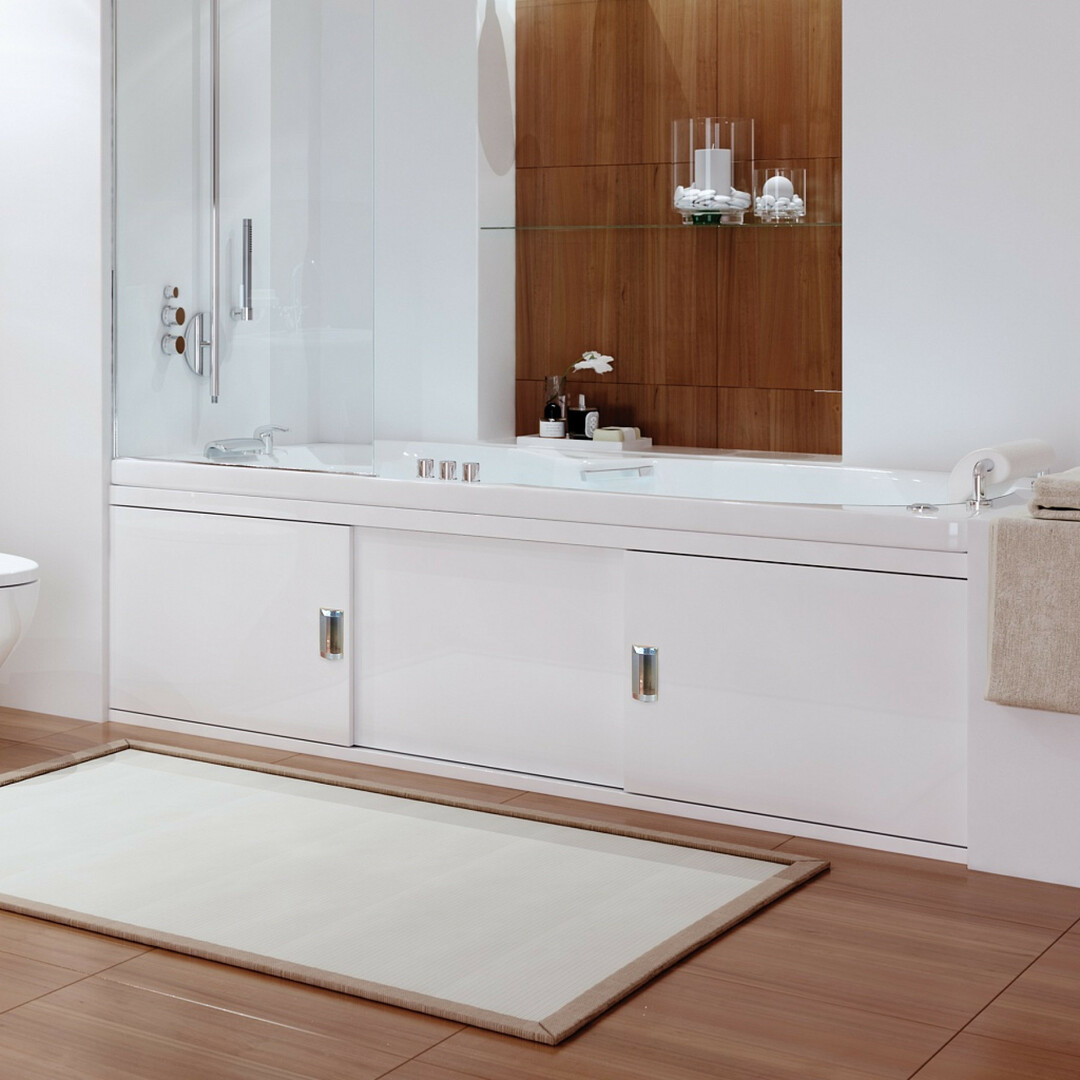
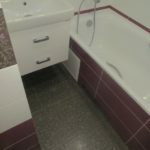
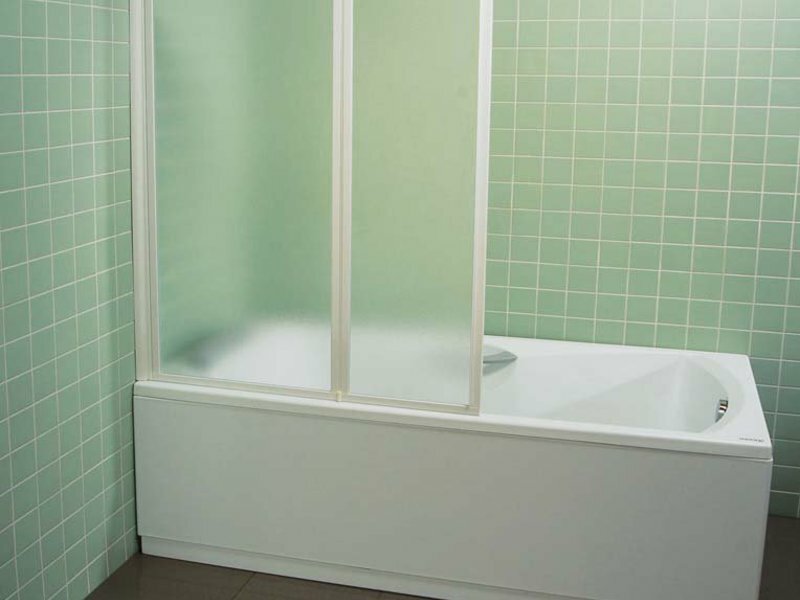
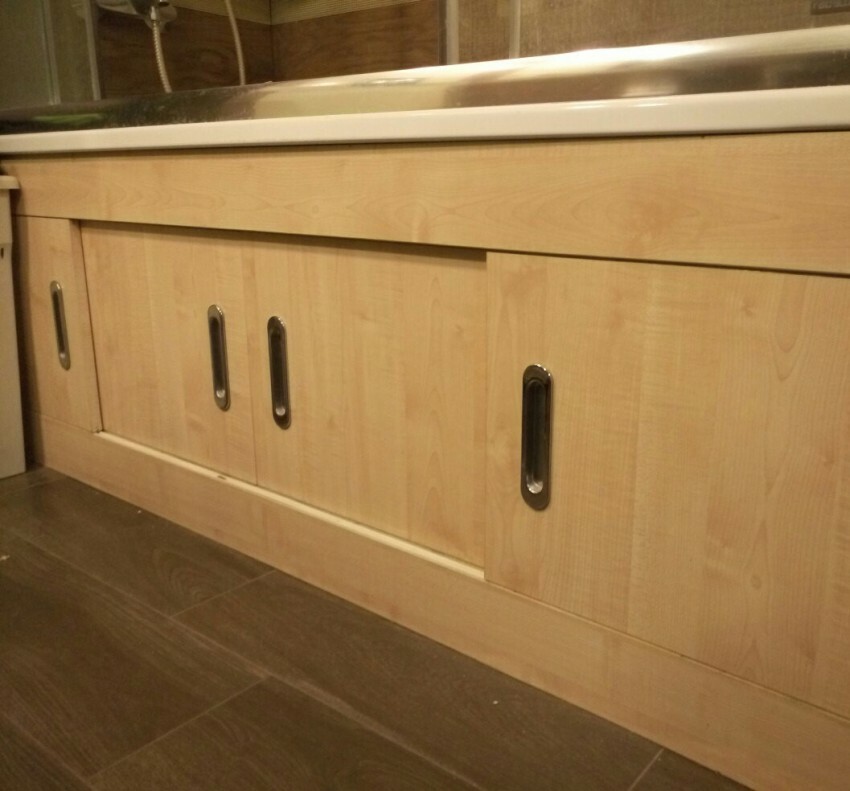
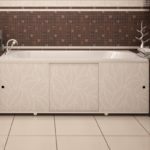
Sliding
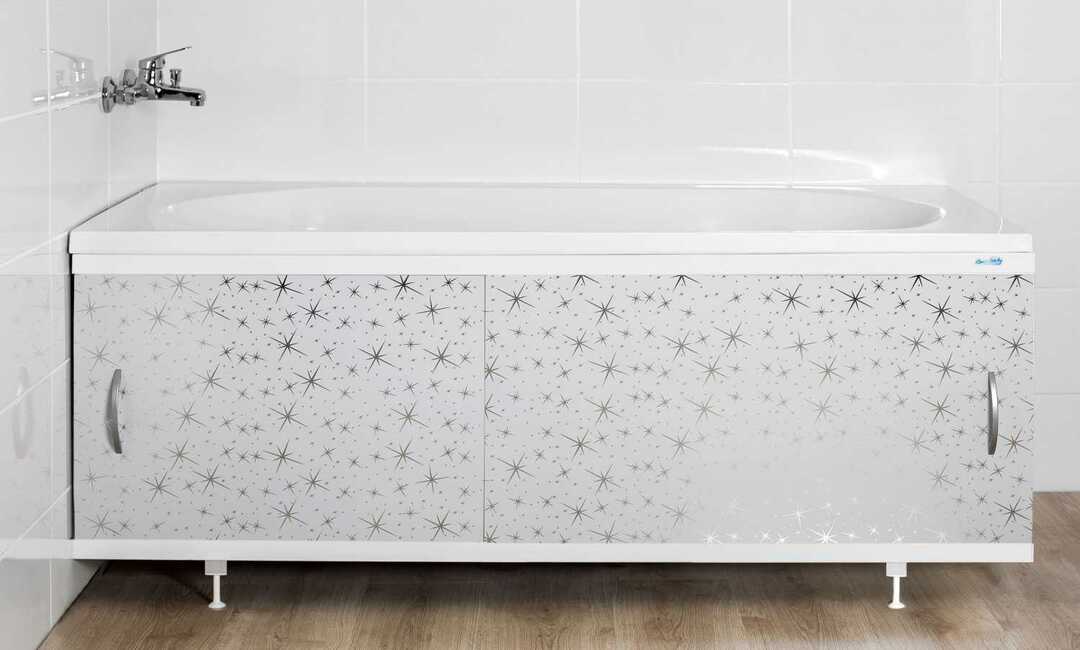
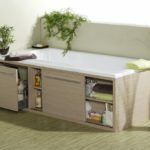
The sliding door design is especially useful in small spaces. The doors move along guides according to the "compartment" principle. The frame is permanently installed, to which the guides for the sliding elements are attached. Such screens can be completed with shelves, pull-out drawers, steps and other functionality that ensures comfortable use and convenience of the owner.

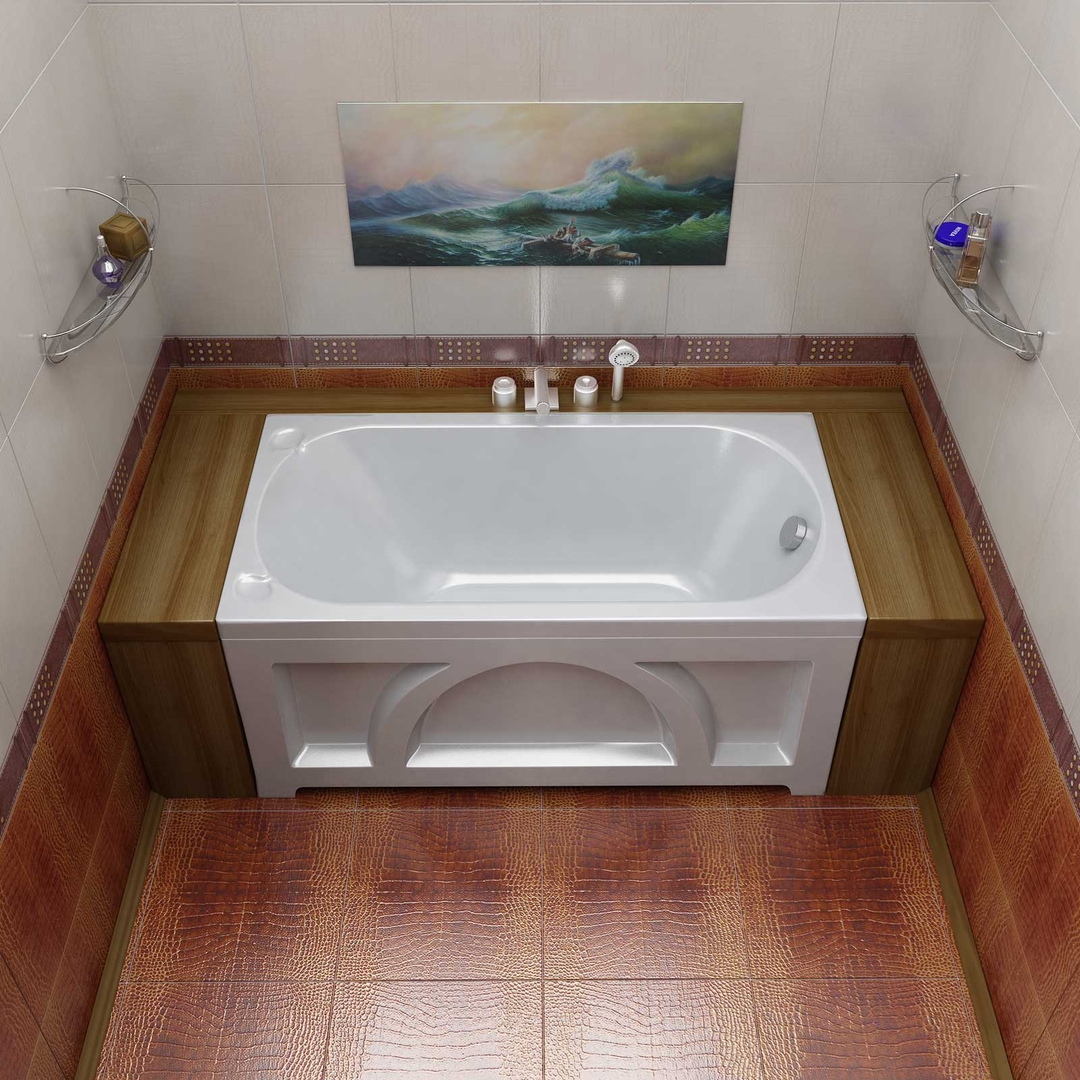
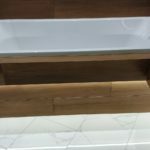
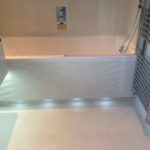
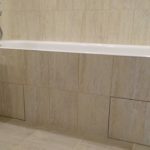
With foot recess
While washing the bath, washing clothes and bathing, the child has to stand facing the bath in an inclined position. If there is no foot recess at the bottom of the screen, it is rather inconvenient to perform any manipulations in this position. The body tenses, there is a risk of slipping and hitting the bath. In order to avoid these problems, you can equip a small hole in the fence above the floor, the width of which will be from 35 to 45 cm, and the depth - 10-12 cm.
The recess can have different configurations
- In the form of a square or rectangle - it is made of aerated concrete, brick or metal profile.
- You can design the cover plate so that the top hangs over the bottom. The recess can be illuminated with a moisture resistant LED strip.
- Another option is when one of the parts of the screen is tilted. The easiest way to implement this idea is with a profile. You can also use aerated concrete, but this is a much more laborious process.
- You can raise the screen off the floor by stepping back a few cm. The product will stand on its legs, and you will no longer have problems with the placement of the legs, but they will appear with cleaning. Dust, hair and other debris will get under the bath, and it is almost impossible to carry out a full cleaning through a small gap.
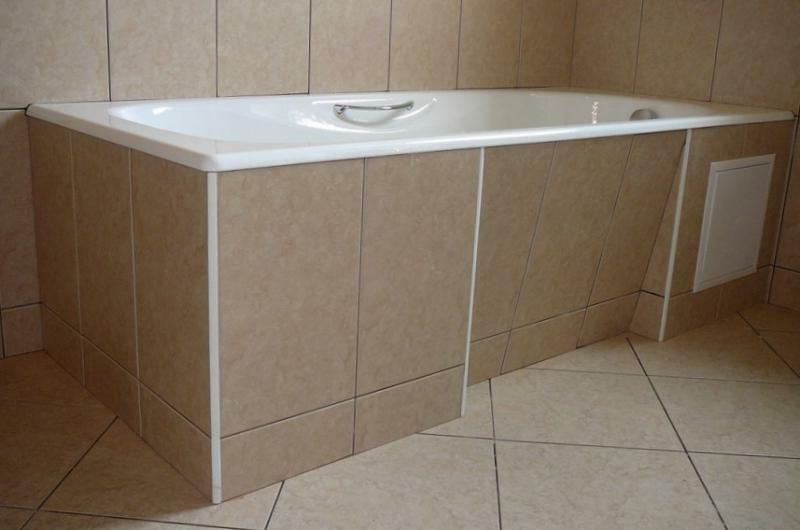
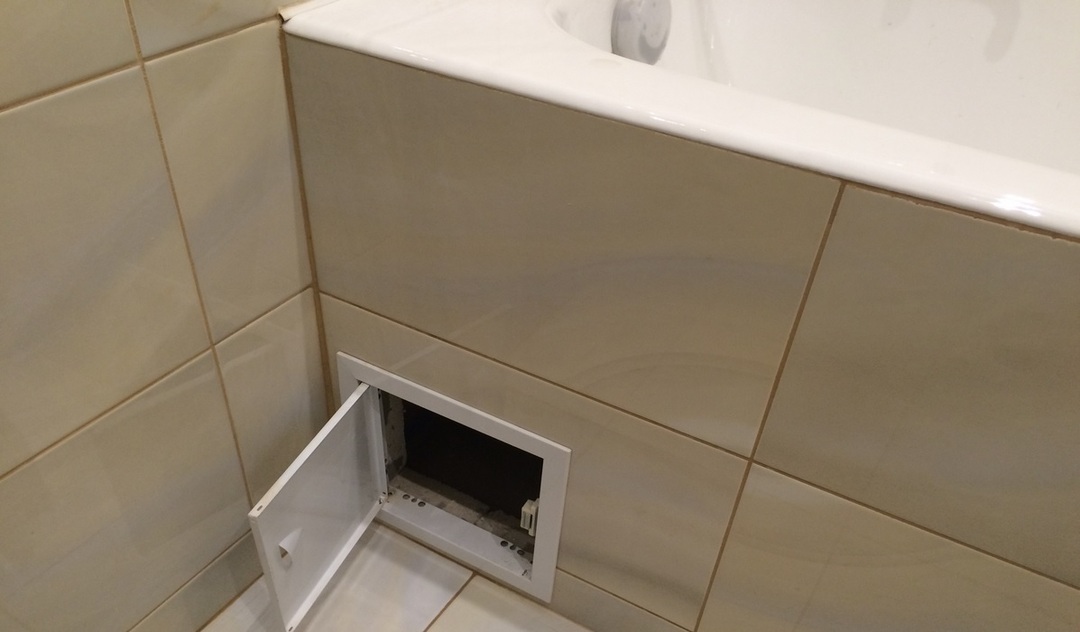
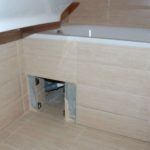
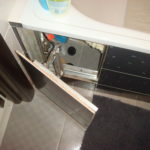
With inspection hatch
In the design of the bath screen, there must certainly be an opening or removable hatch that provides access to communications.
The following item data types can be used:
- plastic hatch - products are presented in a wide variety of sizes, so you can choose an option that matches the dimensions of the tile. The product is equipped with a hinged door, which can be removed if necessary. This is not the most aesthetic of the existing ways to close a technological hole, but it is the cheapest;
- removable panel attached to the frame with magnets. The installation site must be carefully calculated so that whole tiles can be placed on it.
When using a light grout to seal joints on tiles, it will not work to hide the hatch. There will be no grout around it, but there will be small gaps that stand out well against a light background. At the same time, on the cladding with a dark grout, the seams are practically invisible.
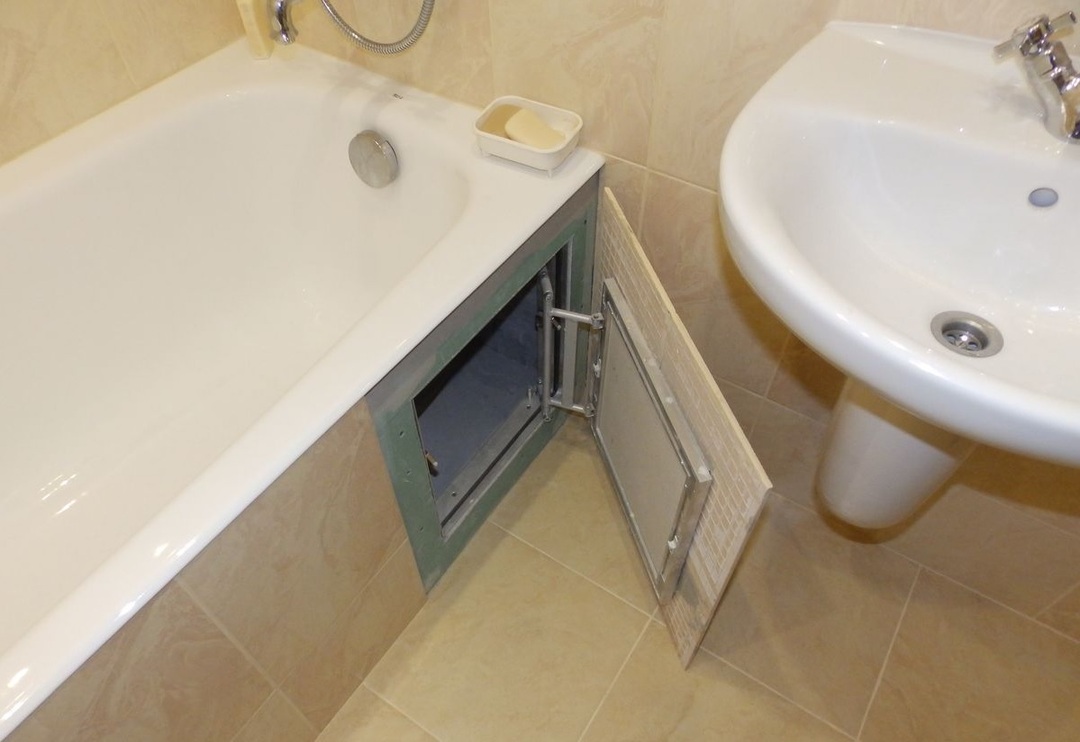
- The most optimal way - the most technologically advanced, but at the same time the most expensive - is the installation of special inspection hatches. They are swivel and folding - they are held on chains. These hatches are designed for tiling. With a high-quality installation and competently carried out calculations, such a hatch is almost impossible to make out.
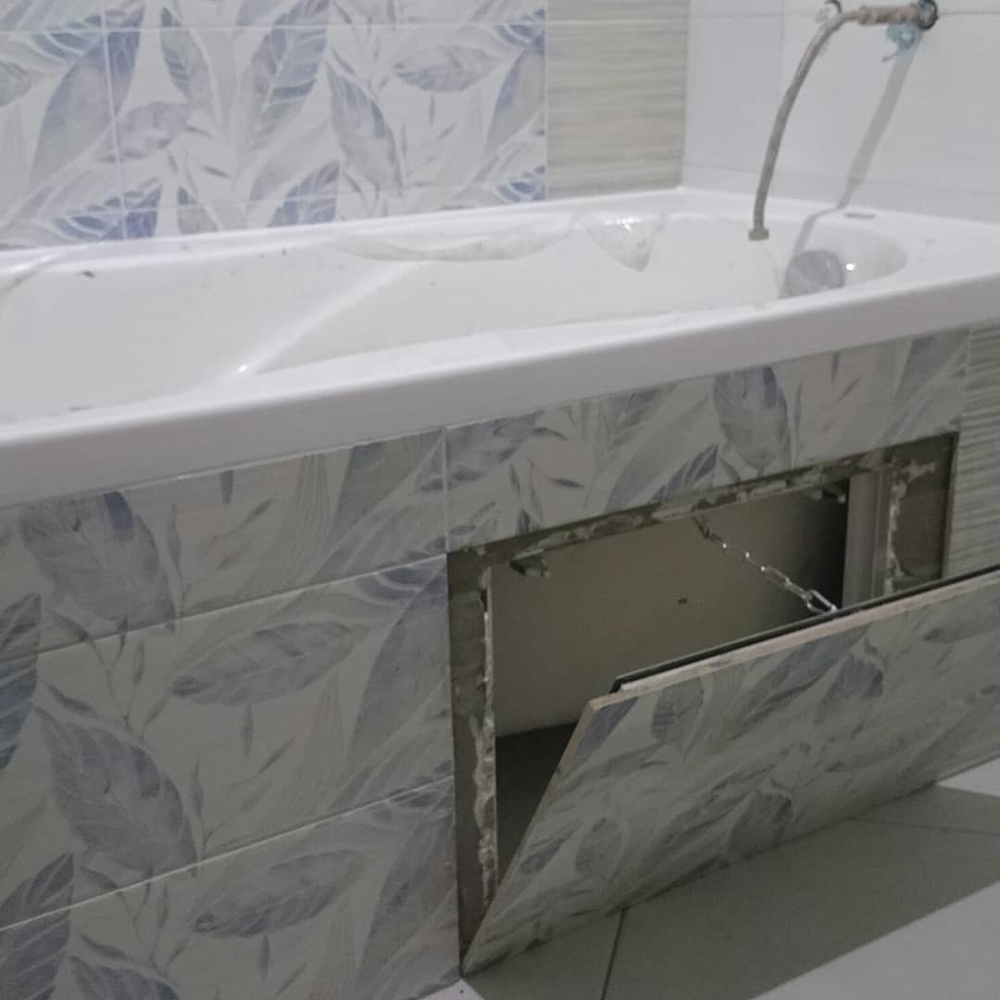
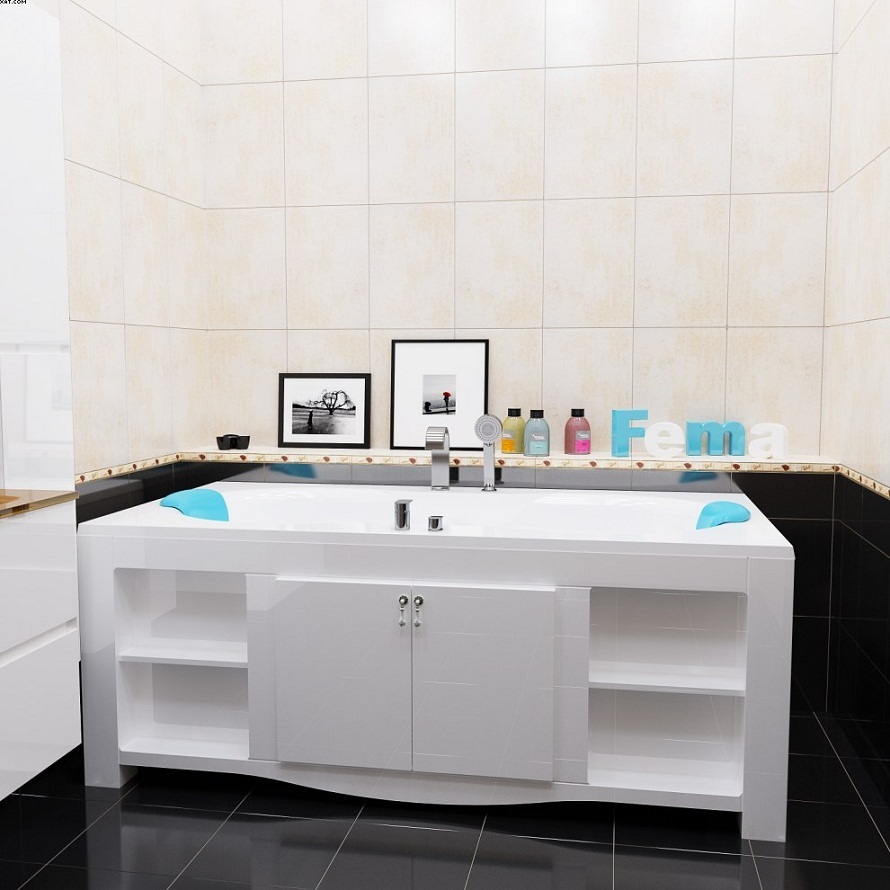
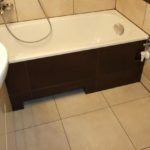
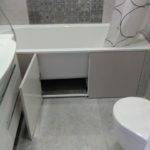
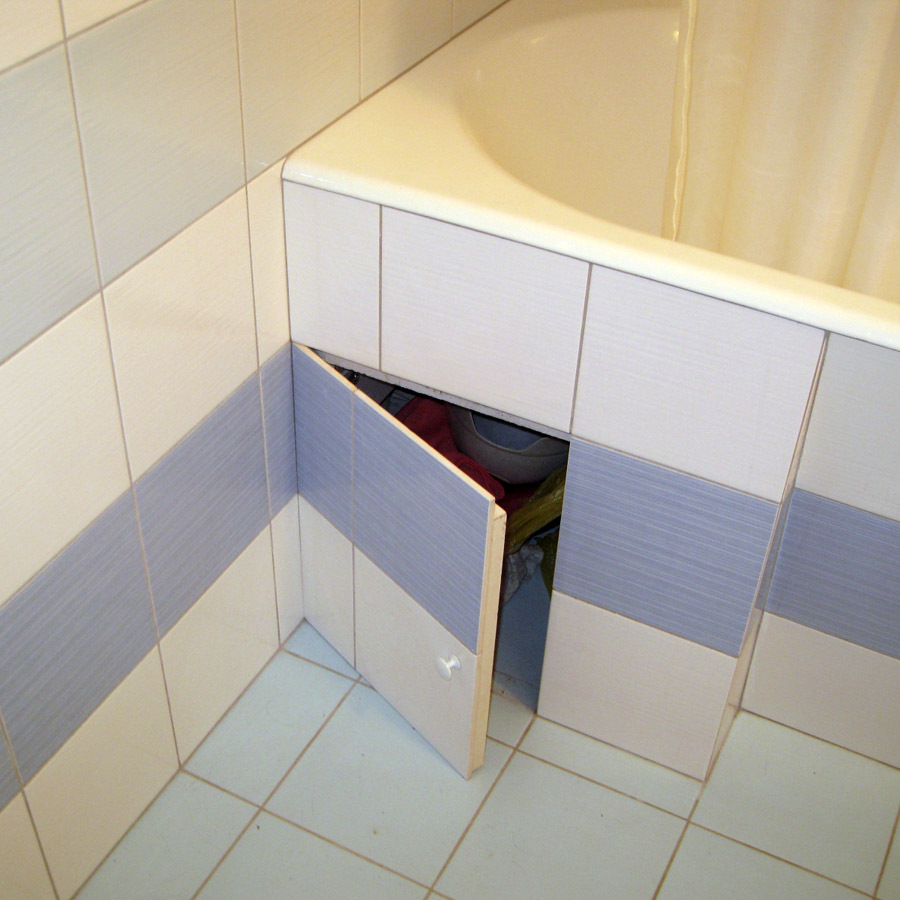
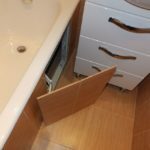
With hinged doors
This is an improved version of the solid screen. The panel can have 1-2 doors, which provide easy access to pipes and household chemicals stored under the bathroom. Both removable doors and those equipped with hinges are used - the latter are much more convenient. Behind the doors, you can equip racks with shelves, plastic organizers can be attached to the panels for storing small items.

By material of manufacture
To make a screen for a bath on your own, almost any materials that can be adjusted to the size of a niche are suitable. Of course, the choice is largely determined by the design itself, but the main requirements for them are water resistance, resistance to sudden changes in temperature conditions, ease of installation, ease of maintenance.
Therefore, the following materials are most in demand:
- brick;
- drywall;
- extruded polystyrene;
- moisture resistant plywood;
- metal profile;
- OSB;
- MDF;
- aerated concrete.
Finishing is done with:
- paints;
- varnishes - transparent or tinted;
- plastic slats;
- tiles.
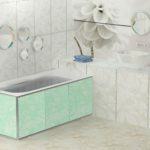
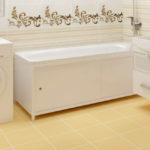
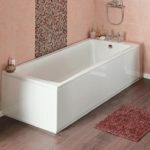
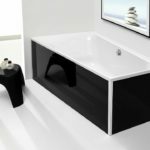
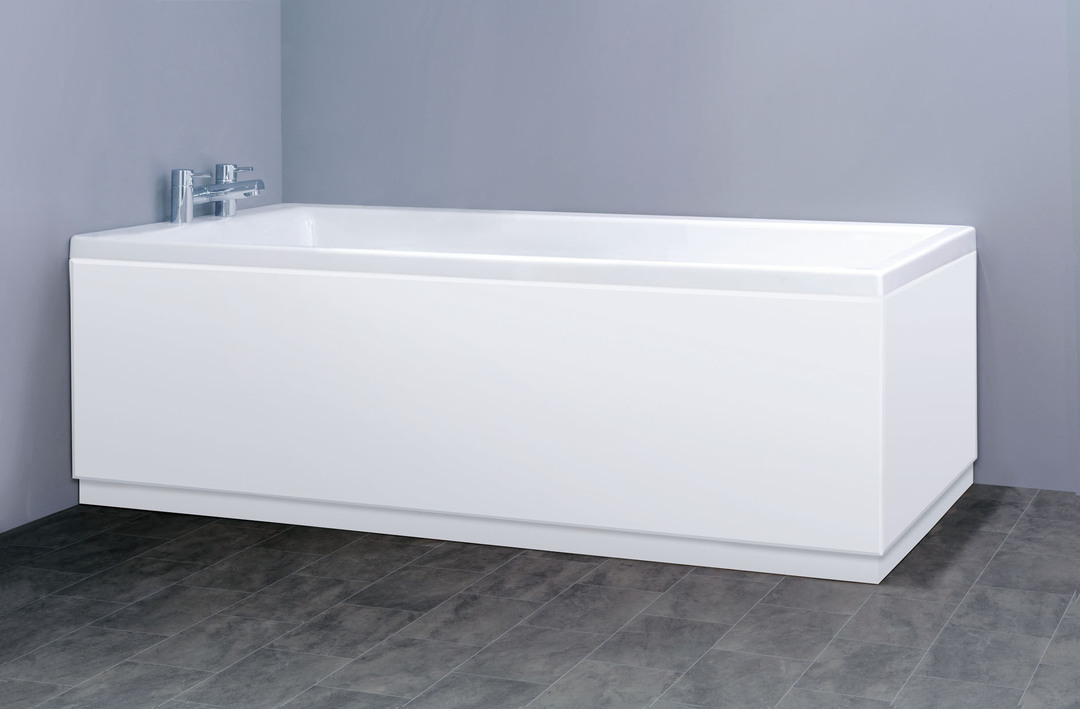
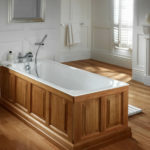
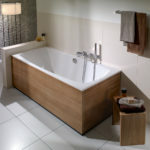
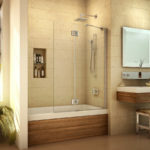
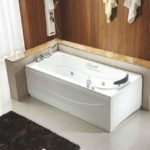
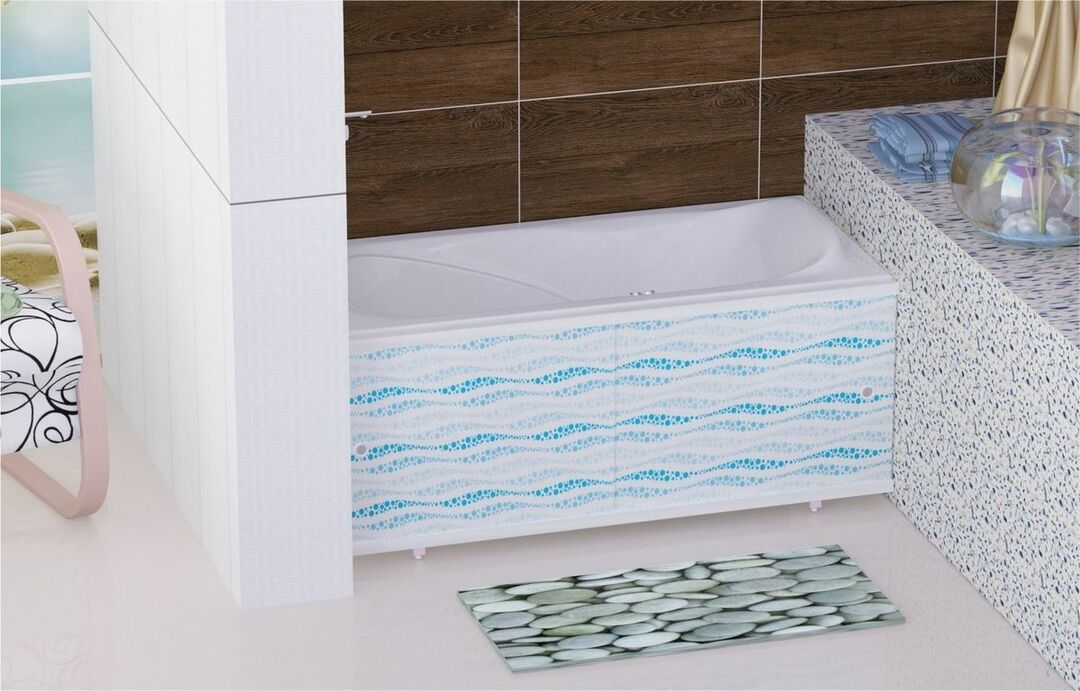
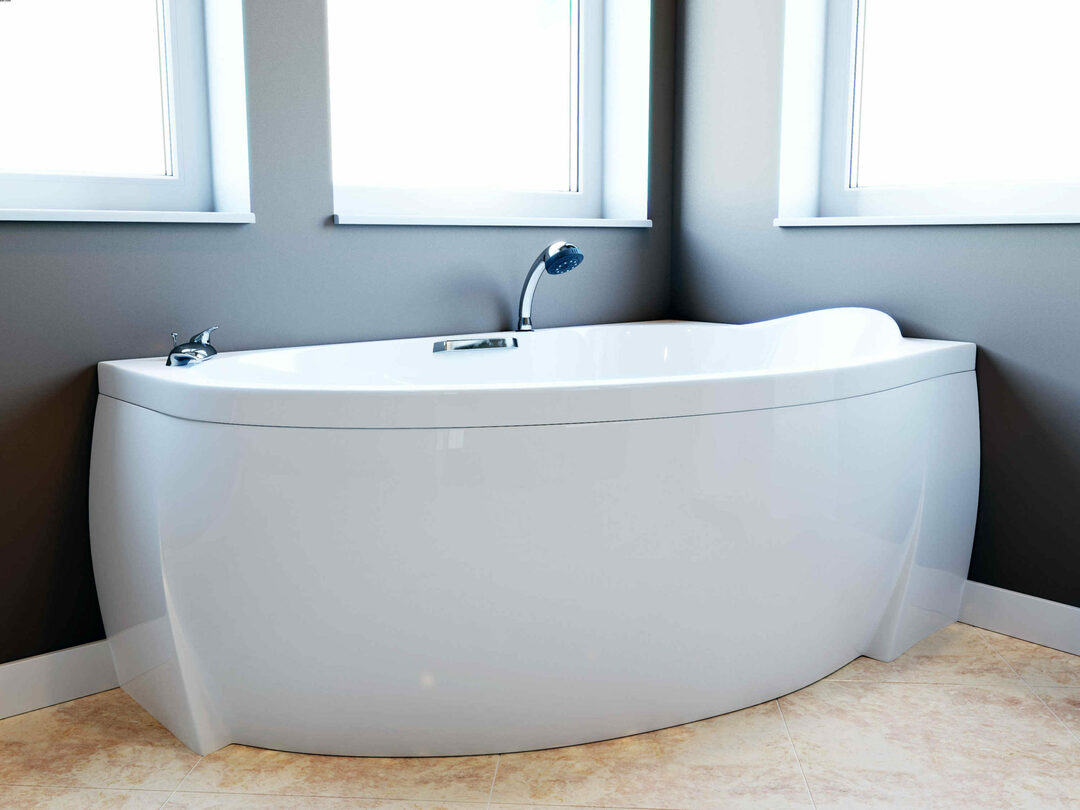
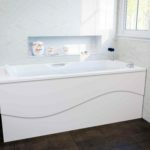
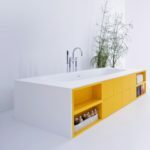
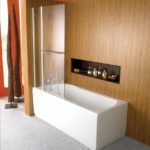
The photo shows various options for projects of protective screens for bathtubs, which can be realized independently.
Methods for self-manufacturing screens from different materials
Methods of assembly and installation of screens depend on the features of the future design.
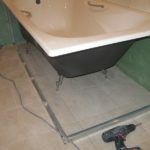
From timber and plywood
The first screen option is quite budgetary. For the manufacture of this model, complex professional tools are not needed. Drilling the floor and walls is also not required.
In the process of work, you can not do without:
- moisture resistant plywood 10 mm thick. The size of the shields depends on the dimensions of the bath and the height of the side, as well as how much it is planned to raise the screen relative to the floor;
- a wooden beam with a cross section of 50x20 mm - the length of the products will also depend on the place of installation;
- 4 hinged hinges for doors - the height of this hardware should be 50 mm;
- nails or screws for connecting parts into a single whole;
- 2 adjustable legs;
- 2 furniture handles and screws for fixing them;
- special varnish for covering wood or paint for painting the screen;
- hand saw for wood;
- construction square;
- hammer;
- roulette;
- electric drills;
- brushes for applying varnish;
- screwdrivers;
- working surface such as a workbench. Multiple stools can be used.
Manufacturing steps
- We take measurements and make construction details. Three panels - the middle one - stationary and two side panels, acting as doors, bars to create a frame.
- We spread the beams on the workbench - the upper one on the wide edge and the lower one on the end side. On top of the beams, three plywood panels are placed at intervals of 5 mm. The timber should protrude 5 cm along the edges of the laid-out panels. At this point, you need to fix the vertical bars, which will act as additional stiffeners and as a surface for attaching the hinges.
- We fix the stationary middle part with nails or self-tapping screws. The hats of the fasteners must be slightly drowned in plywood and then putty to these places.
- Next, we fix the side bars, which will become the final element of the screen frame.
- We turn the screen over in order to install the hinged hinges on the side plates. We make outlines deviating from the bottom and top by 100 mm, after which we drill the holes with a drill of 2-2.5 mm.
- We mount the legs on the bottom bar. They must be adjustable.
- We mark and fix the handles. You can use furniture fittings, but options that can be deepened into the panel are better suited. You will not touch such handles, they cannot be damaged.
- We process the surface with moisture-resistant varnish. This will protect the wood from moisture and direct splashes. Alternatively, you can paint the screen or cover it with a self-adhesive film.
Rough the edges of the plywood with a hand router, multi-cut files, or sandpaper. This will make the doors look much cleaner!
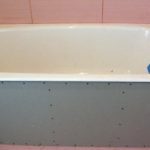
From profile and drywall
The next option is recommended for use in private bathrooms. Alternatively, you can make the side elements of this structure removable or use a bar instead of metal. If desired, a completely removable screen can be made. True, it will be impossible to install a washing or drying machine next to it.
Take care of availability:
- moisture resistant drywall;
- galvanized metal profile or wooden beam with a section of 50x30 mm;
- self-tapping screws;
- ceramic tiles or plastic lamellas for finishing;
- glue for fixing the topcoat;
- grouting for joints;
- electric drill - you will need holes in the walls and in the floor;
- level, tape measure, pencil, construction square;
- notched and rubber spatulas;
- screwdriver;
- scissors for metal for cutting metal profiles;
- hacksaw or jigsaw.
Step-by-step instruction
- Take measurements from under the bathroom. Do not forget to consider the presence of a plinth. Draw up a drawing indicating the dimensions.
- In accordance with the measurements taken, make the frame of the frame from a metal profile.
- Try it on in place for installation.
- Fix the sides of the frame to the walls.
- If a recess or slope for the legs is provided, you need to carefully cut out a part of the lower profile with the help of scissors in the place where they will be located.
- Deepen this segment under the bathtub and attach it to the floor with dowels.
- Tie the recessed element to the adjacent frame elements using the desired length of profile.
- Install vertical posts where the profile is at an angle.
If the length of the bath is long enough, additional stiffeners will not be in the way. Fix them at intervals of 400-500 mm.
- Take measurements and cut out the details from the gypsum board. Start with planking the recess. This requires one central rectangular piece and two small triangles.
- Next, measure and cut out the sidewalls of the structure. On the panel that will be located on the side of the water inlet and drain-overflow system, cut out a window for installing a plastic inspection door. The window opening must be reinforced with profiles. It is necessary to make additional fastening of drywall around the perimeter of the hatch using self-tapping screws.
- Try on the plastic frame of the revision, but do not attach it yet. Continue installing it after finishing the cladding.
- Decorate the surface by pasting it with tiles or PVC panels, having previously treated the drywall with a primer. Lay the tiles starting from the bottom. After the glue has dried, rub the seams with a rubber trowel.
- Glue the accessory window into the hole using liquid nails.


Made of MDF
To create a screen for a bathroom, you can use chipboards - MDF and OSB.
The main difference from the previous version is that the plates must be carefully primed. In the panel, which will be placed on the opposite side of the sheet with a revision hole, you need to cut through special ventilation slots with a length of 5 to 10 cm and a width of 2-3 cm.
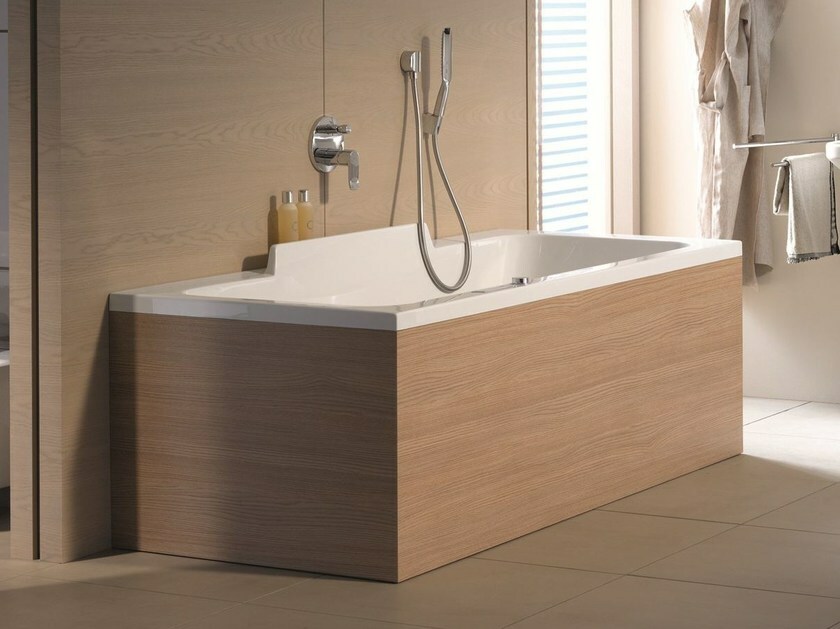
You can buy a ready-made MDF panel - solid or sliding. However, their sensitivity to moisture can lead to the fact that these panels will need to be repaired or replaced in the near future. Such products rarely look as good as new three years after installation. Their lifespan depends on the cost of the material.


From plastic panels
One of the most affordable and comfortable in terms of complexity of execution is a screen made of plastic lining. The panels are fixed to a wooden batten to which adjustable legs are attached. You can also limit yourself to the installation of lamellas in the guides. But such a structure will not have sufficient rigidity, and if desired, it will be easy to push it back with your foot, especially on a tiled floor.
Let's consider how to independently make a screen from PVC panels. To stiffen, use special guides and clips, with which the lining will be attached. The guides must be attached to the wall. You will also need an L-bar. Place it on the top and bottom of the formed screen.
Fastening PVC panels to the guides and creating a frame from the starting strip.
To create a frameless plastic screen, use:
- PVC panels of the desired color and width. It is possible to find out how many strips will be needed only after the measurement of the installation site has been completed;
- 2 guides - equal in length to the future screen;
- clips for fixing lamellas;
- starting bar for all sides of the screen;
- glue "liquid nails";
- tape measure, scissors, a jigsaw for cutting plastic.
We make a screen from plastic panels
Working process:
- Removing the dimensions of the screen.
- We assemble the panels on the guides into a single whole.
- Spread the glue pointwise along the line and along the front side to the upper starter bar.
- We put the launch panels on the finished screen - side and horizontal.
- We install the assembled structure, gluing it from below to the drawn line, then press it against the front inner part of the side of the bowl.
From polystyrene boards
Surprisingly lightweight and comfortable, but at the same time very durable material. It is realized in the form of slabs of various sizes and thicknesses. The surface is covered with a mesh and treated with an adhesive that ensures reliable adhesion to the veneer. Makes it possible to assemble screens of any - arbitrary shapes.
Manufacturing technology is as follows:
- make measurements;
- cut out a slab of the desired size with a hacksaw or knife;
- we anoint the places of future joints with walls, floors and tiles with tile glue;
- we apply the slab to the floor and walls, and then set it to the level. Screw in some self-tapping screws and use them as handles;
- we apply glue to all places where the slab adjoins the floor and walls, after drying, we proceed to facing the slab.
Brick
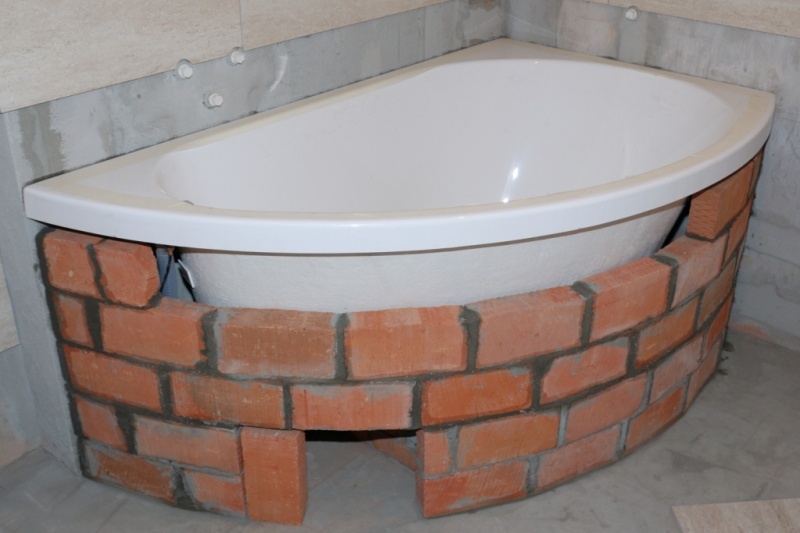
The base of the screen can be brickwork.
To build a wall you will need:
- bricks;
- cement mortar - for its preparation, you need to mix cement with sand 1: 6;
- Master OK;
- container for mixing the solution;
- drill with a nozzle construction mixer.
Working process:
In the process of creating a partition, bricks must be placed on the edge. Most often, laying is done in 1/2 or 1/4 brick. This creates a narrow wall that is strong enough to withstand the cladding without undue stress on the floor. When forming the first row, we take out 2-3 bricks in the center of the structure so that there is room for the future recess for the legs. Subsequently, you will also need to leave an opening for the installation of the revision window.
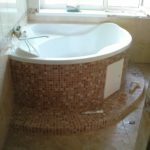
After the solution hardens, plaster the surface, level it. After that, interrupt work for 2-3 days - this is enough for the shrinkage of the masonry and the final setting of the mortar. If you do not keep this pause, the tile may fall off.
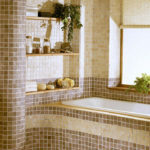
Brick bases practically do not need repair and do not deform. They retain their strength for many decades. But such a screen also has significant drawbacks - it blocks access to pipes and makes it impossible to use the space under the bathroom.

How to choose a ready-made screen in the store
When buying, you need to pay attention to:
- the appearance of the product;
- the duration of the operational period;
- the functionality of the partition;
- cost of the model;
- the nuances of installation.
If the only purpose of installing the screen is to disguise unsightly communications, a stationary or removable product with an inspection hatch will do.

If you plan to actively use empty space, choose models with sliding doors, and if the area of the bathroom allows, swing doors.
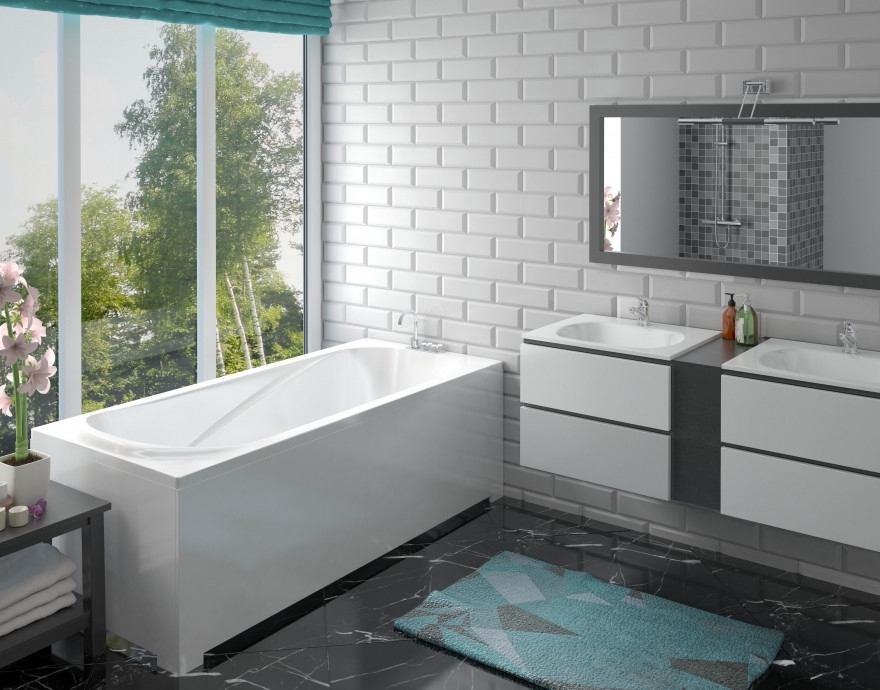
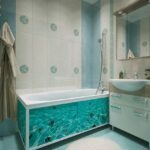
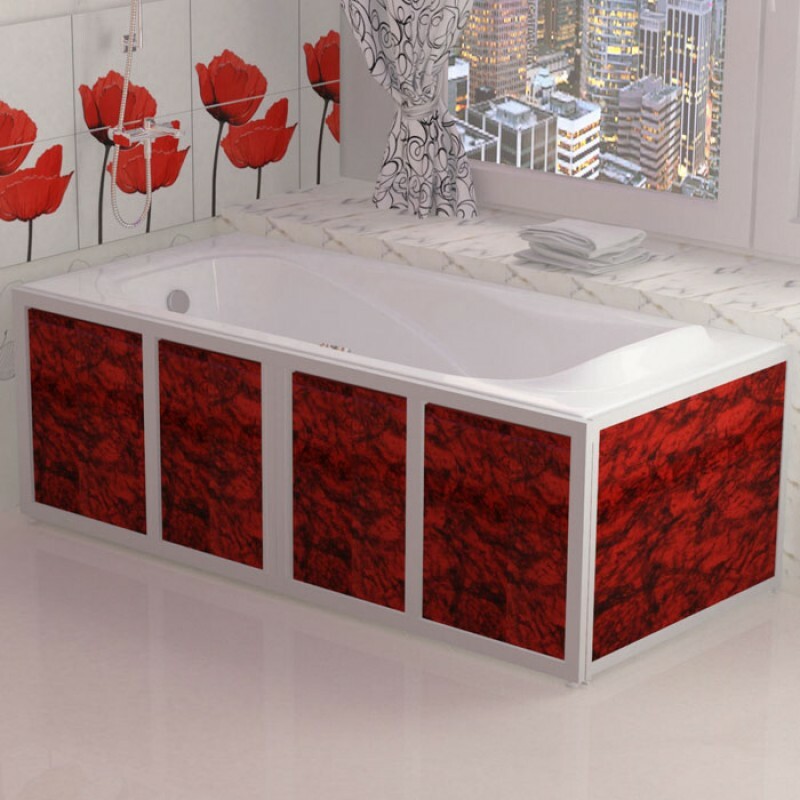
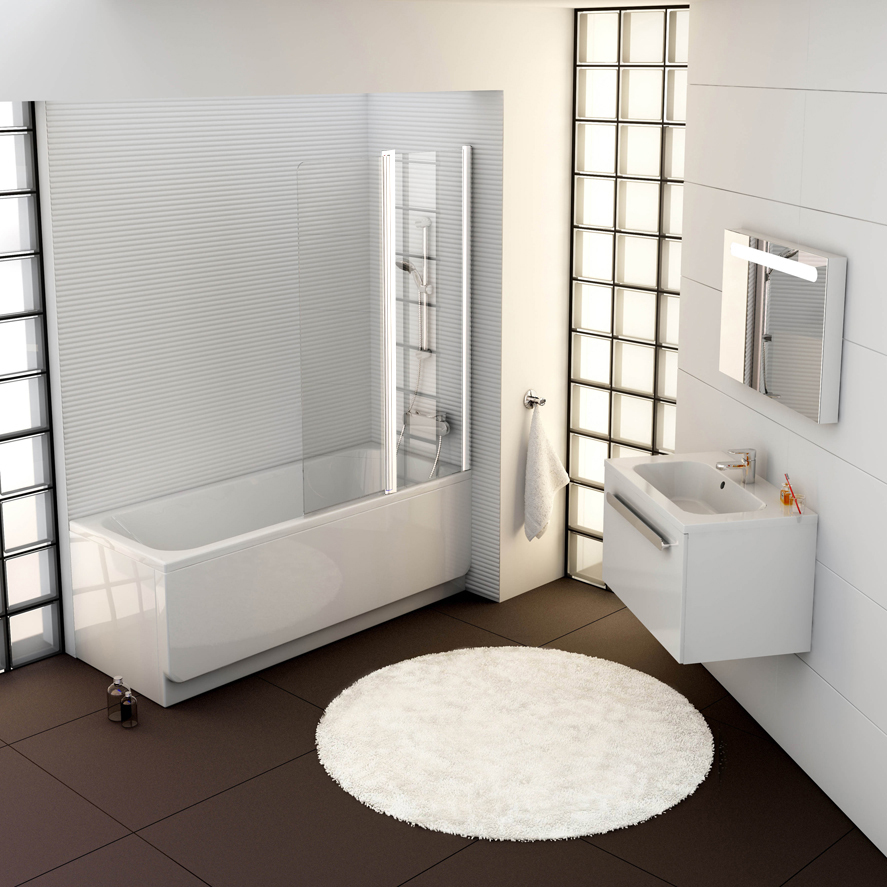
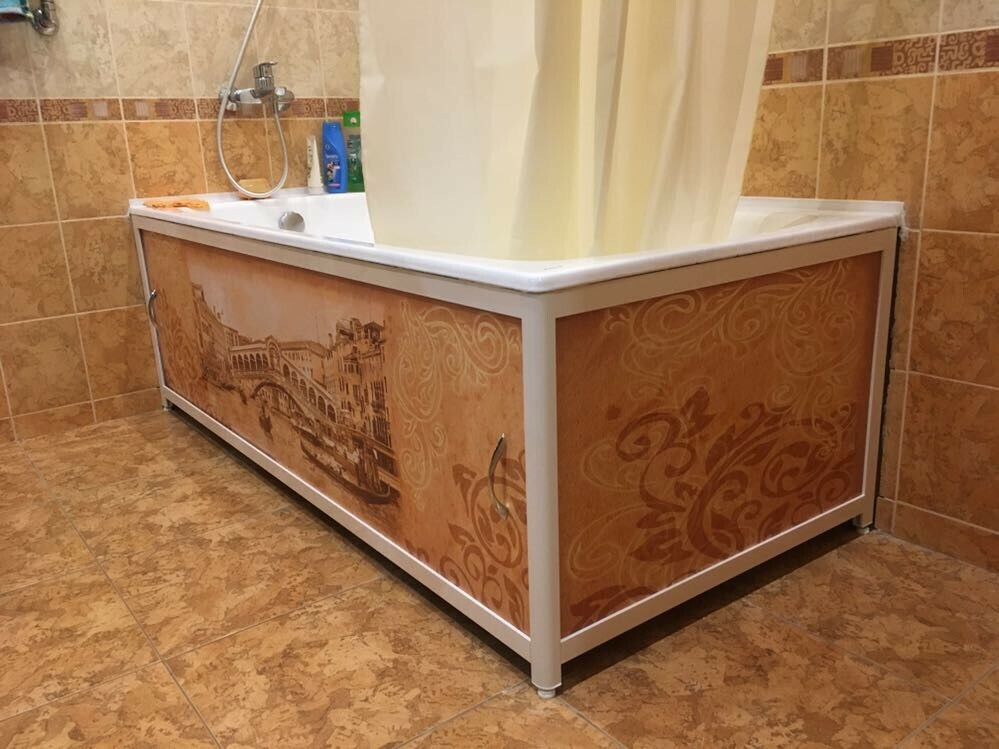
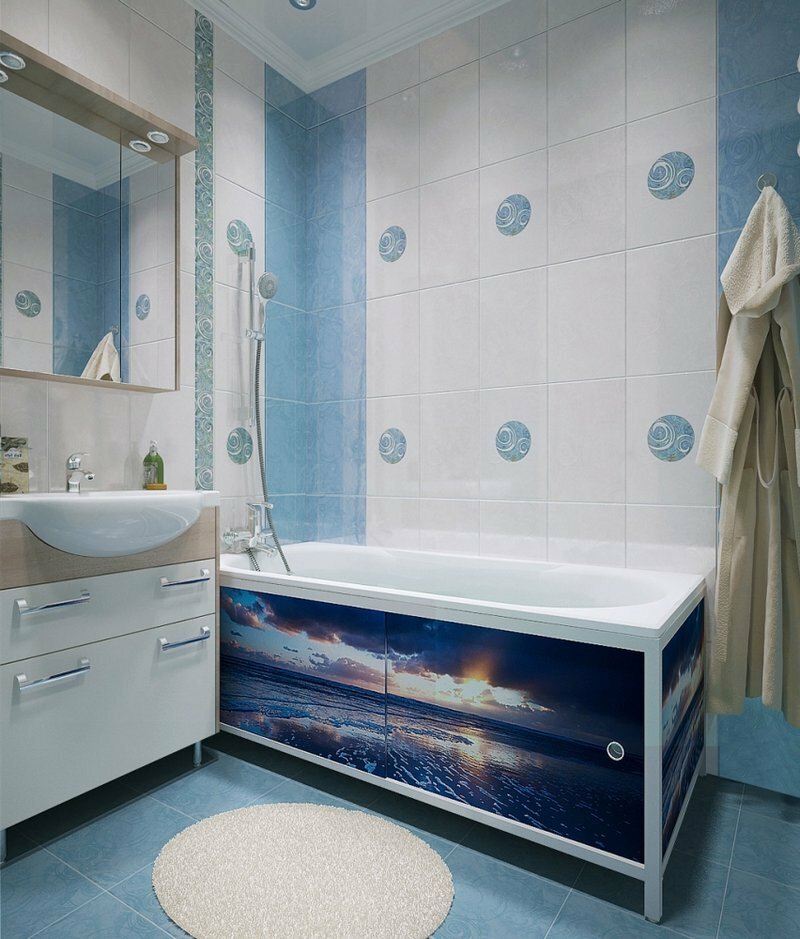
Consider the design of the bathroom. The screen must match the finish in style, color and texture. An excellent choice for small spaces can be a partition with a mirrored surface. Its reflectiveness contributes to the visual expansion of the space. Products with photo prints should be selected with the utmost care. Agree, in a marine style, a screen with flowers or an animal print will be inappropriate. If contrasting elements were used in the decoration, it is better to make the screen monochromatic. Colorful drawings will be appropriate in calm interiors decorated in a single color.


The main features of the screens:
- frames are made of various raw materials - aluminum, steel, plastic;
- can be equipped with sliding doors or be a dull panel with a window for access to communications;
- the main material can be used - acrylic, PVC, MDF, glass with a mirror surface, metal.
How to install a ready-made screen
To install the product, you will need a tape measure, a building level, a screwdriver, a key for adjusting the height - for some models.
When performing, you must follow the following instructions:
- We take out the components from the box.
- We attach the legs or screw on the nuts from the kit.
- We place the screen under the bathtub and adjust the height of the product so that it stands upright.
A detailed installation process for the finished screen is presented in the video.
Our tips will help you choose the best option for a bath screen and install it yourself.