Time dictates its own rules, and today it is no longer possible to find an apartment or a private house where there is no TV. But often the reception of the signal with the antenna leaves much to be desired. This can be avoided by purchasing a good antenna in the store, but such a purchase implies financial costs. So, it is worth talking about the hand-made manufacture of such a device as Kharchenko's antenna, its design and features that allow its use not only for receiving digital TV, but also for other goals.
Read in the article
- 1 What is Kharchenko's antenna
- 2 Materials of manufacture and calculation of the dimensions of the sides of the biquadrat of the Kharchenko antenna
- 2.1 How to calculate the length of each side of a biquadrat
- 2.2 Differences between the antenna for receiving a 4G signal from DVB T2
- 2.3 Step-by-step instructions for making a 3G, 4G or DVB T2 antenna Kharchenko
- 2.4 Antenna Kharchenko for receiving a 3G signal with your own hands
- 3 Various schemes for the manufacture of Kharchenko's antenna
- 4 Setting up a DIY antenna
- 4.1 Equipment testing
- 5 Advantages of self-manufacturing Kharchenko antenna before purchasing it
- 6 Finally
What is Kharchenko's antenna
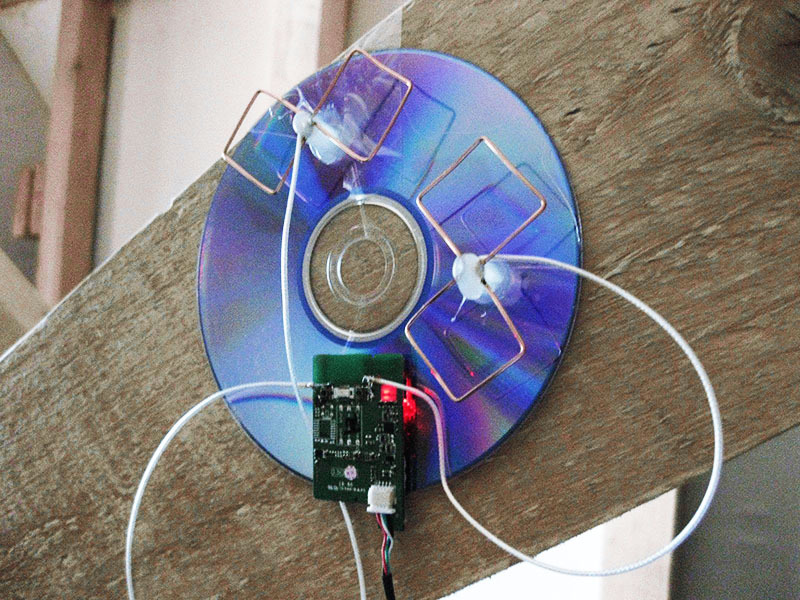
In appearance, it is a double square, behind which is a grating, or a solid reflector. Initially, back in 1961. Konstantin Kharchenko designed it to receive a television signal in the decimeter range. However, later his invention was modernized, and now such antennas are used to receive signals in 3G networks (cellular) and even wifi.
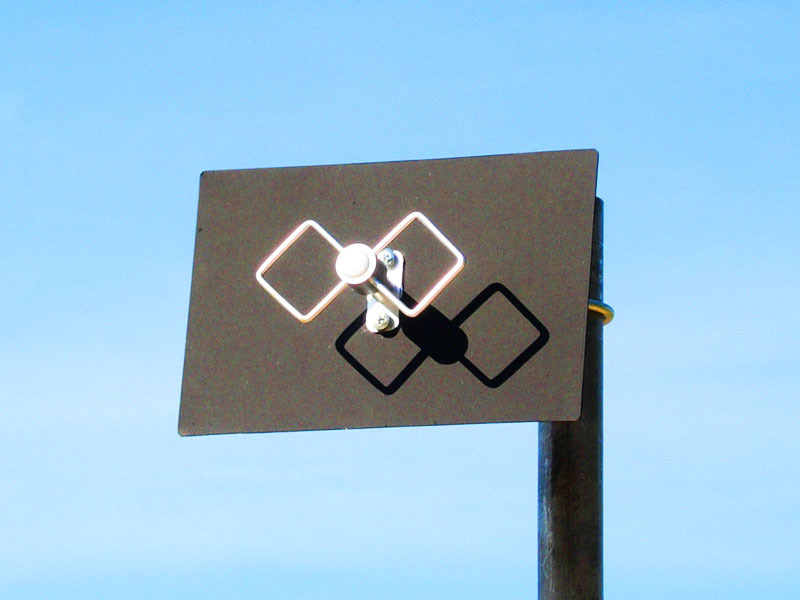
Some people think: in order to make a Kharchenko antenna, it is enough to bend the copper wire in a zigzag manner, but this is a delusion. For it to work, certain calculations are required. All calculations can be done according to the formulas, which we will talk about a little later, or you can use online calculators that are easy to find on the Internet.
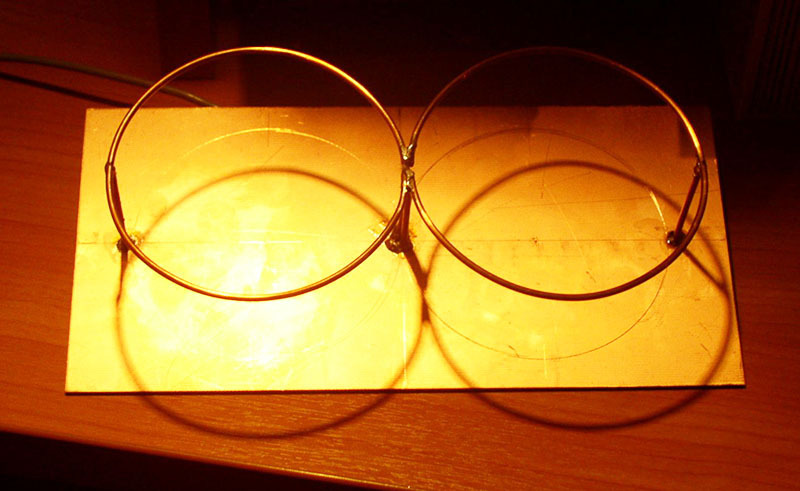
Materials of manufacture and calculation of the dimensions of the sides of the biquadrat of the Kharchenko antenna
The most optimal material for making a zigzag antenna is copper. The conductor cross-section must be equal to 4-5 mm2. If the core is thinner, the quality of signal reception may decrease. Any mesh or even an aluminum (copper) plate can be used as a deflector.
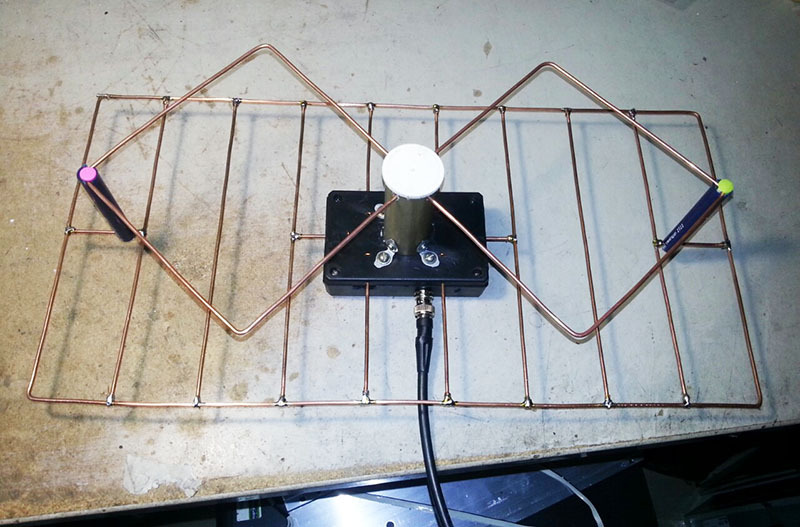
How to calculate the length of each side of a biquadrat
Calculations are made separately for each region or city. Here everything will depend on the frequency at which the multiplex signal is transmitted. Today in Russia there are two multiplexes operating at different frequencies, transmitting 10 digital channels each. The transmission frequency can also be found from the internet.
For example, take the capital of the Republic of Bashkortostan, Ufa.
Here the broadcast is made:
- 1 multiplex - 506 MHz;
- 2 multiplex - 650 MHz.
The calculation is made according to the formula 300 / F, where F is the signal transmission frequency.
In this case, we get two indicators:
- 300/506 = 0.59 m.
- 300/650 = 0.46 m.
In order for the antenna to receive the signal of both multiplexes, an average value of 0.53 m is taken. This will be the length of the wire for one of the squares. However, this length assumes an overly cumbersome system. To reduce it, the master can take half or a quarter of this indicator. By dividing the length in half and rounding the result, you can see that the resulting wire length is 26 cm.
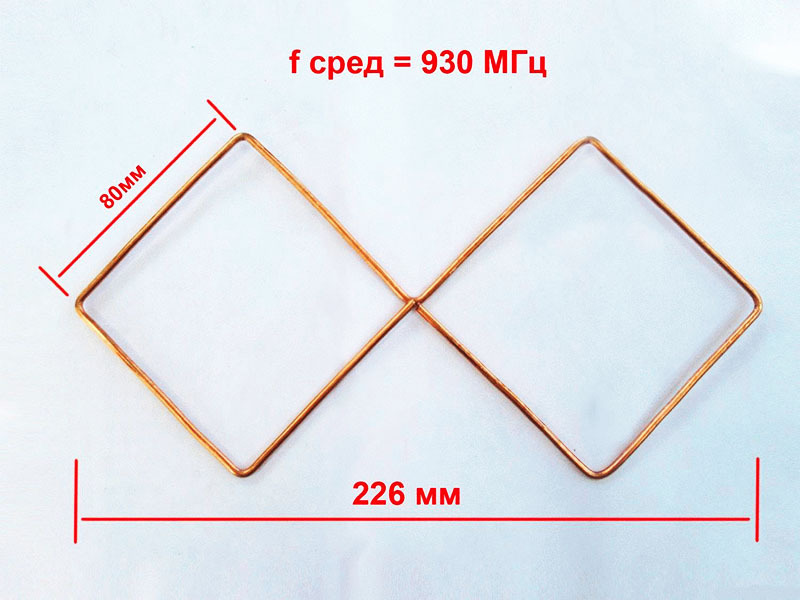
Now this indicator is divided into 4 equal parts that make up a square. We get 26/4 = 6.5 cm. This is exactly the length of one side of the square of Kharchenko's zigzag antenna for receiving digital TV in the city. Ufa.
Differences between the antenna for receiving a 4G signal from DVB T2
There will be no differences in form here. The only thing worth noting is the different length of the sides of the biquadrat. In order for the reader to understand the algorithm for the production of such works, we propose to consider the step-by-step instructions for the manufacture of such equipment with photo examples of the work performed.
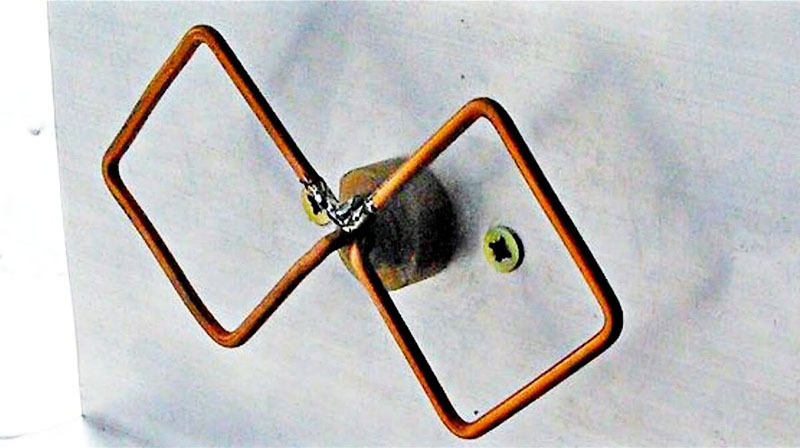
Step-by-step instructions for making a 3G, 4G or DVB T2 antenna Kharchenko
Regardless of which version of the antenna was chosen, their manufacturing technologies will not differ. The only difference will be the length of the sides of the biquadrat, which depends on the frequency at which the signal is transmitted. At the same time, on today's example of step-by-step instructions, it will be disassembled how to assemble an antenna for receiving a television signal in a hurry, when there is only a minimum of tools and material available. This is sometimes necessary, for example, when a home craftsman comes to the dacha, and the TV for some reason does not work.
| Illustrations | Action being performed |
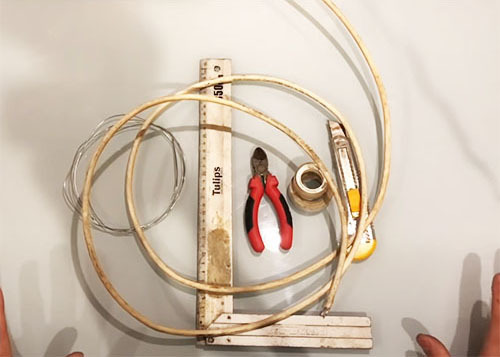 | To make the simplest receiving device you will need:
|
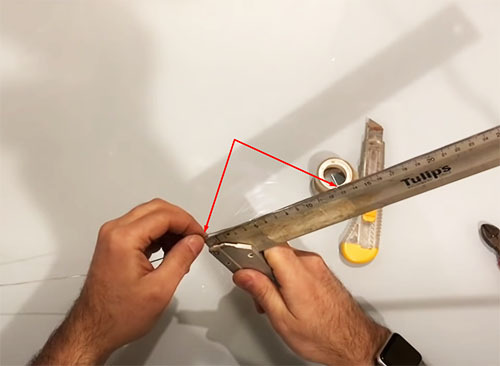 | It is necessary to bend the biquadrat out of the wire. To do this, first bend 1 cm from the edge (for subsequent connection without soldering), after which you need to measure 13 cm (side length). In the same way (13 cm each), the remaining faces of the biquadrat are measured. |
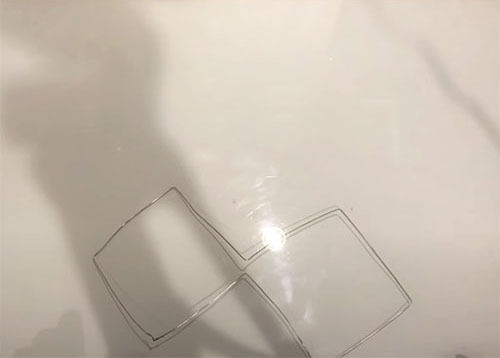 | The end result should be something like a butterfly. The ends are twisted together. |
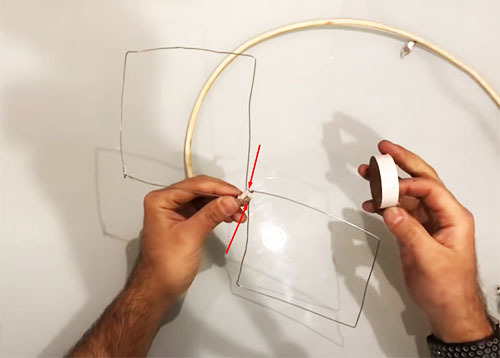 | The coaxial cable is stripped 2-3 cm. The central core is wound on one side at the junction of the squares, and the screen ̶ on the other. In this case, they should not touch. |
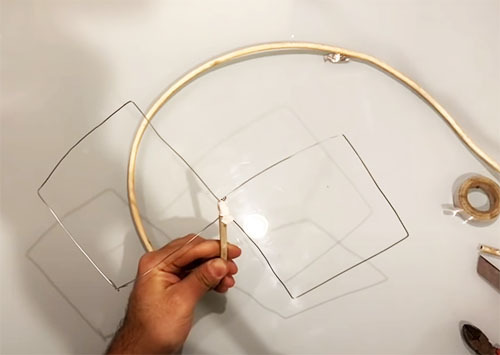 | For reliability, you need to insulate the connection. Moreover, if there is no electrical tape at hand, you can even use scotch tape. |
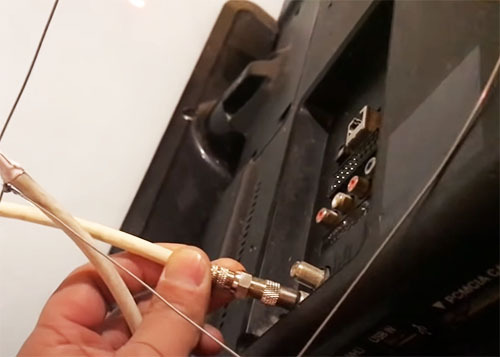 | Now you can check the resulting antenna for performance. To do this, a plug is mounted on the back of the coaxial cable, which is connected to the TV. |
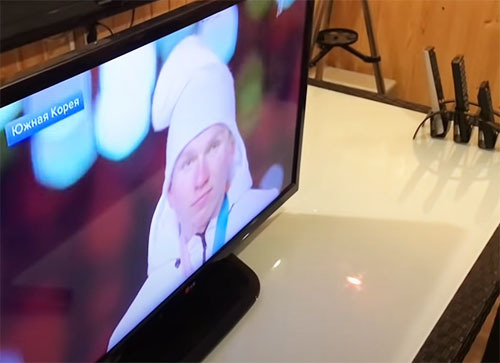 | Instantly, a clear picture appears on the TV screen. Now you don't have to be bored all evening, you can watch 20 TV channels or listen to the radio. |
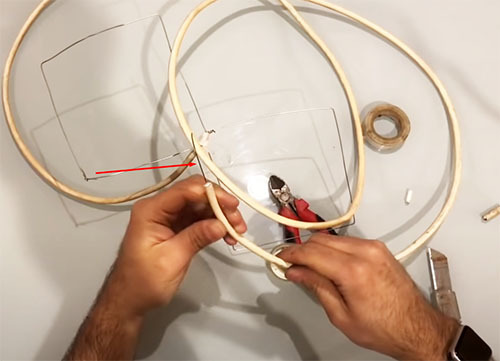 | If at the dacha it was not possible to find a suitable wire for a biquadrat, it is quite possible to use a central copper core from a coaxial cable. |
But this is only the simplest option, which is done in a hurry. You should not expect transcendental results from him. But what to do if a private house is located in a lowland and there is a need to strengthen the 3G or 4G LTE signal? Let's try to figure it out.
Antenna Kharchenko for receiving a 3G signal with your own hands
Poor 3G connectivity is a perennial problem in the private sector. At the same time, many even climb into the attic to catch the Internet connection. As it turned out, Kharchenko's antenna is quite capable of helping here. The main thing is to correctly calculate its dimensions and not make mistakes in manufacturing.
| Illustrations | Action being performed |
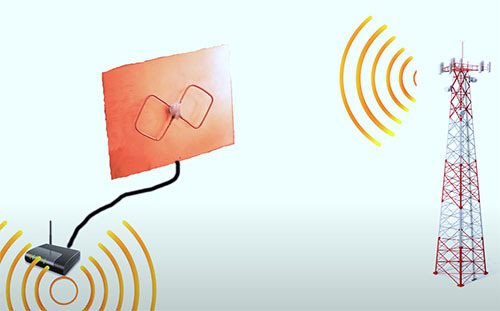 | Often, if the house is located in a low area, the signal may simply not reach the router, passing higher. In this case, an antenna must be installed on the roof. |
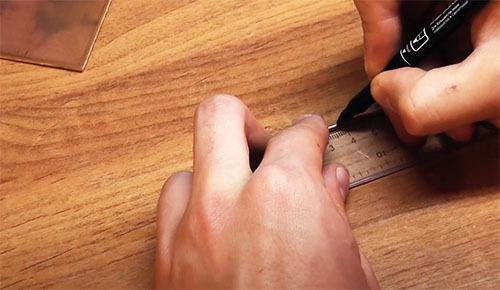 | For the manufacture of the antenna, a copper core with a cross section of 6 mm is used2. It will need about 35 cm. Using a ruler and a marker, 37 mm lengths are marked on the wire. (assuming that the 3G network operates at a frequency of 2100 MHz). There should be eight such parts. |
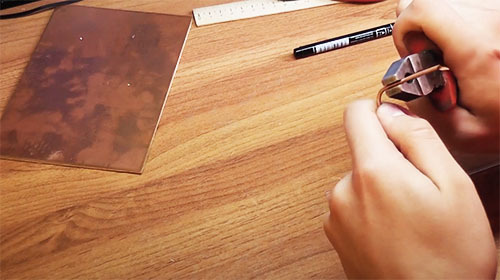 | Using pliers, the copper core is bent along the marks. All angles must be 90 °. After the vein is bent, you should get an even biquadrat. |
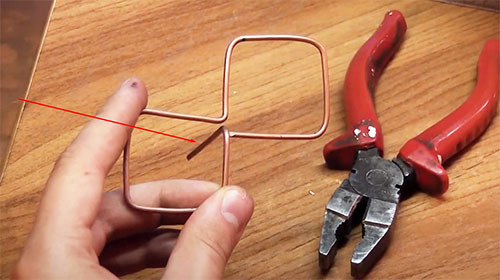 | The remainder of the copper core should not be cut off. It will be used later as a leg. |
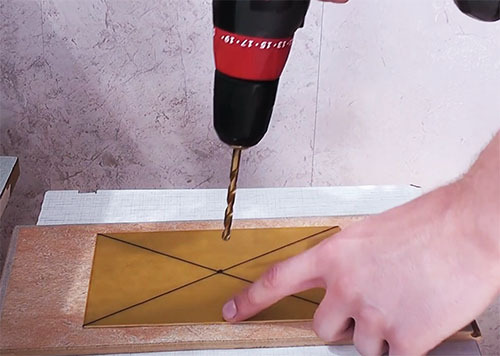 | Further work is related to the deflector, which is best made of foil-clad copper or aluminum fiberglass. Such material will maximize the signal. The deflector must be larger than a biquadrat. You will need to drill a hole in the center of the plate. |
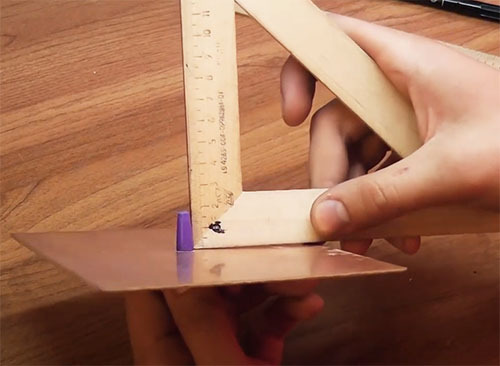 | A cap from the handle is inserted into the drilled hole. It will serve as a bushing. Its height determines the distance between the biquadrat and the deflector. This parameter should be equal to 17 mm. Excess plastic can be trimmed with a utility knife. |
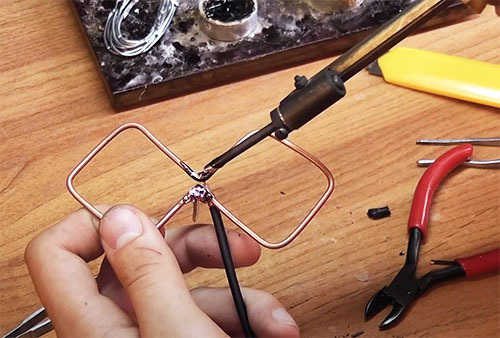 | Similarly to the previous example, a coaxial cable is connected to the biquadrat. The difference is that everything is done thoroughly here, which means that all connections must be soldered. |
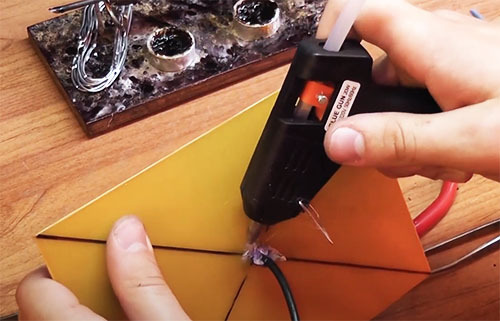 | It remains to fix the cap and the biquadrat on the deflector. This is best done with a hot glue gun. |
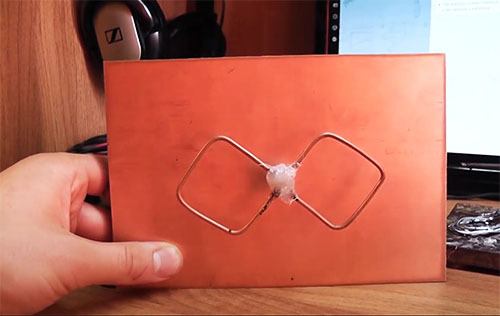 | This completes the manufacturing of the 3G antenna. Now, if you lift it to the roof and connect it to a router or modem, the network signal will be greatly enhanced. |
This method is very good for areas with unstable signal. The main thing is to remember that the thicker the copper core, the better the network signal will pass.
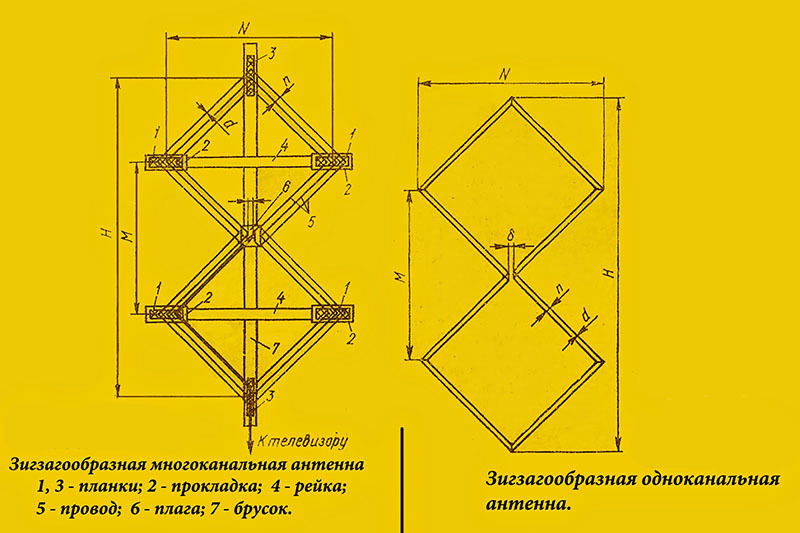
Various schemes for the manufacture of Kharchenko's antenna
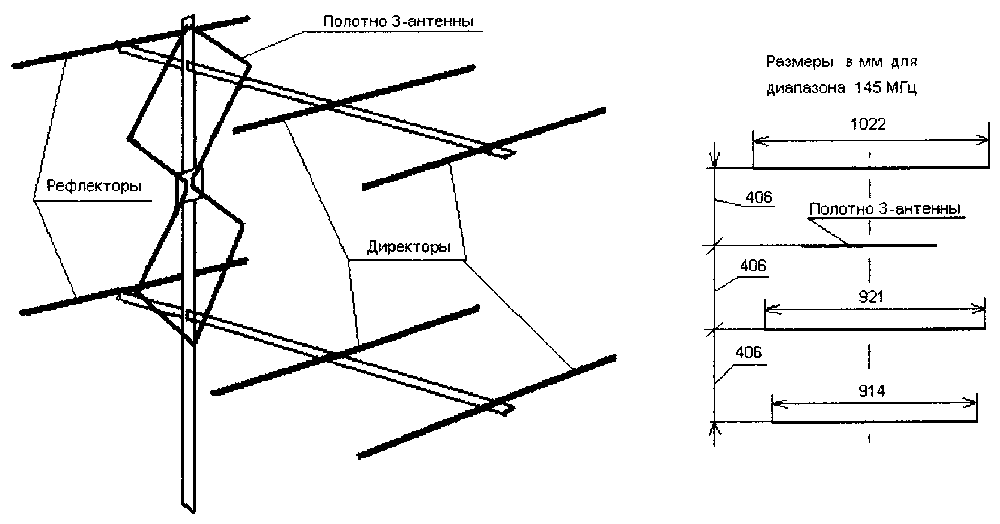
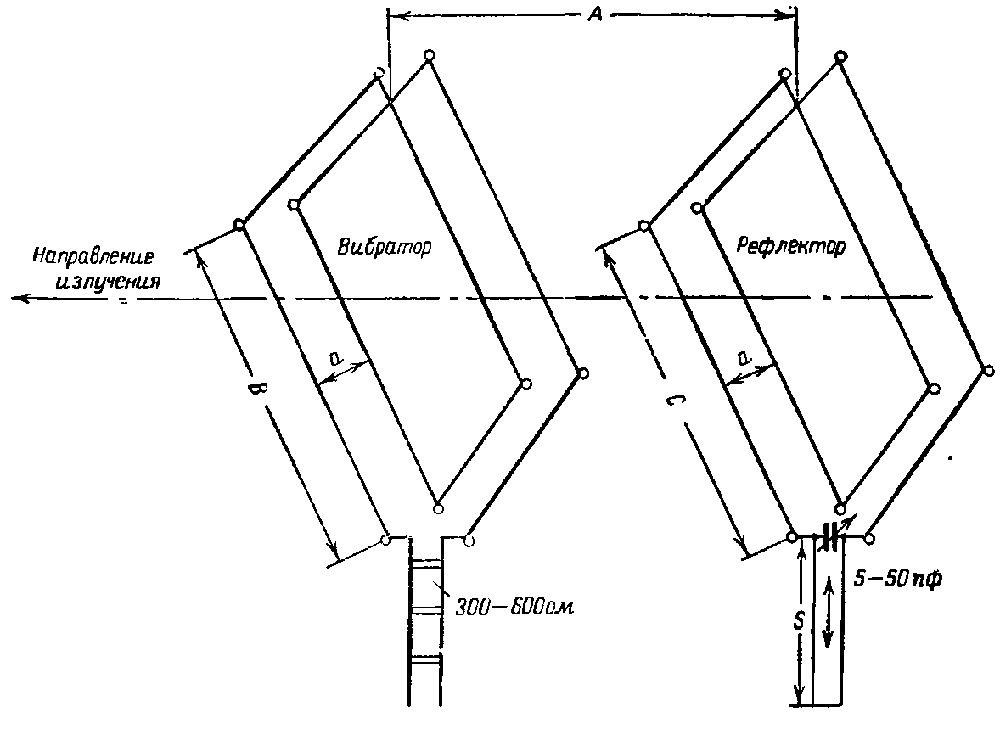
On the Internet, you can find many different schemes according to which Kharchenko's antennas are assembled. So that the dear reader does not bother himself looking for them, we offer our selection, which includes the most workable options.
Setting up a DIY antenna
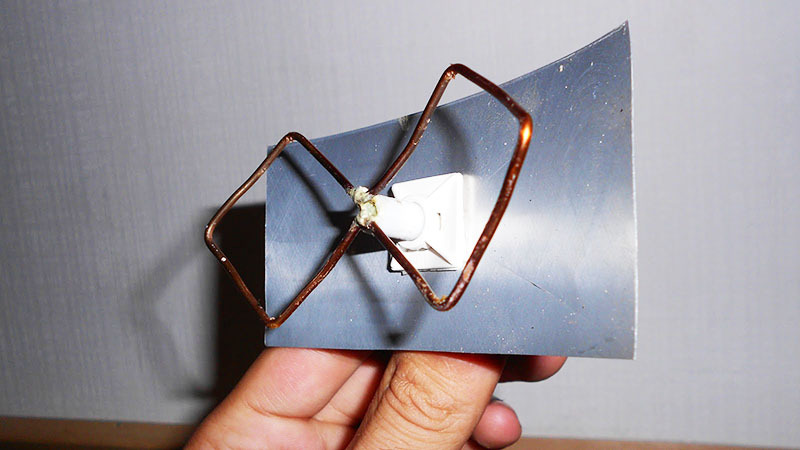
There are absolutely no difficulties in this work. If the quality of the received signal is insufficient, you simply need to change the direction in relation to the nearest transmitter. At a certain moment, the quality of the received signal will be at its maximum. It is in this position that the antenna should be fixed, after which you can enjoy the resulting image or high-speed Internet.
Equipment testing
If we are talking about digital TV channels, then everything is simple here. It is necessary to roughly direct the antenna towards the transmitter (tower) and turn on the autosearch of channels. The difference between digital television and analog television is that there cannot be a low-quality image. In this case, it is either perfect or not at all.
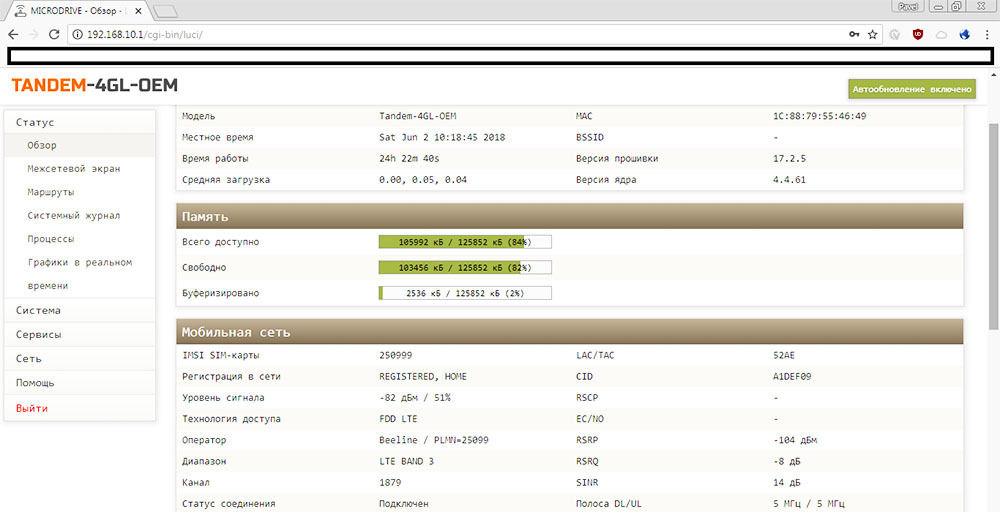
It's even easier with 3G networks. You just need to open any online program for checking the connection speed and use it to set the direction of the antenna, determining the position of the maximum signal.
Advantages of self-manufacturing Kharchenko antenna before purchasing it
Today, few people are ready to spend their free time on the manufacture of such devices. However, doing it yourself has many advantages over purchasing an antenna from a store. And the first thing that needs to be mentioned is the financial costs. The cost of such an antenna is not too high, but it is sensitive. But with the independent manufacture of Kharchenko's antenna, the costs are reduced to almost zero. Moreover, here you can gain invaluable experience, which will be quite useful later. Do not forget about the satisfaction that the home craftsman experiences if the device he has assembled works flawlessly.
Finally
Kharchenko's antenna is a really workable device that can compete with some factory-made analogs equipped with amplifiers. Considering that it can be assembled "on the knee" without unnecessary financial costs, we can say that such an antenna is a lifesaver in certain cases. As for the amplification of 3G, 4G LTE or Wi-Fi signals, there is practically no equal to such an antenna. Of course, if it is made in compliance with all the nuances described in the article.
We really hope that the information presented today will be useful to home craftsmen. If you have any questions on the topic, ask them in the comments below. HouseChief editors will be sure to answer each of them. There you can share your opinion about this antenna design or discuss the question of whether it is worth doing such work at all or whether it is easier and more reliable to purchase an antenna in a store. If you liked the article, please don't forget to rate it. Your feedback is very important to us.
And finally, as has already happened, we bring to your attention a short, but very informative video that will help to more fully reveal today's topic. Take care of yourself, loved ones and be healthy.

