Renovation of a house or apartment, design changes, radical redevelopment is an inevitable reality that each of us faces. At this moment, questions related to the choice of finishing materials, furniture, decor items become relevant. One of the most important items on the list of renovations is the flooring. It should not only be functional, but also carry an aesthetic load. All the requirements are fully met by the 3d floor, which allows you to implement different design solutions, with it the interior of any room becomes original and unusual.
Content
- Features of self-leveling 3D floors
- Advantages and disadvantages
- Types of self-leveling floors
- Design and stylistic ideas
- For the hallway and corridor
- For kitchen
- For the living room
- For bedroom
- For the nursery
- For bathroom and toilet
- Self-leveling floor device
- How to make a 3D floor with your own hands
- Required materials and tools
- Calculation of the required amount of material
- Selecting a photo of a drawing
- Preparation of the base
- Priming the sub floor
- Base layer fill
- Laying the pattern on the floor
- Filling the finishing layer
- Varnishing
- Care advice and tips
- Self-leveling floor combined with wood
- Combination of a self-leveling 3D floor with a heating system
- Conclusion
Features of self-leveling 3D floors
By manufacturing technology, 3d floors practically do not differ from self-leveling counterparts, which were previously used exclusively in industrial and public premises. The main highlight is the effect of presence. Volumetric drawings have long been included in many areas of our life. Already you will surprise no one with such things as wallpaper, stretch ceilings that have a realistic image of the starry sky.
Self-leveling 3d floors appeared not so long ago. The idea for their creation originated on the basis of street art. Three-dimensional graphic pictures were drawn by street artists, their creations aroused the interest and admiration of the audience. Creative designers have taken up this idea, bringing street technology to living spaces. Many ordinary people liked this, as evidenced by the interest in the flooring.
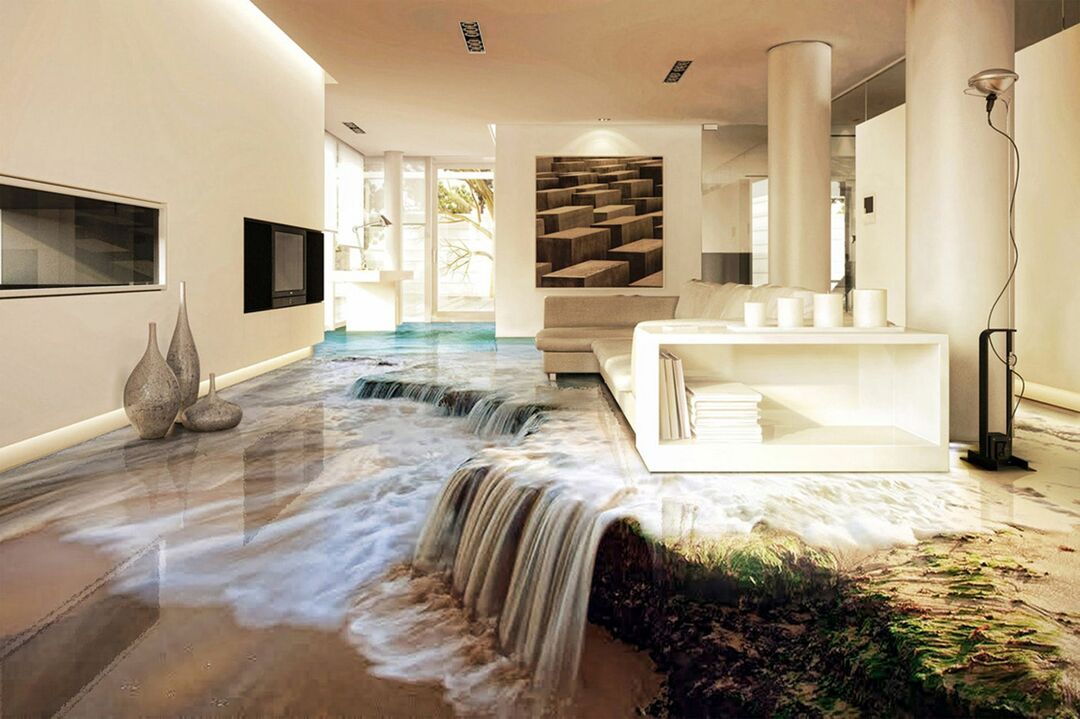
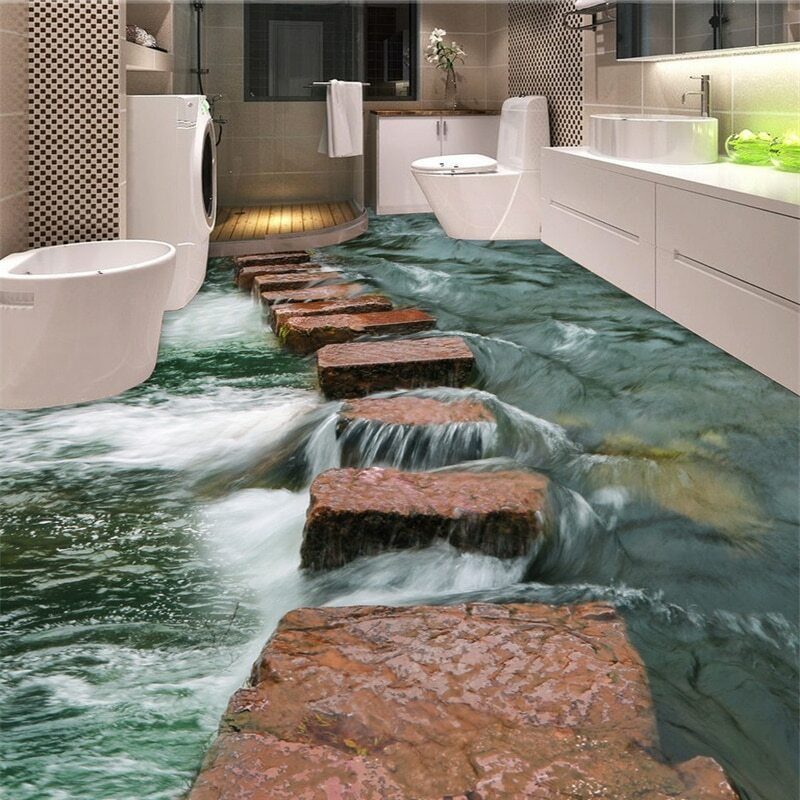
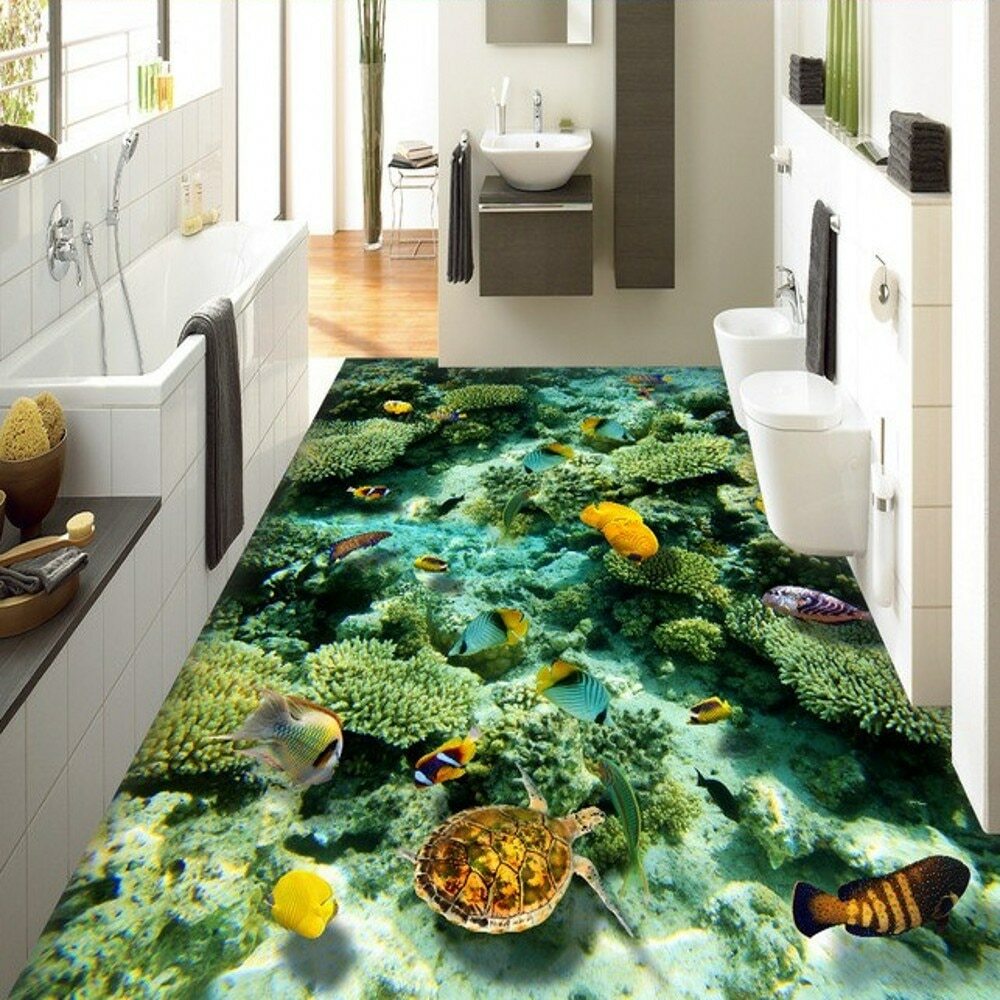
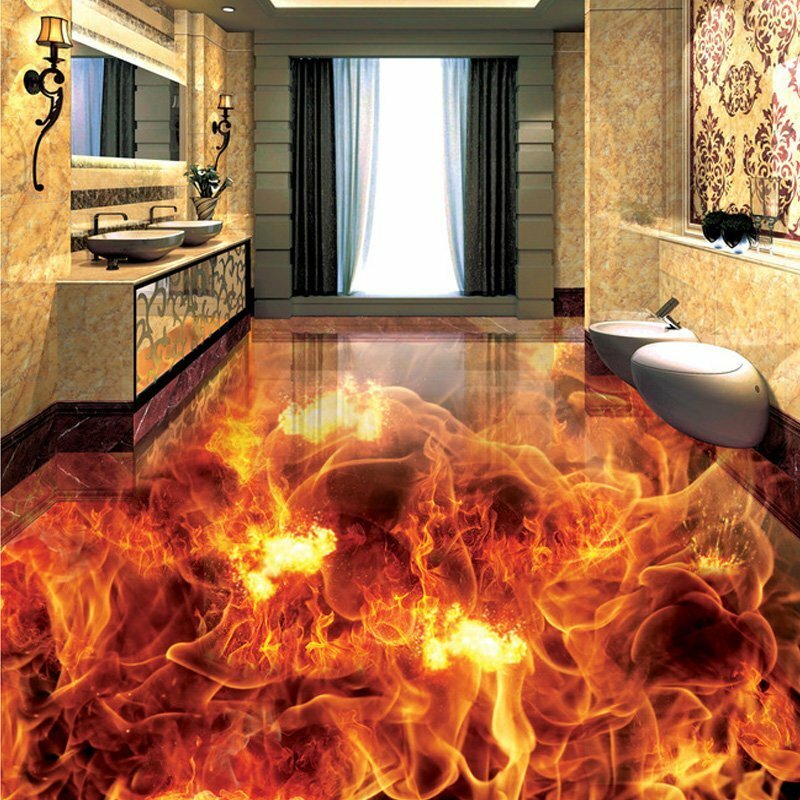
Drawings can be absolutely any: own photos from a digital camera; ready-made pictures downloaded from the network; paintings made to order. The main thing is high quality, large size of images that can be transferred to the base using a large-format plotter in any advertising agency. However, it is quite difficult to find a device of the appropriate size, so in most cases the picture is split into several fragments.
The image is printed either on a banner fabric or on a satin base. You can also use ready-made vinyl films or wallpaper. You can also create a 3D effect with the help of various objects laid on a base polymer layer. For example, colored sand, shells, pebbles, wood cuts, coins, etc. Choosing this method, it is worth considering the high consumption of materials, an increase in the cost of coverage.
When choosing a picture, it is necessary not only to rely on personal preferences and the functionality of the room, but also to take into account the psychological message. Too aggressive pictures with a creepy plot can have a negative impact on the psyche and health.
Advantages and disadvantages
Self-leveling 3d floors are valued both for their aesthetic qualities and for their functionality, reliability and safety. They represent a unique surface that consists of three layers: base base, volumetric image, protective coating. The structure and materials used are responsible for good performance. Among the main advantages of this type of finish are:
- Durability. The coating has a long service life of more than 20 years, while it does not lose its presentable appearance.
- Strength. Subject to the casting technology, the canvas will be resistant to mechanical stress and shock.
- Wear resistance. The finish has good abrasion and abrasion resistance.
- No seams. After pouring, the floor is solid and even, without any seams.
- Decorative properties. You can choose any drawing, decorate the room in an original way, bring to life bold design ideas.
- Ecological cleanliness. After solidification, the raw material becomes harmless, does not damage the health of residents.
- UV resistance. The picture does not fade under the influence of sunlight.
- Moisture resistance. The polymer material completely and reliably covers the base, serves as a waterproofing agent. It is neutral to water, so it can be used in the bathroom, bathroom, kitchen.
- Fire safety. The components used belong to category G1, they do not burn.
- Chemical inertness. The polymers used are not afraid of the effects of chemicals, they can be cleaned with detergents.
- Heating possibility. It is possible to combine with the "warm floor" system.
- Easy care. The canvas does not accumulate dust, does not absorb dirt. To maintain cleanliness, it is sufficient to periodically wet clean.
Like any other material, the canvas has a number of disadvantages:
- High price. To equip even a small room will require significant costs that not everyone can afford.
- Sophisticated pouring technology. Only professionals can do the job well.
- Dismantling. Removing the floor covering is very difficult. It becomes monolithic, you will have to use a jackhammer to work.
- Long curing time. Drying of the poured layer can take up to six days, and at low temperatures and high humidity, this process takes longer.
The three-dimensional image will dominate the interior and act as an accent.
Types of self-leveling floors
There are many different characteristics of self-leveling floors. According to the thickness of the coating, they are distinguished: thin-layer (less than 1 mm), medium (up to 5 mm), highly filled (the layer of the mixture reaches 8 mm or more). By dissolving agent: water, solvent. By type of surface: smooth, rough. Electrical conductivity: conductive, non-conductive. But the main division into types is carried out depending on the binders used:
- Methyl methacrylate. For production, solutions are used based on methyl methacrylic resins. The main advantage is quick rejection within 1-2 hours, but it is necessary to work with the composition very quickly. Correct installation will not work without professional skills. Most often used in industrial facilities.
- Cement-acrylic. The composition includes the following components: cement, acrylic, fine sand, plasticizers and other additional additives, usually mineral. Previously, this coating was used exclusively in food production. The material is not afraid of water, chemicals, mechanical influences, with its help a non-slip surface is created.
- Epoxy. The main component is epoxy resin. Floors are hard and tough, but have reduced impact resistance. They can be used on wood, metal and concrete substrates. They are characterized by good wear resistance, are not subject to abrasion, so they can be laid even in areas with high traffic, for example, in shopping centers, cafes, public and educational institutions.
- Polyurethane. The basis of the mixture is polyurethane. They are characterized by high elasticity and flexibility, have a high tensile and compressive strength, which excludes the possibility of cracking. This is the most demanded type, which is distinguished by its durability, hygiene, they are used even in medical institutions.

Design and stylistic ideas
Choosing the design of flooded floors is a daunting task. The main thing in this matter is harmony. The floor should be combined with the furnishings of the living room, hallway, kitchen, nursery, and other functional rooms. To create a 3D effect, you can use almost any image. Much depends on him, the picture can not only raise the mood, inspire, soothe, excite, but also cause aggression, poor health, depression.
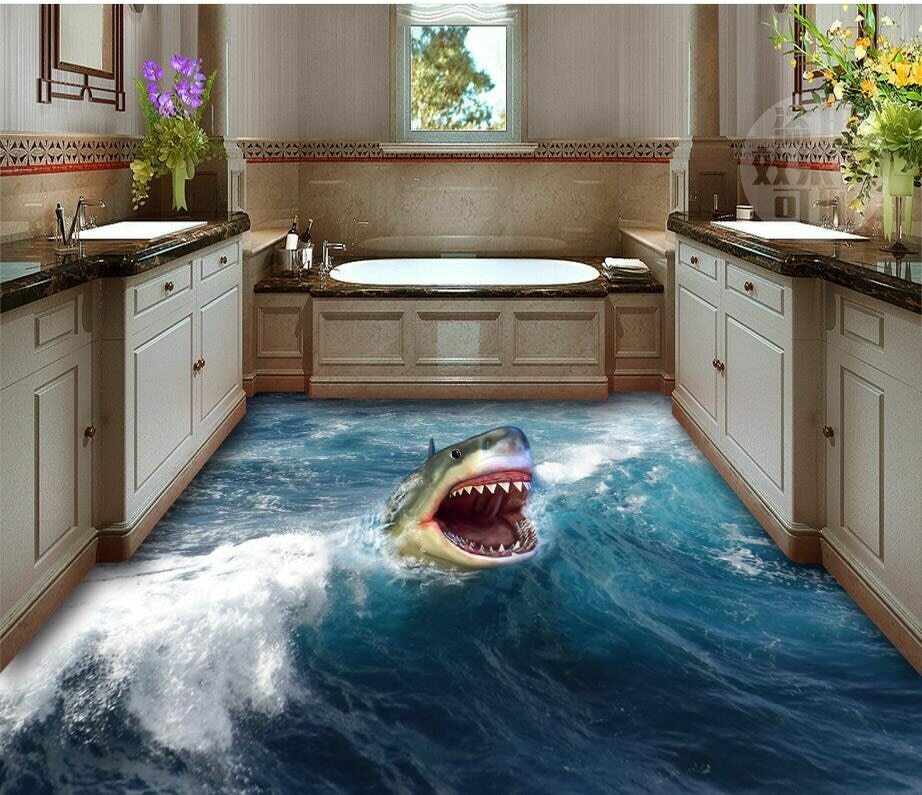
It is worth considering the fact that the coating belongs to the category of expensive and durable materials, the pattern cannot be changed over time. When arranging a floor cloth, one should not pay attention to fashion trends that quickly become outdated, because the floor will have to be admired for more than one year, and perhaps not even a decade. Experienced designers recommend using classic motives, for example, natural, seascapes.
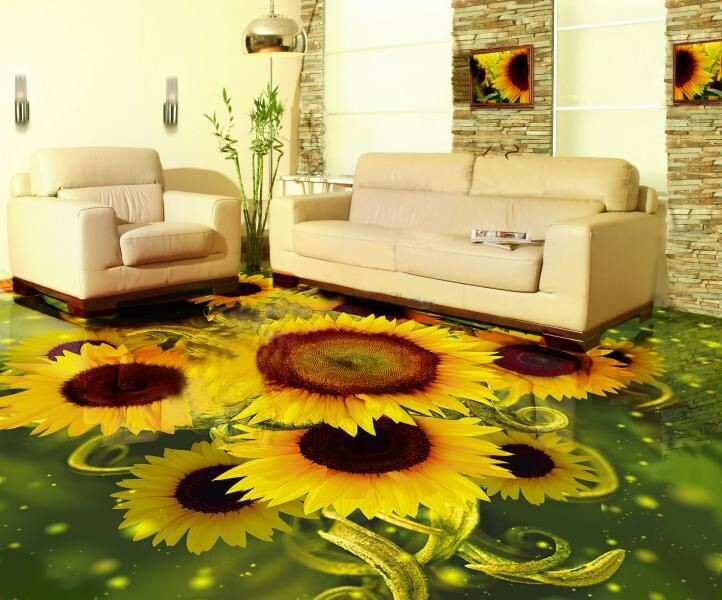
Choosing the most suitable image, first of all, you should pay attention to the purpose of the room, its style, which also affects the color palette. In order for all family members to feel comfortable, it is necessary to take into account the opinion of everyone, to come to a common decision. Only in this case it will be possible to create a presentable and cozy interior. For clarity, we will consider several possible ideas using the example of different rooms.
For the hallway and corridor
An entrance hall is a visiting card of any home. Its setting gives the first impression of the owners, their tastes, preferences, and well-being. High permeability can be distinguished among the features of the premises. Here the floor is constantly dirty, exposed to abrasive influences, so it must be washed and cleaned frequently. Due to their characteristics, self-leveling structures are the most suitable for the existing conditions.
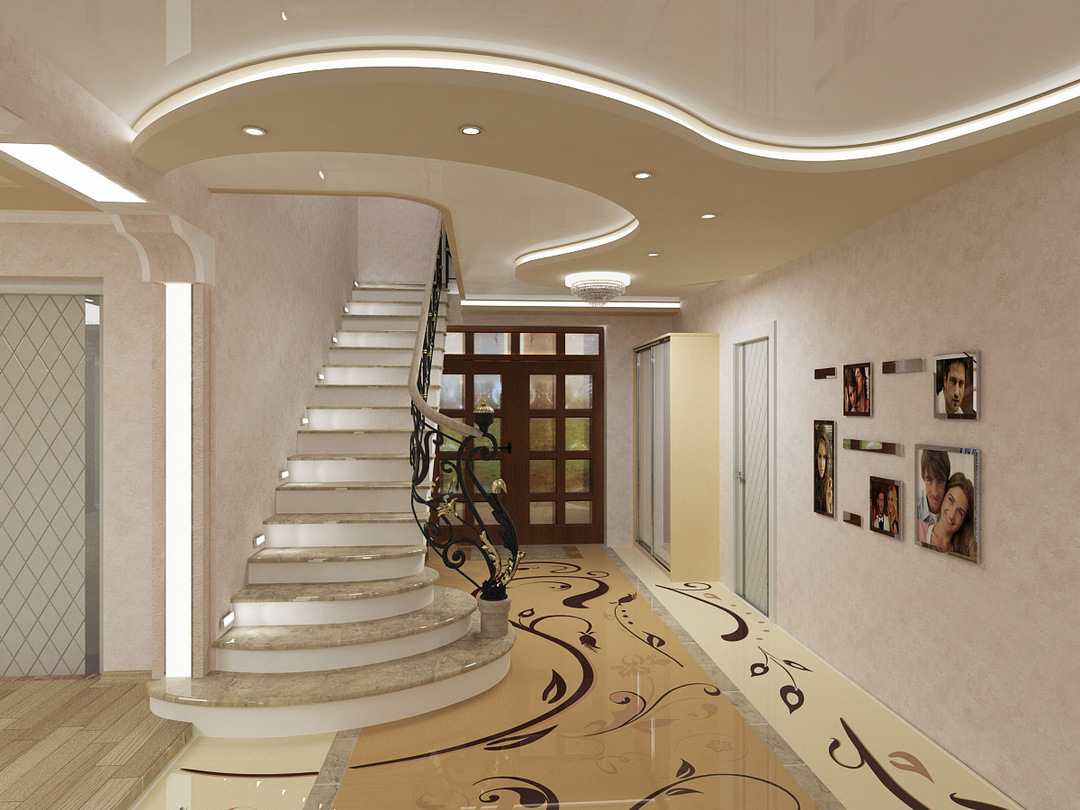
In the corridor, you should not use complex drawings and voluminous landscapes. One image in the center of the room is enough. It can be an abstraction, an animal, a plant on a solid background. You can also use imitation of masonry, tree cuts, lined stones. It is necessary to give up pictures with a cliff, an abyss, into which you find yourself, entering the front door. They will not bring vivid impressions for long.
For kitchen
The self-leveling floor can be safely called the best solution for the kitchen. It does not absorb dirt, it is not afraid of stains from grease, spilled juice or wine, and other products on the surface. He is not afraid of water and fire. Items that fall on the canvas will not cause any damage to it. In addition, the kitchen facilities in most houses are small in size, so it will take less money to organize the coverage, in comparison with the hall or bedroom.
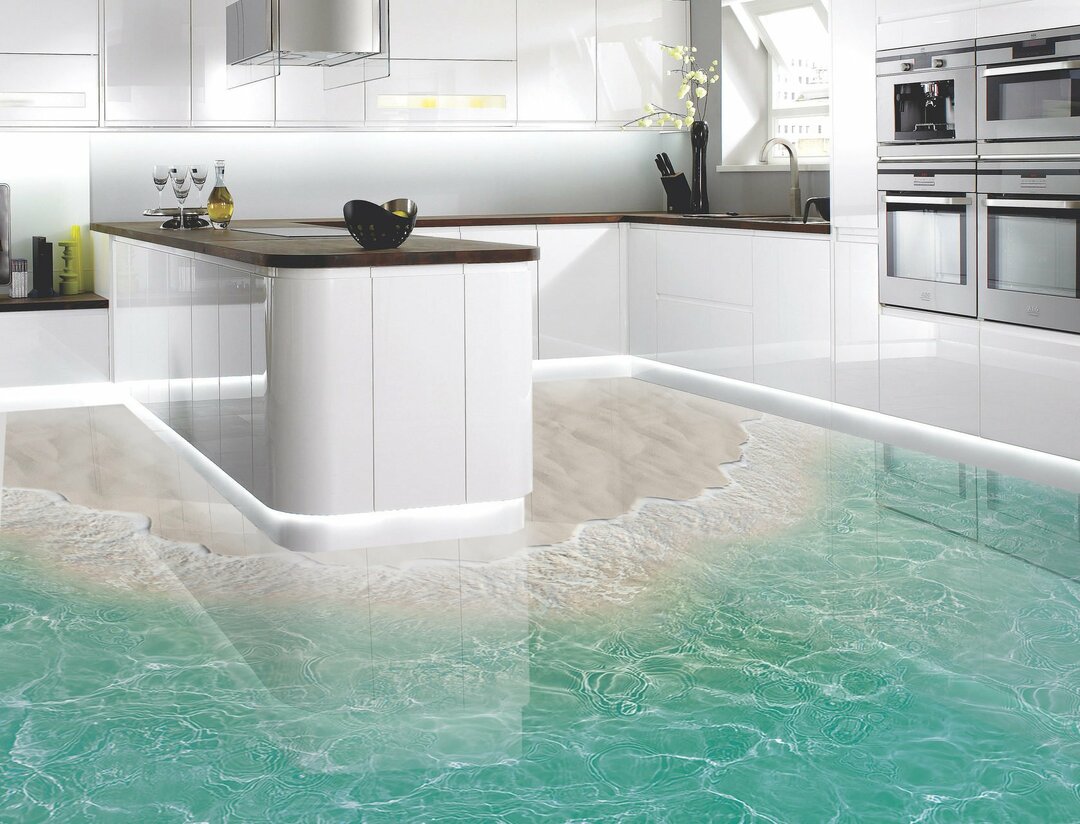
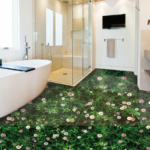
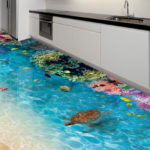
You can choose almost any theme, but you must take into account the fact that the image should not discourage appetite, but also not cause an excessive desire to eat. Floral motifs, fresh grass with dew drops, sea surf will look great here. You can also use an urban direction, for example, landscapes of megacities. The room looks especially impressive, where the floor and the apron are designed in the same style.
For the living room
The living room is designed for active recreation, all family members gather in it, guests are invited here. It is appropriate to use accents in this room. Here you can fully embody interesting design solutions that are inappropriate for other rooms. For example, create an abstract composition, set an image of an evening or night city, various picturesque landscapes, even paintings with seething volcanoes.
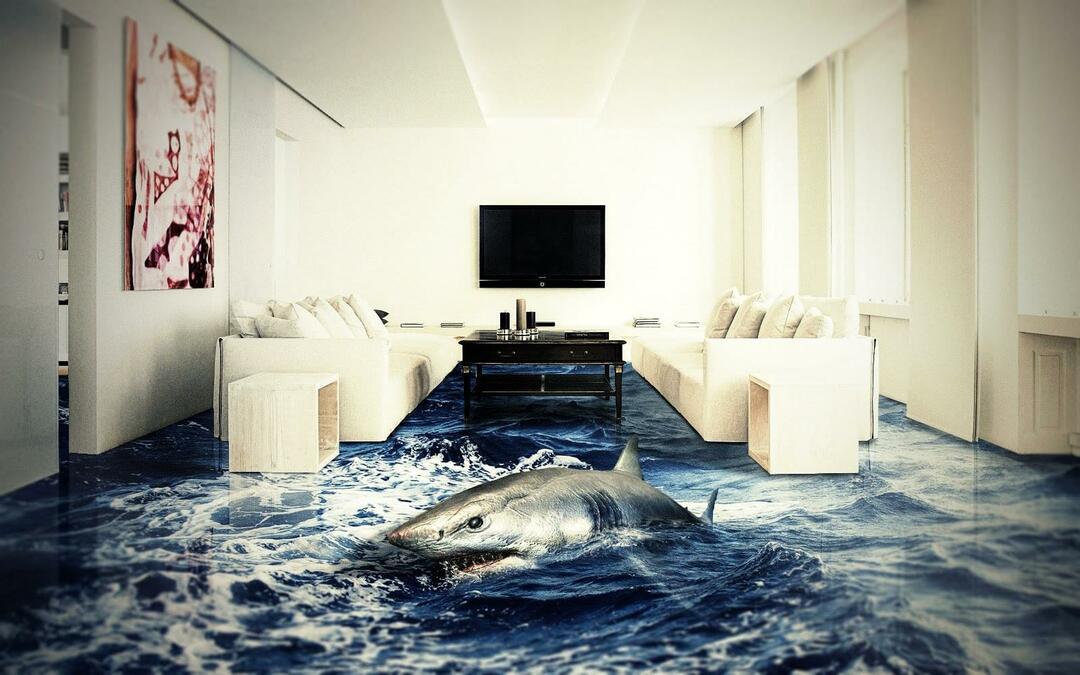
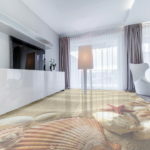
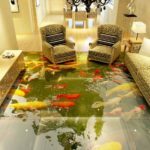
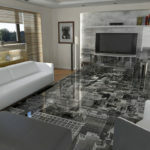
With the help of drawings, you can also perform zoning indoors, for example, using a marine motif, divide the room into two functional parts, one of which will be located on the shore, the other in the middle seas. An excellent solution would be bright colors that tone up, invigorate the body. These shades include red and orange.
For bedroom
The bedroom is a place to relax. Here you should use calm textures and relaxing motives, create a romantic atmosphere. Various flowers, small waterfalls, insects, dew, grass will look appropriate. The plots moving from the floor to the walls look interesting. For a married couple, you can choose an image of swans swimming together on the lake.

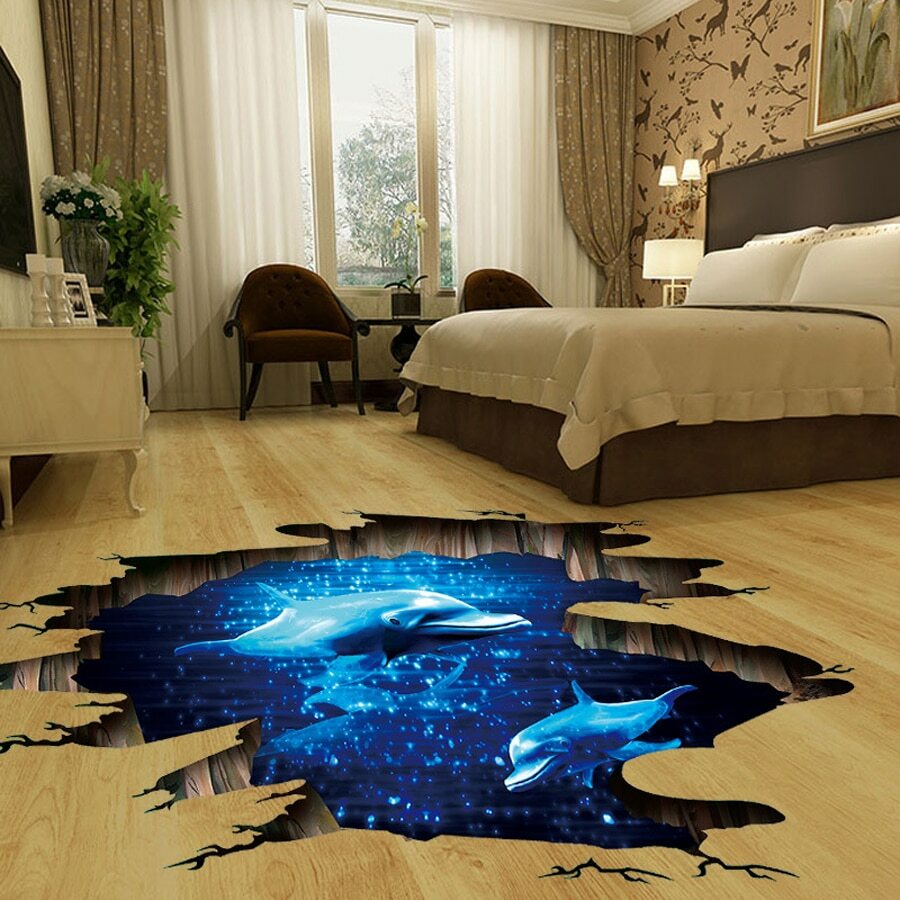
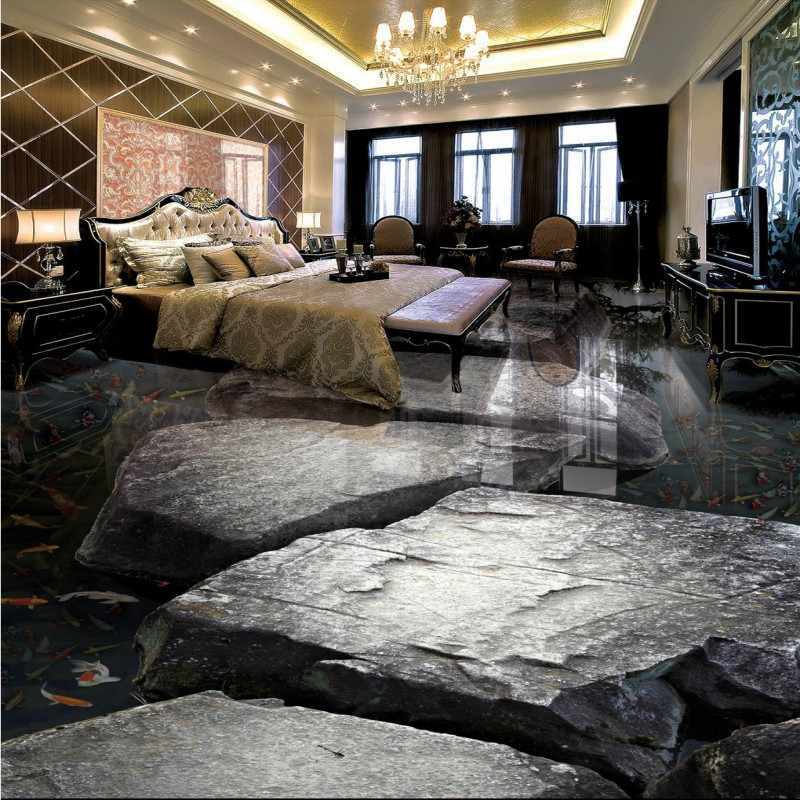
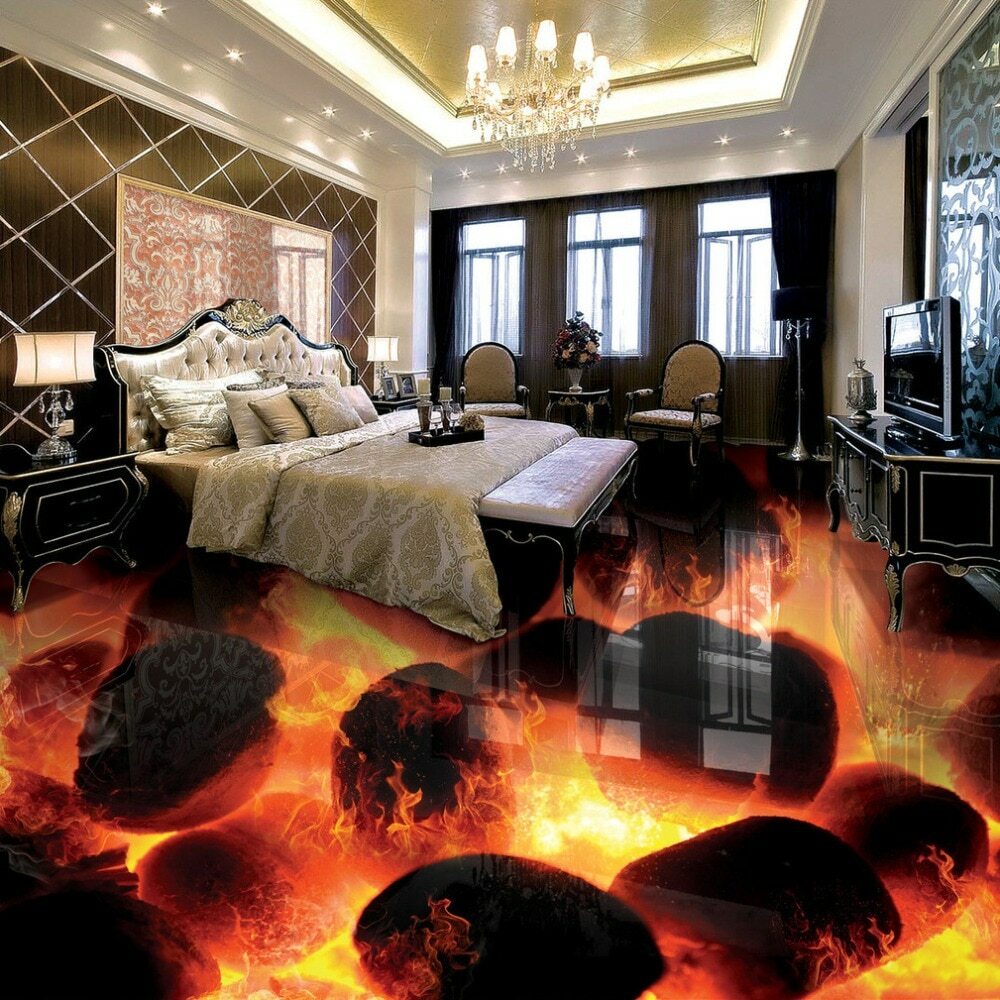
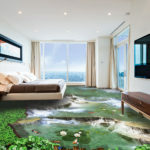
Self-leveling floors should complement the interior of this room, and not act as the main accent. When decorating, preference should be given to pastel colors, or natural colors: blue, green, yellow, brown. They do not evoke strong emotions, symbolize purification and peace. Bright, saturated colors, especially red, attract attention, do not allow you to relax.
For the nursery
In the children's room, I want to bring to life the most original ideas, to create a real fairy tale for the baby. 3D effect floors allow you to achieve your goals. When choosing a picture, parents often stop at the image of characters from cartoon series. But the child grows quickly, as he grows up, his idols change, and the existing pictures cease to satisfy him.
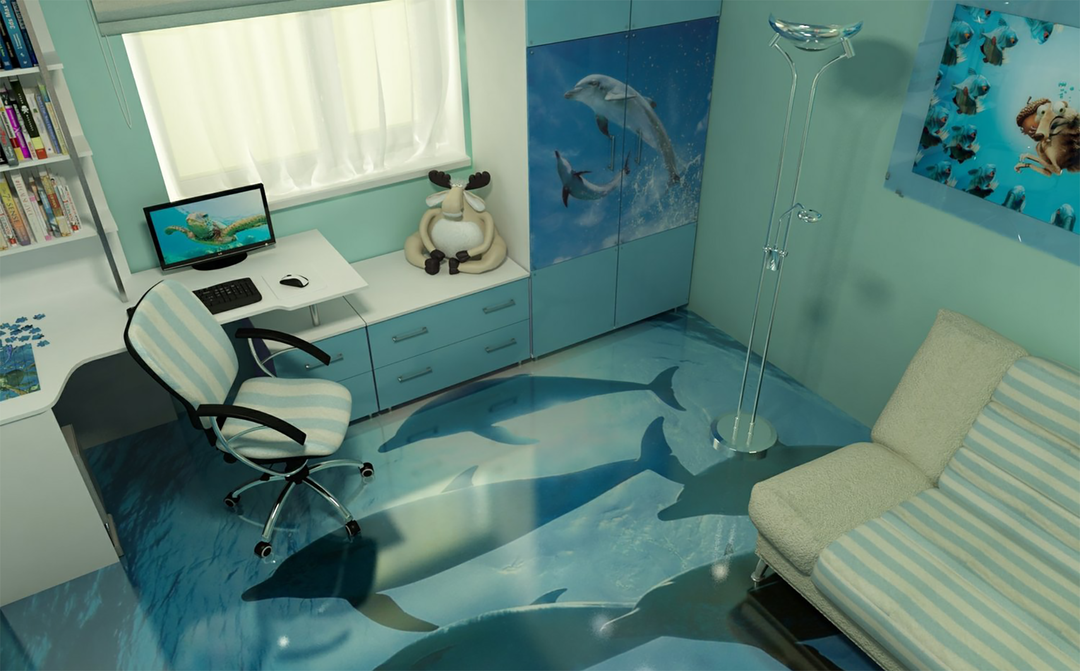
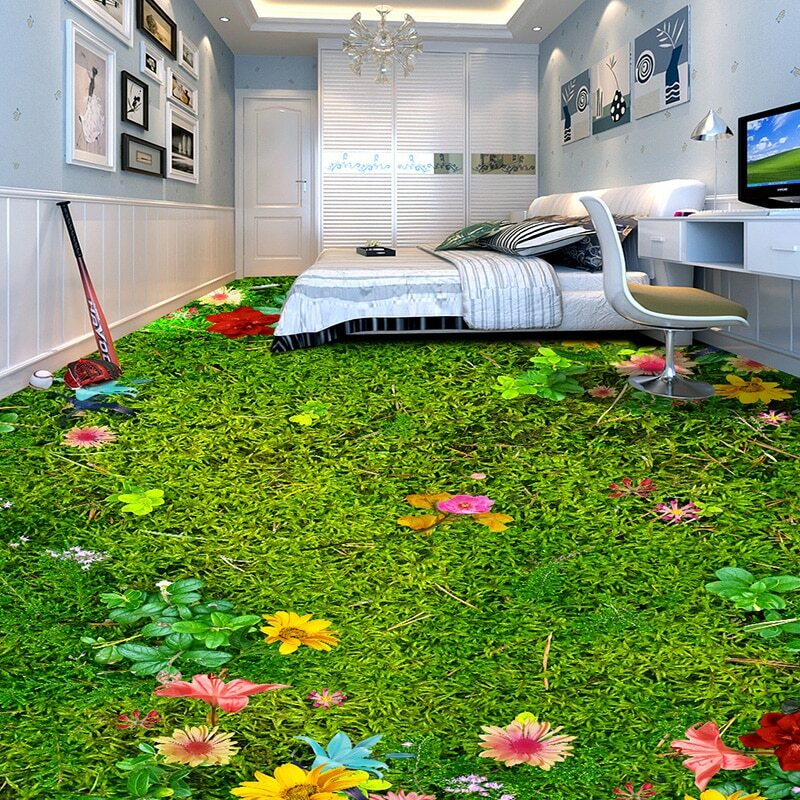
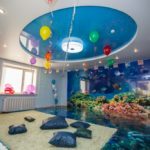
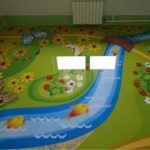
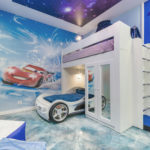
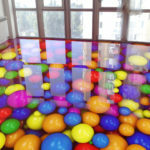
The choice of a suitable pattern should be based on the gender of the child. For boys, images of the ruins of a castle, space, cars will be relevant, for girls - flowers, plants, favorite heroines from fairy tales. Pictures with animals are suitable for all babies, regardless of their gender. The main thing is not to abuse it with an abundance of complex drawings, so as not to overload the room.
For bathroom and toilet
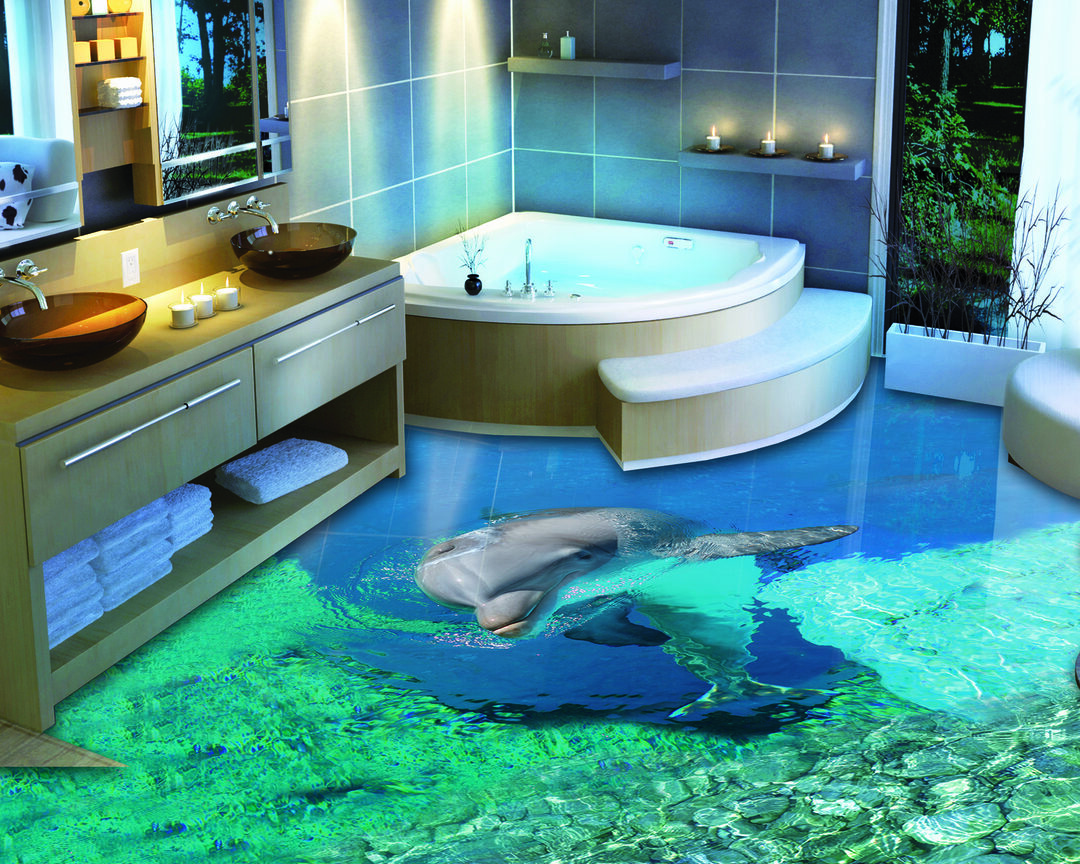
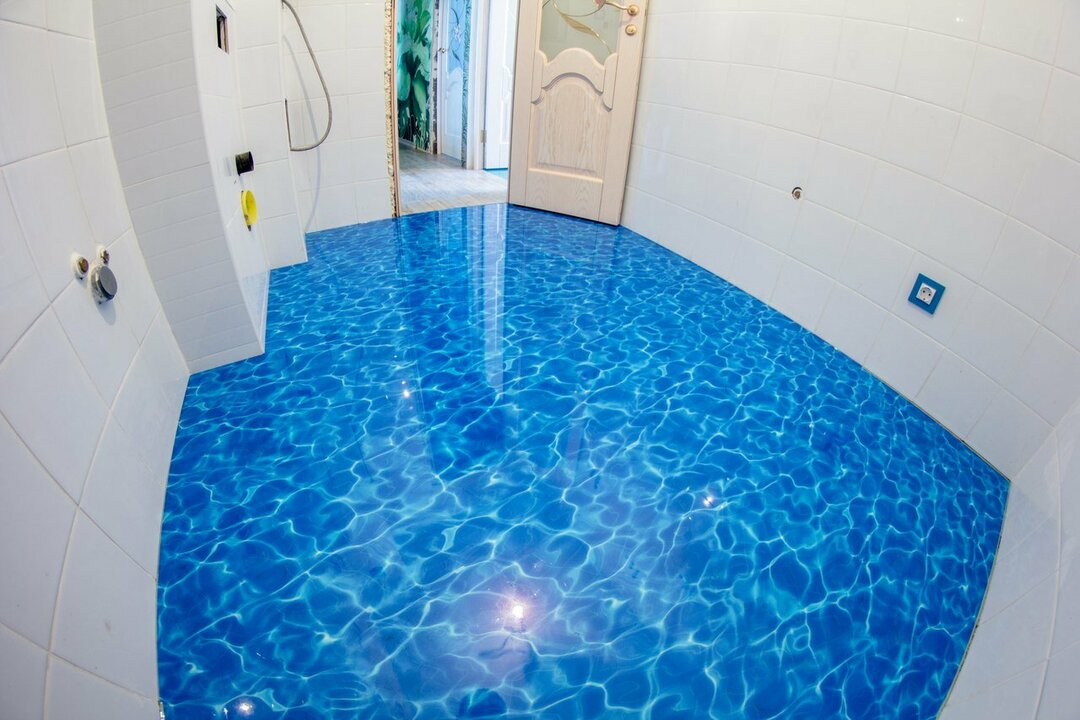
The self-leveling floor creates good waterproofing. It does not absorb and does not allow moisture to pass through, therefore it is an excellent solution for the bathroom. The most common motive for this space is the marine theme. They often depict fish swimming in the water, friendly dolphins, the coast, lagoons. These pictures allow you to relax as much as possible, to make your pastime enjoyable.
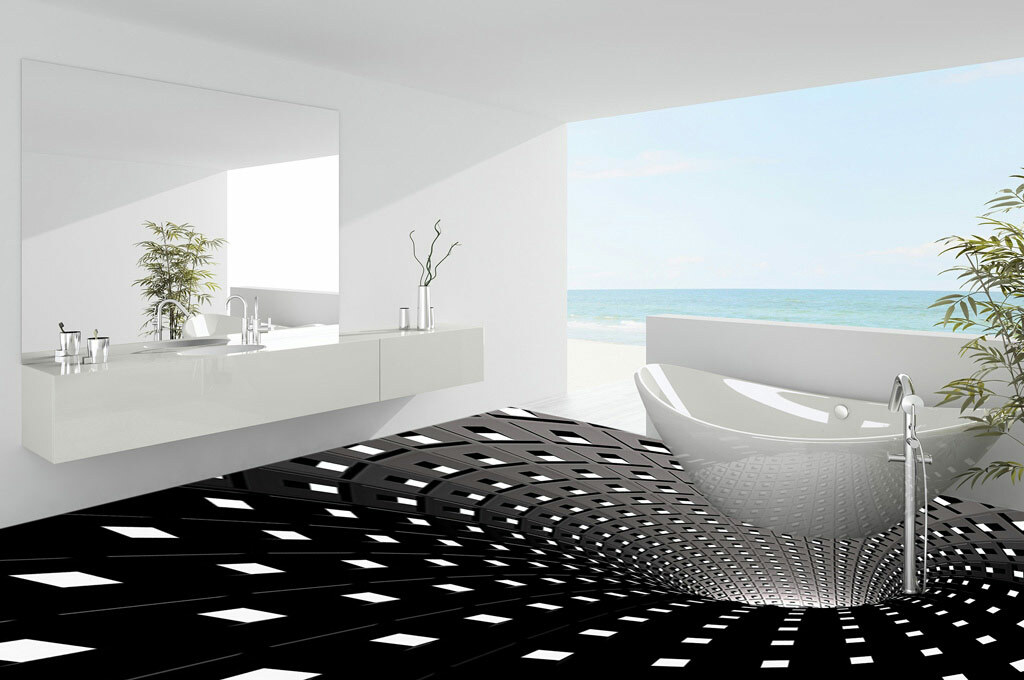
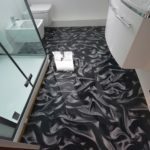
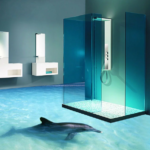

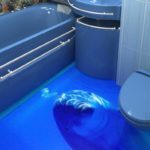
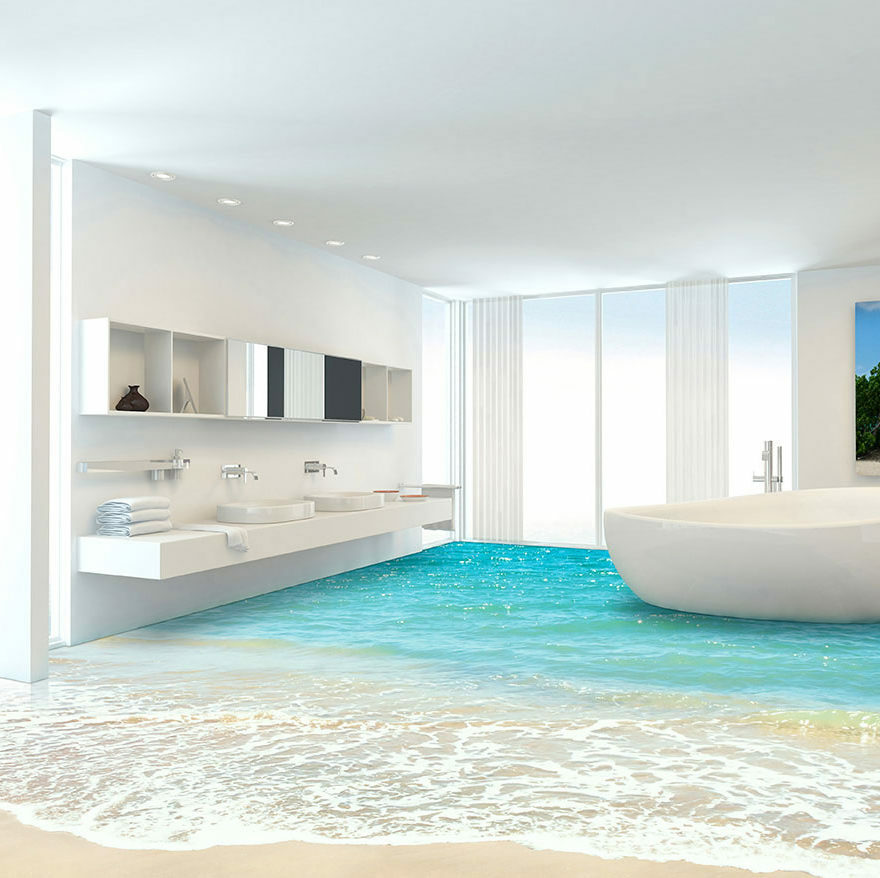
Instead of ordinary images, you can use real pebbles or shells covered with a protective layer in the toilet. It is not necessary to apply everywhere the aquatic world with its inhabitants, as well as landscapes associated with the ocean. The space theme is also popular here: the view of the Earth from orbit, planets and their satellites. Less common, but drawings of exotic animals, flowers, trees are also in demand.
Self-leveling floor device
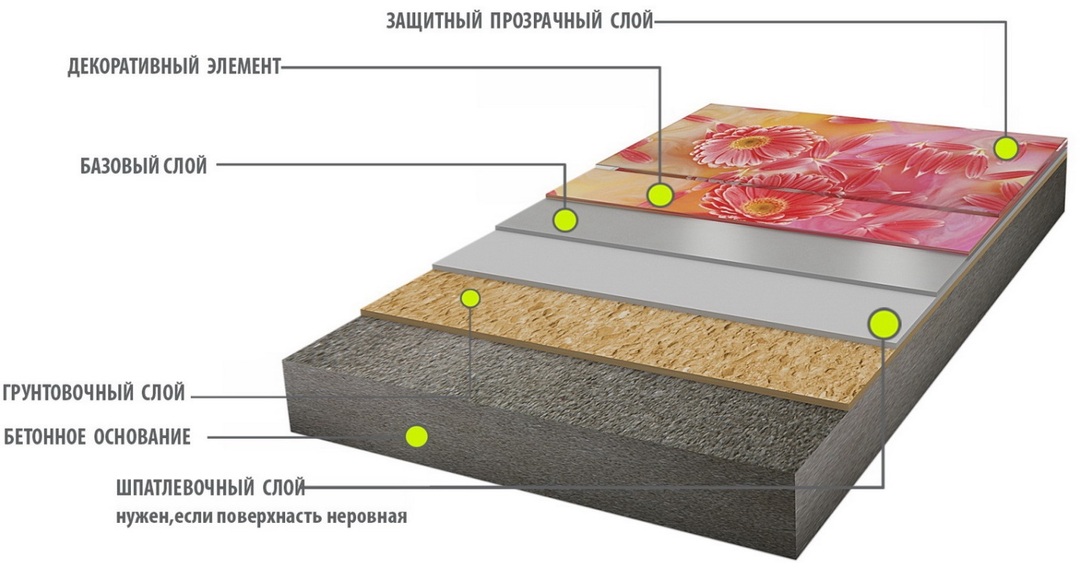
At first glance, a self-leveling 3d floor has a three-layer structure: base, volumetric image, polymer coating. However, this does not take into account the protection of the canvas with a primer varnish, a finishing protective layer. To understand the structure of the floor, let's dwell on its structure in more detail:
- Base. The base is a concrete slab, cement screed, wood or metal coating.
- Base formation. It is not always possible to make the base smooth with putty or preliminary sanding. For this, a polymer solution is used, with the help of which a leveling layer is created.
- Canvas with three-dimensional image. A drawing selected and printed in a printing house.
- Protective coating of the canvas. For its organization, a colorless varnish is used, which is applied in two passes.
- Main layer. Transparent polymer, the thickness of which affects the three-dimensional effect.
- Finish protection. After the floor is completely dry, it is covered with a protective varnish in two stages.
How to make a 3D floor with your own hands
Self-leveling floors are suitable for any room in an apartment or house. When deciding to make such a coating on your own, you must remember that it will be almost impossible to dismantle it in the future. Difficulties will also arise with correcting mistakes made during work. The special specificity of the filling requires accuracy, attention, and strict adherence to technology. Since decorative images are covered with a quickly solidifying mixture, installation should be carried out according to the instructions step by step.
Required materials and tools
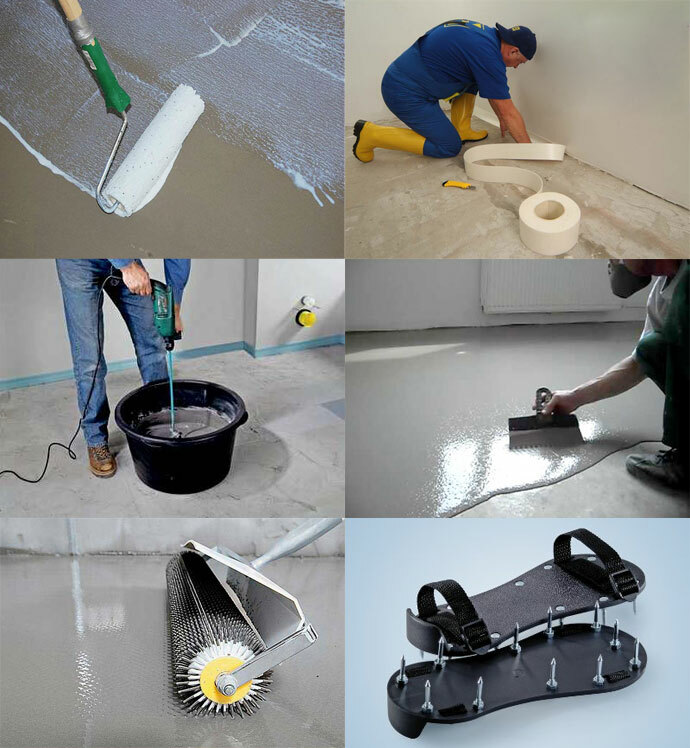
To create a polymer pattern, you can use several systems on a different basis - polyurethane, epoxy, methyl methacrylate. Epoxy potting is most often chosen. It is easier to lay it with your own hands, it is odorless. As materials for installation, you will need a wooden base or concrete, a primer layer to increase adhesion, a 3D graphic image, a transparent layer to add volume. It is imperative to apply varnish protection against wear. You will also need the following tools to work:
- Construction mixer;
- Raklya;
- Sintepon roller for priming and needle roller for rolling;
- Several spatulas of different widths;
- Container for mixing the mixture;
- Paint shoes for free movement on the surface;
- Stiff brush.
Calculation of the required amount of material
At the initial stage, consumables are calculated. The amount of mixtures will depend on the thickness of the future layer, the area of the room and the condition of the subfloor. Each manufacturer indicates the recommended mixing proportions on the packaging of their composition. On average, it takes 4 kg of material to create a layer of 3 mm at the rate of 1 kg per 2 sq. meters.
Selecting a photo of a drawing
For a floor with photo printing, the picture can be selected and processed by yourself or you can use any image from the Internet. The main thing is that the drawing matches the interior as much as possible and has a high resolution. It can be an interesting abstraction, geometric lines, patterns, stones, flowers, leaves.
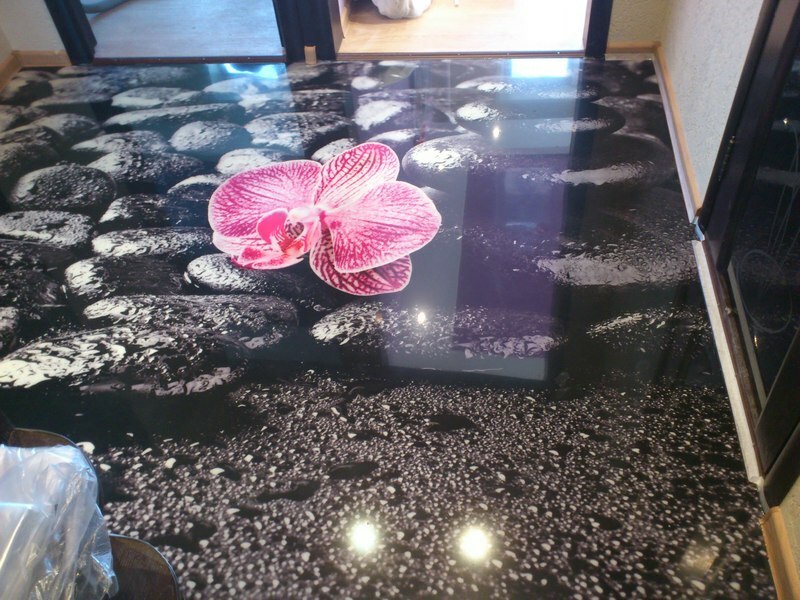
If you decide to take a photo yourself, then you should take a photo of the floor, trying to capture the entire area for filling into the lens. It is better to take a picture from the side of the doorway. It must be clear, without eclipses and light spots. Then the photo of the room must be transferred to any graphics program and compared with the selected picture. Now you need to remove unnecessary items, leaving one surface, align the borders. The resulting pattern must now be transferred to the fabric of the desired size. This can be done at any outdoor printing company.
Preparation of the base
Pour the floor mix only onto a perfectly flat surface. Only in this case, you can get a beautiful and even picture. There should be no differences higher than 1 mm on one running meter. Despite the mix's ability to level out, it should not be laid on uneven floors. Such a procedure will require more filling costs and additional financial expenses. It will be much cheaper to level the existing base.
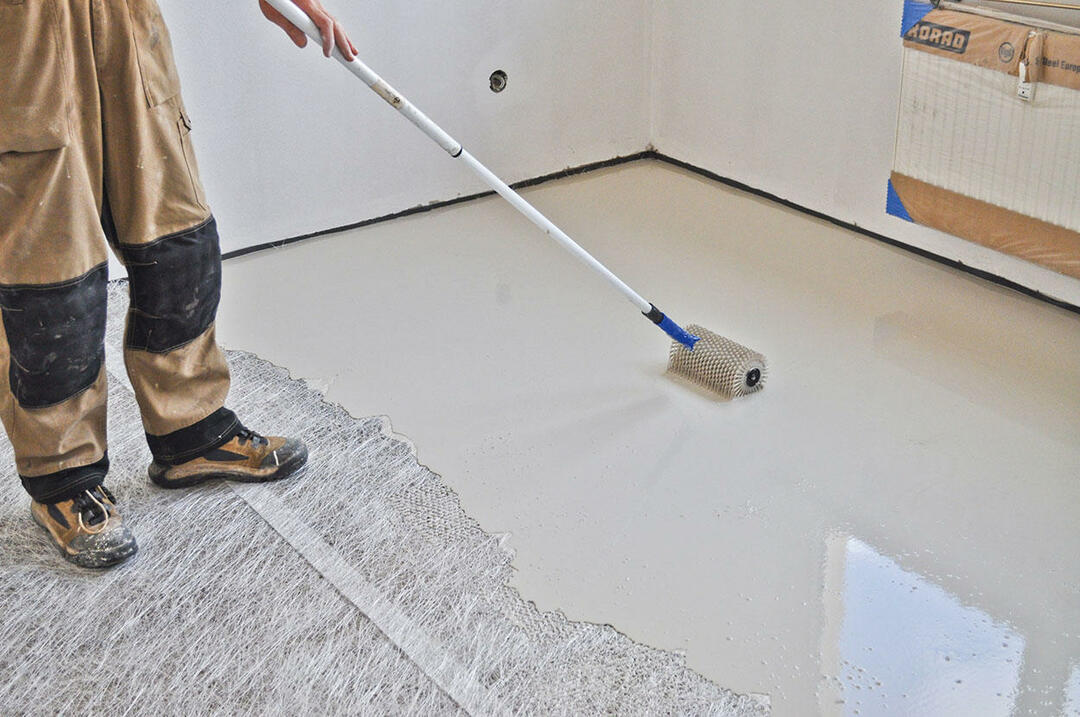
First of all, you need to get rid of the old coating and remove the baseboards. Then the entire surface should be well cleaned from dirt and dust. If there are deep cracks and potholes in the concrete slab, they are embroidered with a chisel and hammer, painted with a primer and filled with a cement-sand mixture. In rooms with a high humidity, it is imperative to put a layer of waterproofing.
Priming the sub floor
Surface treatment with soil is a mandatory procedure. When carrying out work, some nuances must be taken into account. The floors should be painted no later than two hours after cleaning from dust. Due to the limited life of liquid formulations, they must be spread over the surface as quickly as possible. It is necessary to meet in 40 minutes.
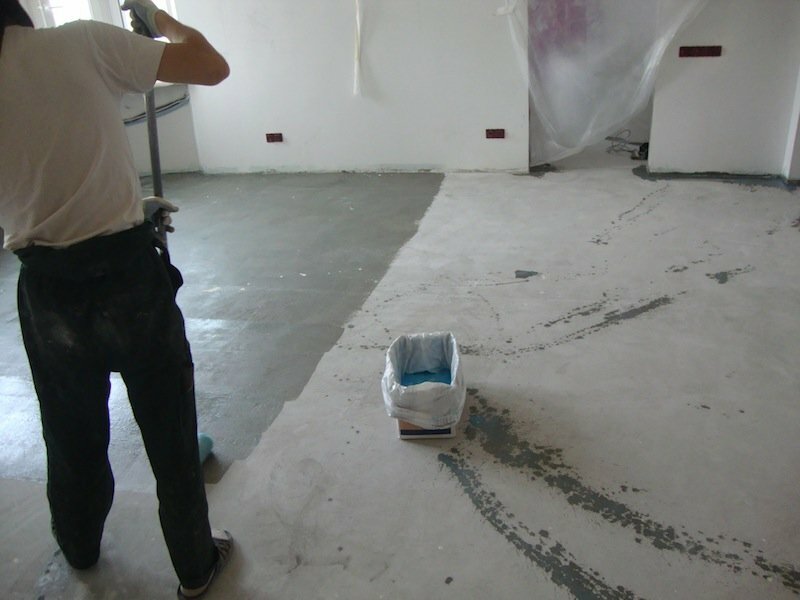
Mixing of the mixture is carried out in a large container with a construction mixer, alternating reverse and rotary rotation. When the composition becomes homogeneous, it must be left alone for a few minutes, for the complete release of air bubbles. Then the thick mixture is poured onto the floor and leveled with a foam roller. In the cracks and grooves, the soil must be placed with a brush.
Base layer fill
The base is laid 5 hours after priming. The background for a three-dimensional image or picture should be made of high-quality materials and have a suitable shade. For its manufacture, polymer mixtures are used, which are kneaded with a construction mixer right before pouring, since after 30 minutes the liquid will begin to harden.
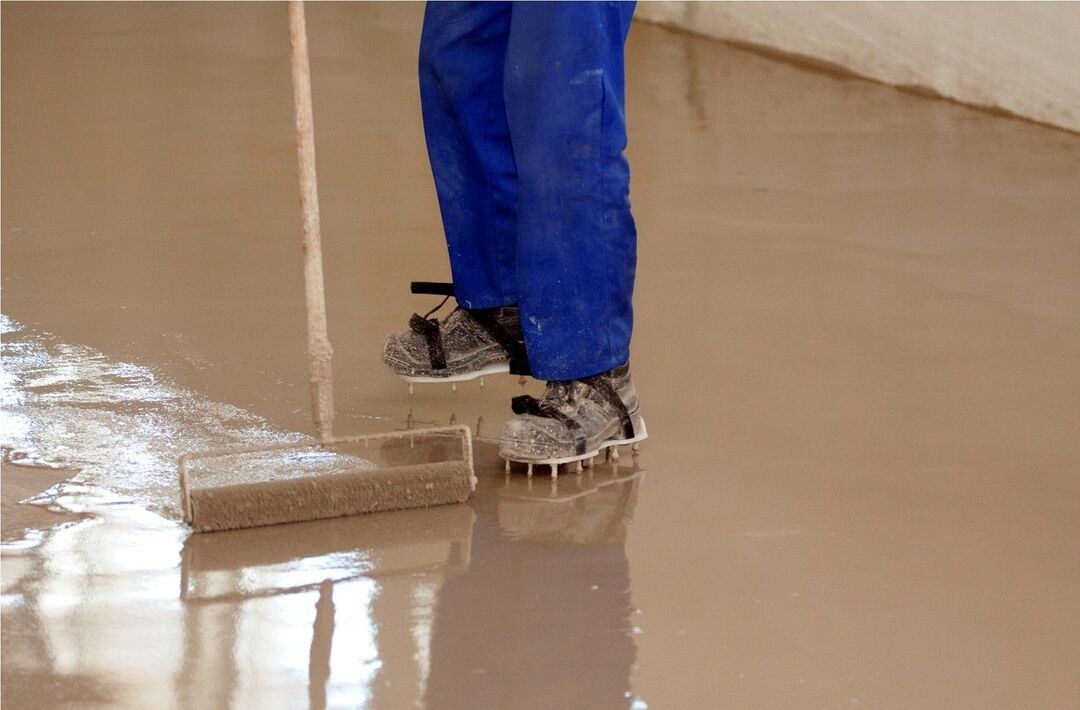
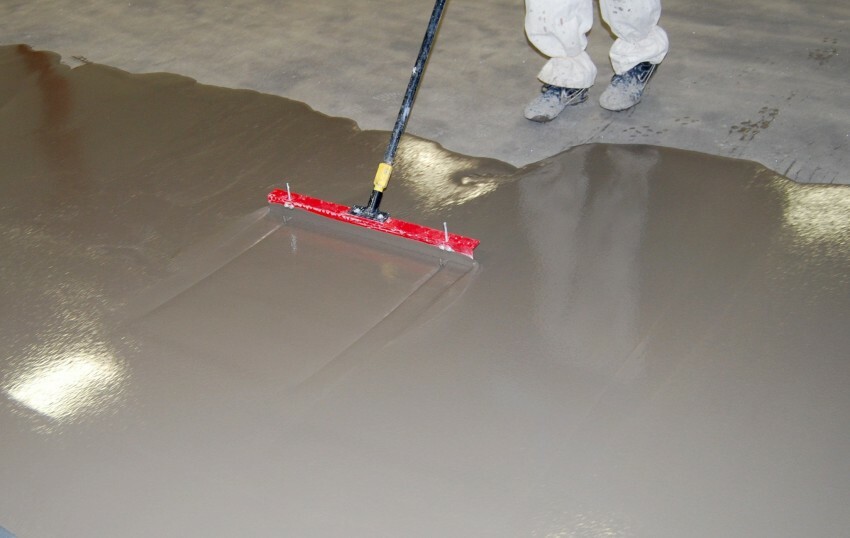
The composition is poured onto a primer and a base layer is formed using a rule. After the entire surface has been poured, the floor is left alone for 24 hours until complete polymerization. Then control the evenness of the pouring. You can start laying out small decor on the 3rd day. Placement of the main drawing is carried out after a week.
Laying the pattern on the floor
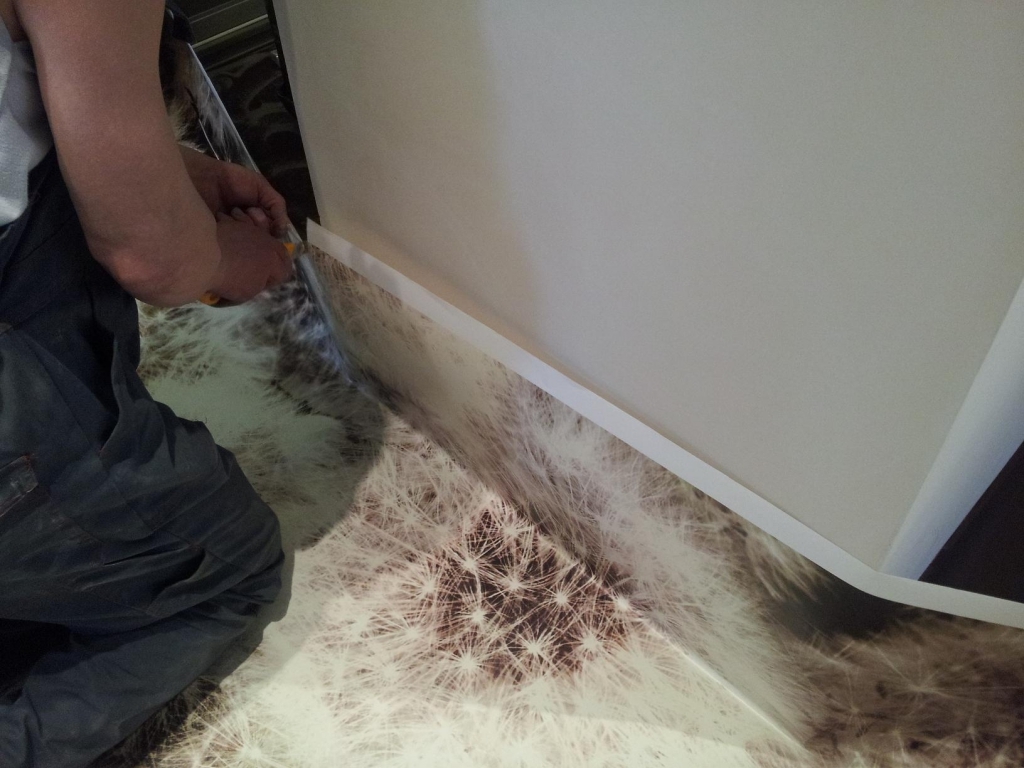
An image of a self-leveling floor can be in the form of a banner or be painted with special paints. The first option is preferable because it is generally available and easily adheres to the base layer. First, a transparent mixture of polymer and solvent is applied to the surface, and left for 24 hours. After the soil has completely dried, a canvas, tile is glued or a drawing is applied in another way.
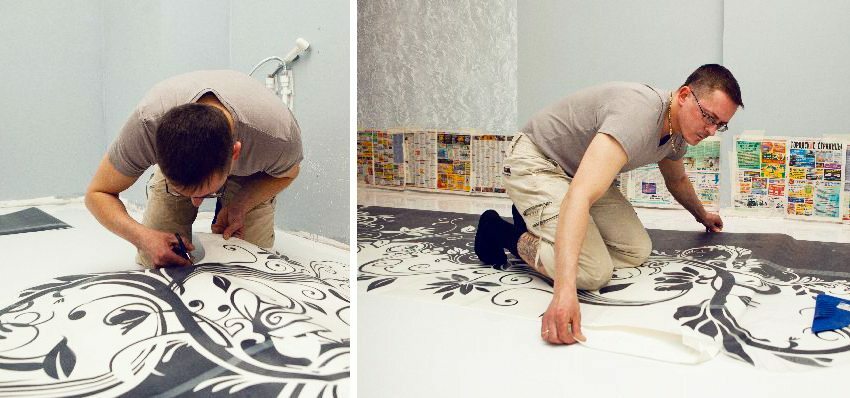
A simplified version of the pattern is to use a ready-made self-adhesive film. It is enough to remove the protective film from the back side, lay it on the surface and straighten it with a roller.
When laying the banner, it is necessary to carefully expel air bubbles. To do this, carefully roll it with a dry roller from the center to the edges.
Filling the finishing layer
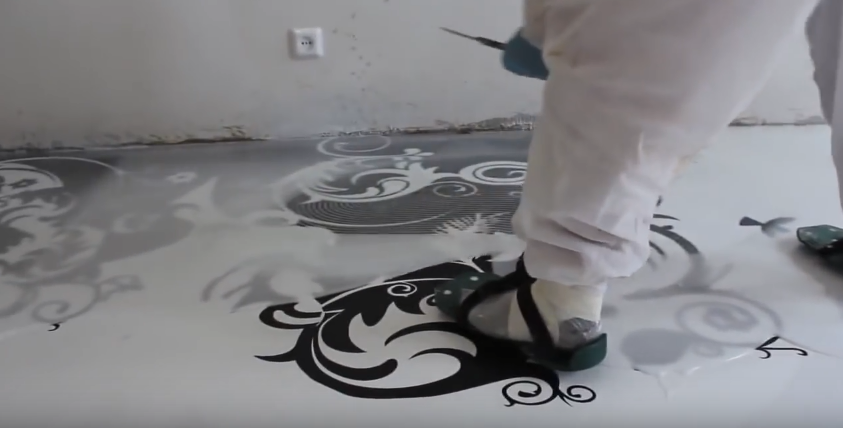
At the final stage, a finishing layer is applied, which will help maintain the integrity of the coating and enhance the effect of a three-dimensional image. Like the previous options, it is also applied using a special technology, following a master class. First, the transparent polymer composition is kneaded, then the parts are poured onto the picture and distributed with a roller. The thickness of this coating should not exceed 0.3 mm.
Varnishing
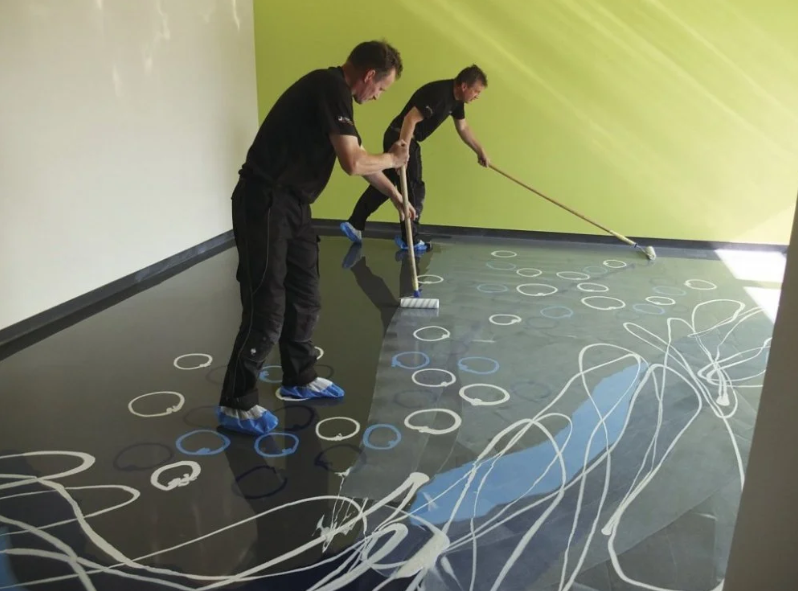
For complete drying of the finishing layer, 30 minutes will be enough. Then it should be covered with a colorless varnish several times until a gloss is formed. You can actively use the flooring after a week. The time interval between application of layers should not exceed 12 hours. Otherwise, the manufacturer cannot guarantee a reliable adhesion between them.
Care advice and tips
Any floor covering needs some maintenance. For self-leveling polymer floors, any of the gentle methods is suitable. This can be wet cleaning, vacuuming up dust or moistening with a steam mop. Such a coating does not absorb dirt, so there will be no problems with leaving.
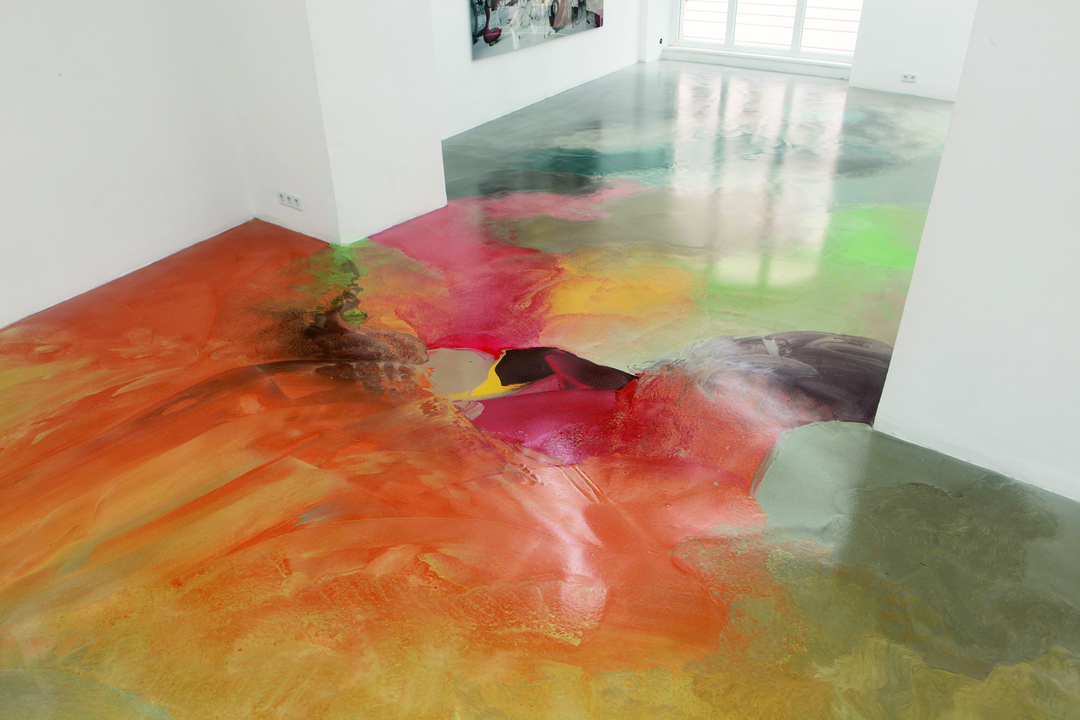
Self-leveling floors are seamless, do not have joints, sand and dirt do not clog into the pores. This makes it the most convenient for a corridor or kitchen. A coating with increased moisture resistance does not need additional care, for example, frequent rubbing with mastic.
Self-leveling floor combined with wood
The base made of wood is also suitable for a self-leveling floor, like a concrete one. She needs no less careful preparation. The surface for decorative coating is used only perfectly flat, durable, without residues of paint and varnish materials, drops of bitumen, oil stains and other defects.
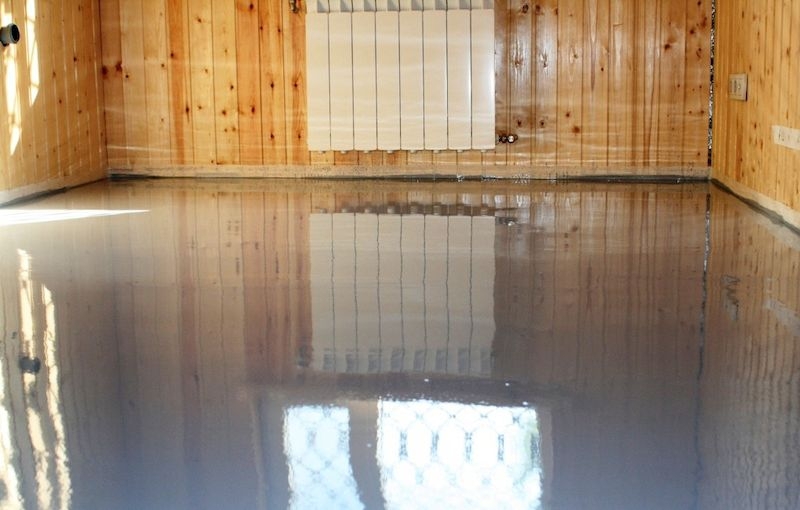
First of all, the boards are checked for a drop, the presence of squeaks and gaps. It is better to remove the painted areas with a special remover, remove all metal fasteners. Then the waterproofing is laid and poured with a solution.
Combination of a self-leveling 3D floor with a heating system
It is necessary to decide on the heating system before starting the installation of the self-leveling floor. The reliability, quality and durability of the floor itself will depend on the correct choice of the option. Filling is possible on the following systems:
- Electric. Thin heating electrodes reduce the consumption of the polyurethane mixture as well as the repair costs in the event of a breakdown.
- Infrared. Film elements have a much higher performance and are characterized by high heat transfer.
- Water. The classic heating method involves laying water pipes. The negative aspects include the high consumption of the mixture and the maximum thickness of the floor.
Conclusion
Do-it-yourself floor laying work can take several weeks. This must be taken into account when choosing a technology for video or photo, based on reviews. It should also be understood that the installation of such a decor is a rather costly procedure that requires accuracy, attention and responsibility.

