Often, when trying to immerse yourself in the bath, many people notice that it is unstable and even budges, especially for those options that are installed on the tiled floor. This is due to improper fastening and the use of inappropriate supports. HouseChief's today's review focuses on how to secure a tub on legs on tiled floor, selection of the correct supports and installation methods.
Read in the article
- 1 Types of feet for a bathroom bowl
- 1.1 Carrying and adjustable supports
- 1.2 Auxiliary and decorative models
- 2 How to choose feet for different types of bathtubs
- 2.1 Cast iron baths
- 2.2 Steel baths
- 2.3 Acrylic bathtubs
- 3 Methods for self-installation of a bathtub on a tiled floor
- 3.1 What you need to work
- 3.2 Step-by-step instructions for connecting the drain
- 3.3 Attaching the legs to the base of the bowl and fixing them to the tiles
- 3.3.1 How to attach legs with wedges
- 3.3.2 How are the legs attached with bolts
- 3.3.3 How to attach legs with metal studs
- 3.3.4 How to glue the auxiliary legs to the self-adhesive layer
- 3.4 How to level the bathtub
- 4 What to do if the clawfoot tub is wobbling
Types of feet for a bathroom bowl
To install the bath, different methods are used: legs, metal or wooden frames, structures made of stone or brick.
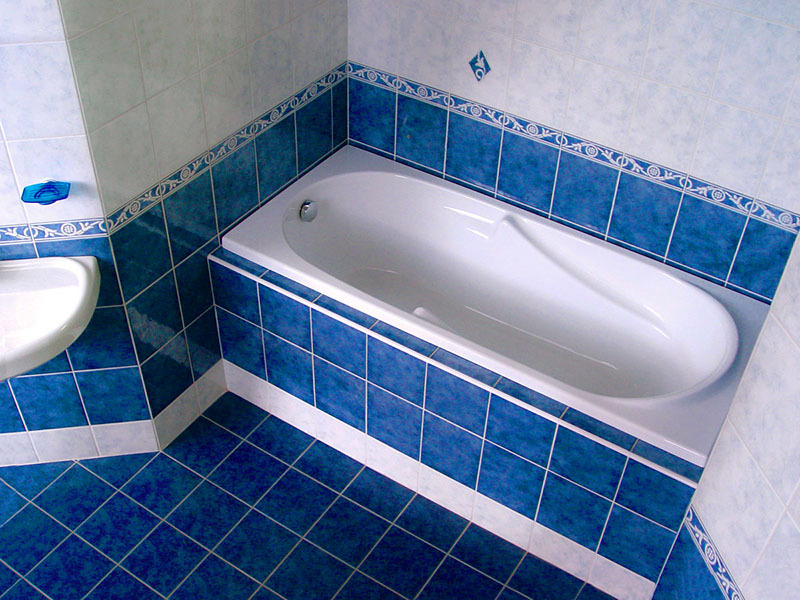
The simplest and most common option is removable supports. They can be basic or load-bearing, additional and decorative. Their choice is made depending on the function, design, material of manufacture and the weight of the bath bowl.
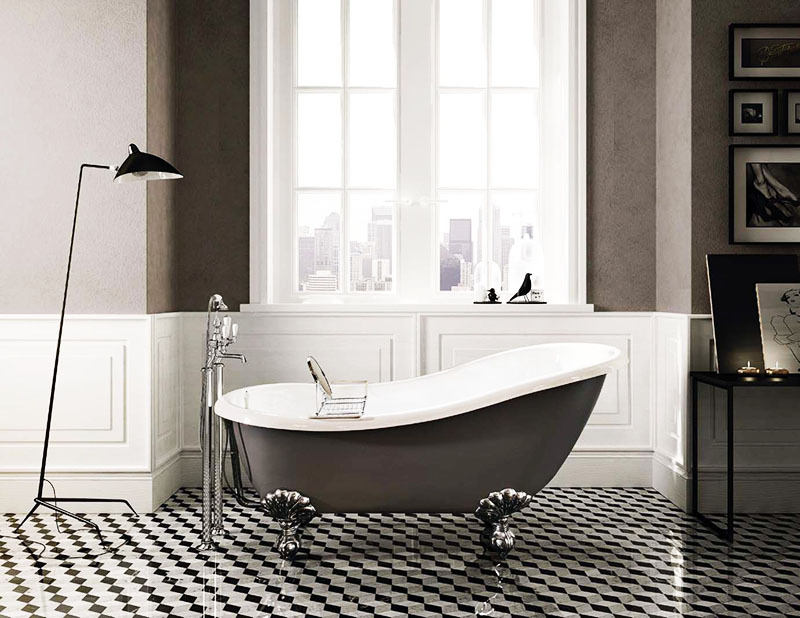
Carrying and adjustable supports
The supporting legs support and evenly distribute the main weight of the bowl among themselves, preventing deformation of the bottom of the font and the floor in the room. This type of support is used to install a cast iron model, since it can withstand significant loads. The support legs are, as a rule, rigid fastening, which prevents the bath from sliding and wobbling.

The adjustable feet can be adjusted in height using screws. They allow you to install the bathtub strictly horizontally, even if the floor has significant differences in height. However, such legs are not able to withstand heavy loads of baths weighing more than 100 kg, since they have a low bearing capacity. They are used for the installation of steel models and as an addition to the main structure.
Auxiliary and decorative models
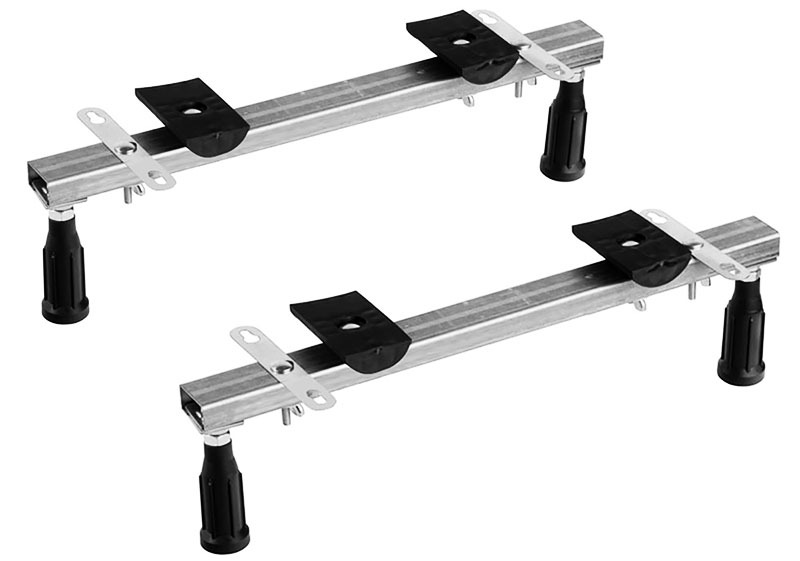
The auxiliary legs, as the name suggests, are used in conjunction with the main legs to increase the stability of the structure. They are also used to set the bath to the required height and level when installing the bowl on a brick or stone podium.
Decorative or false supports have an aesthetic function as they cannot support the weight of the font. These are special overlays in the form of lions' paws, bunches of grapes and other figures, made of ceramics, porcelain, copper, aluminum or bronze. They are designed to mask unattractive bearing supports and give the structure a sophisticated look.

How to choose feet for different types of bathtubs
When choosing legs, it is necessary to take into account the type of font, the material from which it is made, its size and design. Basically, manufacturers of bathtubs equip them with a standard set of supports, which greatly facilitates installation.
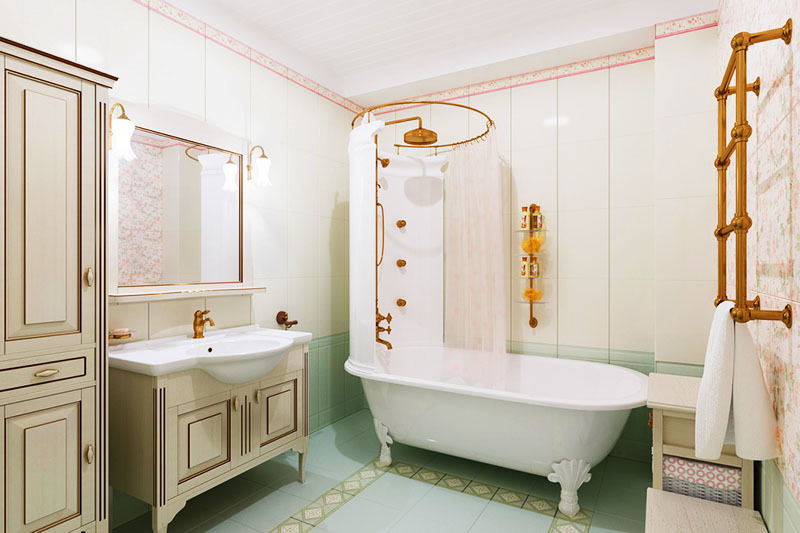
Cast iron baths
Cast iron has long been used to make bathtubs, and until now, such models have not lost their popularity. They are practical, durable and easy to use. Their only drawback is their heavy weight. That is why supports are required that can withstand not only a bowl filled with water, but also a person in it. Adjustable feet will not work as primary support.
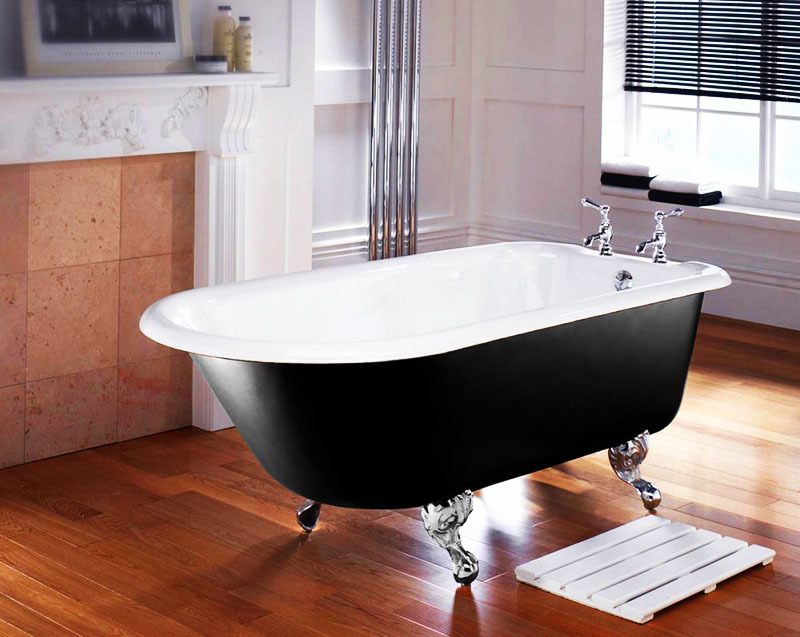
For your information! Quite often, bricks or foam blocks are used as additional support for cast-iron baths. The unsightly appearance of such a design is masked by a decorative removable screen.
Steel baths
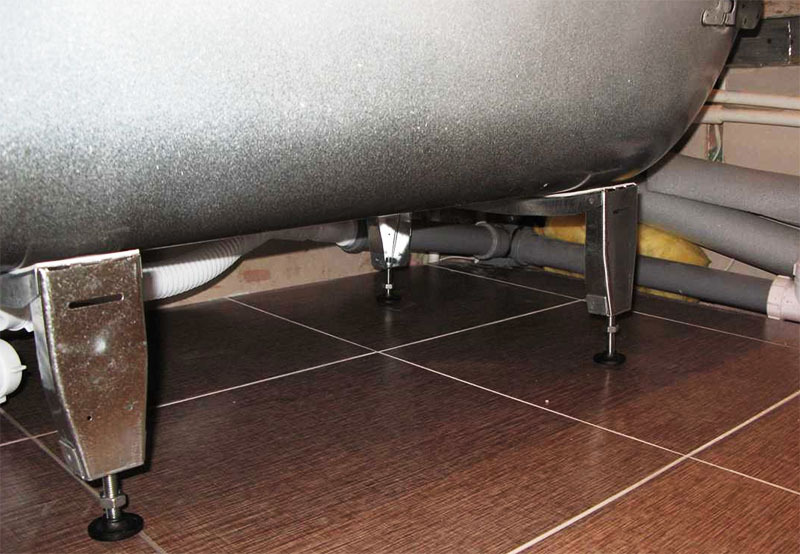
Steel baths are durable, affordable and lighter in weight compared to cast iron. However, the water in such a container cools down rather quickly, although many try not to attach much importance to this. There are many options for installing steel bathtubs: supports, metal or wooden frames, brick or foam concrete pillow.
The bowl can be installed on conventional adjustable supports with decorative overlays, and metal or brick structures can be hidden behind a protective screen. In order for the water not to cool down for a long time, the bath is insulated with a special insulation with foil or foam.
Acrylic bathtubs
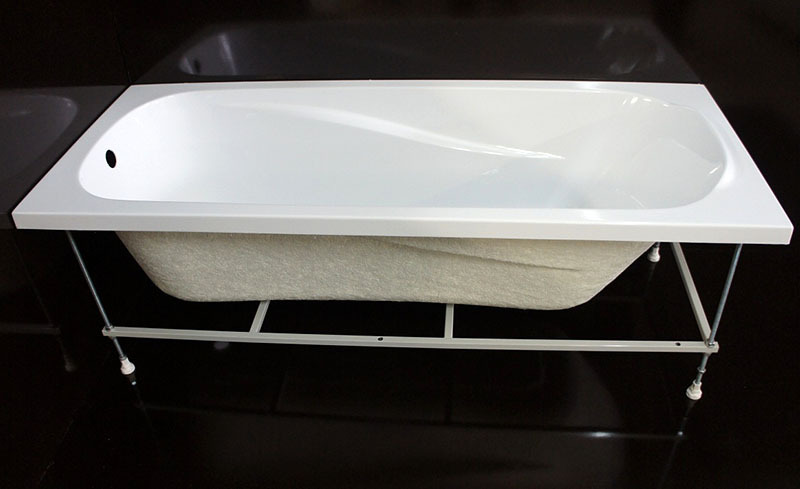
Acrylic bathtubs are distinguished by their low price, aesthetics, design and light weight. In this case, the supports perform more a supporting and decorative function. Due to its low weight, a model on ordinary legs can easily turn over and move from its place.
To install acrylic bathtubs, support frames made of metal or wood, as well as brick or foam concrete blocks, are used. These unsightly structures are masked by a protective and decorative screen, behind which, by the way, you can organize a place for storing household chemicals (washing powders, air conditioners, detergents and cleaning funds).

A comment
Mikhail Starostin
Head of the team of the repair and construction company "Dom Premium"
"For greater reliability, it is recommended to additionally fix the acrylic bathtubs to the wall using special fasteners."
Methods for self-installation of a bathtub on a tiled floor
There are several ways to install a bathtub: using separate supports, frames, brick or foam block pillows. The most common, simple and affordable option in terms of cost is support, adjustable and auxiliary legs. Any person can install the bath on single or double supports, having in his arsenal a minimum set of tools and materials.
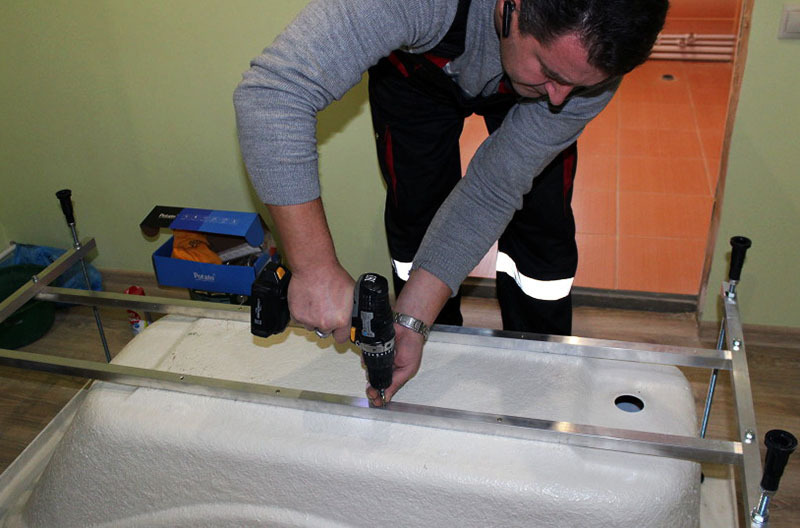
What you need to work
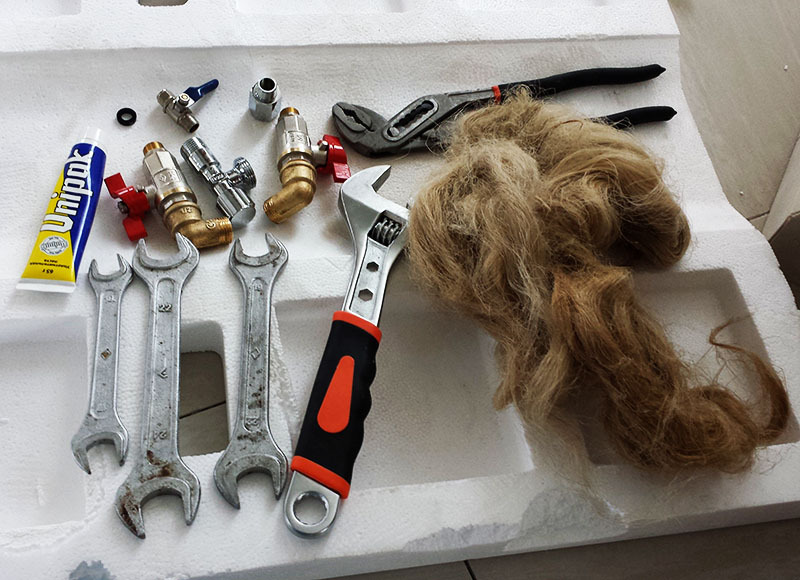
In order for the process of installing the bath on its legs to go correctly, easily and quickly, it is necessary to prepare in advance all the necessary tools, fasteners and materials. Also, do not forget that the installation of the hot tub is carried out simultaneously with the connection to the sewage system. So, in order to install the bath on the supports yourself, you will need:
- legs that match the bowl being installed (included or purchased separately);
- siphon complete with overflow;
- silicone sealant (tube with a special gun);
- insulating tape;
- rubber gaskets;
- metal squares (approximately 50x50x2.3-3 mm);
- adjusting screws;
- metal threaded studs;
- hacksaw for metal;
- a set of open-end or spanner wrenches;
- construction bubble level (spirit level).
Step-by-step instructions for connecting the drain
Before installing the bathtub on the supports, it is recommended first of all to carry out the plumbing piping, so that later it would be easier to connect the font to the sewer system.
| Image | Process description |
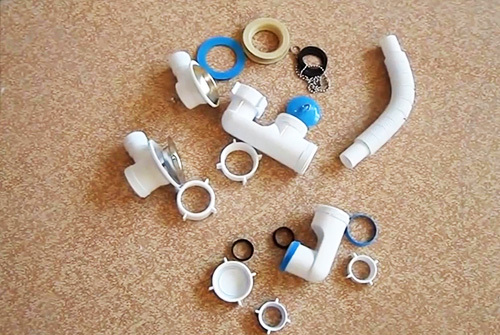 | First, we check the completeness of the plumbing piping. We will install a revision siphon |
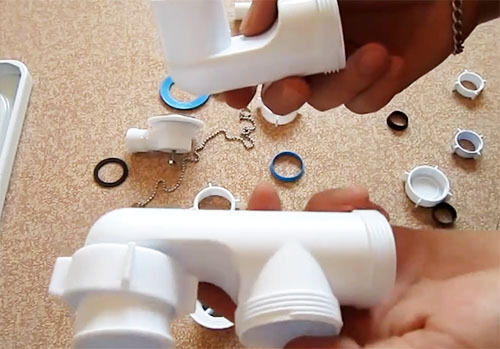 | We take a large and a small part |
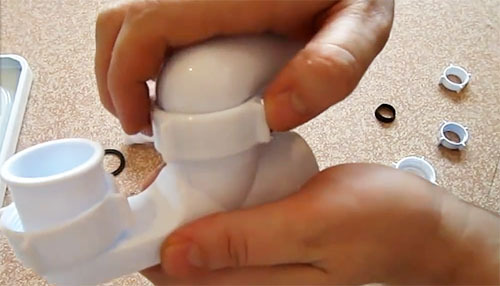 | We put on a nut and a rubber or plastic seal on a small part. We insert into the larger part and tighten the nut only with the help of your hand, so as not to disrupt the threaded connection |
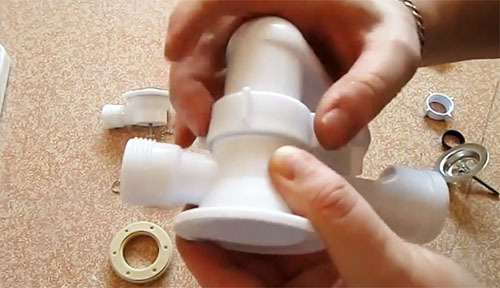 | Next, put a nut with a seal on the drain assembly and connect it to the main part of the drain |
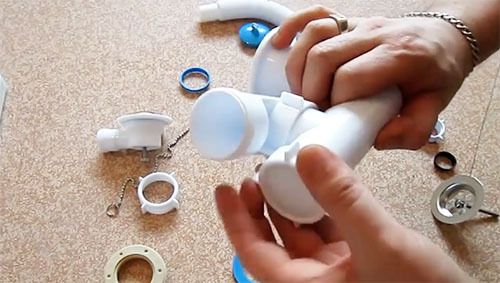 | We screw the plug with a rubber seal onto the revision part of the drain |
 | We insert the drain hole of the bath into a special rubber sealing ring |
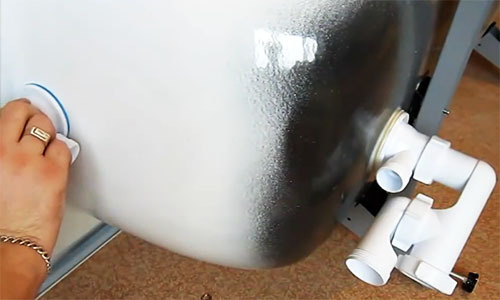 | Next, insert the assembled drain assembly into it and twist the metal part from the inside of the bowl. We do the same with the overflow. |
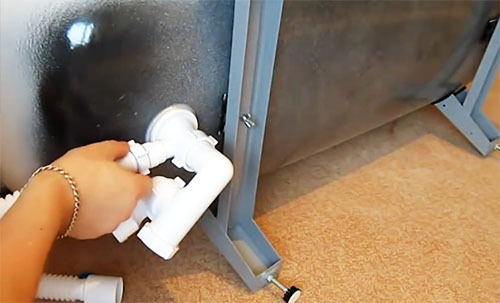 | We put nuts and O-rings on a thin corrugation on both sides. We insert the hose into the drain and overflow pipes and tighten the nuts |
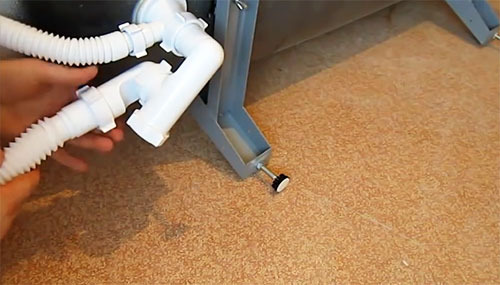 | In the same way, we connect a thick corrugation to the drain, one end of which will be connected to the sewer system |
 | This is how a fully assembled bath tub drain looks like. |
Attention! All work on the installation and connection of the drain piping must be carried out only with the help of hands, without the use of keys. This is the only way you will feel when you need to stop tightening the nuts, and will not rip the thread. Otherwise, you will have to buy a new kit.
Attaching the legs to the base of the bowl and fixing them to the tiles
Installation of supports on the bottom of the bath provides for the compatibility of the fasteners with the design of the hot tub. Most installation methods require special tabs on the outside of the bottom of the bowl.
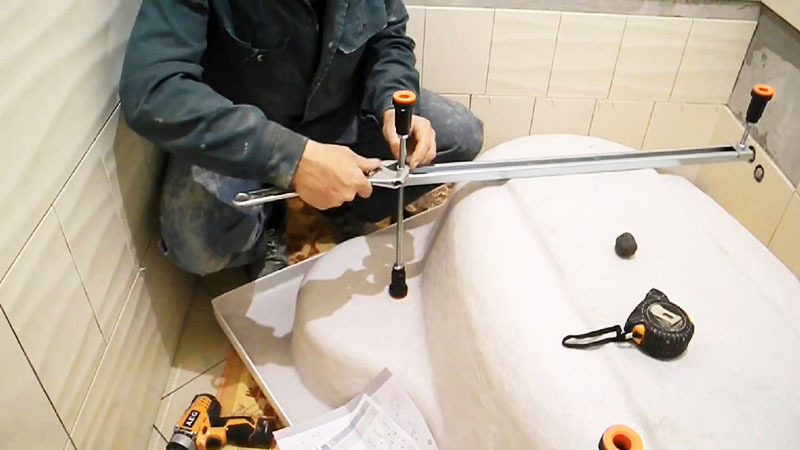
How to attach legs with wedges
Wedges are an old proven option for attaching supports for cast iron bathtubs. However, compatibility of the leg and the seat on the bottom of the hot tub is required. The upper part of the support, which has a triangular shape, is inserted into the corresponding socket on the bottom of the bathtub from the outside. The leg is fixed with a wedge driven in between it and the ledge on the bottom.
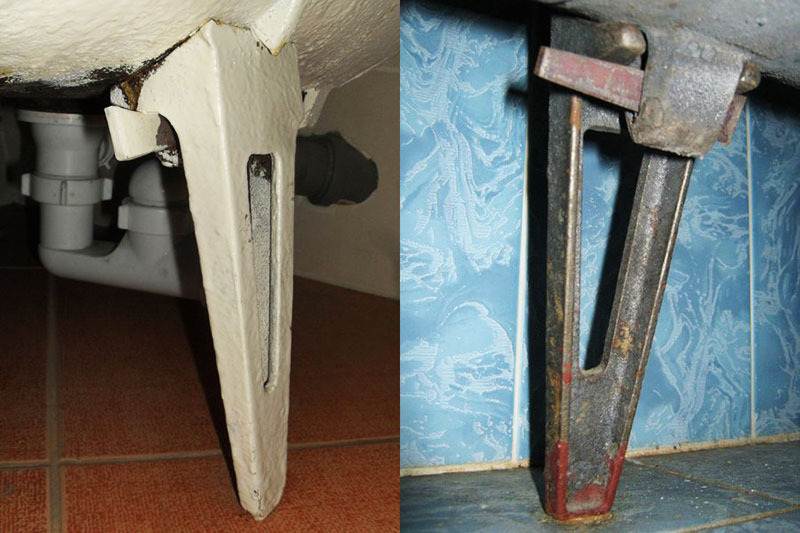
How are the legs attached with bolts
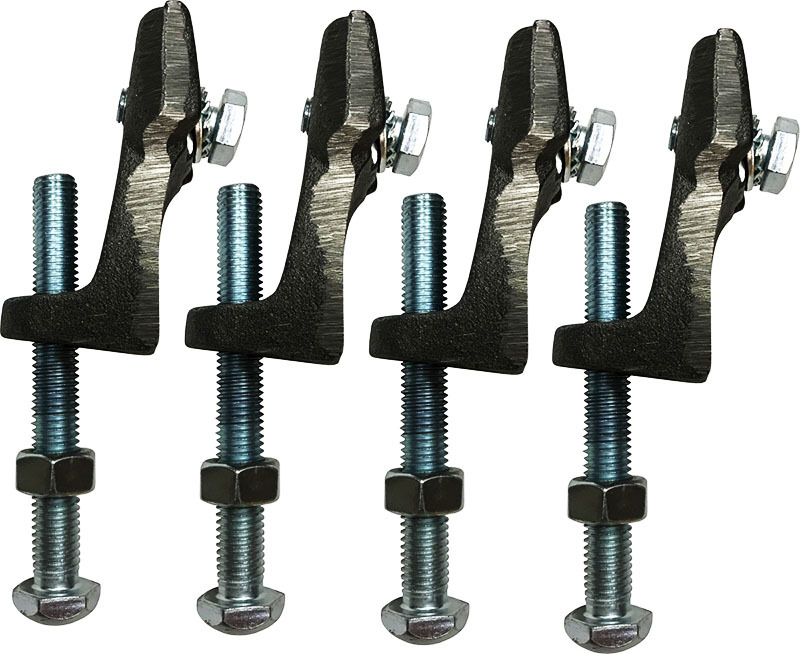
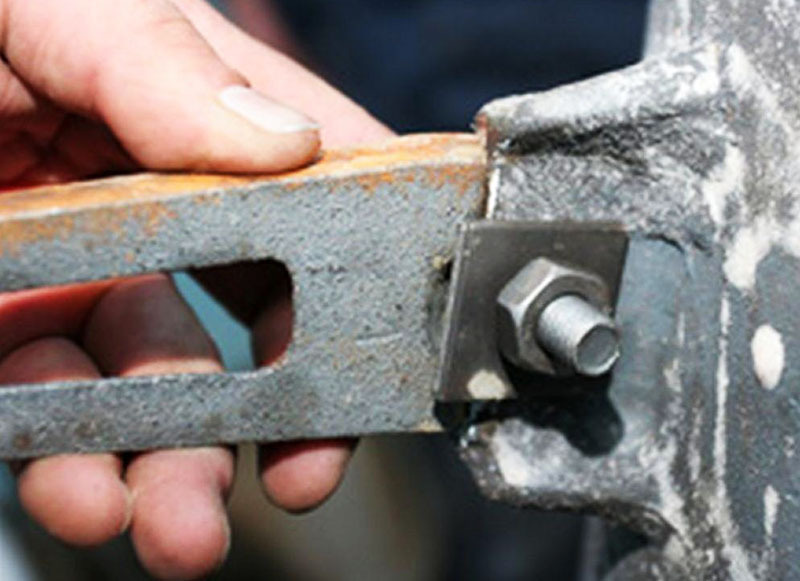
On the outer side of the bottom of the bath there are projections with holes, which are also present on the supports. The legs are attached to the seats and tightened with bolts with or without nuts. This option provides a reliable connection of the supports to the bath body.
How to attach legs with metal studs
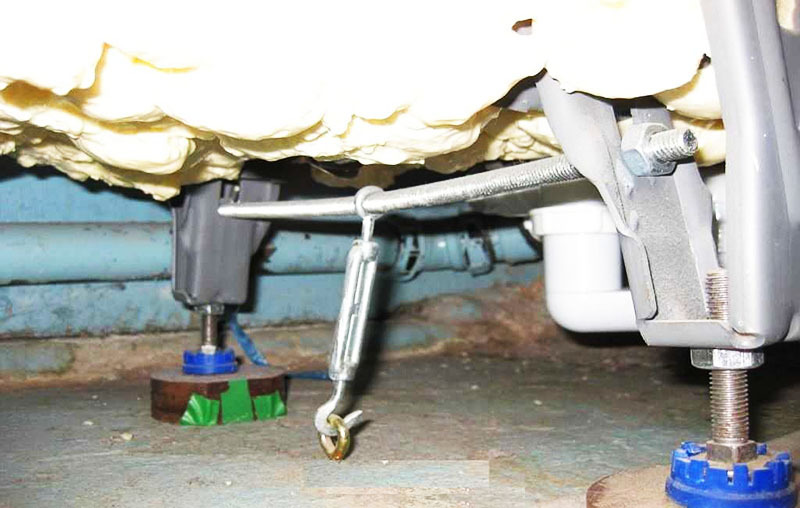
In this case, it is assumed that the legs are installed and fixed in pairs. Lugs are welded to the outside of the bath bottom, to which compatible supports are attached. Further, the legs are pulled together in pairs with each other using metal threaded studs.
How to glue the auxiliary legs to the self-adhesive layer
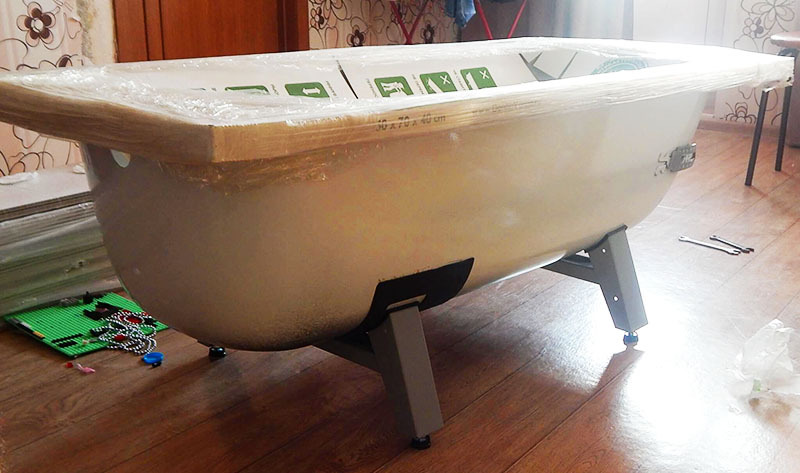
The simplest and most versatile option for fixing the supports to the bathroom is to use the legs with a self-adhesive base. In this case, no mounting points and additional fasteners are required. The surface of the support is covered with a special adhesive, so it is enough to install the legs in the right place on the bottom and press them firmly.
This method of fixing is not very reliable, since the adhesive layer does not withstand significant loads and is not suitable for heavy cast iron baths.
How to level the bathtub
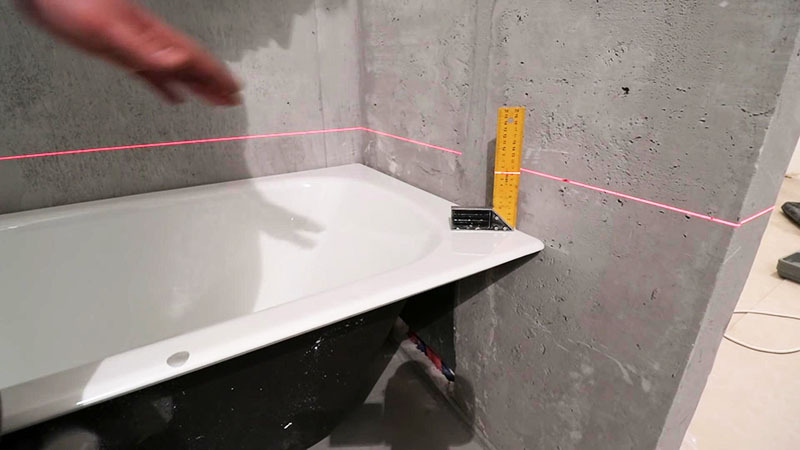
Installing the bathtub strictly horizontally is very important. This is necessary to evenly distribute the load on the floor, aesthetics, proper operation of the drainage system and much more. The easiest option is to beat off the level on the walls, make marks and place the bowl on them. Also, a landmark can be a tile, the seams of which should be strictly horizontal. Another installation method is to use a spirit level that is attached to the sides of the bath. The leveling of the bath is carried out using adjustable legs or by placing slats or wedges under the supports.
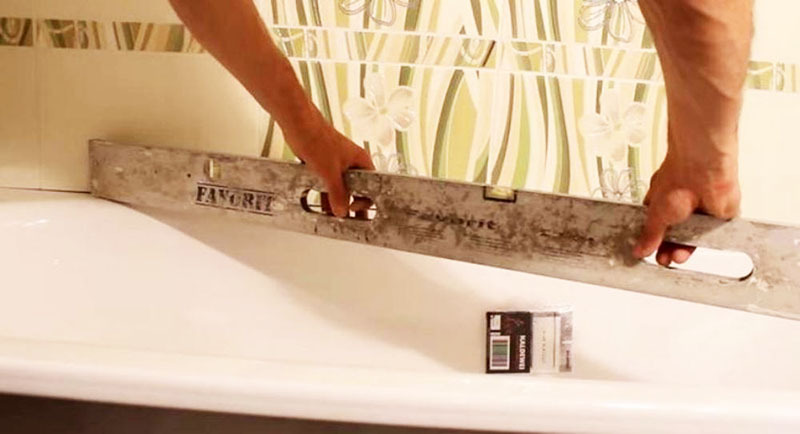
What to do if the clawfoot tub is wobbling
With prolonged operation of the bath due to constant loads on the tile and its deformation, loosening of the bolt or wedge joints, the bowl may begin to stagger and move, and this leads to a violation of the joints corrugations siphon and sewerage system and depressurization of seams.
The easiest way to regain stability is to tighten the fixing points of the legs and the bath bowl. However, this option is short-lived, and over time everything will start again. If you need a really reliable option, then you have to make a podium or stands out of bricks or foam blocks. An unsightly design can then be sewn up decorative screen.

You can also strengthen the bathtub with the help of tires located along the perimeter of the wall and special brackets that will pull the bowl and prevent it from moving.
