Various products are used to decorate surfaces and design joints. Deciding to execute self-repair, it is worth figuring out what and how to cut plastic skirting boardso as not to damage the product and to correctly connect the individual fragments. For this purpose, you can use both a special tool and improvised means. Before using them, you should familiarize yourself with the main features of their use.
Read in the article
- 1 Varieties of plastic skirting boards
- 2 How and how to cut a plastic skirting board: choosing the right tool
- 2.1 Hand Tools: An Affordable Home Solution
- 2.2 Power Tools: Increasing Productivity Made Easy
- 3 Methods for cutting plastic skirting boards
- 3.1 How to cut a skirting board according to a stencil: for non-standard rooms
- 3.2 We cut the skirting board with a miter box
- 3.3 Using a ruler and pencil without a miter box
- 3.4 How to cut a skirting board "in place"
- 4 How to cut the corners of the plinth correctly: take into account their appearance
- 4.1 Cutting the inner corner
- 4.2 File down the outer corner
- 4.3 How to fit an angle greater or less than 90 °
- 5 Useful tips for installing skirting boards
- 5.1 Floor plinth
- 5.2 Ceiling plinth
Varieties of plastic skirting boards
The plastic skirting board produced by manufacturers differs in the degree of rigidity and shape.
Depending on the hardness, the product can be:
- Hard. Its shape is close to the wooden one. Allows installation under ceiling and at the floor. For the manufacture of rigid skirting boards, polyvinyl chloride is used, which gives it sufficient strength and rigidity. The product has moderate flexibility and is available in a wide range of colors. It breaks easily under the influence of a bending moment.
- Soft. It looks like a flexible tape that can be installed without any additional trimming. As a rule, PVC is used for manufacturing. In terms of prevalence, it is significantly inferior to the rigid analogue. It is the best option for rooms with uneven walls. It is fixed on a special glue, the basis of which is polyurethane, or putty.
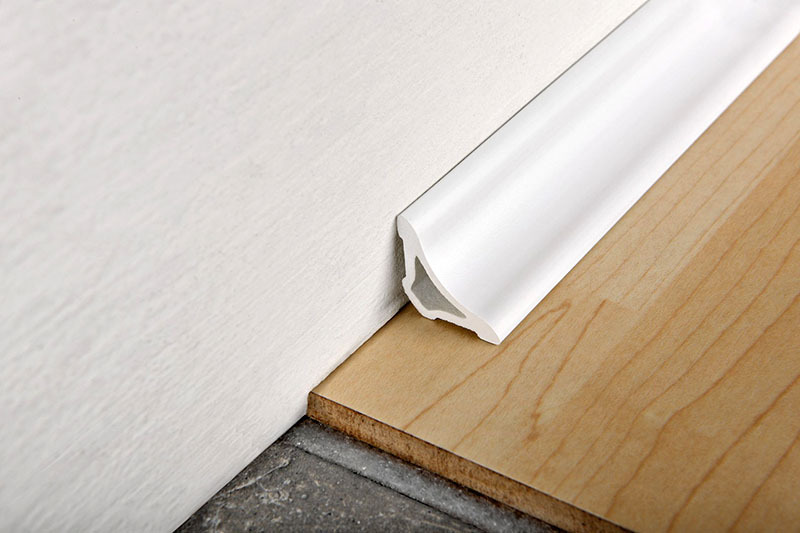
The configuration of plastic skirting boards installed on the floor can vary significantly.
Allocate:
- T-shaped, intended for the design of floors in which carpet is used as a decorative coating. For their decoration, strips of carpet are suitable, fixed on the surface of the elements using double-sided tape.
- L-shaped, allowing you to fix the finishing material on the floor surface.
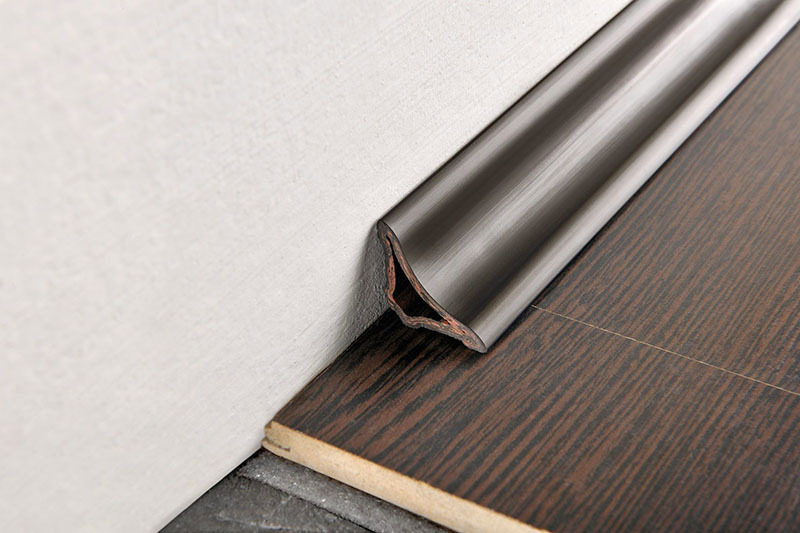
The functionality of plastic skirting boards is also different.
Manufacturers offer models with:
- internal cable duct, allowing you to perform hidden laying of one or two wires for various purposes;
- pressed-in rubber strips, thanks to which the profile adheres better to uneven or rough surfaces.
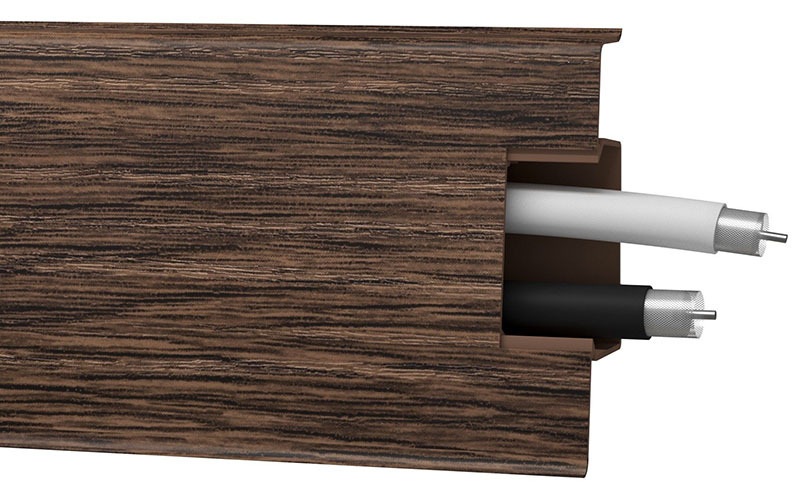
The sizes of the produced profiles vary in a wide range. Their width can be 40-150 mm with a thickness of 10-38 mm and a length of strips of 2-2.5 m.

How and how to cut a plastic skirting board: choosing the right tool
Both hand and power tools can be used to cut the skirting board to size. Each of them has its own characteristics and imposes certain requirements on the performer. Check out the main varieties to see which one is best for you.
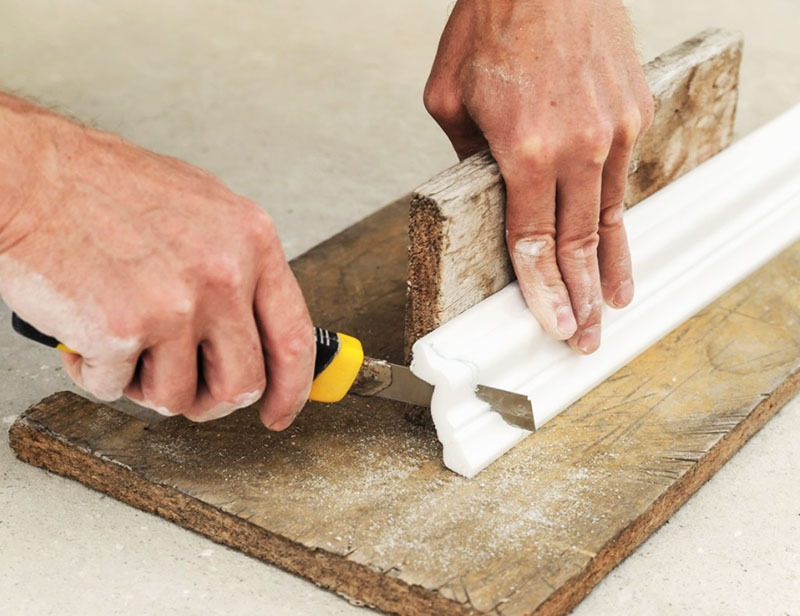
Hand Tools: An Affordable Home Solution
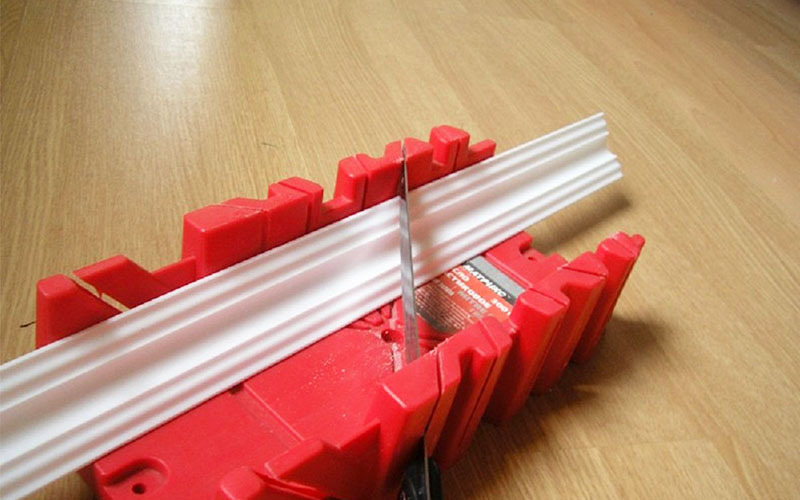
Most often used for cutting plastic skirting boards:
- hacksaw for metal with a fine tooth. The right solution for products with sufficient thickness. For thin ones, such a tool is practically not used;
- scissors for metal. It presents certain requirements for the performer, since the applied pressure can cause the material to collapse;
- sharp knife. Before using it, you should practice on scraps of old skirting boards due to the high probability of damage to the product.
Power Tools: Increasing Productivity Made Easy
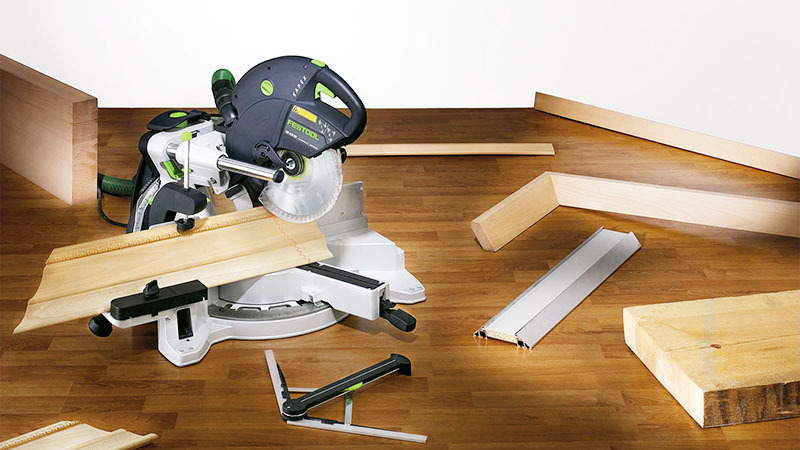
Most often, the choice is made in favor of:
- Grinders. Most homes have the tool. Due to the high rotation speed of the blade, it does not allow obtaining a straight cut line. Additional processing is required to give the edge an optimal roughness.
- Miter saw. The cut is of high quality. The cutting line is located at a given angle.
- Jigsaw. Can be used to cut an element at a given angle. Allows you to form a cut in a different direction at the desired angle.
Methods for cutting plastic skirting boards
The molding of plastic skirting boards can be done in various ways. Each option has its own characteristics, and therefore you need to know how to cut off excess material in a particular case.
How to cut a skirting board according to a stencil: for non-standard rooms
Standard angles are rare. This makes it difficult to cut. To avoid inaccuracies, you can make stencilthat perfectly repeats the configuration of non-standard walls. For its manufacture, thick paper or thin cardboard is used. The thickness of the prepared element must correspond to the thickness of the profile.
The cardboard is applied to the wall. With the help of a clerical knife, remove the excess material. The direction of the cut should be perpendicular to the line of intersection of the walls. The mating elements are cut off according to the prepared template. After that, the installation is started.
We cut the skirting board with a miter box
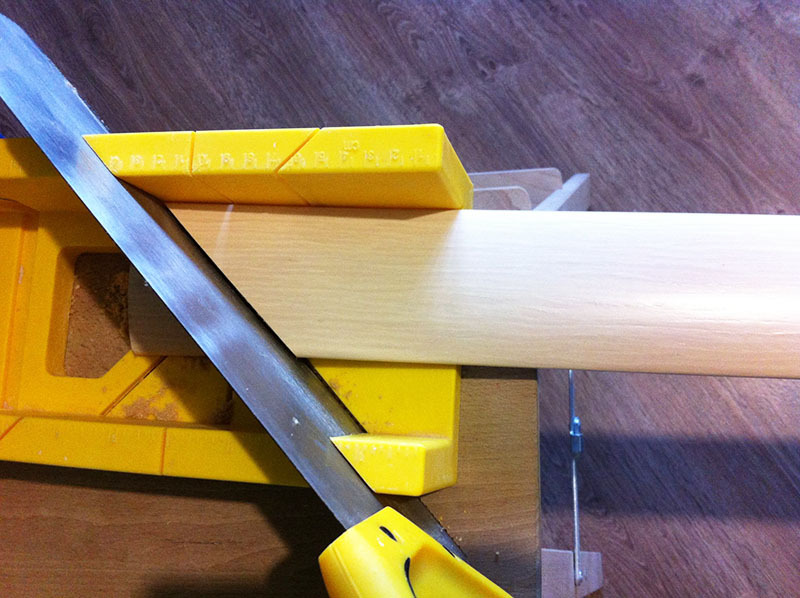
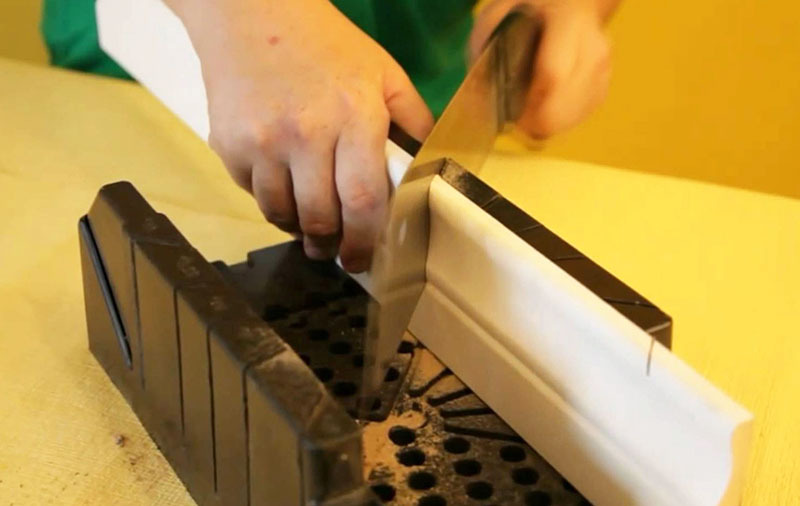
The miter box is an irreplaceable device when performing various types of finishing work. It can be used to cut at the right angle quite easily. The device has a characteristic U-shape with slots used as guides.
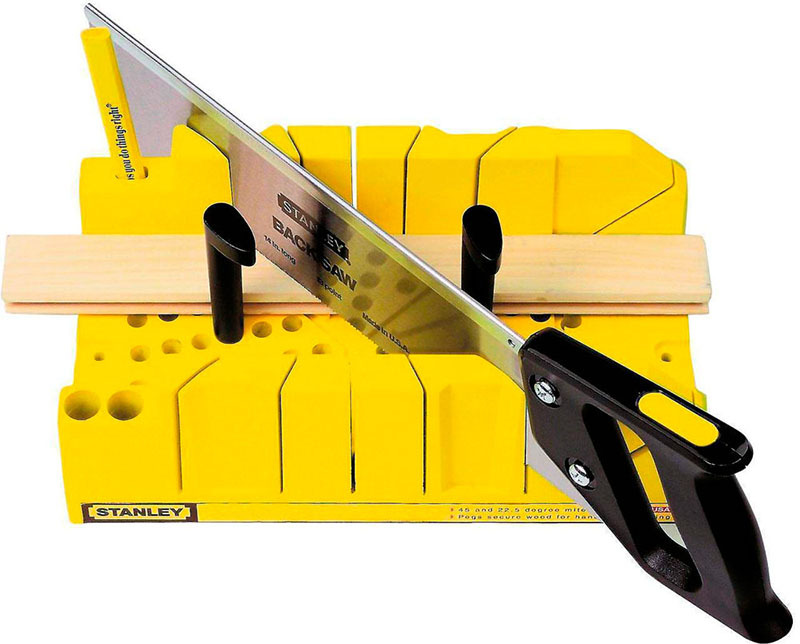
When cutting the plinth, the panels are applied to the surface with the rough side. Reinstallation is not permissible due to the risk of damage to the face. The edge of the panel must remain within the diagonal slot.

A comment
Mikhail Starostin
Head of the team of the repair and construction company "Dom Premium"
“If the size of the miter box significantly exceeds the parameters of the plinth, it is necessary to ensure uniform pressure of the product to any groove side. Only then can you start cutting off the excess material. "
Watch the following video to understand how to use such a device:
Using a ruler and pencil without a miter box
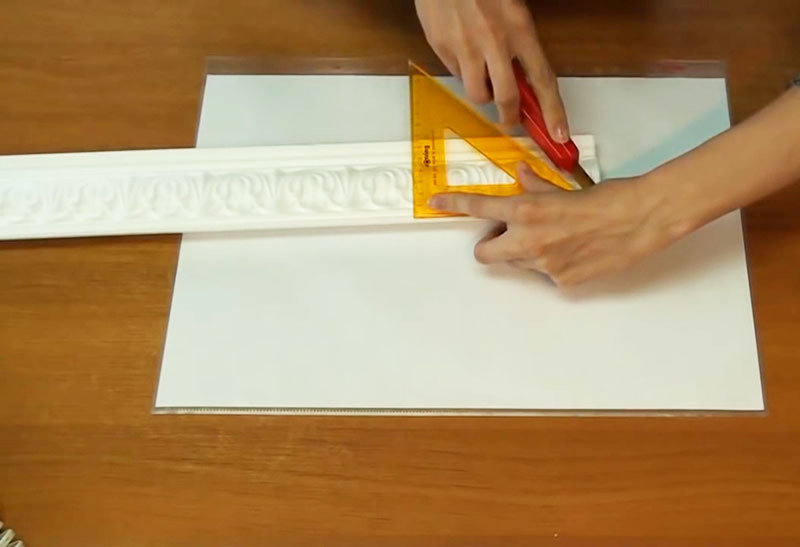
In the absence of a miter box and cardboard, you can use a ruler and pencil. To do this, first the necessary measurements are performed on the wall surface, and then deposited on the surface of the product. A line is drawn with a pencil, along which the excess material will then be cut off.
Attention! If the room has complex geometry, the measurement of the angles will need to be done with great care in order to avoid mistakes.
How to cut a skirting board "in place"
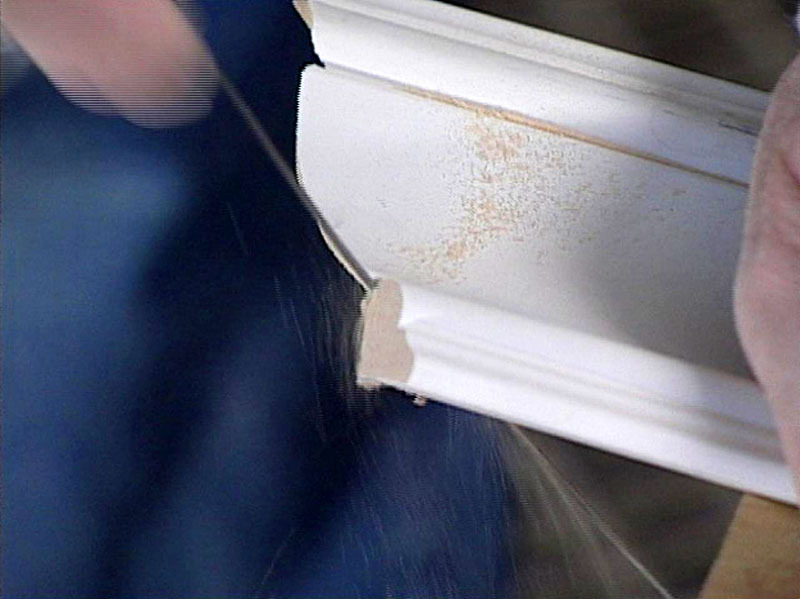
In the absence of a ruler, the skirting board can be trimmed "in place". To do this, we install it close to the adjacent wall. We mark directly on the product a line along which the excess material will be cut off. We cut in such a way that the inclination of the cutting tool is approximately 45 ° to the center of the profile corner.
How to cut the corners of the plinth correctly: take into account their appearance
To cut a corner, you need to be clear about the order in which each element is installed. The procedure depends on which pairing is performed: external or internal. Not only the direction of the cut deserves attention, but also the spatial arrangement of the element. Therefore, dealing with the order of work, you need to know what kind of coal we are talking about.
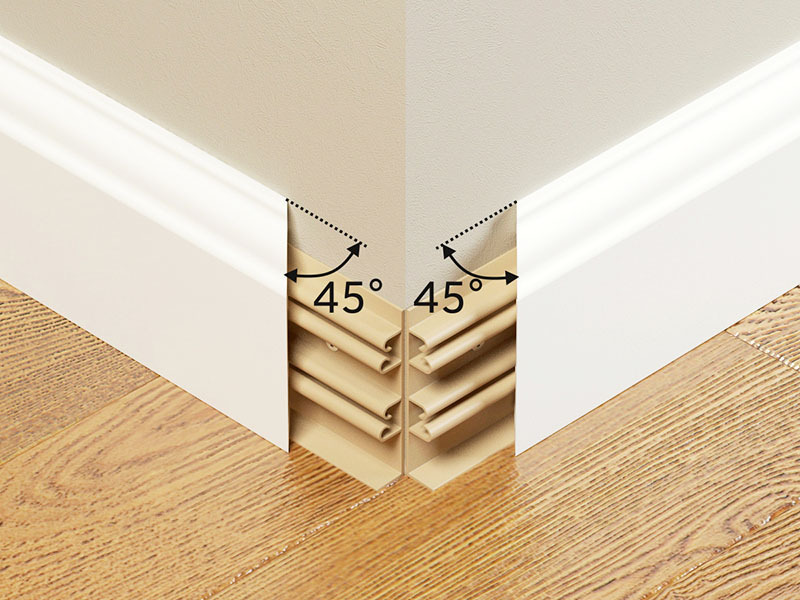
Cutting the inner corner
To cut the inner corner for a plastic floor plinth, proceed in the following sequence as shown in the table.
| Illustration | Procedure |
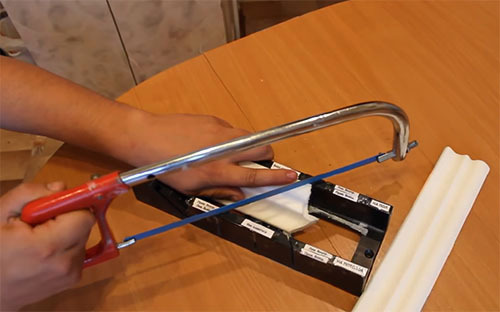 | The skirting board element cut to size is installed in the miter box. The left side is carefully cut off first. |
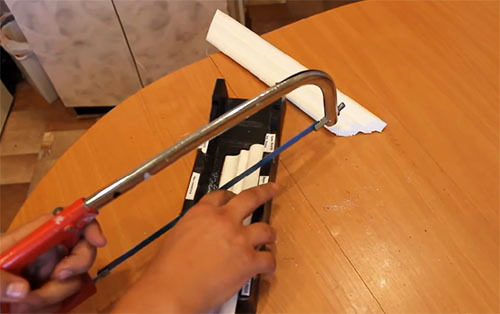 | The second part is installed in the miter box in the position in which it will be placed on the base. The excess part is cut off in the directions indicated on the miter box. |
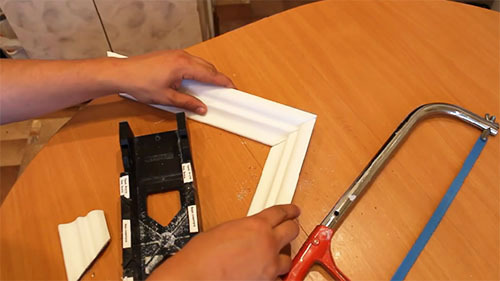 | We connect the parts together. We check the correctness of the connection and the tightness of the elements to each other. |
When forming the inner corner on the ceiling plinth, the direction of the blade does not change, but the element itself is applied to the inner side, and the lower part should be located on top.
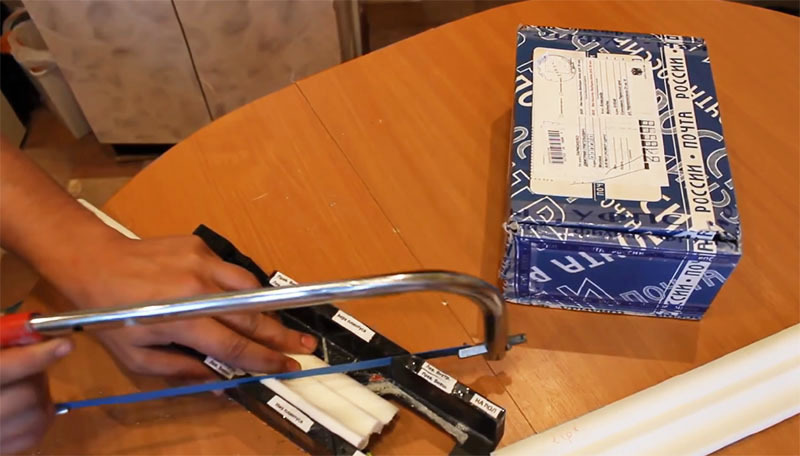
File down the outer corner
The filing of the outer corner is performed in a slightly different sequence.
| Illustration | Procedure |
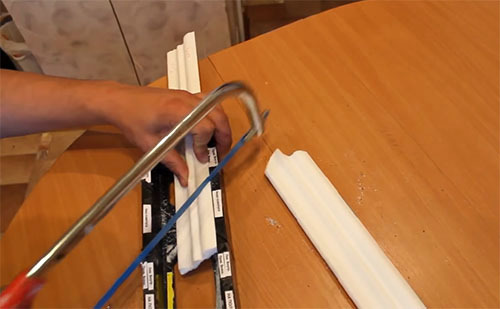 | We place the plinth in the miter box in the position in which it will be located on the wall of the room. We write down the left side. |
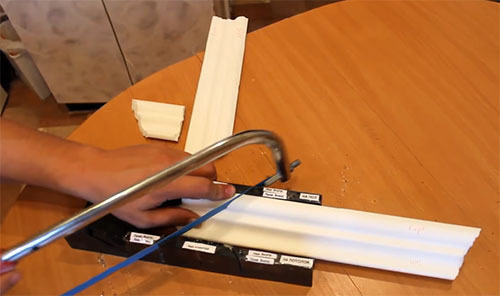 | Place the second element in the miter box. We place it in the working position. We make a wash, removing excess material at an angle of 45 °. |
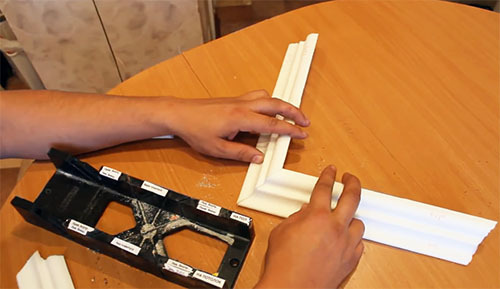 | We attach the elements to each other to check the correct connection. |
Attention! Ceiling ones are cut by analogy with the internal ones.
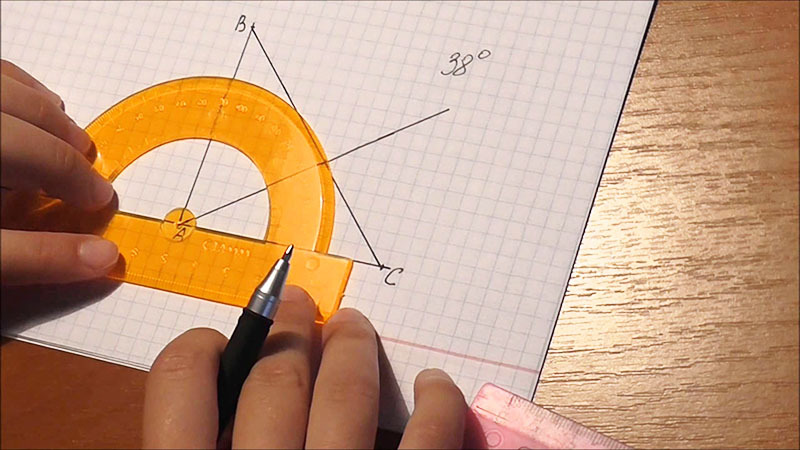
How to fit an angle greater or less than 90 °
No matter how versatile the miter box is, it is focused on forming a joint with a standard size of corners. If the joint is carried out at a different degree, difficulties may arise. Watch the following video to learn how to adjust the pairing in this situation:
Useful tips for installing skirting boards
The order of installation work largely depends on the place where the plinth is attached. To securely fix the product to the floor or ceiling surface, read our tips.
Floor plinth
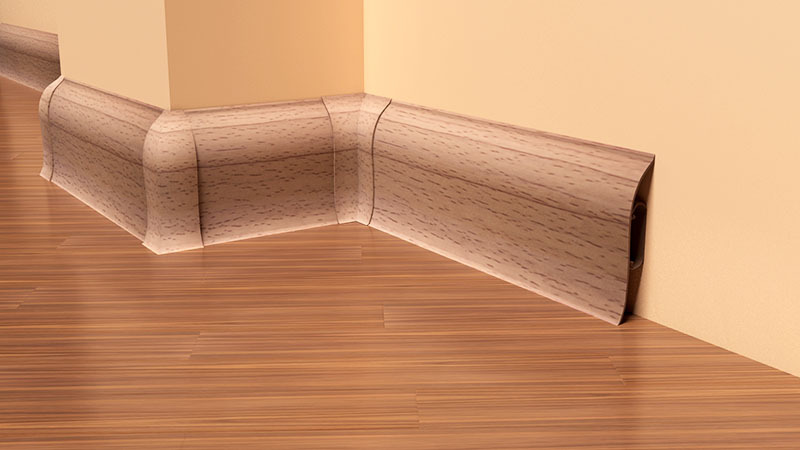
To install the skirting board, you must purchase the necessary accessories along with the product itself.
Depending on the square and shape of the floor, you must have in stock:
- The outer and inner corner is the same color as the main profile.
- Left and right endings.
- A connector with which straight sections will be connected to each other.
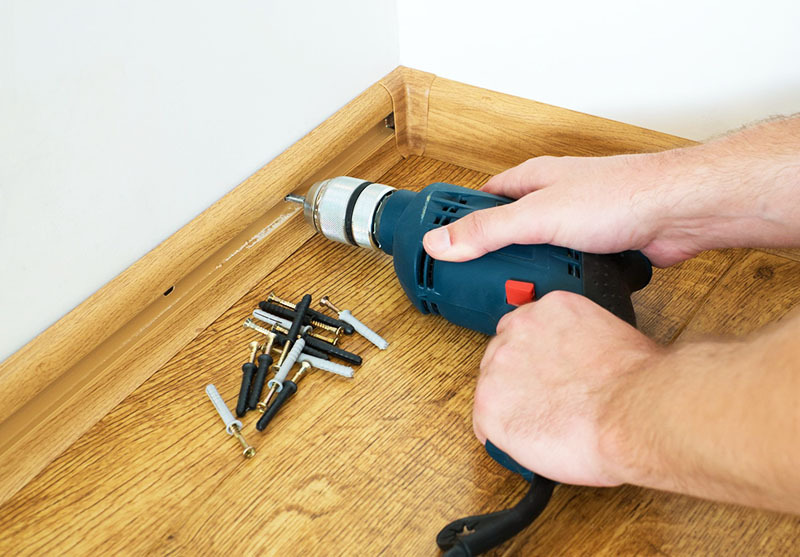
To fix the panels, you should prepare the dowel-nails. Their number is calculated taking into account the length of the future structure. The step between the fasteners is 25-40 cm. If there are noticeable irregularities on the wall, the distance is reduced, ensuring the formation of the desired rounding.
Prepare the walls before starting the installation. After that, you can proceed with the installation. Installation usually starts from any free corner. After checking the correct position, remove the upper part, mark the location and drill holes for the fasteners.

A comment
Mikhail Starostin
Head of the team of the repair and construction company "Dom Premium"
"Fix the plinth at both ends, then drill the rest of the holes."
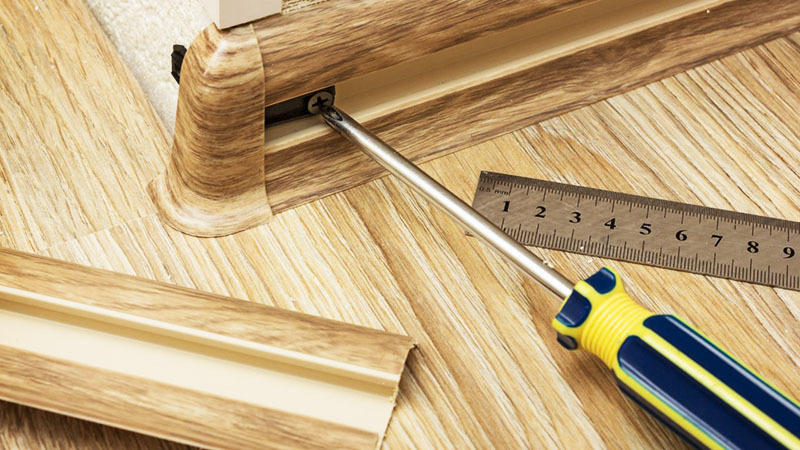
After tightening the dowel-nails, we install the decorative strip in the seat, pressing it in until a characteristic click appears. The remaining parts are mounted in the same way, and additional elements are installed at the interface.
Ceiling plinth
Ceiling plinth fixation is most often done by glue method. Watch the following video if you decide to do the work yourself:
Share in the comments if you had to cut and mount the plinth yourself, what tool and method did you use.
Related article:
Do you want to know all the secrets and subtleties of how to glue the ceiling plinth. The advice of the masters, recommendations on the choice of material, step-by-step instructions and photos of finished works will help you to carry out a high-quality installation of the skirting board.


