
Ceiling plinth (baguette, fillet) is a decorative element used for interior decoration. In this article we will tell you what fillets are in terms of the material of manufacture, consider their characteristics and features of the choice of glue. We have to figure out how to glue ceiling plinths of various types with our own hands, form corners and intermediate joints, and also find out the features of the finishing of baguettes.
Read in the article
- 1 Varieties of ceiling plinths
- 2 The procedure for gluing the ceiling plinth
- 2.1 Installation on putty
- 2.2 Glue mounting
- 2.3 Adhesive selection
- 3 We join the skirting boards
- 4 Installation order: wallpaper or fillets
- 5 How to glue the ceiling plinth on different types of ceilings
- 5.1 Plaster
- 5.2 Plasterboard suspended structures
- 5.3 Tension structures
- 6 Finishing, decoration, lighting
- 7 Summing up
Varieties of ceiling plinths
They perform two functions at once:
- Practical - hide the flaws in the finishing of the junction of the wall and ceiling and mask the defects in the geometric shapes of the room.
- Decorative - give the interior completeness, complementing its design.
The main classification of fillets is carried out according to the material of manufacture. The following types of skirting boards can be found on sale.
Extruded expanded polystyrene. The ornament on the front side is formed by the indentation method. The surface of the material has a finely porous texture that requires mandatory finishing. The products are lightweight and can be cut with an ordinary knife. Care must be taken during assembly work, as the material is extremely fragile.

Expanded polystyrene injection. This is the most common type of ceiling frieze. An injection-type product is characterized by the presence of convex decorative ornaments on the front surface. Has a higher strength than extruded counterparts.

Polyurethane. Has high mechanical strength combined with flexibility. As a rule, it is used for finishing curved suspended ceilings. Resistant to high humidity and temperature extremes.

Gypsum. Traditional material for ceiling friezes. As a rule, plaster skirting boards are quite large in size. They are richly decorated with relief ornaments. Products are expensive and are often made to order.

Wood. The range of wooden fillets ranges from budget to luxury options, depending on the profile and type of wood. However, even budget options for wooden ceiling plinths are much more expensive than plastic ones.

Pvc. Skirting boards are relatively inexpensive and easy to use. Similar in characteristics to polyurethane, but not as flexible. They have a wide range of colors, a wide selection of reliefs, as well as the ability to imitate the texture of wood and metal. Fastening is carried out on special mounting brackets.

The procedure for gluing the ceiling plinth
It is necessary to buy a ceiling plinth with a small margin, depending on the complexity of the perimeter of the room. Considering that the fillet length is usually 2 m, it is recommended to purchase one more element. Materials must be acclimatized, especially in a cold period of time, otherwise, after gluing, cracks may appear at the joints.

The process of preparing the base for work is the same for all adhesives:
- the working surface is cleaned of dust;
- all irregularities, slugs of putty, paint, etc. are removed;
- space is freed up to ensure free access to the workplace, the necessary devices are selected for working at height - a table, flooring, stairs, etc.
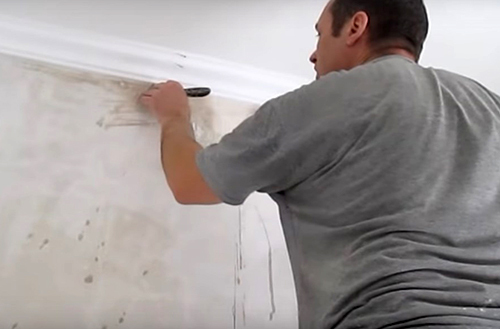
Installation on putty
The use of a finishing or multi-finishing putty as an adhesive is quite popular among professional builders. The advantages of this option are significant cost savings. However, the fillet installation process itself is more time consuming and requires some experience.
| Illustration | Description of action |
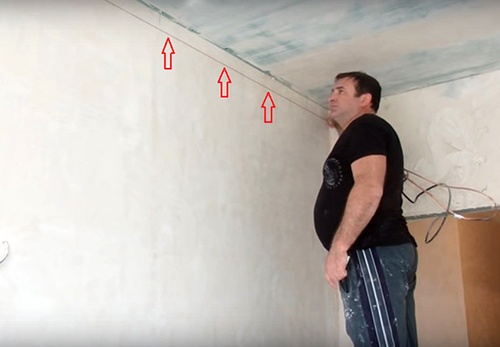 | Using a painted construction cord, we beat off the lower border of the location of the plinth |
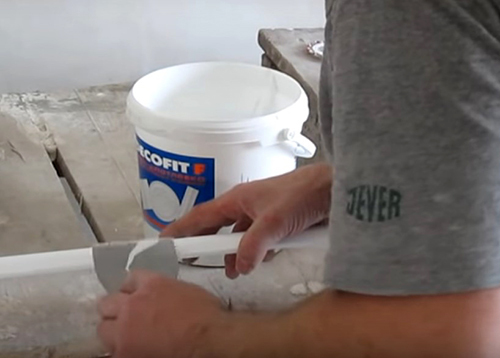 | With a spatula, apply the putty on the planes that are in contact with the wall and ceiling |
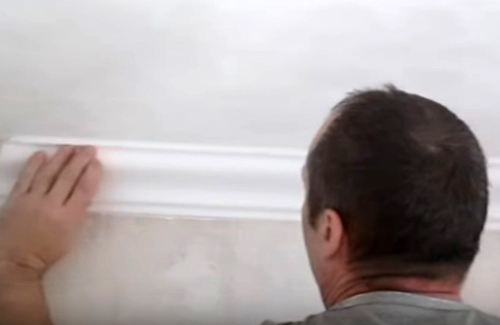 | We attach the plinth to the wall, observing the markings |
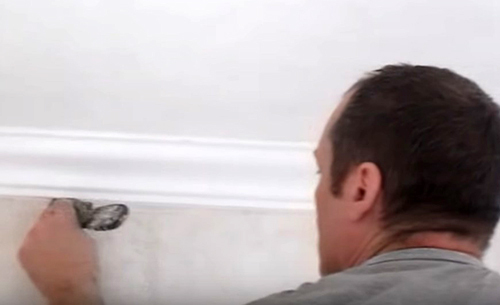 | Using a spatula, we remove excess putty in the places where the fillet fits to the wall and ceiling |
 | Fill the gaps between the fillet and the wall (ceiling) with putty after complete drying, as a rule, the next day |
Glue mounting
When using special adhesive mixtures, carefully read the instructions on the box. Some compounds, especially those based on organic solvents, are unsuitable for fixing polymeric and expanded polystyrene skirting boards.
The very procedure for installing ceiling skirting boards with glue differs little from a similar process using putty.
| Illustration | Description of action |
 | We mark the boundaries of the location of the skirting boards |
 | Apply glue to the fillet working surface |
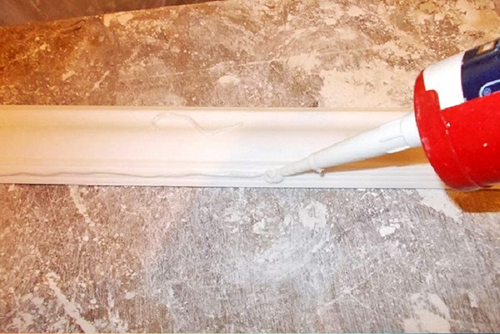
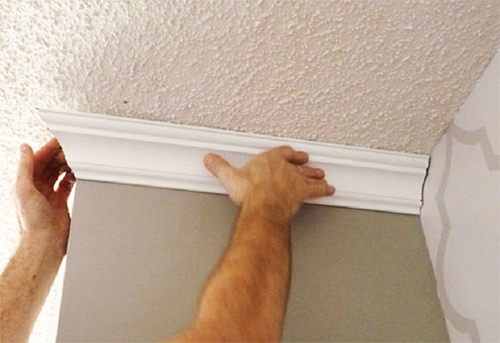 | We install the plinth in place in accordance with the markings and press it lightly against the base. It is necessary to wait some time for setting. The technological pause can be different: from 15-20 seconds to several minutes |
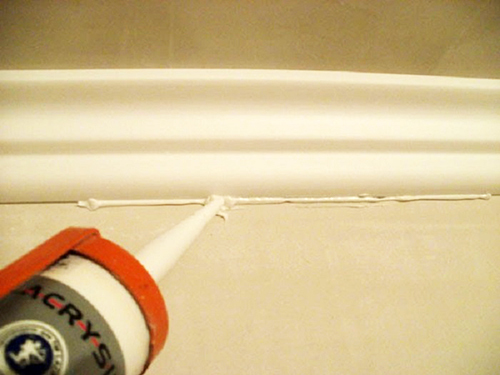 | The place where the skirting board adheres to the wall is treated with white acrylic sealant |
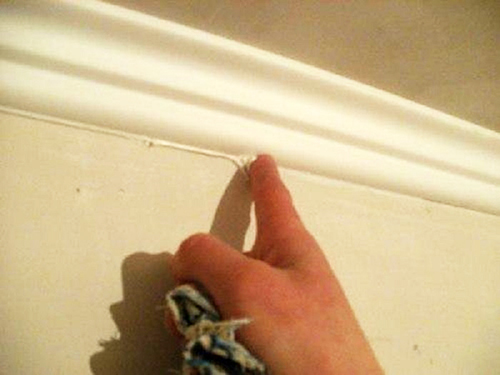 | Remove excess sealant with a rubber spatula or manually |

A comment
Mikhail Starostin
Head of the team of the repair and construction company "Dom Premium"
“Layout is one of the key steps in the installation of ceiling skirting boards. Even small irregularities in the wall will be visible when the fillet is firmly pressed against the base surface. To avoid this, when gluing, you should focus on the marking line, and fill the gaps with sealant. "
Adhesive selection
For fixing ceiling plinths, the following main adhesives are most often used:
- Polymer based on chloroprene or phenol-formaldehyde (Moment). They set quickly - after applying the fillet to the surface, the master has up to a minute to fix the bar in the desired position. It takes 10-15 seconds to press the plinth against the wall for the glue to set. Such formulations are quite aggressive and have toxic fumes. They practically do not give time to adjust the fillet.
- Styrofoam (glue-mastic Titan, Eco-set). They are characterized by a high level of adhesion to concrete, wood, cement and gypsum plasters. When using glue-mastic, it is not necessary to perfectly level the surface of the base, it fills in small cavities and pores of the surface. Setting time 15-20 seconds. During the first 10 seconds, the fillet position can be adjusted.
- Polyvinyl acetate. They do not contain harmful impurities, but they have a long setting time. For the final fixation of the plinth, the master must press it for at least 2-3 minutes.
- Neopropylene. It contains organic solvents that have an unpleasant odor and produce toxic fumes. Work is allowed only in well-ventilated areas. They have high bond strength and can withstand significant weight.
- Acrylic. Water-based adhesives. They dry quite quickly and do not have harmful fumes. With their help, only light fillets can be fixed. When exposed to negative temperatures, they are destroyed.
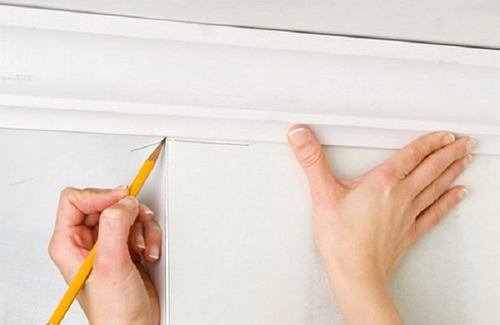
We join the skirting boards
Joining fillets in corners is one of the most difficult stages of gluing. The general appearance of the decor depends on the quality of this action, since cracks and other flaws are immediately evident.
If the room has right angles, then it is enough to use a miter box to cut the skirting board. We insert the right fillet into the miter box from the right side, placing the back surface (in the future, it will be pressed against the ceiling and wall) away from us. Left fillet - insert on the left.

If the room has an irregular shape as conceived by the architect or due to the negligence of the builders, then the docking is performed as follows. On the ceiling, from the corner to the center of the room, draw a small segment with a pencil - a marker. Roughly halving the corner. The plinth is pressed with its end to the wall, after which a mark is made on it at the point where the marker is located. A line is drawn from the corner of the end to the mark along which the cut should be made.
Important! For some types of fillets, special corner moldings - "rosettes" are produced. Their use is not compatible with some interior styles, but greatly simplifies the work.

On straight sections, ceiling plinths are joined depending on the type:
- gypsum and polystyrene foam - vertical cuts, gaps are filled with putty or polyurethane (silicone) sealant;
- polyurethane and PVC (painted) - when joining, the cut is made at an angle of 45º;
- wooden. When finishing with oil paints, direct joining with filling the seam with veneer is allowed. If the final finishing involves the use of clearcoat, then a 45 ° cut is required.

Installation order: wallpaper or fillets
As practice shows, the sequence of finishing work depends, first of all, on the type of ceiling plinth:
- Lightweight low-cost skirting boards (foam, polyurethane or PVC) are glued last over the wallpaper. In case of cosmetic repairs, they can be dismantled. There will be no large financial costs for their re-acquisition.
- Heavy skirting boards (wood, plaster) are quite expensive. For their installation, glue with increased fixation, special clips or dowels are used. Such fillets are installed before wallpapering.
How to glue the ceiling plinth on different types of ceilings
If the installation of fillets on the wall does not have any special differences, regardless of the wall material (concrete, brick, plaster, drywall, etc.), different ceiling structures require certain changes.
Plaster
Ceiling plinths are glued to plastered walls, as a rule, on a putty. For quick and reliable fixation, it is necessary to normalize the moisture absorption of the base by treating the working surface with a deep penetration primer.
Some masters advise to carry out the installation of skirting boards on a surface that is still wet from puttying. Thus, the filler on the baseboard and base will bond more firmly.

Plasterboard suspended structures
For the installation of ceiling plinths on suspended plasterboard structures, both plasters and special polymer adhesives can be used in equal measure. The choice depends on the complexity of the design and the type of fillet. If the suspended ceiling is a simple rectangular structure, it is cheaper to use wood or foam fillets on the plaster. If the ceiling is curved, then it is more advisable to use flexible polyurethane skirting boards with an appropriate polymer adhesive.

Tension structures
In the presence of stretch ceilings, the fixing of the plinth is carried out only along one plane in contact with the wall. Installation is carried out on adhesive mixtures with increased fixing force. In addition, only lightweight skirting boards made of polymeric materials can be mounted on glue: foam, polyurethane, PVC. Heavier moldings made of wood or plaster are installed on fasteners: dowels, metal clips or anchors.
To make the fastening more reliable, versatile baguettes are chosen for suspended ceilings. That is, the side facing the wall should be larger, so it has an increased contact area.
A comment
Mikhail Starostin
Head of the team of the repair and construction company "Dom Premium"
“To protect the strip of the stretch ceiling, a strip of cling film is applied to it before the start of installation work. It adheres well to the material and protects it from dirt and minor mechanical influences, and after the end of the work it can be easily removed. "

Finishing, decoration, lighting
After the glue has dried, you can seal all the gaps both between the fillets to be joined and between the skirting board and the wall. As a topcoat, as a rule, water-based paint and oil paint for wooden ones are used for foam, gypsum borders and decorative elements. With the help of a contrasting shade, a relief ornament or the entire baguette can be separately distinguished.
There is another decorating method for stretch ceilings. The plinth is glued at a distance of 1.5-2 cm from the surface of the stretch fabric. In this gap, an LED strip is attached. Moreover, if the baguette has an additional and reliable fastening, then the lighting strip can be located directly on it.
Wide fillets can provide decorative protection for ceiling cornices. In this case, they are attached only to the ceiling, forming a screen behind which the cornice is installed.
Ceiling plinth design options:
1 out of 14
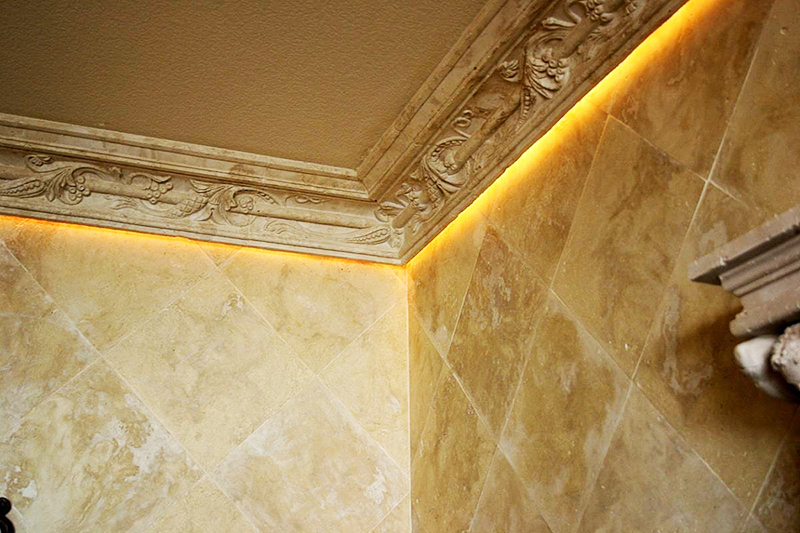
PHOTO: design-homes.ru
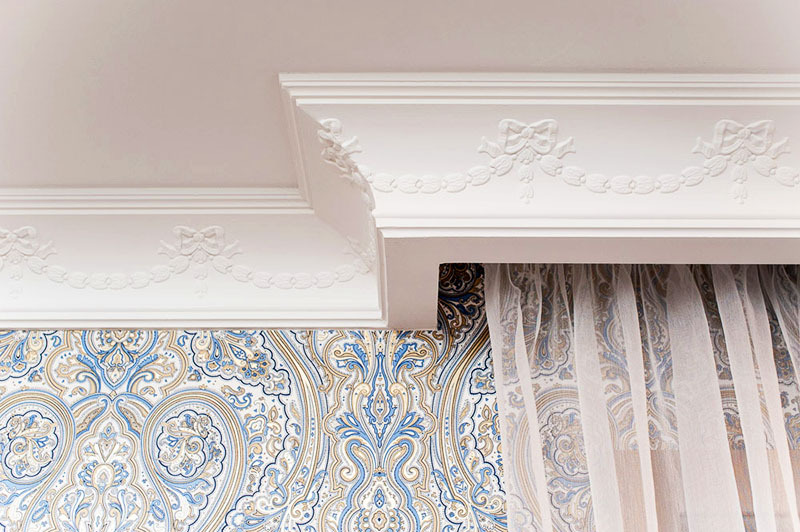
PHOTO: design-homes.ru

PHOTO: design-homes.ru
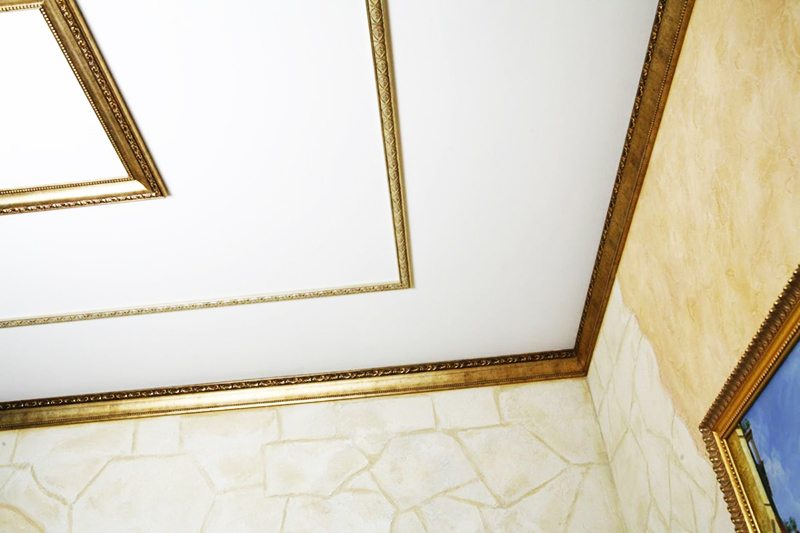
PHOTO: design-homes.ru
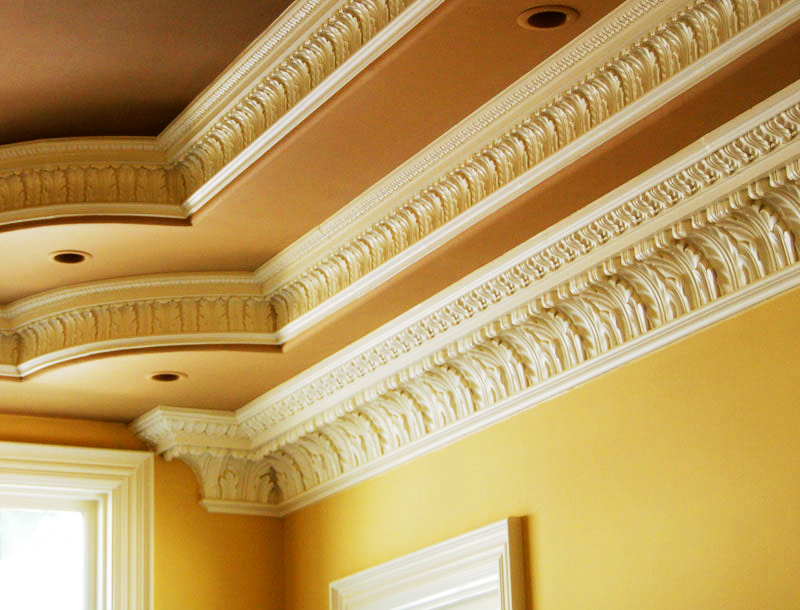
PHOTO: design-homes.ru
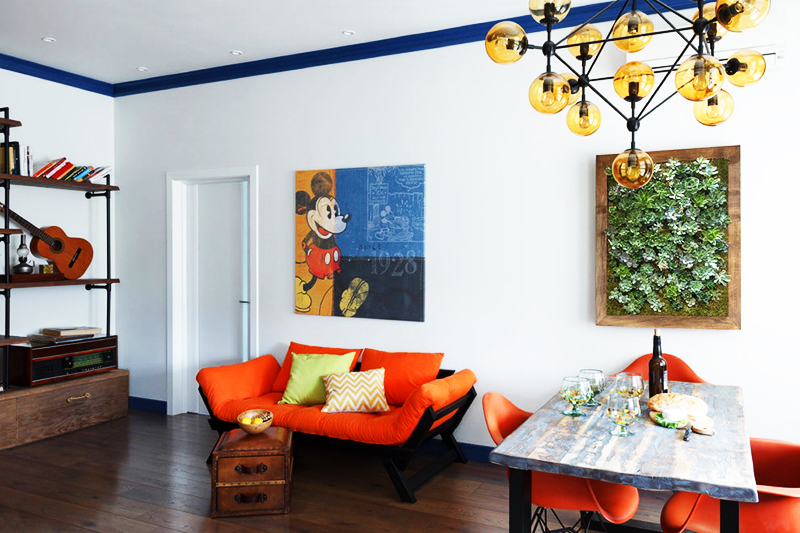
PHOTO: design-homes.ru
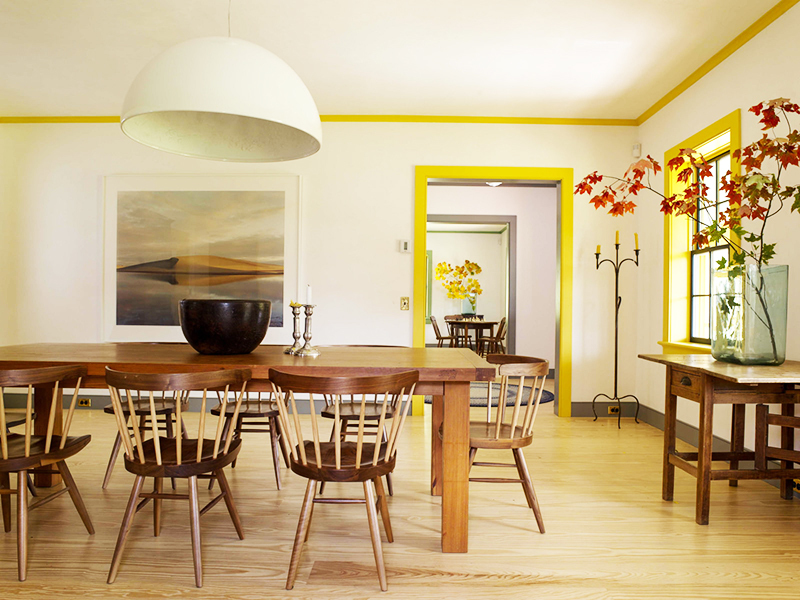
PHOTO: design-homes.ru
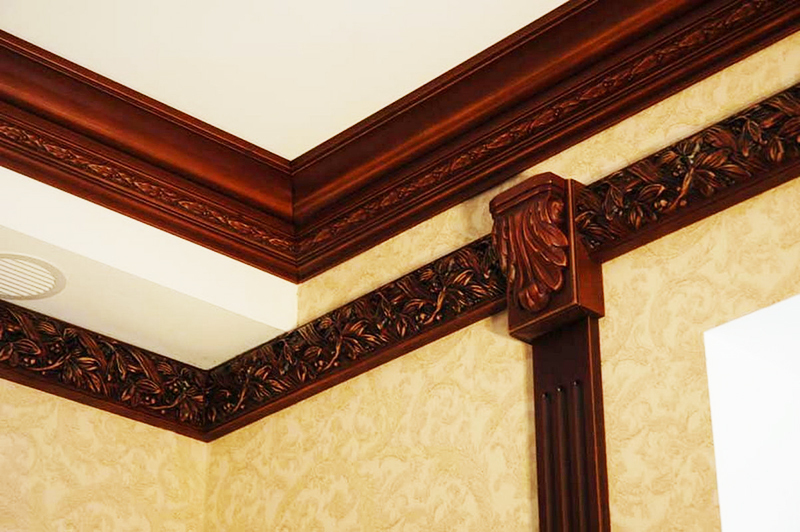
PHOTO: design-homes.ru
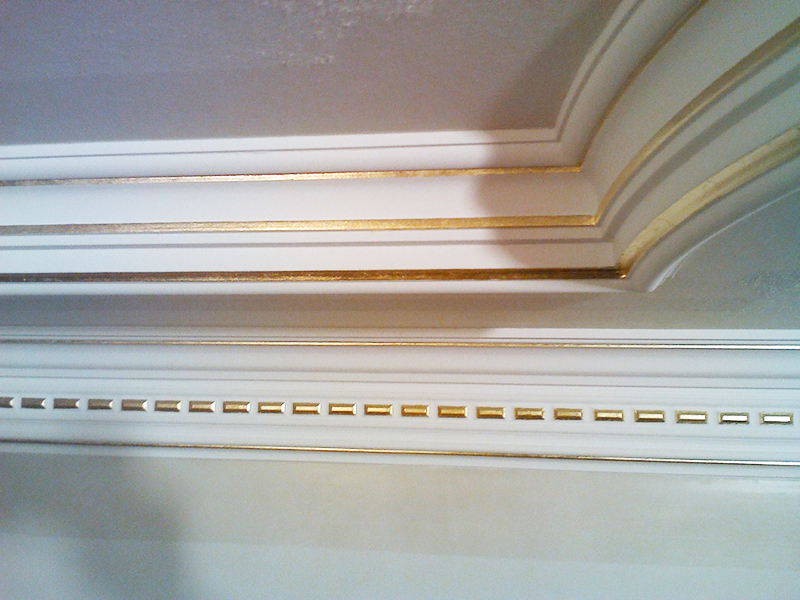
PHOTO: design-homes.ru
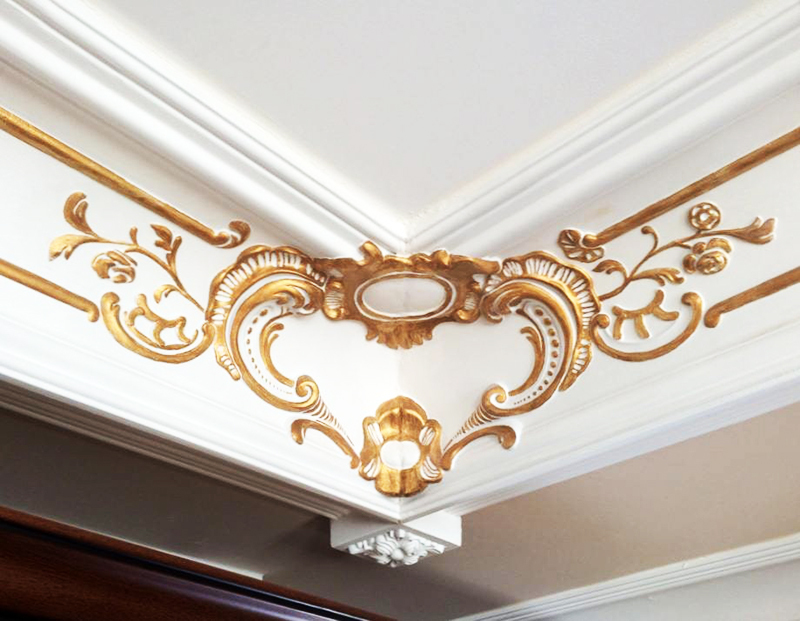
PHOTO: design-homes.ru

PHOTO: design-homes.ru

PHOTO: design-homes.ru

PHOTO: design-homes.ru
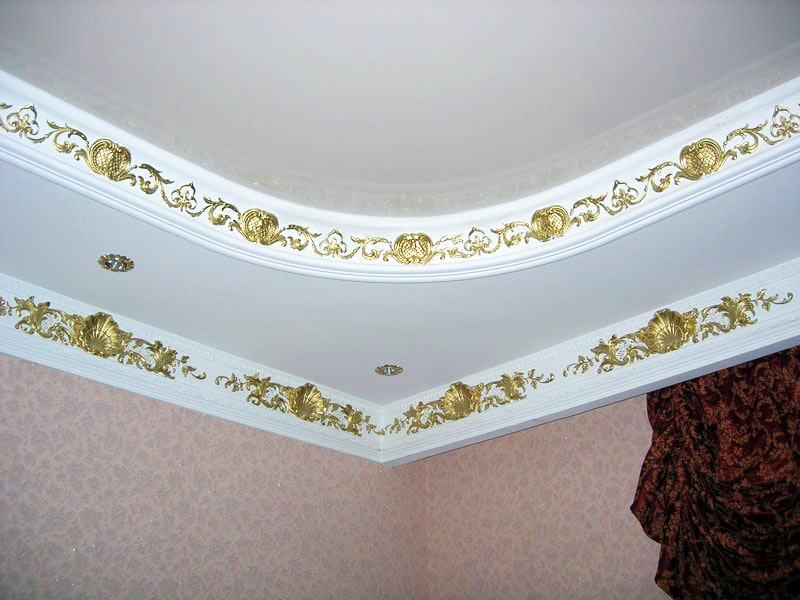
PHOTO: design-homes.ru
Summing up
Gluing ceiling plinths is a painstaking but uncomplicated job. However, it can be much more expensive than the cost of the finishing materials themselves. With the utmost care, having a basic set of tools, such a finish can be done independently, significantly saving on repairs.
If you liked our article, you learned useful information from it, take part in its discussion and recommend our site to your friends.