A manual meat grinder is a necessary tool in the kitchen, because, unlike an electric one, it will never stop working due to power outages
CONTENT
- 1 Types of manual mechanical meat grinders by material of manufacture
- 2 The principle of the manual meat grinder
- 3 What does the meat grinder consist of and what is the purpose of the parts
- 4 How to properly assemble a manual meat grinder step by step with a photo of the process
- 5 How to properly assemble a manual meat grinder, if you need to put a nozzle
- 6 Manual meat grinder care rules
Types of manual mechanical meat grinders by material of manufacture
Most modern hand tools are made of high quality and durable materials for centuries. There are also modern meat grinders made of durable plastic. Such a meat grinder, of course, is easier to break than a cast iron one. Therefore, it is worth handling it more carefully.
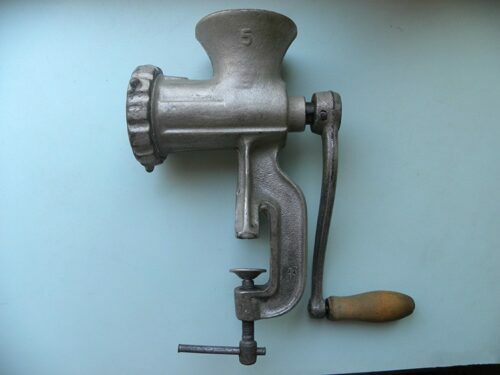
Manual cast iron meat grinder
A cast iron meat grinder is a faithful assistant in the kitchen. She will serve for a very long time. And to break it, you need to try very hard. This is her advantage. The disadvantage of a cast iron meat grinder is that it is very heavy compared to other devices.
Aluminum alloy meat grinders and plastic models
A meat grinder made of aluminum alloys is much lighter than a cast iron one. And during operation it will serve for a very long time faithfully. There is only one drawback of such a device - sometimes the hands get very tired of grinding a large amount of meat or other products.
Plastic models of meat grinders are made of high quality and very durable materials. But, nevertheless, this model is not as durable as a cast-iron meat grinder, and its parts can quickly fail. Therefore, it is important to carefully operate the meat grinder.
The principle of the manual meat grinder
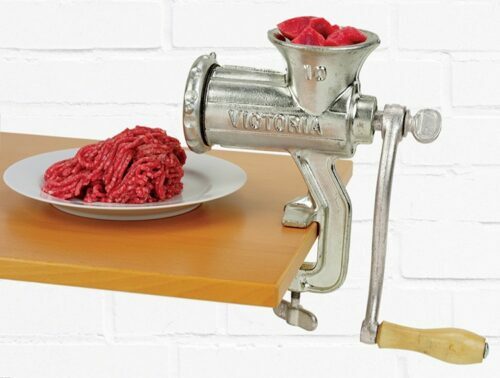
A manual meat grinder, from a design point of view, is a rather simple device. Its work is based on two things - the manual drive and the mechanical pressure created by the auger. The grinding process looks like this:
- meat, fish or any other product is put into the receiver and falls on the auger shaft;
- then the product is pressed against the grid and cut off with a special four-bladed knife, which slides over the surface of this grid;
- the food is crushed continuously: the meat is placed in the hopper and then exits through the wire rack.
What does the meat grinder consist of and what is the purpose of the parts
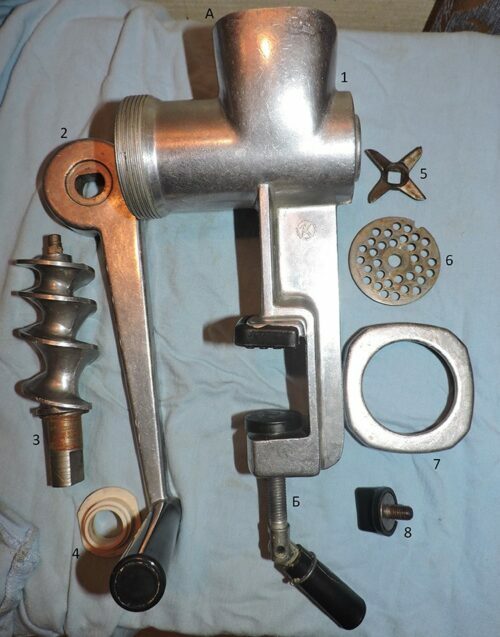
What does a classic hand-held device consist of:
- Frame:
BUT. Meat receiver;
B. Fastening clamp; - Lever;
- Left-hand thread auger;
- Bearing bush;
- Cutting knife with 4 blades;
- Lattice;
- Union nut;
- Eyebolt for attaching the handle
Also, the device can be supplied with additional grates with different diameters of holes, knives, attachments for making sausages, sausages and freshly squeezed juice.
IMPORTANT!
The attachments must be sharpened regularly, do not allow them to be used for cutting too hard or stringy meat semi-finished products.
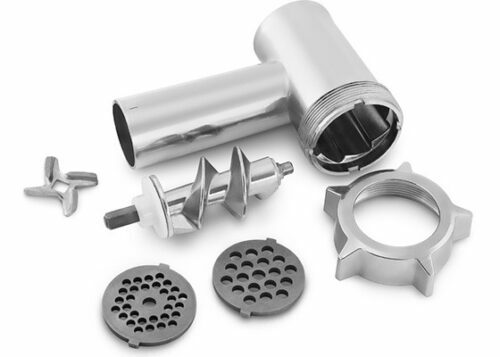
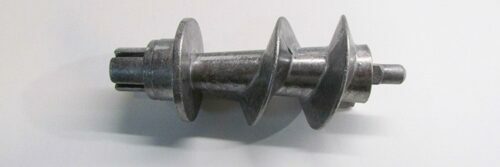
The screw shaft is an important and essential part. It has the form of a spiral, which grinds the excess meat during operation, advancing them to the attachments with knives. It is this mechanism that requires the use of durable metal.
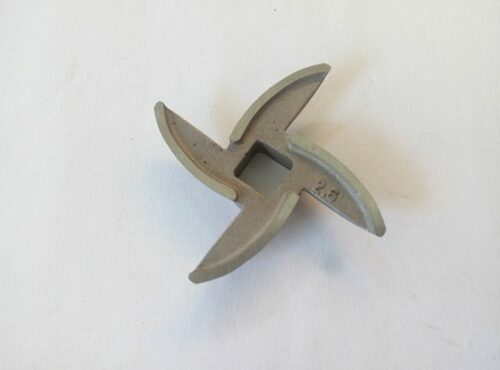
Knife and special cutting attachments. They do all the work of chopping, cutting and crushing meat or any other product. Manufactured mainly from stainless materials. It is necessary to sharpen the knives for better and quality work, even though the steel is sharpened against the grate during rotation.
The knife must be installed correctly, otherwise the device may jam
IMPORTANT!
The structure of the knife and its shape affect the chopping of the product. For example, if a knife has a curved blade, it means that it can easily grind the veins and fibers of meat, while not allowing the auger shaft to clog.
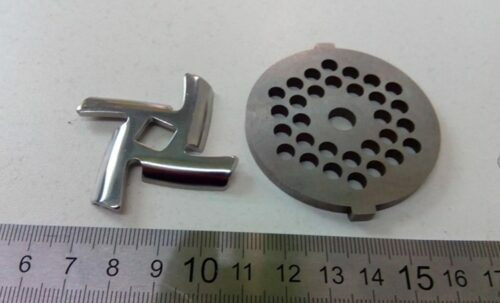
The grille has three types of hole diameters:
- Very large - 12 mm. Grid with three or four holes. Used for minced meat for sausages. Not always included.
- Large holes - 8 mm. This grid is ideal for preparing sausage meat.
- Middle holes - 4-4.5 mm. Universal grille. Suitable for cooking minced meat for cutlets. Included in the kit.
- Small holes - 3 mm. Pate lattice. It is ideal for making pâté or puree.
The nut (fixing ring) clamps and fixes the grate, knife and auger shaft. Sometimes after finishing work it can be difficult to unscrew it. But this problem can be easily solved with a regular cloth thrown over the nut. So, the hand does not slip, and the part is easily unscrewed.
A manual cast iron or aluminum meat grinder, especially of the Soviet era, is attached to the working surface using a threaded device (foot). And therefore, in order to exclude the movement of the device on the table, you need to put something under the metal base. It can be a newspaper folded several times. In modern models, the base of the mount is plastic or rubber, and therefore the device is attached to the table much more reliably.
How to properly assemble a manual meat grinder step by step with a photo of the process
So how do you properly assemble a hand-held mechanical device? The easiest way is to follow the assembly order according to the product instruction manual. But if the instruction is lost, then follow the step-by-step build method. So we begin.
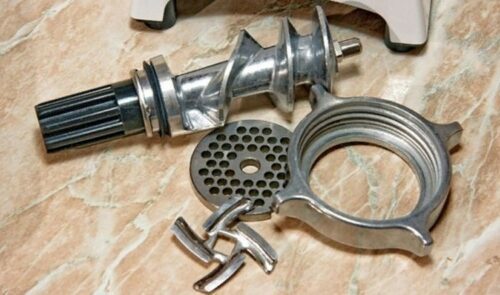
Installing the auger shaft
Next, we fix our assistant on the table and begin to sequentially collect and prepare her for work.
| Illustration | Description of action |
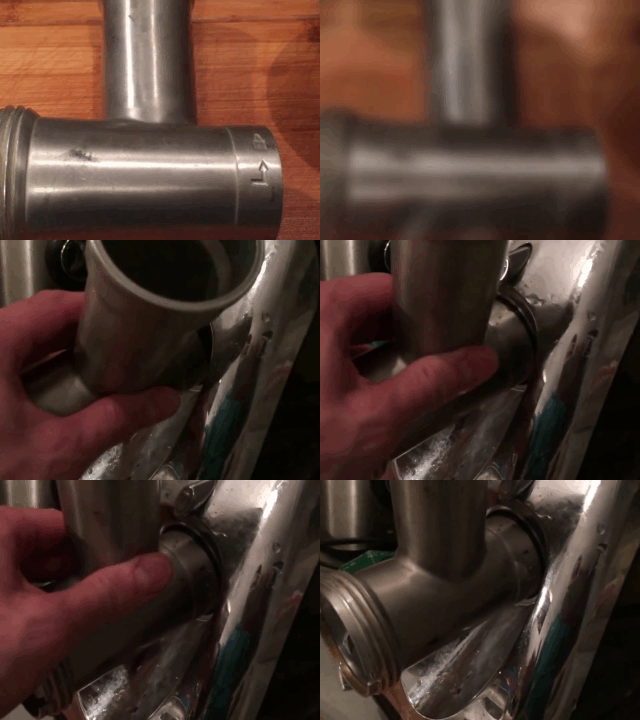 | For models with a split body, a meat feed cylinder must be installed. |
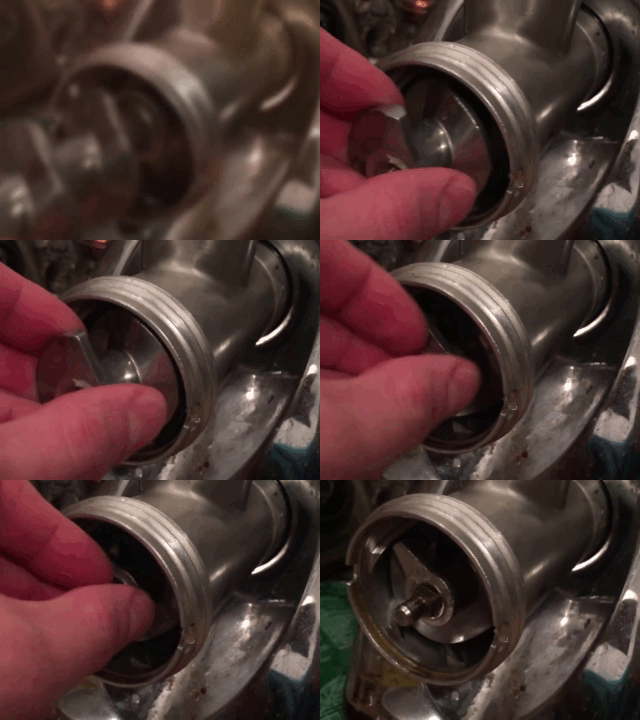 | Next, we insert the auger shaft into the body so that the wide part of the shaft is in the place where the handle is attached. That is, in the narrowest opening of the meat grinder. The thin side of the auger should fit into the wide and round opening. The knife will also be attached there. |
How to properly insert a knife into a meat grinder
There are two types of knives: one-sided and two-sided cutting.
| Illustration | Description of action |
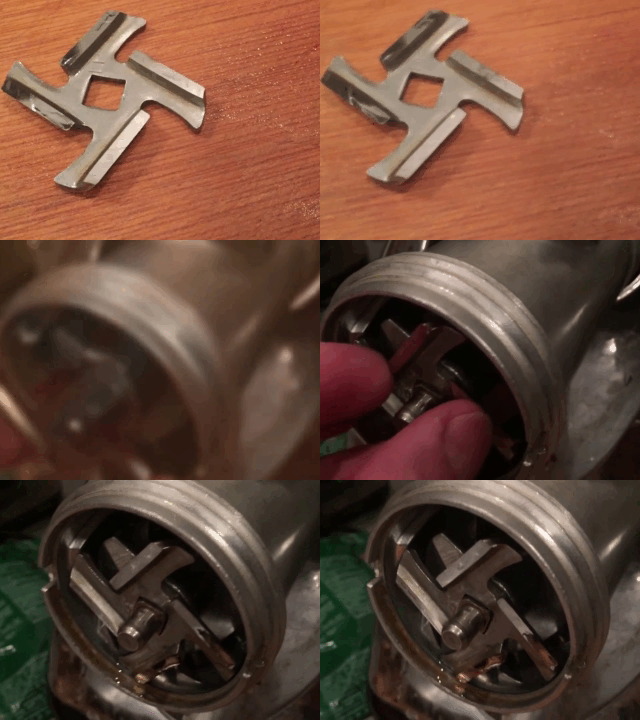 | After the auger is installed, take the single-sided knife and place it on the auger shaft. ATTENTION! The flat part of the blade should face and slide over the grate. But not the other way around. 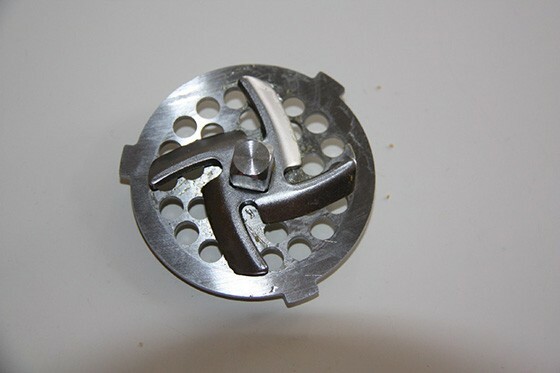 |
IMPORTANT!
It happens that the knife is installed incorrectly. And then there is little sense from such a meat grinder. The meat is not grinded, but only choked. And in this case, the device may simply jam.
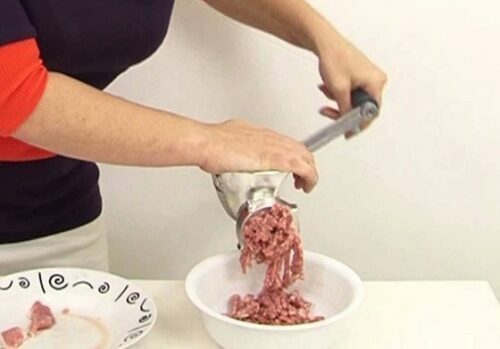
A knife with a double-sided cutting part can be put on either side. There is no difference. How to properly install a knife in a meat grinder, and what they are, you can see in this video.
Installing the grate and screwing on the handle
| Illustration | Description of action |
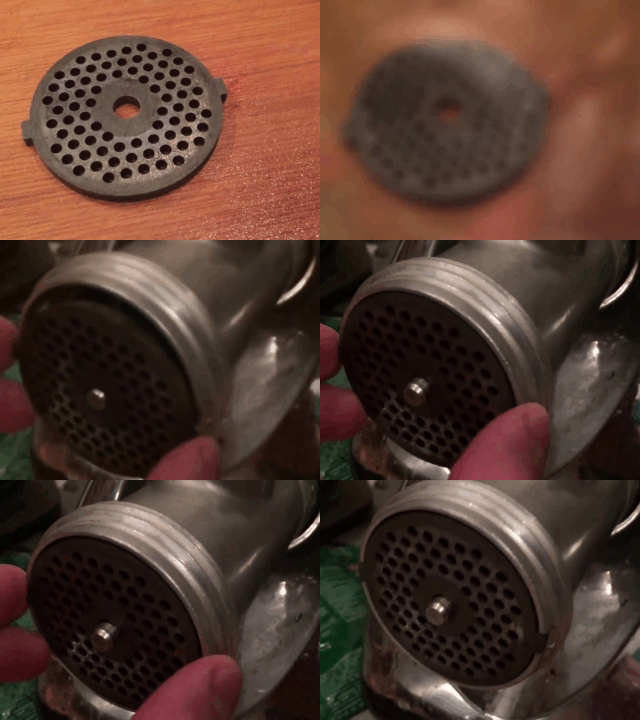 | After the knife is in place, you need to correctly install the grate. It's easier than a knife. The main thing is to install so that the recess on the grate coincides with the ledge on the kitchen assistant's body. |
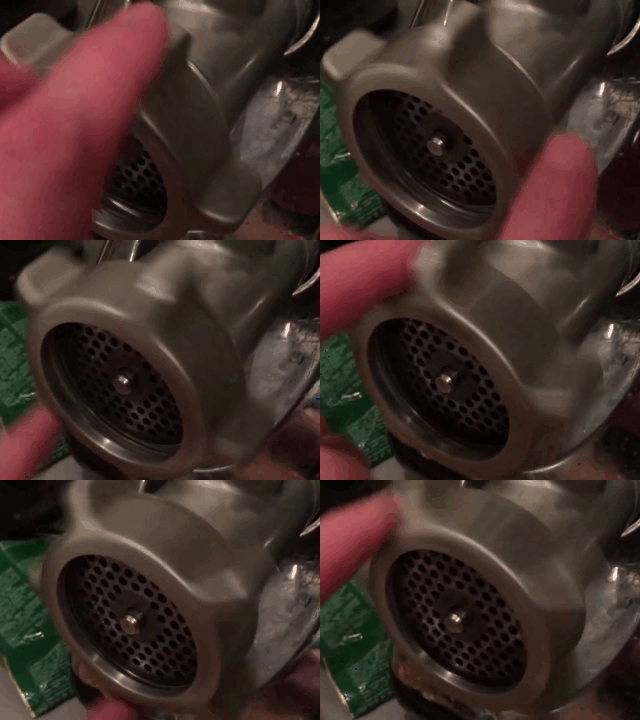 | Then just fix the entire structure with a lock nut, it is also called a union nut, on the body of the meat grinder. |
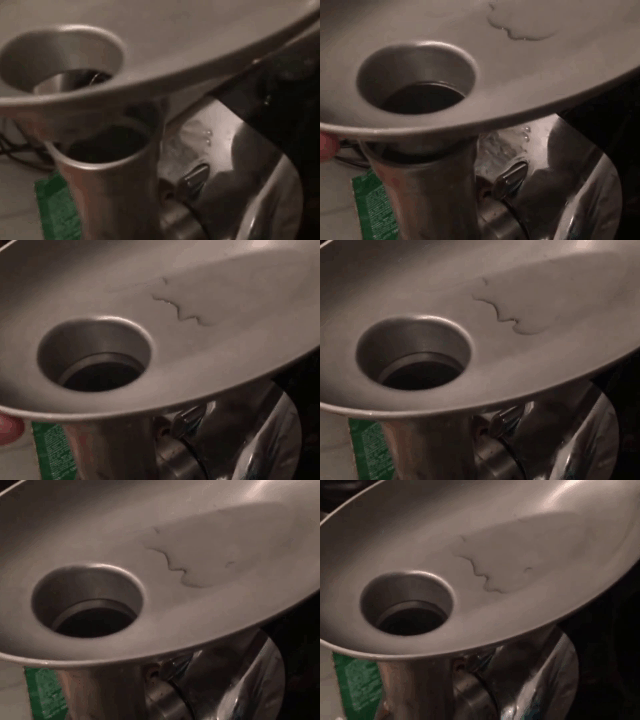 | Next, we fix the meat receiver. |
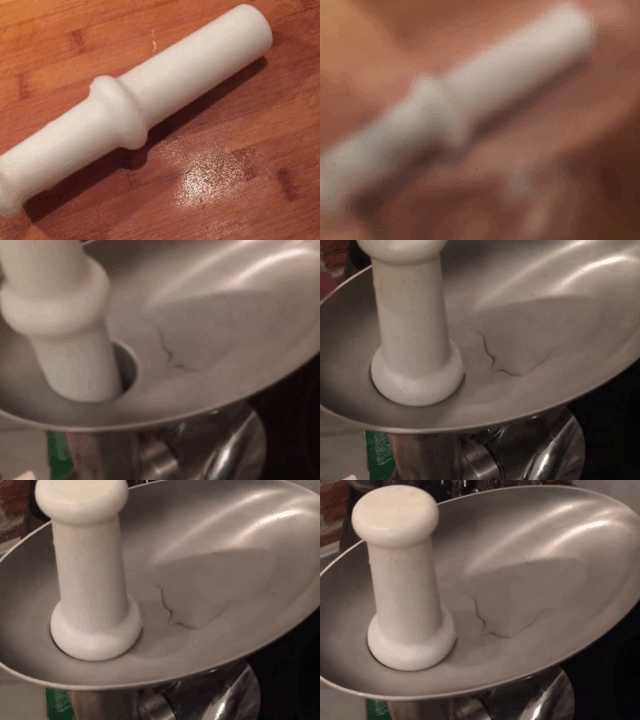 | And we put in place the shaft for pressure. |
Now all that remains is to screw the handle from the back with the screw. Everything. The meat grinder is assembled. You just need to install it on the work surface, and you can get to work.
Installing a meat grinder on a work surface
The meat grinder must be as stable as possible, otherwise you will have to make efforts to hold the unit in place while working on it
It is easy to screw the meat grinder to the work surface. It is necessary to attach the device to the table using the "foot". And to firmly fix the kitchen unit, you can put a newspaper or soft cloth between the table top and the "foot". Even better for this role is dense rubber.
How to properly assemble a manual meat grinder, if you need to put a nozzle
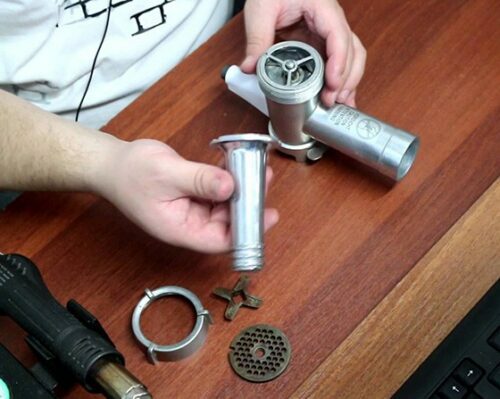
Most meat grinders are equipped with various attachments and grates for making sausages, sausages, juice and many other goodies. But not everyone knows how to correctly insert a nozzle, knife or grate into a meat grinder. After all, the order of assembling a meat grinder with a nozzle is slightly different:
- insert the auger shaft into the main body. The wide part of the shaft is placed in the place where the handle is attached. The thin one should be in the place where the grill is attached;
- then put the grate. It can be very large or medium-sized. It all depends on the recipe and your preferences;
- after install the nozzle. Just make sure that there are no chips or roughness on it. Otherwise, you run the risk of tearing the intestine, which is put on the nozzle when making sausages and kebbe;
- fix the structure with a clamping nut, and now all that remains is to screw on the handle. That's all. Nothing complicated. Is not it?
ATTENTION!
When making sausages and kebbe, the knife is not placed. And all because ready-made minced meat is put into a meat grinder with such attachments;
Manual meat grinder care rules
After the meat has been ground, it is very important to clean the meat grinder immediately. Some housewives advise to skip a piece of croutons through a meat grinder, they say, it cleans out all the remnants of the meat, and you can no longer wash it. But no, pieces of meat may remain, and then a very unpleasant rotten smell will appear in the kitchen. It will not be difficult to get rid of it, but very unpleasant. Therefore, after work, you must immediately rinse the unit. First you need to disassemble it:
- unscrew the handle;
- then unscrew the locking nut. If your hand slips and you can't twist it, use a cloth. Just put it on the nut, and then everything will work out;
- take out the grate and knife;
- take out the auger shaft.
After that, clean the parts from pieces of meat and rinse them under running water with any dishwashing detergent. Then lay the parts on a dry, clean towel and dry well. It is best to store the meat grinder directly disassembled.
So, as if nothing will rust from water accidentally got inside. Collect just before work. So, as you can see, the process of assembling a kitchen assistant is very simple. The main thing is to watch how you install the main elements. Good luck to you!


