CONTENT
- 1 Why do you need a hood in the kitchen: basic functions
- 2 How hoods differ in operating modes
- 3 How to choose the right kitchen hood to meet expectations
- 4 At what height from the gas stove it is necessary to install the hood
- 5 How to install a cooker hood in the kitchen with your own hands: from preparation to connecting to electricity
Why do you need a hood in the kitchen: basic functions
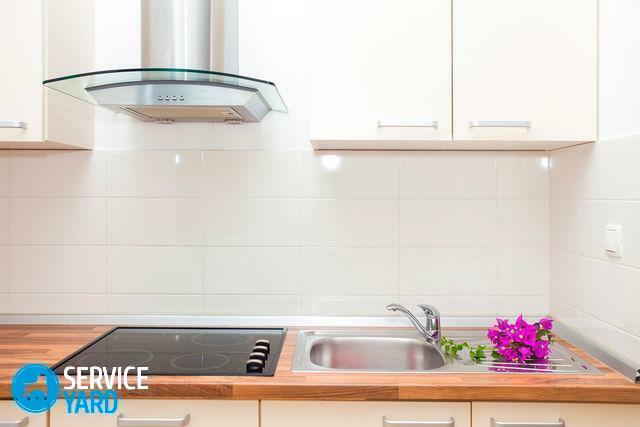
The design of kitchen hoods is quite complicated, but its use, as it turned out, is elementary. By installing such a device in your kitchen, you become a happy maintainer of cleanliness and freshness not only in the place where food is prepared, but throughout the house.
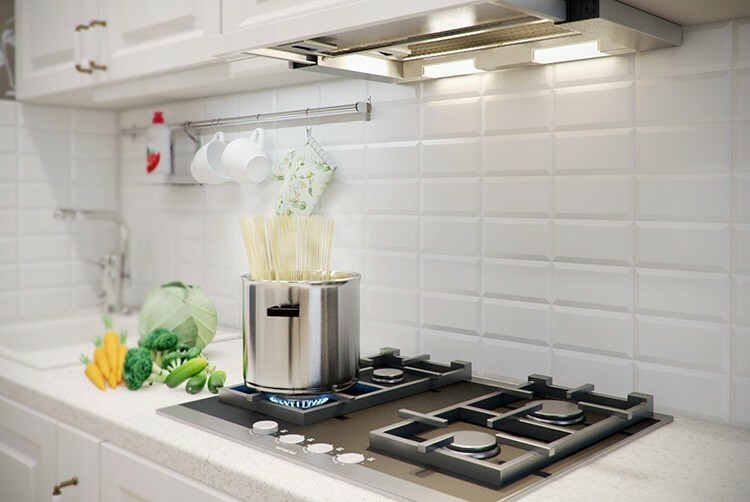
Kitchen cleaners help to instantly get rid of carbon deposits, odors and smoke accumulated under the ceiling after intensive use of the gas stove. You probably know that all grease and soot accumulates both in the air and on furniture. If there is an extractor hood in the house, then it will save you from unnecessary worries regarding the washing of grease from the facades of the kitchen set.
How hoods differ in operating modes
Sometimes the ventilation mode is one of the main criteria that the user takes into account when choosing. Therefore, it is necessary to decide before buying into which types it is customary to subdivide kitchen ventilation structures.
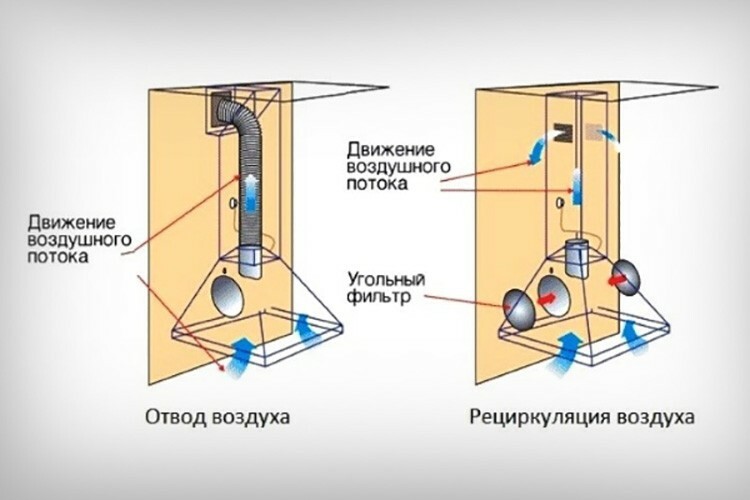
- Circulating. These devices work on the principle of an air conditioner, but instead of a cooler, cleaning carbon filters are installed inside. The air passes through them and returns to the room already clean and fresh. It is easy to install these devices (just hang in the right place and plug them in), but they are ineffective in the cleaning method.
- Flowing. This is an improved analogue of the previous device. It requires a mandatory air duct outside, as it absorbs all the polluted air and sends it outside the house. The devices are recognized as more efficient than the previous type, respectively, durable.
Choosing a device according to the principle of operation, you must clearly understand what kind of performance you need. If you buy devices with a charcoal filter, then they are subject to regular maintenance, as they quickly lose their ability to circulate contaminated air.
GOOD TO KNOW!
Flow-through kitchen hoods have a complex installation system, but this does not mean that you need to involve a master. If you study the instructions carefully, you will definitely do it on your own.
How to choose the right kitchen hood to meet expectations
Sometimes, even a well-thought-out ventilation system in the kitchen requires additional installation of equipment to clean the air in the room. The role of this is just played by the kitchen hood. But it is also important to be able to choose a household appliance so that it will serve faithfully.
Decide on the type of installation: wall, island, corner
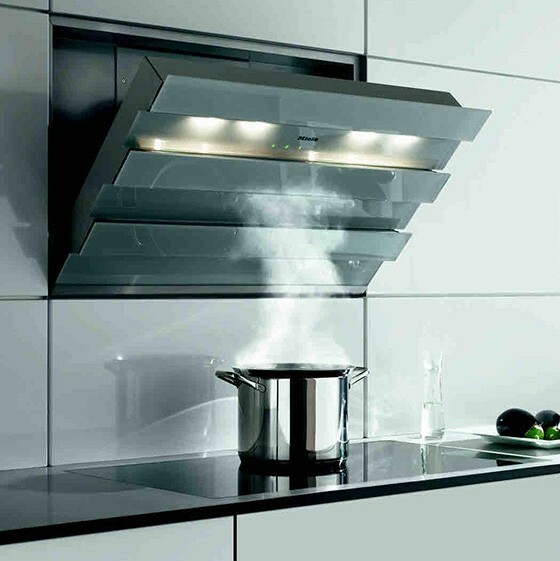
Wall-mounted kitchen air purifiers are suitable for rooms with low ceilings. This technique, in turn, is divided into telescopic, recessed, wall-mounted hoods. You need to choose from these variations solely at your discretion, because in one kitchen the hood will fit perfectly, and in another - a significant flaw will appear.
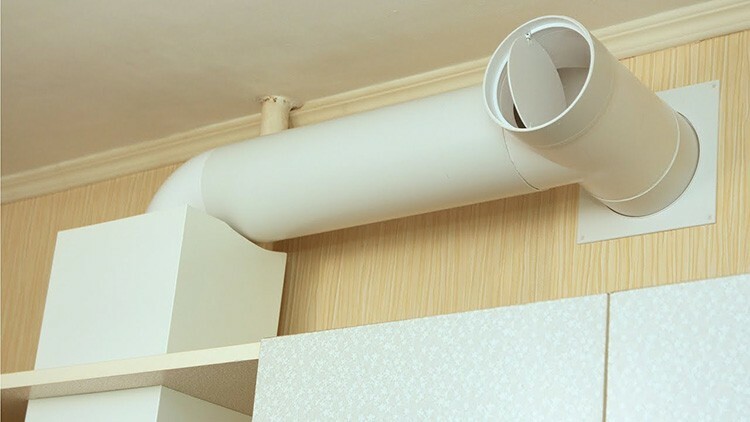
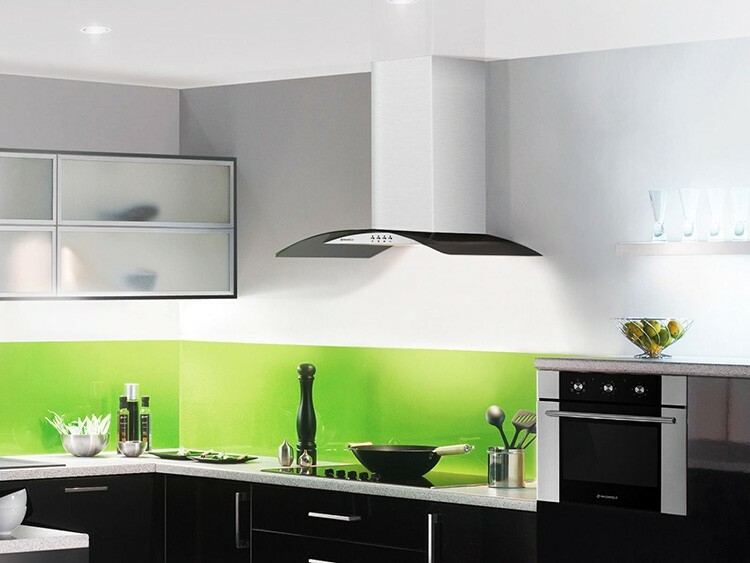
Island-type structures are suitable for large rooms, but here it is necessary to think over the design and performance of the device. Corner hoods are more suitable for rooms that provide for the placement of gas equipment strictly in the corner. That is, if you do not have the ability to move the gas stove, then corner exhaust systems will be the ideal option.
A few words about the dimensions of the device
First of all, it is necessary to focus on the dimensions of the room and the ventilation system itself.
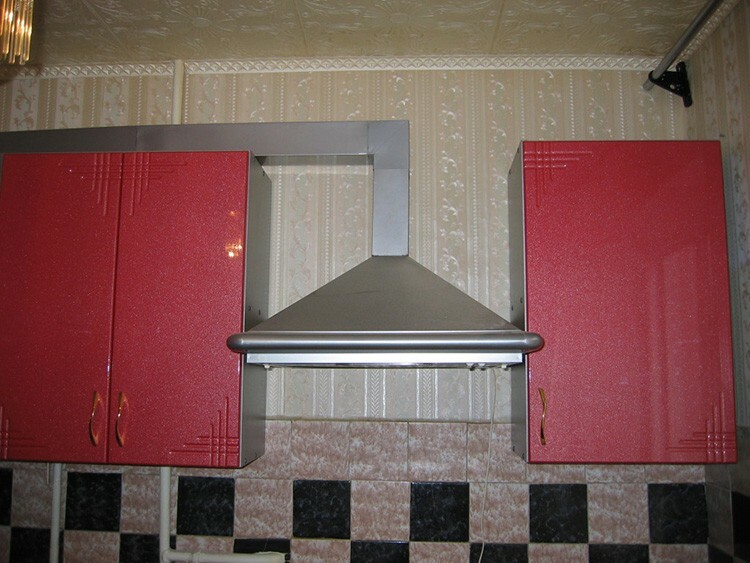
Remember that the size of the gas stove or hob itself plays a direct role in determining the dimensions of the cooker hood. If these parameters coincide with each other, or the hood will surpass the hob, then the absorption of unpleasant odor and fat will be carried out in full.
What material will the hood be better from?
There are traditional materials that show themselves best in this "incarnation".
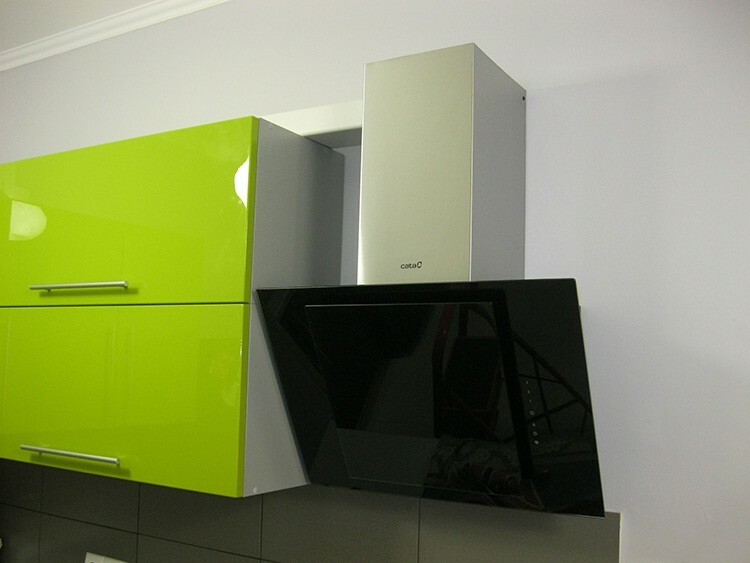
If you pay attention to the construction of aluminum or stainless steel, you can be sure of their quality and reliability. Such devices will last for more than a dozen years, moreover, they do not require special care. A big plus is the ability to wash some parts of the equipment in the dishwasher.
Do you need to know performance
Productivity is a parameter that is responsible for the hood's ability to perform high-quality processing of premises. The larger this value, the more efficiently the device will perform its work. However, you cannot buy a device at random.
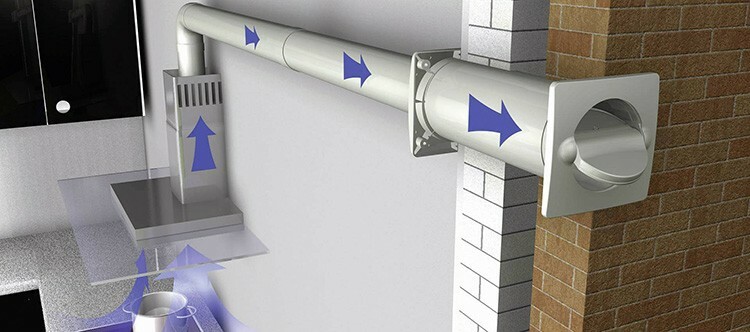
To do this, it is necessary to calculate at least an approximate performance. To do this, you need to multiply the total area of the room by 12, and then round the value to a larger number.
Please note that standard exhaust systems range from 702 to 1020 m³ / h. Accordingly, the higher this indicator, the more such a ventilation system will consume electricity.
At what height from the gas stove it is necessary to install the hood
It is not enough to know which fasteners to fit the cooker hood on. It is important to correctly measure the distance of the equipment hanging over the gas stove. There are special standards to be followed if the kitchen is standard.
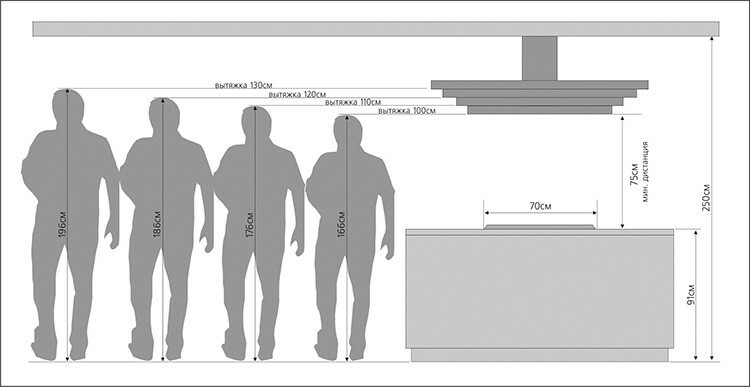
Traditionally, the system is installed at a height of 65-90 cm above the hob. If you try to put the device a little lower, then this may affect its performance, because some parts may deform from high temperatures.
It is advisable to install the hood higher only when a tall person is engaged in cooking food in the family growth, and also the device has sufficient power and is able to draw out smoked air even from the bottom premises.
How to install a cooker hood in the kitchen with your own hands: from preparation to connecting to electricity
Finally, we figured out all the nuances of the choice, decided on the appearance and type of construction, and now we will proceed directly to the installation of the purchased device. Of course, independent fasteners take a lot of time and maximum effort, because you want to do everything reliably, no worse than a professional. Therefore, we recommend that you study each point of this section in order to avoid mistakes in connecting ventilation equipment.
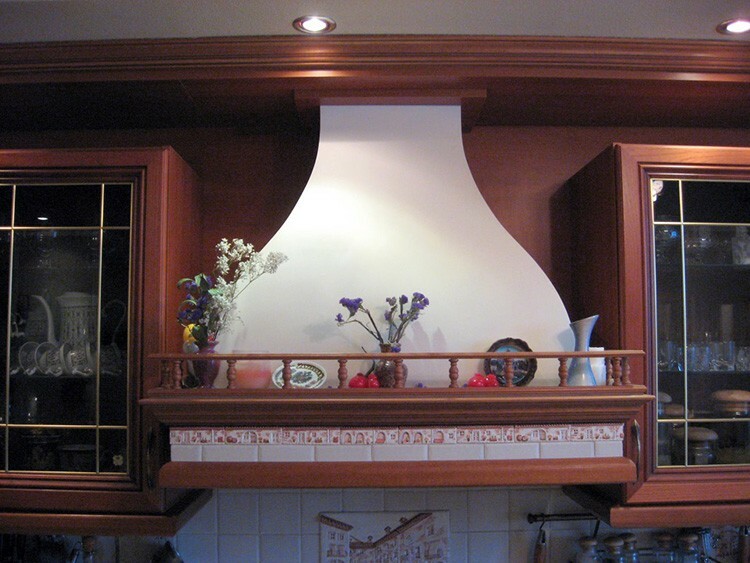
Preparatory stage before installation
The sequence of actions directly affects the final result. Remember that you must pay attention not only to a secure fit, but also to the place where your structure will be placed.
GOOD TO KNOW!
Before starting the installation of the device to the surface, be sure to make sure that the package is complete. Make sure that all bolts and parts of the working mechanism are in place.
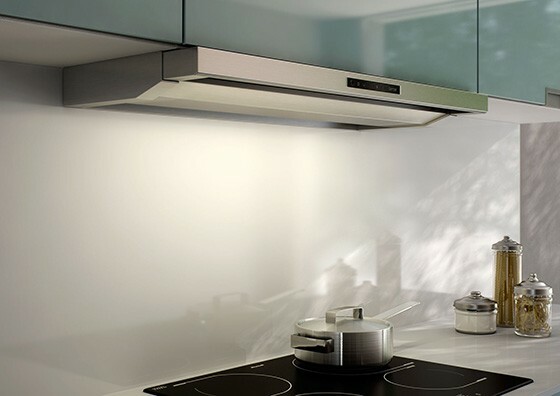
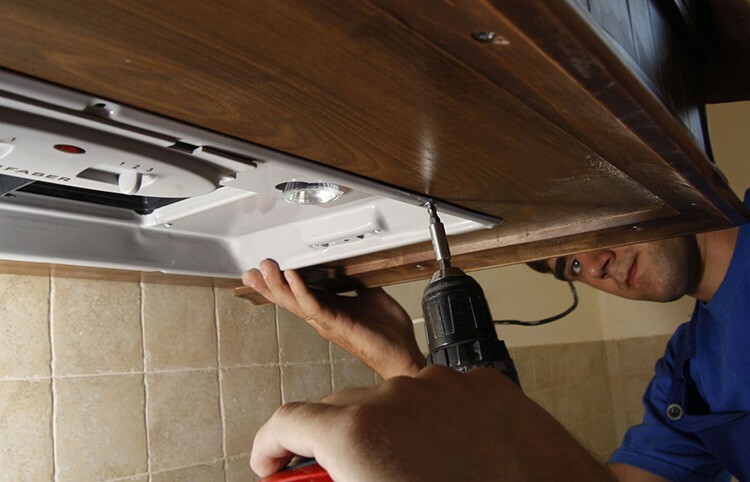
Here's what to consider at this stage:
- accurately determine the height (for gas stoves - at least 0.75 m, and for electric - from 0.65 m). Also read the instructions for the device: perhaps it says otherwise;
- free the wall or ceiling (in one word - the space for fastening) from unnecessary items;
- make a markup where the air duct will pass (if any), and where the fastening bolts will be installed;
- make sure that all the necessary tools are at hand (you will need a drill, hammer, drills, screwdriver, level and other small inventory).
How to install kitchen hoods depending on the type of installation
All ventilation systems powered by electricity differ in the way they are installed. If for wall appliances you can limit yourself to a small algorithm of actions, then for ceiling appliances the situation is much more complicated. We propose to understand the installation of equipment with individual design features.
Installation method for wall-mounted or suspended kitchen hood
Unpack the device and read the entire manual. Be sure to review the installation requirements to make it easier to mount the fixture to the wall. Then just follow our instructions.
| Illustration | Description of action |
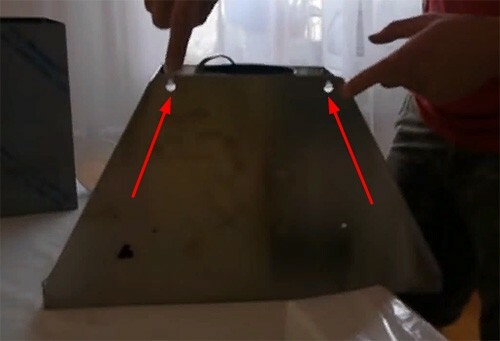 | Find the mounting holes, measure the length between them from the center of the hole and transfer to the wall using a simple pencil. Also, you can simply bring the structure itself to the installation site and make marks. This is convenient if you have an assistant. Don't forget about the height (0.75 m). |
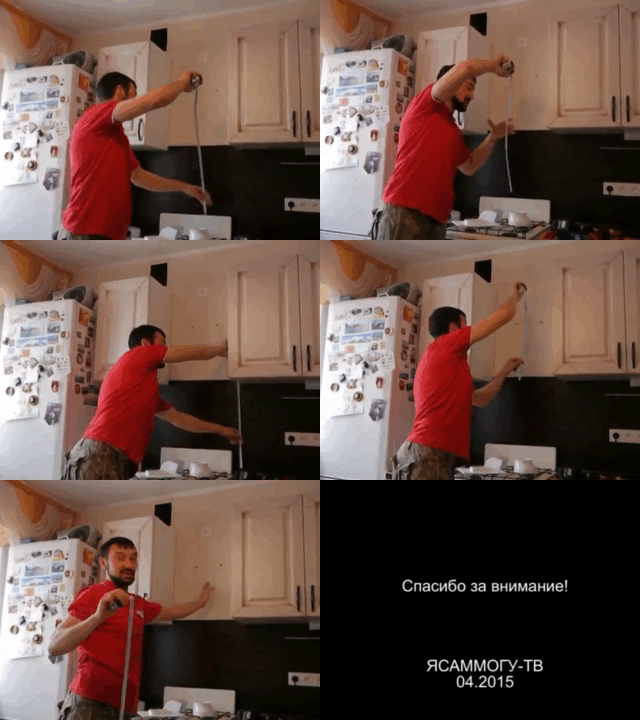 | We add our own height, plus to this we add the height of the connectors for fastening so that the lower point rises exactly 0.75 m above the slab. |
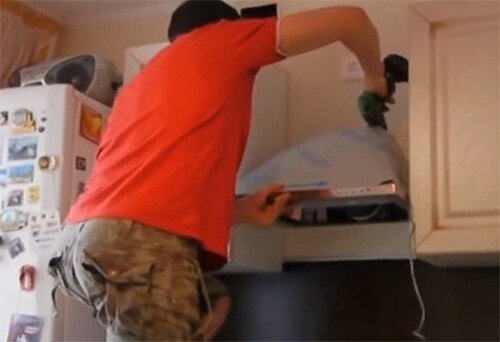 | After making holes in the walls, we attach the body of our hood to them, fix it with self-tapping screws or dowels using a screwdriver. |
Of course, some installation nuances may vary depending on the model of the purchased hood.
Wall-mounted type of kitchen hoods are mounted exactly as shown in the mini-instructions. Only the total height of the mounting holes can differ, and see below for the features of further connection.
How to install a built-in hood in the kitchen
If in your kitchen the space does not allow you to mount an overall hood and you have to manage with narrow models, then it is better to buy a built-in structure. This one is also famous for the elementary installation method.
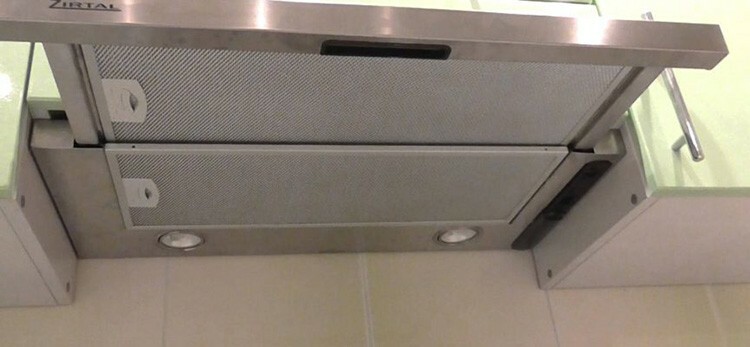
All you need to mount this type of ventilation is to carefully place the device in cabinet (if you need to deform the headset, i.e. remove the bottom wall from it and make a hole in top).
The convenience of such a configuration is that it can be inserted into the cabinet directly on the floor, and after all the work, it can be hung on the wall and closed with a front door. In appearance, such a design will not differ in any way from a stationary piece of furniture.
Master class on installing an inclined hood in the kitchen
The inclined type of hoods usually does not cause problems either in operation or in the method of installation. To install such a device, you only need to make reliable fasteners and correctly markup.
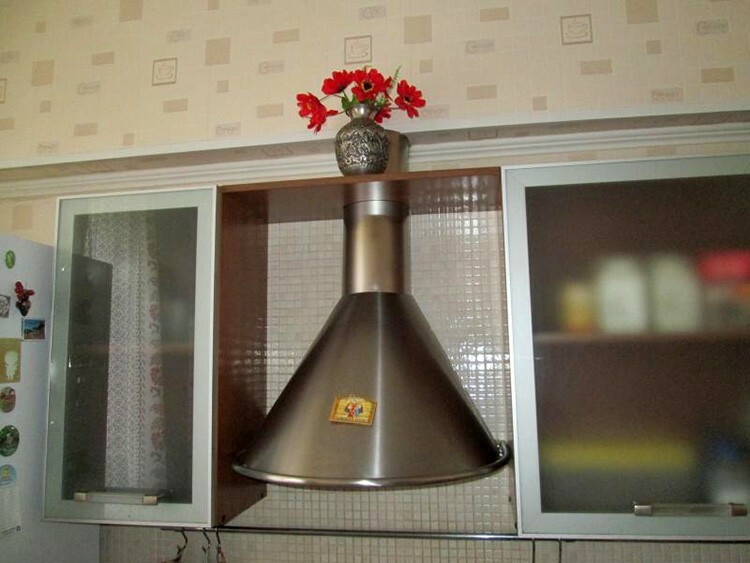
It is advisable to first make a scheme, and then simply implement it. For clarity, we offer you a video instruction on the installation of the popular KRONA kitchen ventilation from specialists.
You can use this manual for other models of inclined ventilation systems.
Installation of a corner hood in the kitchen: the main features
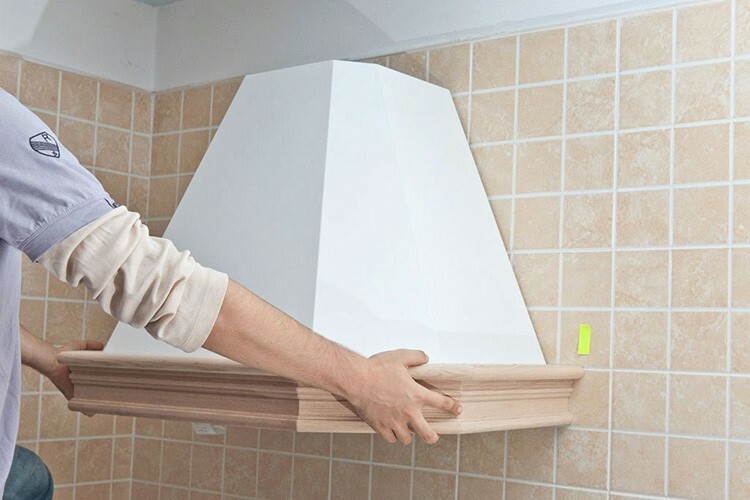
To attach a kind of corner-type hood, you need a little skill, since the device itself is quite heavy. You will not be able to cope alone, so we strongly recommend that you seek help.
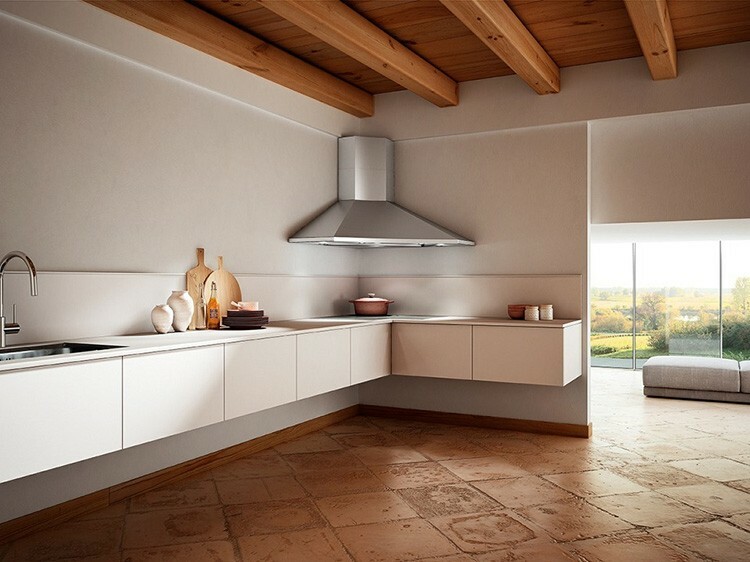
To properly install, you need to take into account several rules:
- if you suspect that the walls are unstable, be sure to take care of additional strengthening of the device. It is advisable to make it pass-through, if possible;
- such devices are not provided with adjacent kitchen cabinets. It will not always be convenient to get to them;
- to mount such a device is in the corner where the ventilation hole is closer, respectively - above the gas stove;
- the method of installation affects the performance indicator of the equipment: if it is not hung over the hob, then it will be more difficult for it to take in the polluted air.
Remember these simple rules, because the corner designs of hoods are considered one of the most stylish. and expensive, and their mechanical independent damage is not included in the list of causes of breakdowns by guarantees.
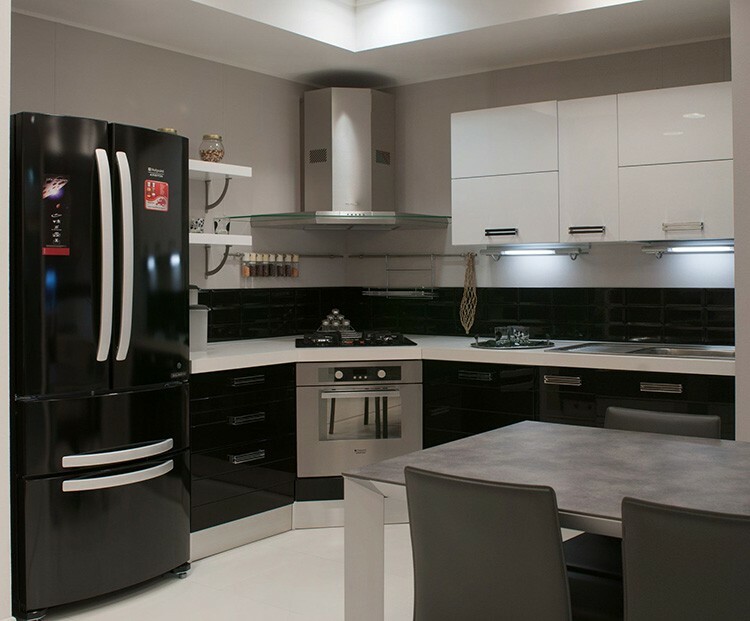
We connect the fixed hood in the kitchen to ventilation
During the installation of the hood, we want to establish the correct operation of the device, and at the same time not disturb the natural ventilation of the room. In this section, the editors of Tehno.guru recommend that you carefully consider each point in order to avoid problems.
How to choose a pipe for an exhaust hood in the kitchen: an analysis of the advantages and disadvantages
The main attribute for connecting the air duct is a special grille with a round hole.
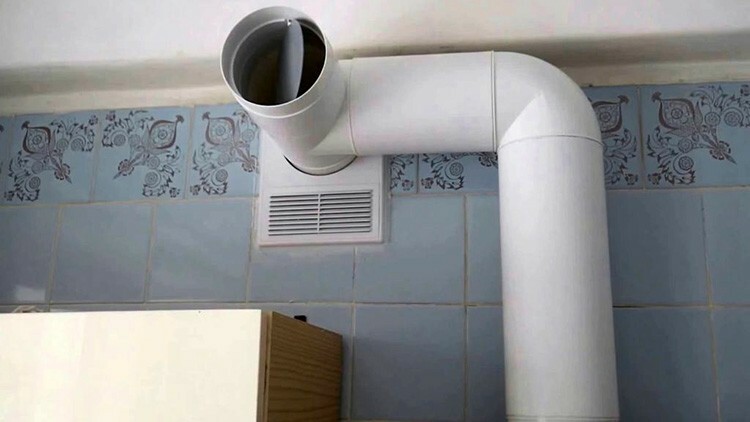
Today, three types of air ducts can be found on sale. Which are connected to the ventilation shaft. Let's take a closer look at them.
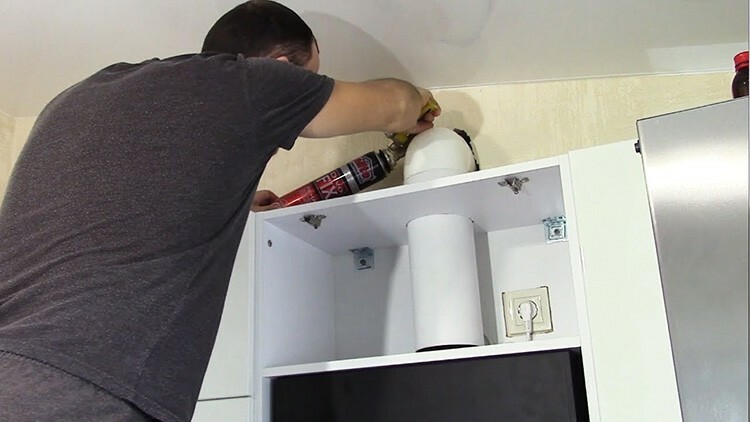
A corrugated pipe made of aluminum is one of the usual devices that is used to connect ventilation systems to an air duct. Such a device is quickly connected to the outlet flanges of the equipment and is inserted into the ventilation shaft by means of a special adapter. The main advantage is the ease of fastening, but the disadvantage of such an air duct is the increased noise that is created when air masses pass through the pipe.
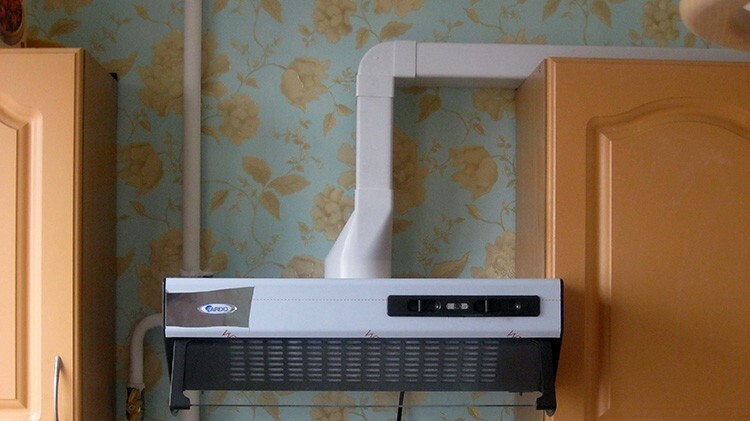
Plastic air ducts of rectangular type are suitable for the outlet pipes from the hood with a diameter of 125 mm. They are installed using special adapters and connectors. Rectangular pipes have good drainage capacity and are discreetly stacked on top of kitchen furniture, or can be easily attached to the wall.
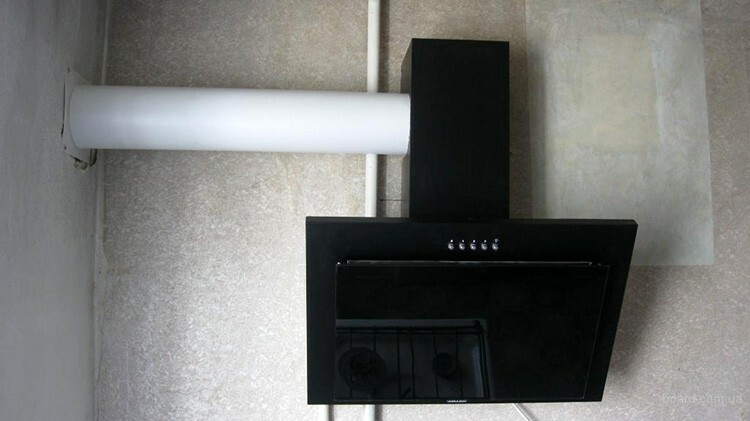
Round plastic air ducts are considered to be heavier, since they are mostly for strength and have a built-in metal plate. At the same time, such devices last longer, do not undergo yellowing (from time to time) and do an excellent job of removing polluted air and unpleasant odors.
The procedure for installing pipes
We bring to your attention a step-by-step algorithm for assembling an air duct from the hood body directly to the exit to the ventilation shaft.
| Illustration | Description of action |
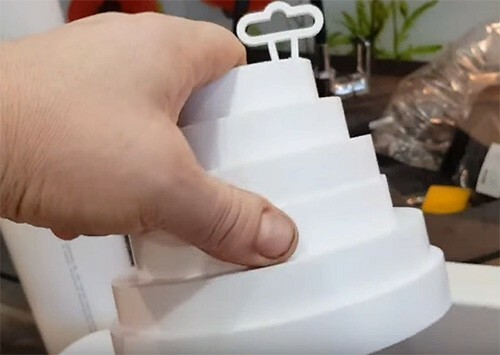 | The first thing we do is select the appropriate diameter adapter for the outlet flange on the hood. |
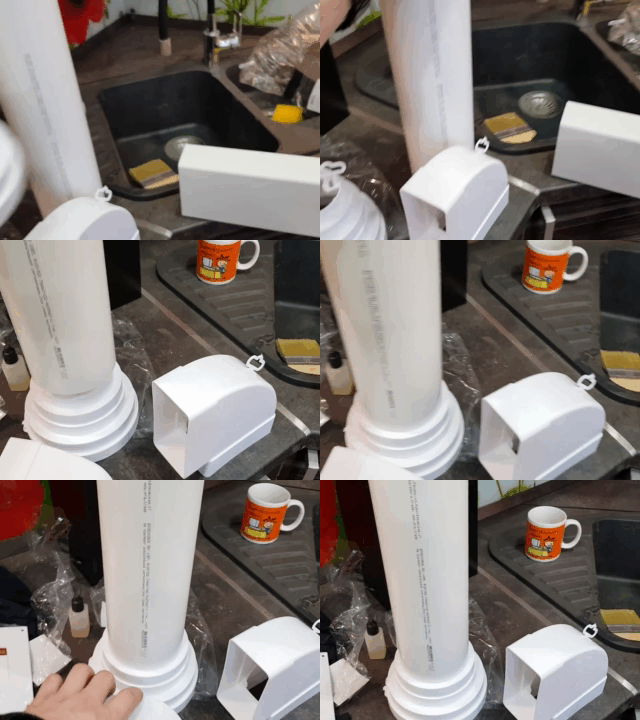 | We install a round plastic pipe on top. |
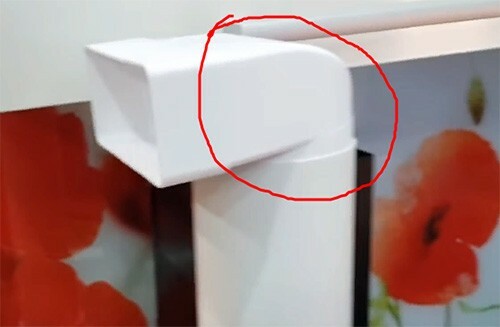 | Next, we string a special adapter that converts the design from round to rectangular. |
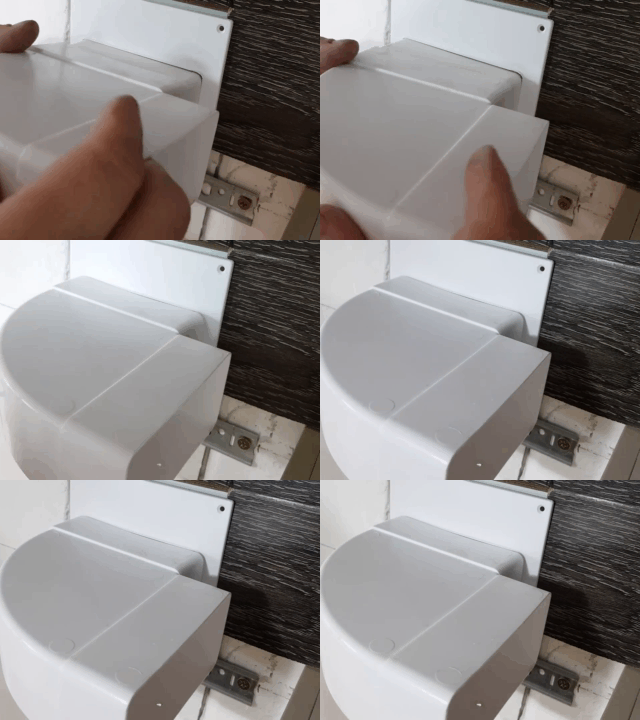 | We transfer this structure to the hood and fix it on the body, then we run the plastic air ducts over the kitchen set and insert the tube into the prepared outlet into the ventilation shaft. |
After that, we check all connections for reliability and the absence of gaps.
Features of connecting the hood to electricity
In order for the exhaust system to work properly and not cause a short circuit in electricity, you must connect it correctly.
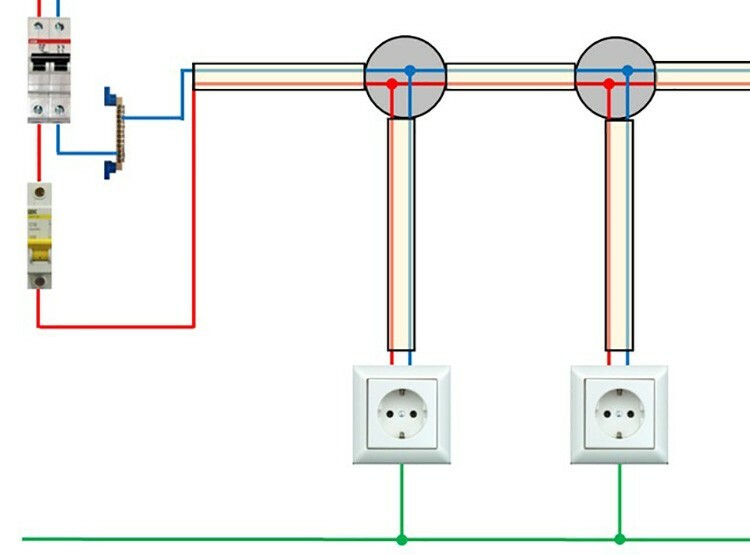
In the event that you have not yet provided for an additional outlet, you will need to remove the conductors for additional equipment and at the same time do not forget about the mandatory installation of grounding.
In order to equip an additional outlet, follow this diagram.
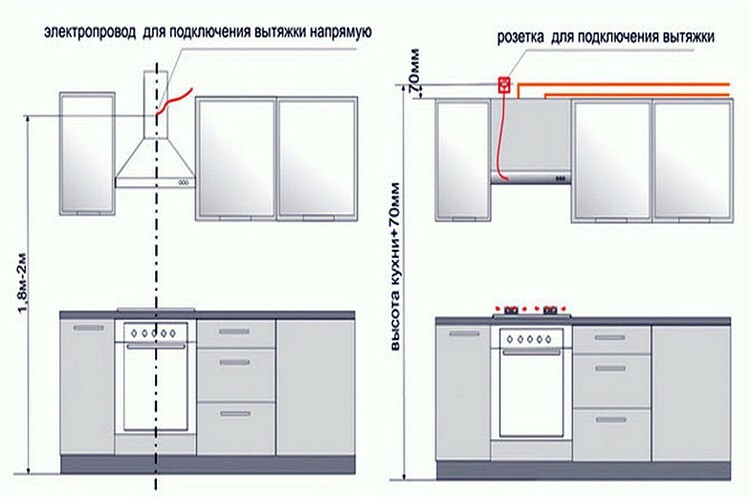
There is also an even more reliable way - this is the output of a separate line from the nearest junction box located in the house. However, this option will be appropriate if you are completely renovating the kitchen with surface finishing.
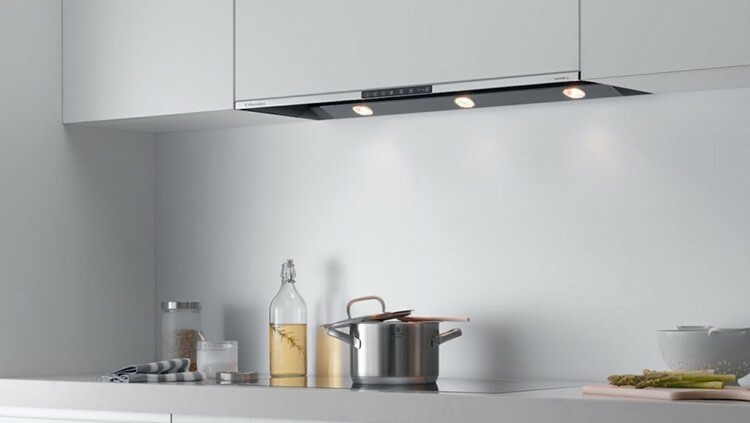
The principle of installing a kitchen hood is completely simple, it is only important to follow the sequence of steps so as not to make a mistake in a responsible matter. Dear readers, do you still have questions or are you ready to argue about some methods? Be sure to leave your opinion in the comments below the article. Our specialists will contact you promptly.

