Before making an accessory for your smartphone, you need to think about what kind of raw materials to use, because the body of the finished tripod must be strong.
CONTENT
- 1 How to make a tripod for your phone with your own hands
- 2 How to make a tripod for a phone from scrap materials
How to make a tripod for your phone with your own hands
First of all, you need to figure out what tasks the manufactured tripod will perform. If you have to use it constantly, then you need to think about which of the materials to choose so that it will last a long time. If you plan to use it less often, but you want to save money, you can take the raw materials that you always have at home. Let's get to the point.
If you make a wooden stand for a camera or smartphone, it is better to cover it with stain - this way it will last a long time.
From the skirting board for plastic windows
When the glazing in the house changes to a more modern one, some kind of waste is bound to remain. In this case, we will use them. To begin with, we will prepare all the inventory so that later we will not be distracted from work.
Materials and tools
For work you will need:
- plinth from plastic windows;
- hacksaw;
- knife;
- drill;
- metal tube.
Please note that aged plastic will not work as it may crack during use.

Step-by-step instruction
- We take the rest of the plastic and cut off a part half as large as your smartphone.
- We will prepare the fasteners on which we will drill two holes and insert a screw and a locking ball into them.
- We measure the diameter of each element for fixation. Then we will attach the prepared plastic and mark where these parts will be located.
- We make holes on a piece of plinth with the appropriate diameter of the feint and ball.
- Now we screw on the adapter and fix the base of the future tripod to it.
- We process the edges of the plastic with electrical tape, tape or silicone glue so that they do not scratch the phone.
- Next, we screw on a long telescopic tube (you can use a regular one), place the smartphone in the connector, and then start shooting.
GOOD TO KNOW!
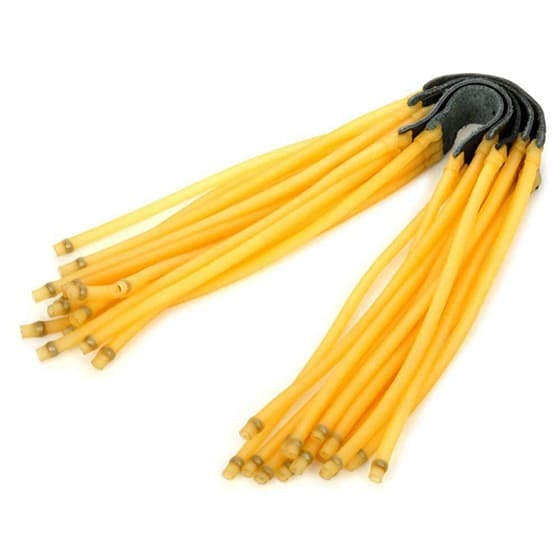
If you are in doubt about the reliability of the holding device, you can fix the phone with an elastic band. Use a thin and elastic one like a slingshot.
Adjustable cardboard tripod
It may seem to some that any cardboard is not able to reliably hold the phone while shooting. However, if you follow the instructions, you can get a sturdy tripod for long shots.
It is best not to use bare aluminum wire to construct the stands. It is better to choose one that has a protective shell.
Materials and tools
To make a cardboard tripod, you will need:
- any cardboard box;
- scissors;
- ruler;
- ball pen;
- pistol glue.
Step-by-step instruction
We will immediately prepare the desktop so that we do not waste time searching for inventory in the process. Next, let's start making the tripod.
- Cut the cardboard box into several pieces (you need three pieces of 10 × 6 cm).
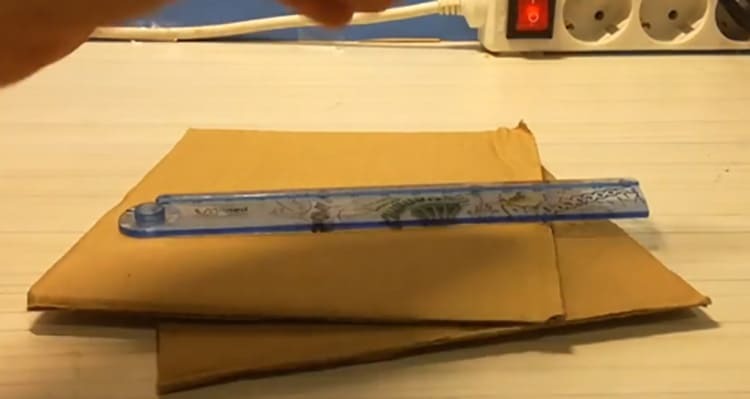
For cardboard tripods, boxes from large household appliances are more suitable. - Now take one part and draw lines on it at a distance of 20 mm from each other. We make four stripes and cut off the excess
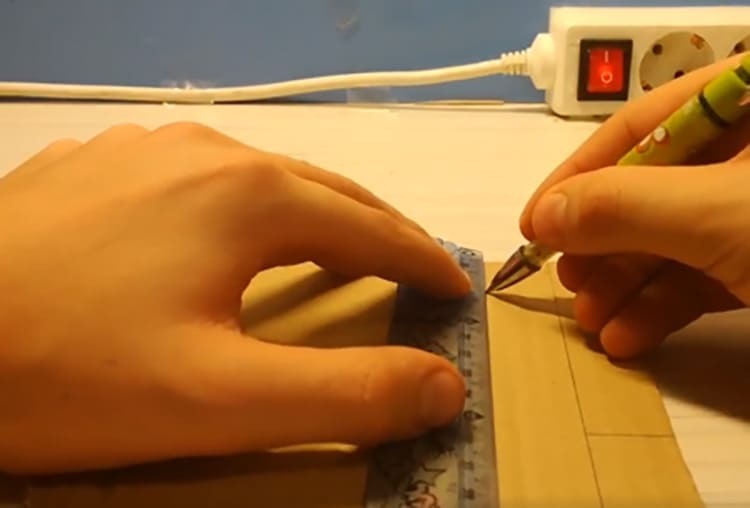
A cardboard tripod can be made from colored cardboard or you can design it yourself. - Now we push through each drawn line with a ruler and bend the figure outward. Then we glue the resulting edges together with a gun.
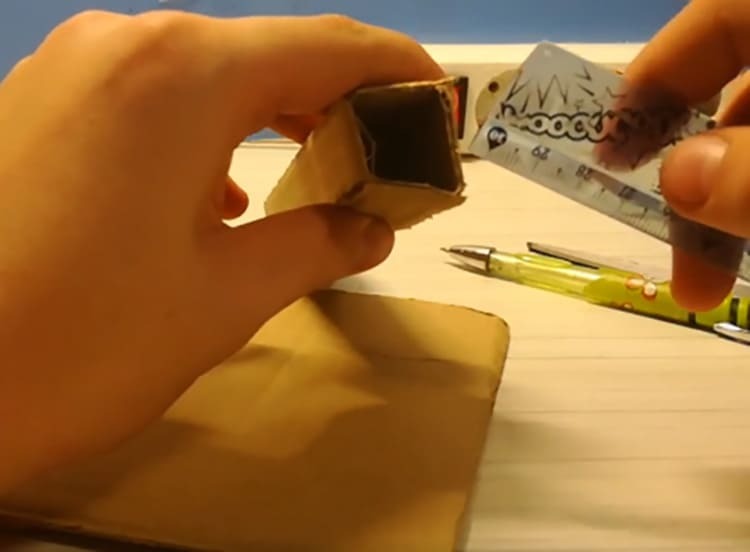
The glue gun is best used for flexible materials only. - Now we do the same from the second cardboard, only draw lines at a distance of 16 mm.

Women often make tripods from hair accessories, flexible curlers. - We press and bend them again, use a glue gun to form a shape.
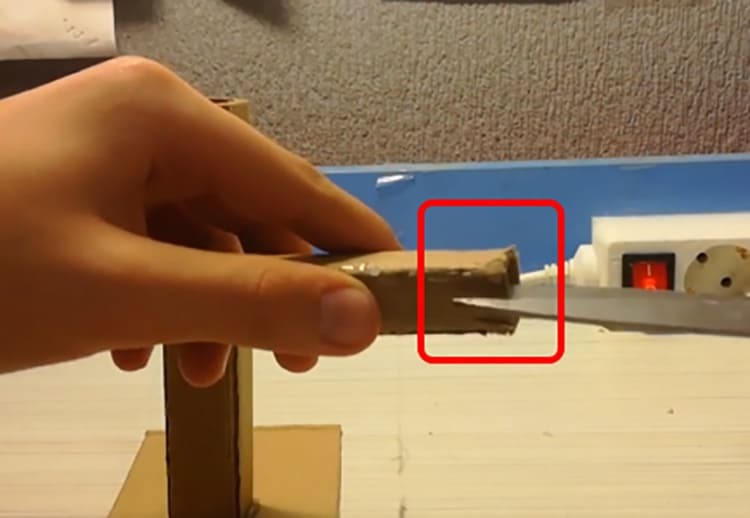
For paper racks, you can use double-sided tape, staple clips. - Next, insert the smaller part into the larger one.

Tripods, which are made high, are advisable to be mounted on a tripod. - We measure the required distance at which the phone should be installed during shooting and pierce two holes in the cardboard. We insert a retainer into them (can be made of paper).
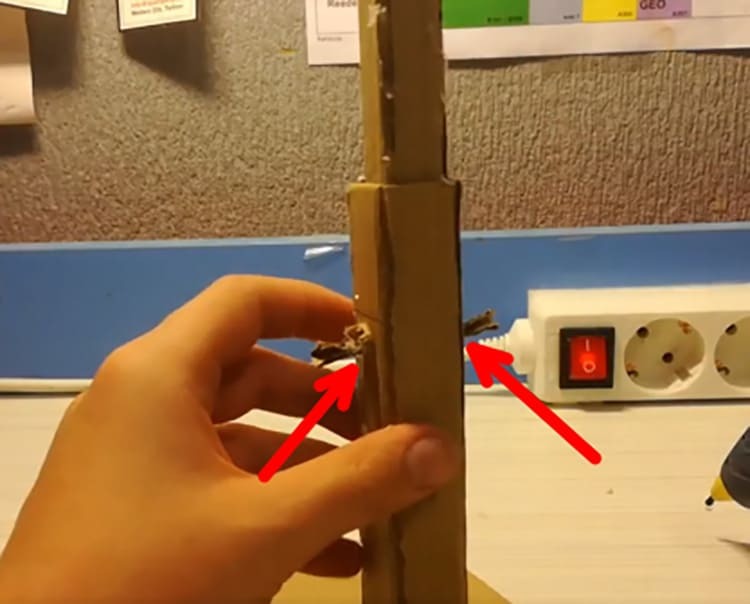
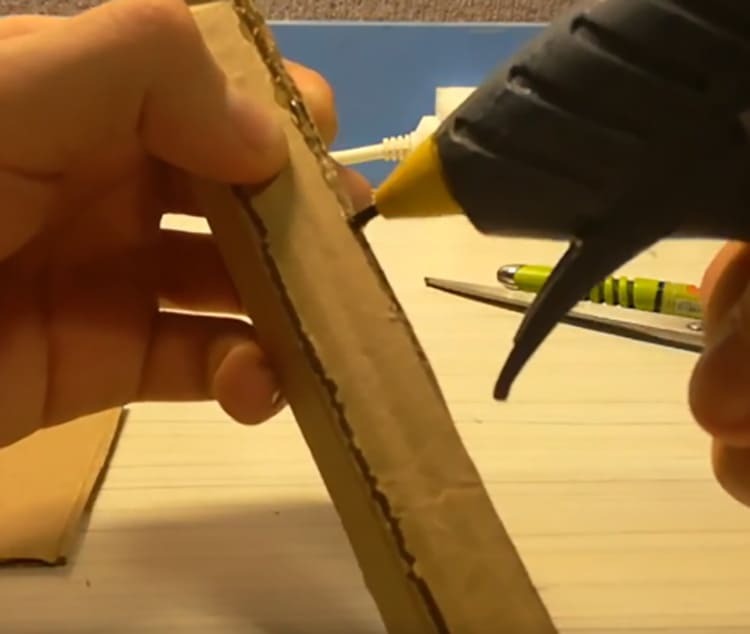
For holders, it is recommended to install foam rubber so that there are no traces from the stand on the smartphone body. - Now, on the edge of the upper fragment of our tripod, we make cuts that will hold the smartphone. Their depth should be at least 1 cm.
Stands for smartphones can be decorated in various ways, design models can be made. - Next, we form a stand for the cardboard device. To do this, glue the rest of the box to the prepared tripod with a pistol.
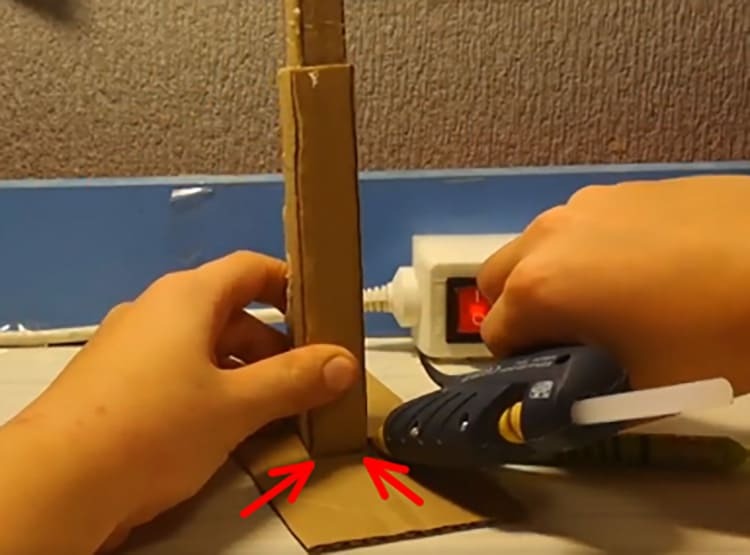
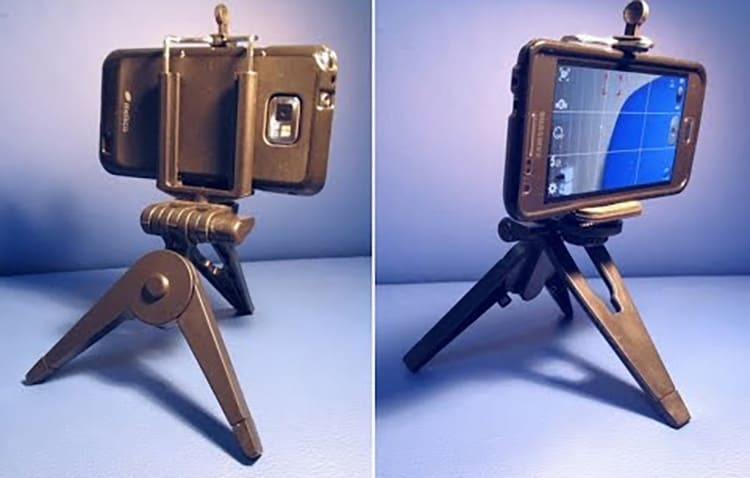
As a result of these actions, you get a durable homemade tripod with a stand that can be used on the table when taking selfies or shooting videos.
Plywood tripod stand for smartphone
Plywood is one of the wood materials. It is used for different purposes. Today we will use such a board for making phone stands. Be sure to need a diagram or drawing for these purposes.
Materials and tools
To create a wooden phone stand, you need to have on hand:
- simple pencil;
- plywood;
- jigsaw.
Step-by-step instruction
- Prepare plywood, cut out two parts from it, 10.5 × 5 cm and 12 × 5 cm.
- Grind two fragments, make sure that there are no burrs on the edges.
- We cut out at a distance of 2-2.5 cm from the side edge of the workpiece. The width of the cut piece on each part should be no more than 5 mm.
- Remember that the cuts are carried out approximately to the middle. Next, we connect the two parts together "groove-in-groove".
- On a part that has a shorter length, we make a recess with a chisel, then we grind it with sandpaper.
- Now we clean our workpiece, and then cover it with varnish or decorate it in an interesting design.
- Then we install our smartphone in the recess and enjoy the result.
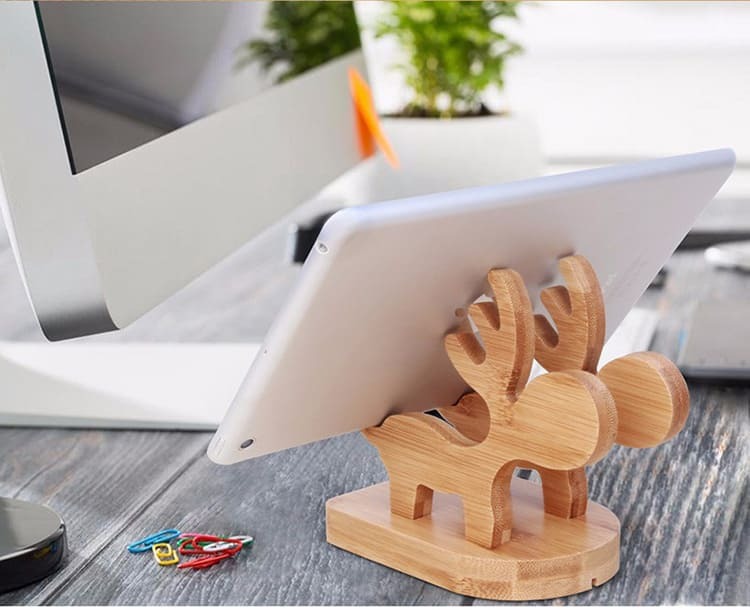
From plywood and thin boards, you can make a lot of interesting products in the form of phone stands. If you are creating an accessory for a child, you can take as a basis the schemes of various animals or colorful geometric shapes.

Table stands made of wood
How to make an interesting tripod out of wood
Everyone who uses a camera on a smartphone understands that the quality of the picture directly depends on the immobility of the device. The more convenient and reliable the phone is on a tripod, the better the image will be.
Materials and tools
- wooden blocks;
- smartphone holder;
- fastener from a table lamp;
- glue gun;
- thin PVC tube.

Step-by-step instruction
- First of all, we will prepare all the available blocks for processing. To do this, we grind them from all sides to remove irregularities.
- Next, take a large block and glue the small ones to it along the edges.
- The wide plane will be the basis of our tripod.
- Now we glue the PVC tube to the prepared bar.
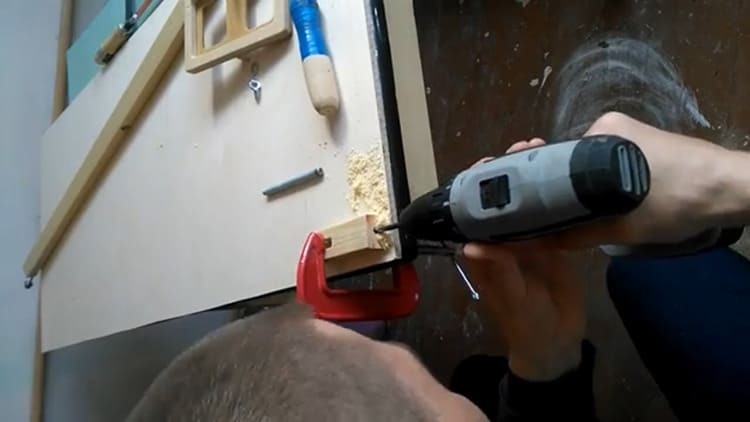
- We drill two symmetrical holes with a diameter corresponding to the fastener.
- We insert the fixing element, form a small rectangular bar with the same hole, which is subsequently attached to the reacting mechanism.
- On top of the resulting block, glue another, slightly larger size. It will serve as a platform.
- Now we attach a plastic phone holder to the resulting structure in a horizontal position.
After the steps have been taken, you can use a homemade tripod as a purchased one. Such a device can be used at home to shoot a full-length video.

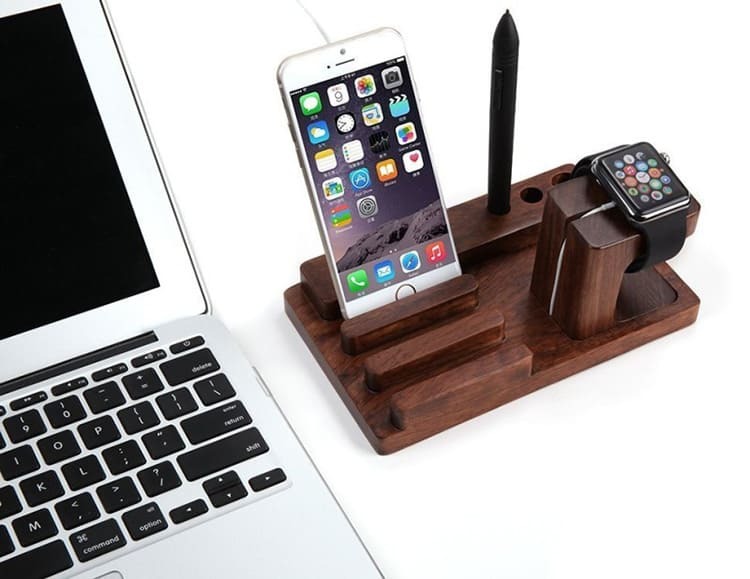
Wooden phone stands
How to make a tripod for a phone from scrap materials
Among the variety of tools and materials that can be used to create homemade tripods, there are options that are always available in the home. At this stage, we will burn out exactly about such devices.
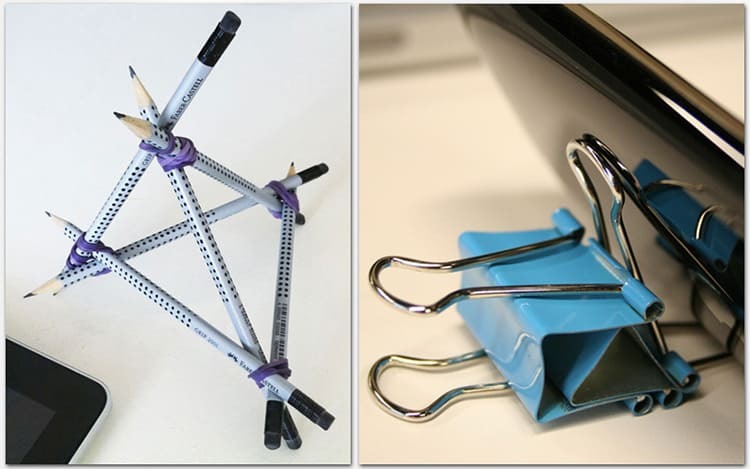
Paper clip gadget
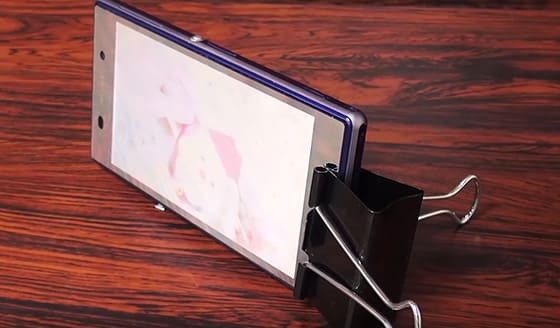
When there are a lot of file and paper holders in the house, they can be used with great benefit for the phone. It is from these devices that we will create a simple tripod.
- For a portable stand, prepare one large binder and another smaller one.
- We open the large fastener, put the handles of the small one in it and slam the structure.
- Lift the bottom holder up, then simply place your smartphone on the stand.
- Ideally, it is better to silicone the edges of the mini tripod to avoid possible scratches on the phone case.
GOOD TO KNOW!
Such a device is convenient to carry with you in your bag, organizer or even in your pocket. Such a gadget will be especially useful for those who work in the office and always keep their cell phone at hand.
Clothespin option
For this purpose, it is advisable to use both plastic and wooden clothespins. However, it is worth noting that the latter will look better, especially if they are decorated in any of the ways. Let's start making the stand.
- The product requires one ballpoint pen and 5 clothespins.
- We attach all the clothespins from the middle to the edge with the cap.
- We unfold the two extreme ones in the opposite direction.
- Raise the next two (located on opposite sides) up.
- You can assume that the tripod is ready. We install the phone on it and use it as a regular stand or photography tool.
In this version of the accessory, you can adjust the tilt of the smartphone.
A tripod made of a piece of copper wire
The next homemade stand option is more suitable for cameras. It is not difficult to make this accessory, the main thing is to properly prepare all the tools.
- We collect the necessary material: silicone tube, copper wire, brass adapters, two bolts, wire cutters, burner, water and dishwashing detergent, epoxy.
- We burn copper wire, observing safety rules and cool it in water.
- We clean the wire with tow, then carefully place it in a silicone tube.
- The next step is to put a brass sleeve on the tube, it will serve as a connecting element for the bolt and wire.
- Next, cut off the cap from the bolt with a grinder or a metal saw, leaving a tail of 2-3 cm.
- Next, screw the resulting part into the adapter and fix it with a glue gun, or better with epoxy. A piece of 0.5 mm should remain outside the adapter. This is required to further mount the camera.
- We fix the opposite side in the same way, only we do not leave the bolt outside.
In the process of use, this device can be wound on tree branches and on any other support in case there is no one nearby, and taking a picture is a matter of prime necessity.
When making accessories for electronics, it is better to take materials with a margin.
Dear users. Feel free to ask questions in the comments, tell us if you liked the DIY tripod ideas. If something is not clear, we will discuss it in priority order.