It is unlikely that there is at least one apartment or private house where there is no shelves. They are used for flowers, decorative elements, books. But getting what you need is often very difficult. Usually plastic or Chipboard, which means it's time to take up the tool and make an exclusive item that will fit into any interior. Today we will talk about how to make beautiful shelves with your own hands, whether it is difficult to do it and what will be required for work. But the main question that we will answer today is how much will have to be spent on such a product.
Read in the article
- 1 Tools and materials required for the manufacture of shelves
- 2 Preparation of material for work
- 3 Making sides for a wall shelf made of wood
- 4 Adjusting the elements of the wooden shelf before assembly
- 4.1 Figure plaque removal of excess
- 5 Compound shelf boards for each pairwise
- 5.1 Additional mark dowel location
- 5.2 Joining two boards into one shelf
- 6 Assembling the shelf: what is better to use for this
- 6.1 Fastening the shelf hangers: hidden option
- 7 Final finishing of the shelf before applying a protective decorative layer
- 8 Opening the structure of wood with varnish
- 9 Do you need drawings to create a beautiful product
- 10 A few examples of ready-made shelves, made by yourself
- 11 What other shelves can be made
- 12 Summing up
Tools and materials required for the manufacture of shelves
To make a beautiful hanging shelf you will need:
- board 100 × 25 mm (4 pieces of 75 cm);
- board 150 × 25 mm (4 pieces of 30 cm);
- 4 furniture tie bolts, self-tapping screws;
- wooden dowels (6 pcs.);
- 2 metal hangers;
- PVA glue.
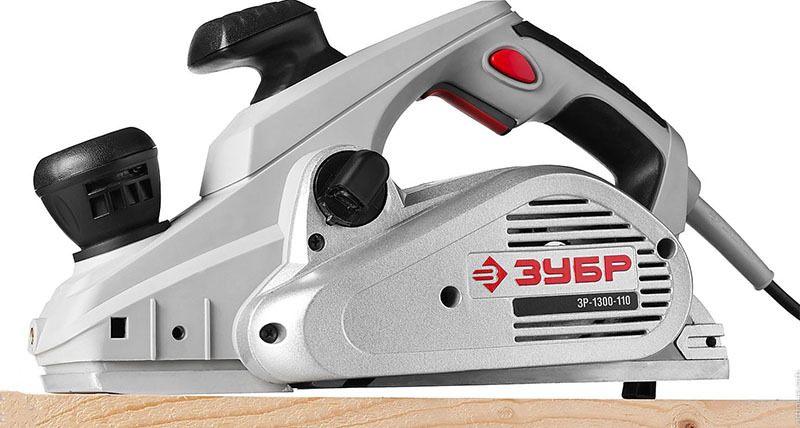
The set of tools also does not shine with variety. You only need the main thing - a hacksaw, a plane, screwdriver, grinder or a block of sandpaper, electric jigsaw, hammer and clamps.
The board doesn't have to be perfect. If there is bark somewhere on one side, that's okay. Subsequently, this part will be removed.
Related article:
Wall mounted shelf. In the publication we will consider the types and design, from what material can be made, fastening methods, criteria for choosing a design for a home, how to do it yourself, a photo gallery of shelves for the kitchen and bathroom rooms.
Preparation of material for work
The first thing you need to do is mark and cut 4 identical pieces 75 cm long from a 100 × 25 board. It's pretty easy to do it by hand with a hacksaw.
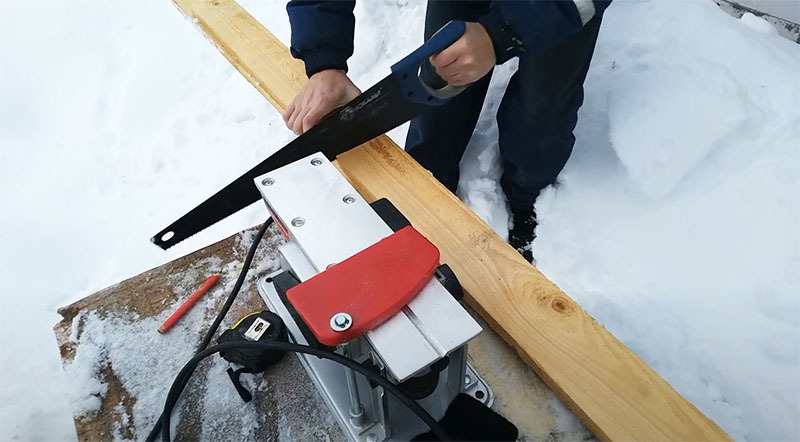
Next, you need to give the boards a normal appearance. To do this, you can use a regular hand plane. However, if you have a power tool at hand, work will go much faster. And you will have to spend much less energy. It can be a stationary machine or a manual electric plane. But it is worth repeating, manual processing is in no way inferior to mechanized processing. Perhaps this way the work will be done even better.
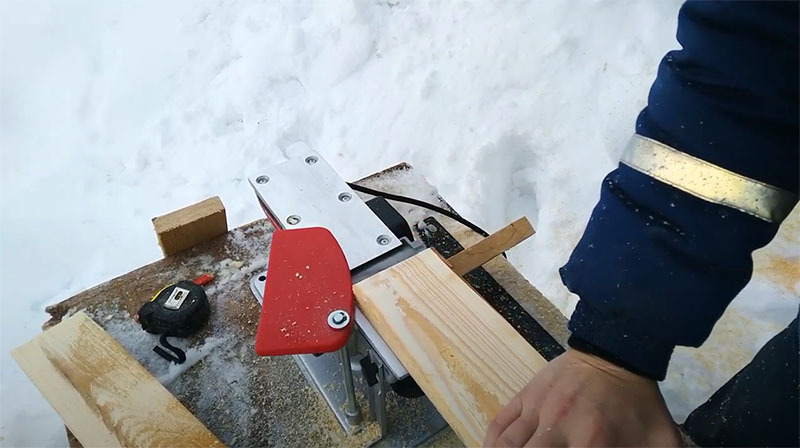
Making sides for a wall shelf made of wood
For the manufacture of side support walls, a board with a width of 150 mm is used. Two parts are cut from it, the length of which is 30 cm. These items are also processed. In order to remove the roughness remaining after the planer, you can use a sander. This is much easier than working with a bar with sandpaper. Emery wheels or a flap disc are used as an abrasive.
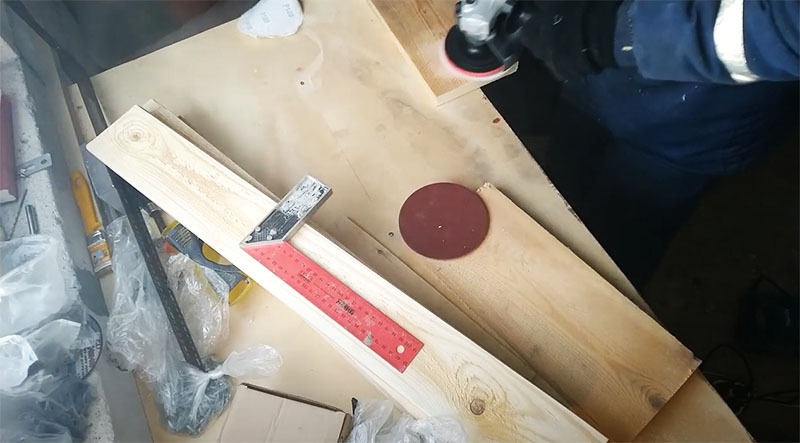
Adjusting the elements of the wooden shelf before assembly
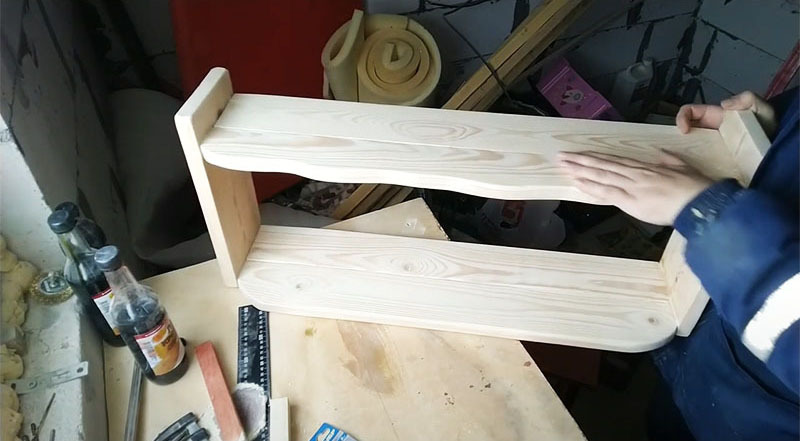
Shelves themselves be composed of two elements each. Therefore, you should fold them first about the way they will be collected. It can be seen that some of the ends are uneven. These are exactly the places where the bark was. The bark itself is peeled off so as not to interfere with further work. After that, the shelf will be given an attractive appearance. After all, no one cares when the shelves look boring. So, you have to turn on your imagination.
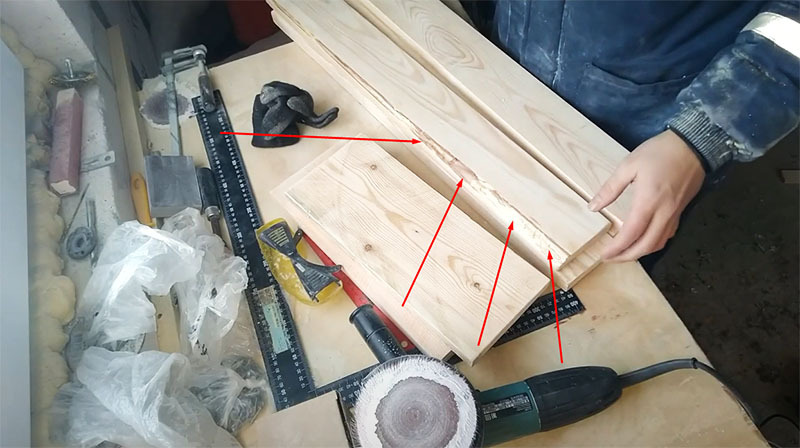
Boards must be laid so that the uneven edge turned outside. In this case, if put to him a side wall, you can see what remains a substantial margin. This is surprising, because the sidewall width - 150 mm, and two boards stacked shelves is 200 mm. It is these 50 mm that give scope for creativity.
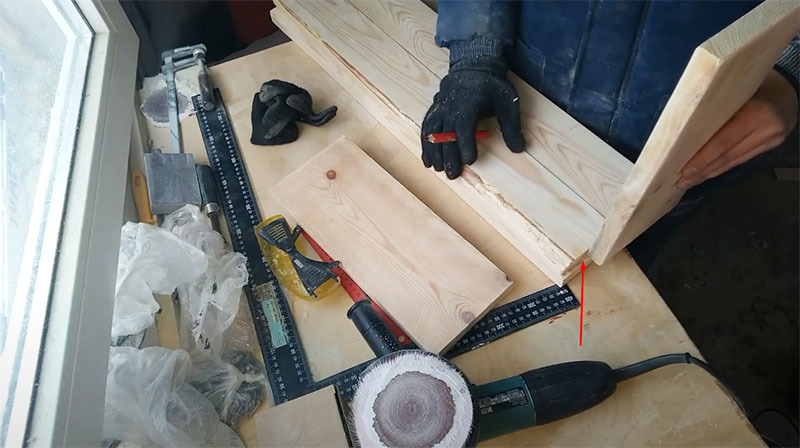
Figure plaque removal of excess
The next step is to mark the edge of the sidewall on the board, end of which is uneven. Now just need to draw a rough line along the boards. Here everything is done randomly. It is this uneven edge will give unusual wooden shelf. When the line is drawn, the excess is removed. This is easily done with an electric jigsaw.
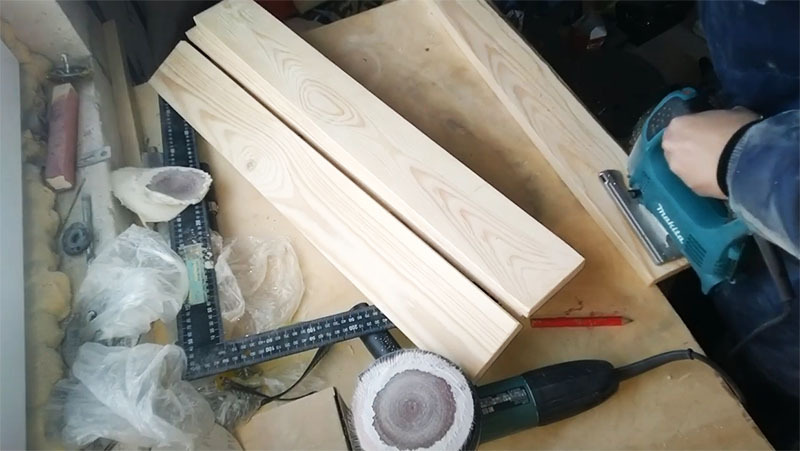
Compound shelf boards for each pairwise
It is clear that the boards cannot be left unsticked. And the usual connection using PVA will be unreliable. Therefore, you need to prepare three dowels (many call them "chopiks") for each of the shelves, which will strengthen the fixation.
For the longitudinal connection of the elements, they must be laid side by side and arbitrarily mark three points in the area of which the dowels will be located. You don't need to measure anything here, everything is done by eye. Just in case, the risk is placed on both elements, so it will be more reliable.
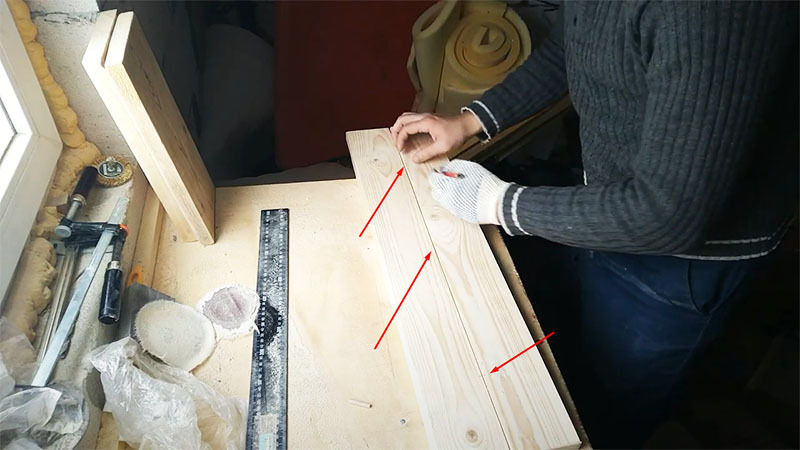
Drilling deep holes is not necessary. Here you need to make sure that the depth is equal to half the dowel. Otherwise, it will simply fall inside. But when the holes in the end of one of the boards are drilled and dowels are inserted into them, you should be extremely accurate and accurate. It is clear that there is also a mark on the second board, but it's worth playing it safe. To begin with, it is worth trying on, see if the holes went to the side during drilling, and if so, how much.
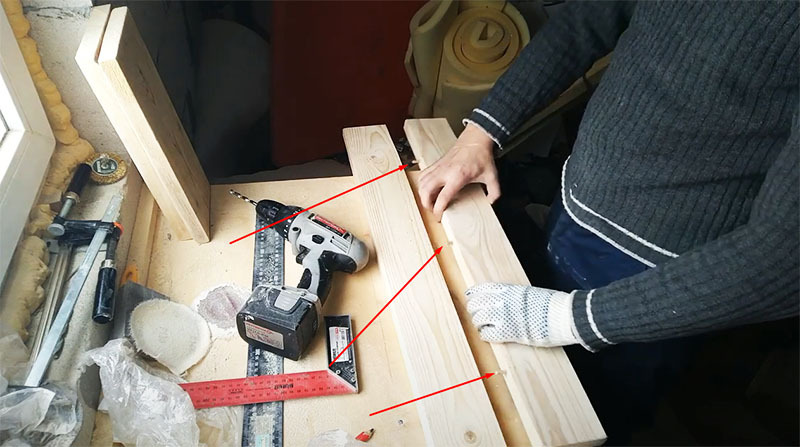
Additional mark dowel location
Next, you need to make additional mark dowel location. In fact they can be considered as the main reason for the fact that they will be more accurate. In order to make them need to paint or dark nail polish. The composition doesn't matter. The main thing that he was not a quick-drying. In general, you can use chalk paint, which is used to beat straight lines on the walls with a cord.
The order of further actions will be as follows:
- By means of a sponge or cloth on the tips inserted into the dowel board coloring formulation is applied.
- Boards are aligned in relation to one another.
- Dowel pressed to nezasverlennoy board. As a result, the points of contact are the mark, and which must be drilled.
Nothing complicated about it there is no action, but it will perfectly accurately drill holes.
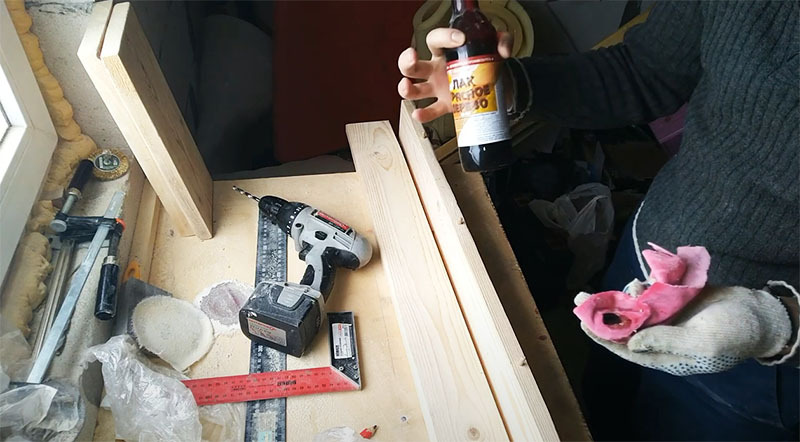
The depth of the holes in the second board does not matter anymore.
Joining two boards into one shelf
When both shelves are ready, you can start gluing them. PVA is applied on the part which reams the first - the depth of holes in it has already been tested. The glue is applied not only to the end of the board, but also poured into the holes. The PVA is smeared at the end, the dowels are inserted into their grooves. On the second board of the shelves, only the holes are smeared; it makes no sense to apply glue to the end. In any case, when tightening, the excess will squeeze out.
Important! It is best to use special PVA joiner's glue for such work. Such a connection will be much stronger. The "Moment Montage" glue or any "liquid nails" also shows itself well in such cases. It all depends on your preferences. If the boards are perfectly dry, even epoxy can be used.

It remains to pull off the glued shelves with clamps and wait until they dry, after which you can start assembling the shelf.
Assembling the shelf: what is better to use for this
It is very important that the wall shelf is solid, regardless of what it will be used for. So, it is worth thinking about how to connect the sidewalls and shelves, what to use for this. You can make the connection with the same dowels and glue, but in this case there is no need to talk about reliability. The best option here would be to use tie bolts, with the help of which almost all cabinet furniture is now assembled.
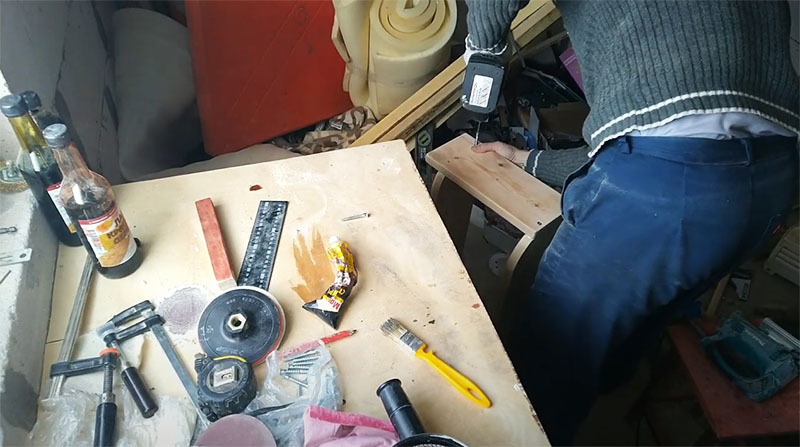
When assembling the shelf, you should be careful with the dimensions so that it does not turn out to be skewed. First, the sidewall is attached to the bottom. On each side of the shelf, two tie holes should be drilled, after which bolts are screwed into them. Such a connection will be extremely reliable - the shelf will withstand a full load of books or flowers. You can even sit on it - furniture tie bolts can easily support the weight of an adult.
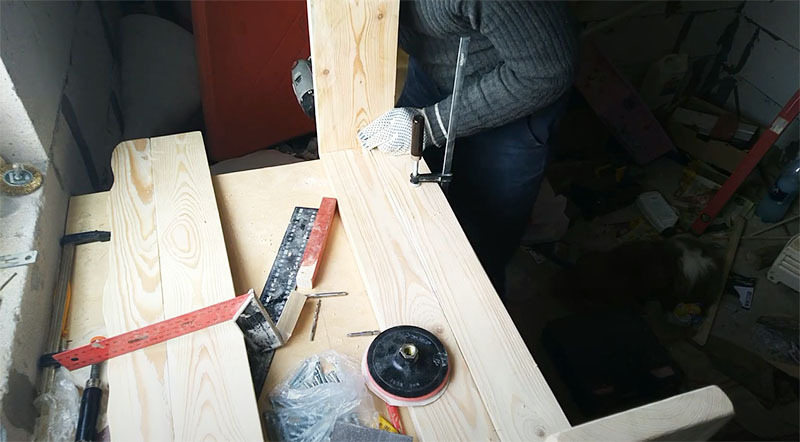
The second shelf is attached in the same way. The use of glue in these joints is pointless.
Fastening the shelf hangers: hidden option
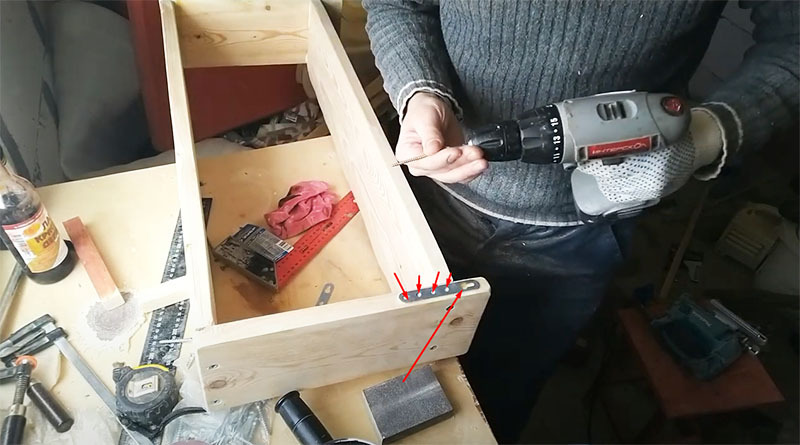
You can often see that the shelf is hanging on the wall, and iron suspensions are visible on top of the sidewalls. It looks, to put it mildly, unaesthetic. It is best to make a hidden version of the suspensions. To do this, at a short distance from the upper edge of the sidewall, elongated recesses are drilled from the end so that the head anchor moved freely in them. The distance from the top to the groove on both sides should be exactly the same.
Next, the suspension is located so that the slot, which is intended for the anchor, is directly above the recess. After that, the metal suspension is fixed with self-tapping screws. Perhaps, to a respected reader, these explanations will seem chaotic. This is not surprising, in words everything may seem complicated, and therefore it is best to take a look at a photo example, which will explain everything much faster.
Final finishing of the shelf before applying a protective decorative layer
Now the wall shelf is ready, but all the details in it are processed only with a plane, and the ends leave much to be desired. This means that before applying the varnish, it needs to be brought to mind a little. It is better to do this by hand using a wooden block with sandpaper. This is the only way to achieve the perfect result. The chamfer from the side shelves also needs to be slightly removed.
It can be interesting if, after sanding, walk over the wood with an iron brush. It will remove softer fibers, revealing the structure of the wood more clearly. If the craftsman wants the shelves to be smooth, there is no need to use a brush.
Opening the structure of wood with varnish
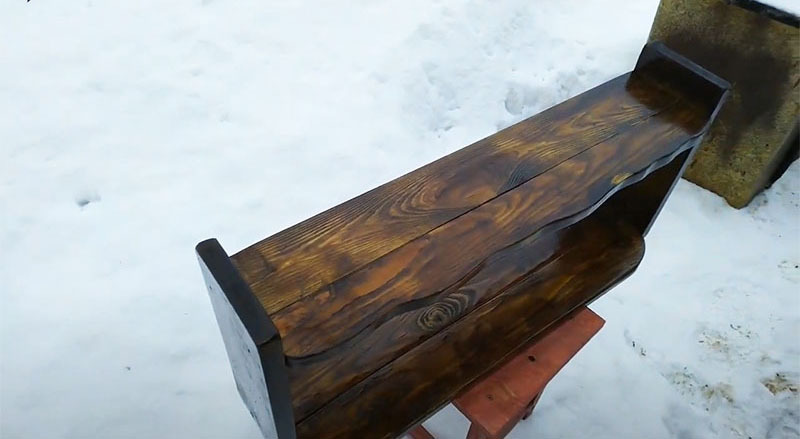
The varnish can be used colorless or with a shade suitable for the interior. Lacquer with a touch of mahogany or bog oak looks great. Another decoration option is firing.
The actions will be as follows:
- After sanding, the wood is fired with a gas burner or blowtorch.
- The shelf is processed using a bar with fine sandpaper. This further reveals the structure of the wood.
- The surface is covered with 2 layers of colorless varnish.
It remains to wait until the varnish is completely dry, after which the shelf can be used as intended.
Do you need drawings to create a beautiful product
In fact, for the manufacture of such a shelf from wood, you should not draw any schemes in advance. Only if these are rough sketches. The fact is that this is the simplest product that can be made without unnecessary drawings, driving the master into frames. Pure improvisation. After all, this is the only way to make a truly beautiful thing.
Related article
Bookshelves: varieties, materials of manufacture, methods of fastening to the wall, a photo gallery of bookshelves in the interior, how to make a structure with your own hands, an overview of finished models and average prices.
A few examples of ready-made shelves, made by yourself
Everyone comes up with a design for themselves. Whether they are small or large, straight or curly - the work of the master. Well, we suggest that you familiarize yourself with several options for original ideas that came into the heads of home craftsmen and were brought to life by them.
1 out of 9
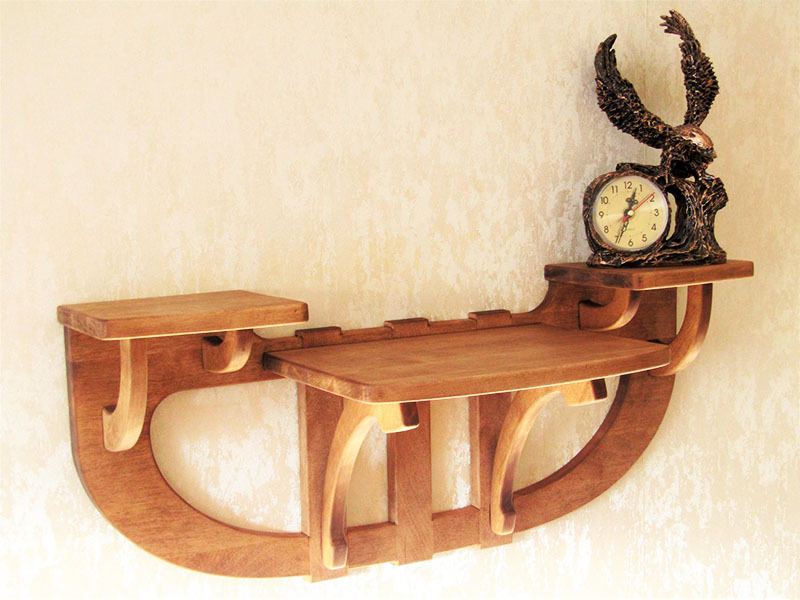
PHOTO: livemaster.ru
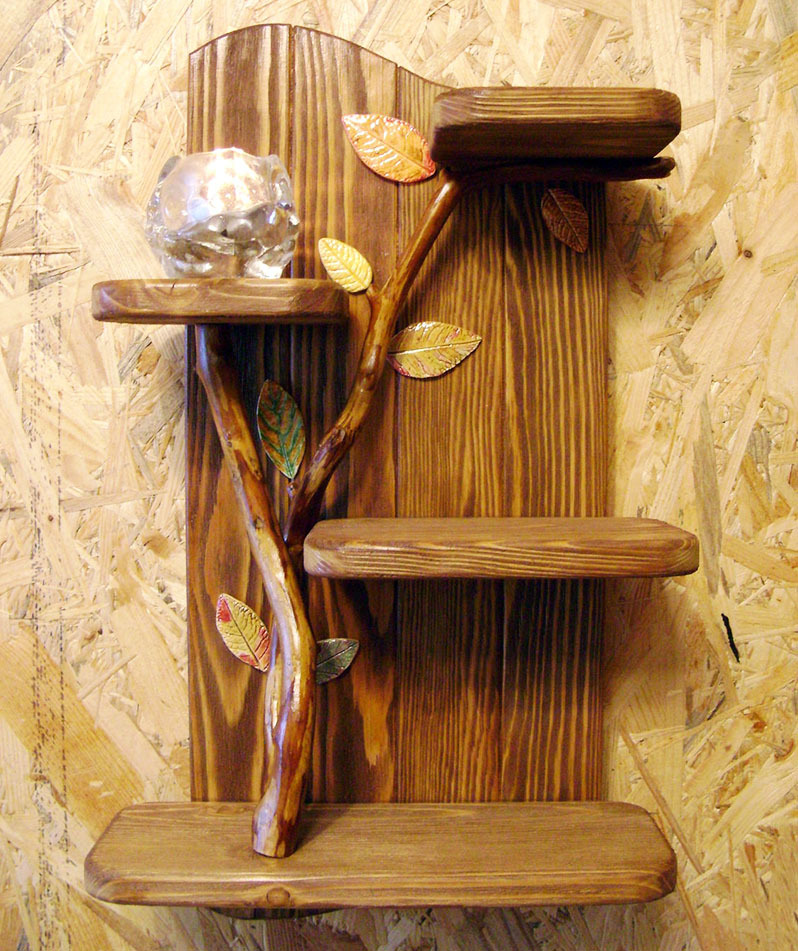
PHOTO: livemaster.ru
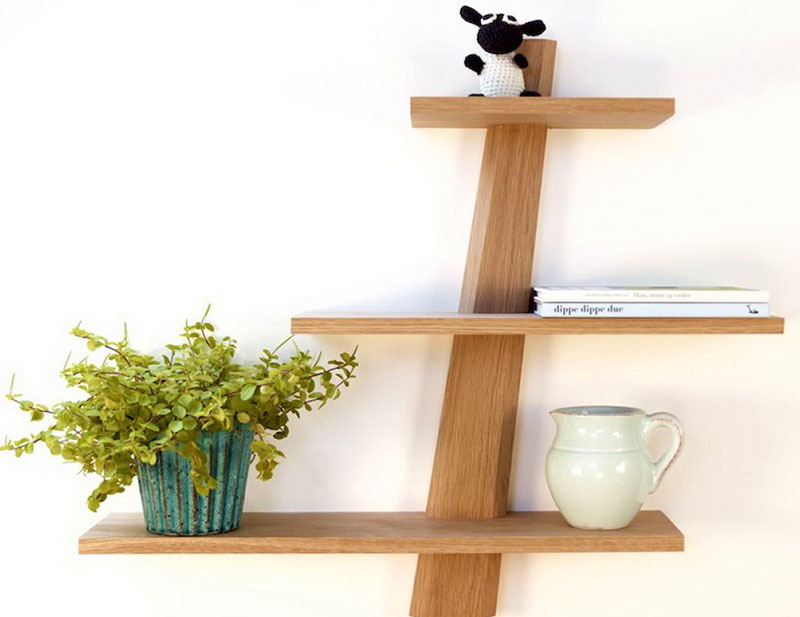
PHOTO: stroyfora.ru
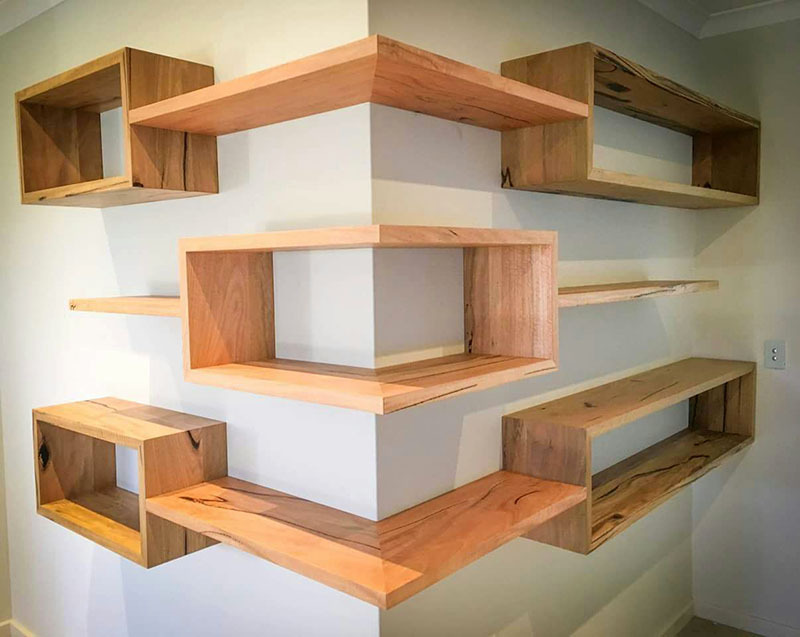
PHOTO: pinterest.co
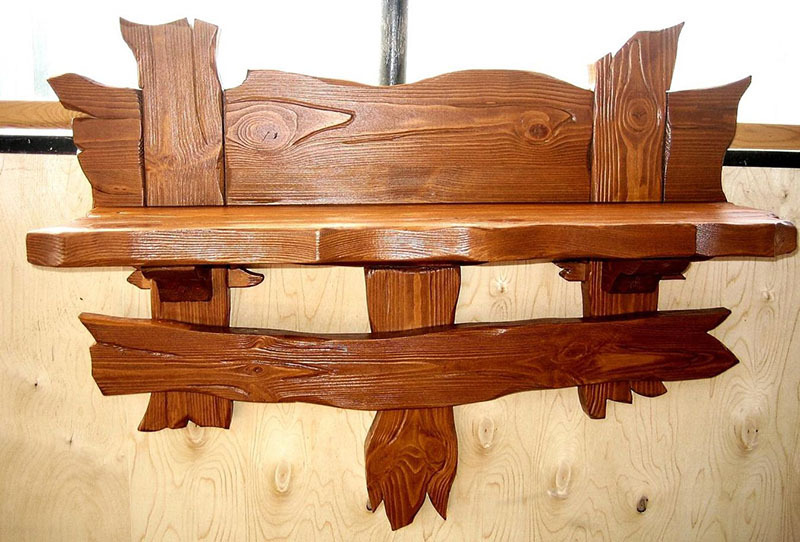
PHOTO: fi.pinterest.com
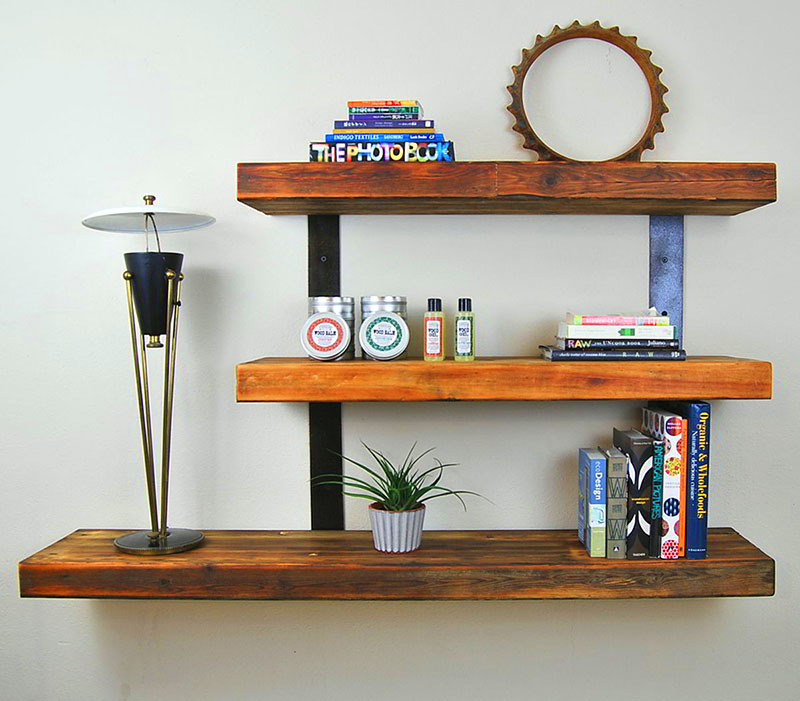
PHOTO: zerkalaspb.ru
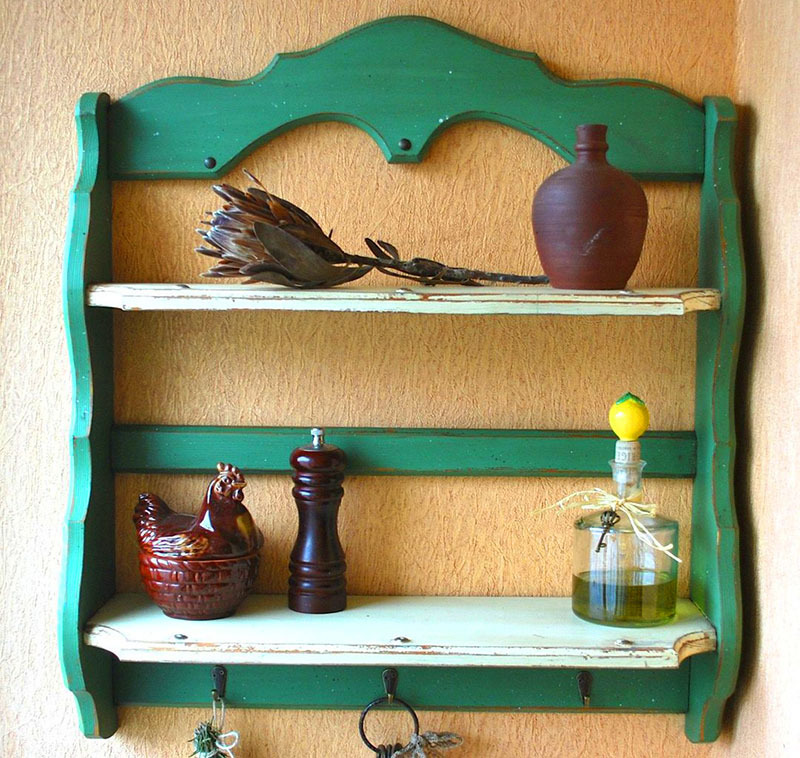
PHOTO: aliance.by
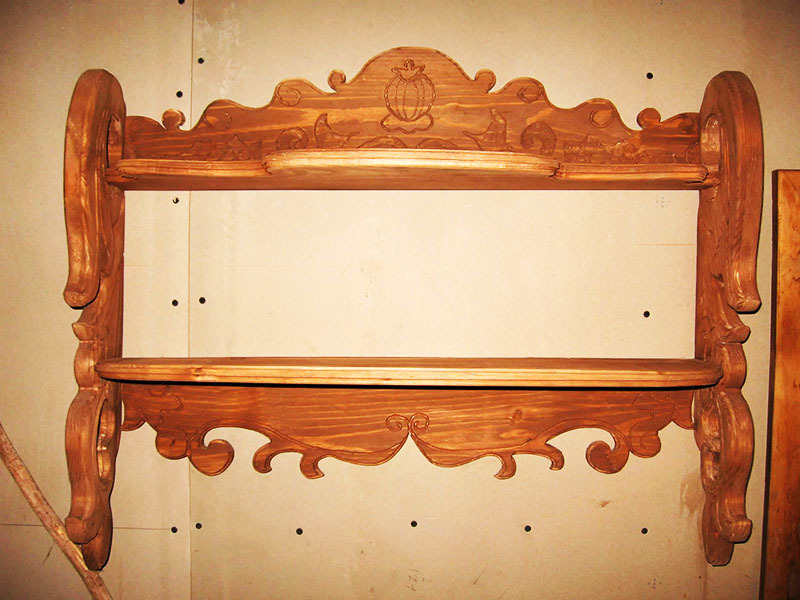
PHOTO: shalya24.ru
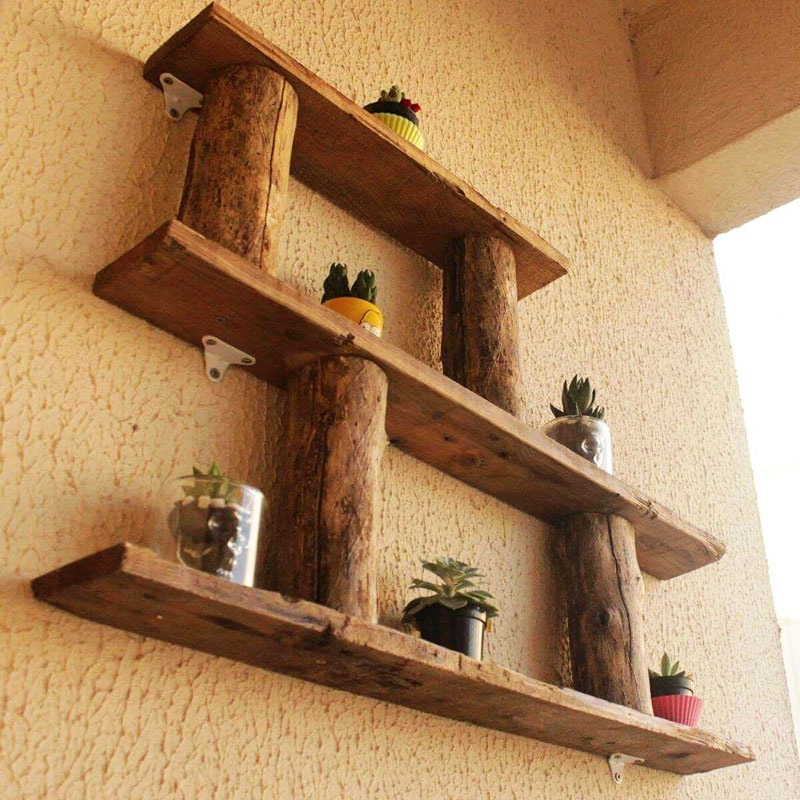
PHOTO: pinterest.pt
What other shelves can be made
Understand how such a simple regiment is made, almost any handyman can deal with other types of similar products. For example, you can make a corner shelf yourself or even a round one with a stand in the center. The main thing here is to turn on the imagination to the fullest. Only in this case, you will get a masterpiece, an exclusive, the likes of which will not be found anywhere else. We bring to your attention 5 more shelf options. But these products are already more extraordinary.
1 out of 5
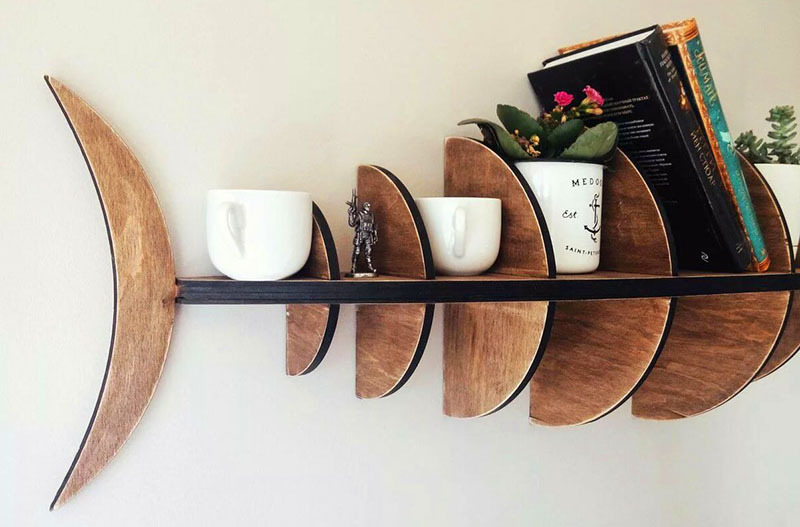
PHOTO: avatars.mds.yandex.net
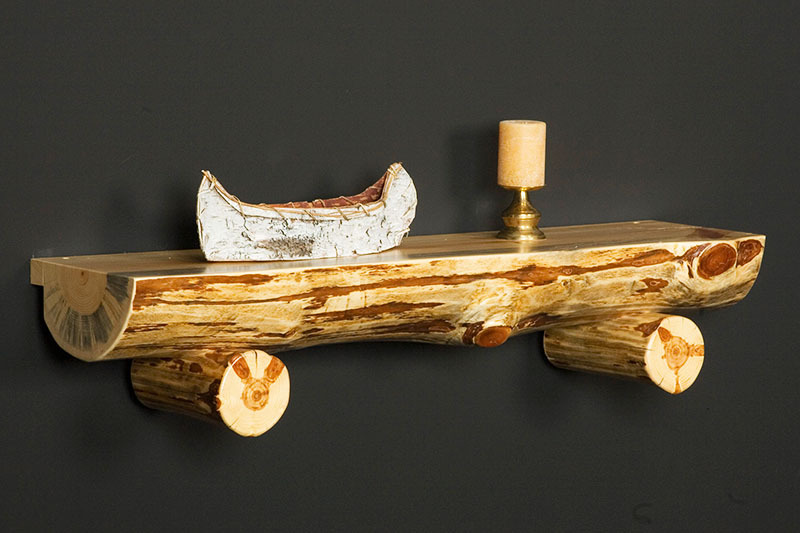
PHOTO: aimanreeza.blogspot.com
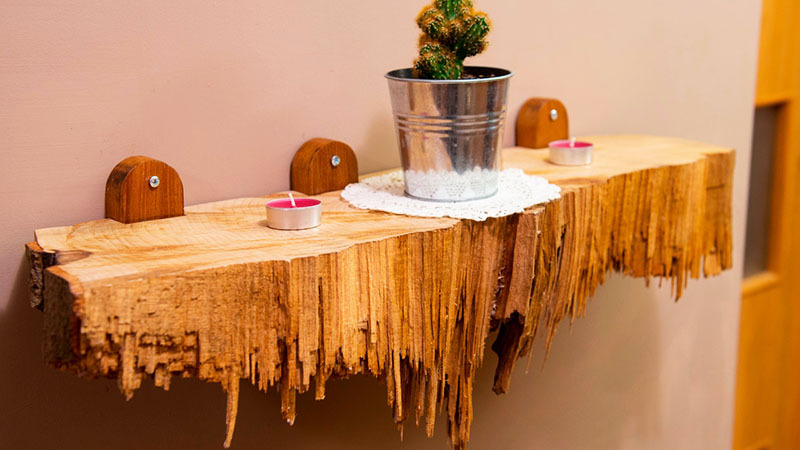
PHOTO: anomalypanoply.com
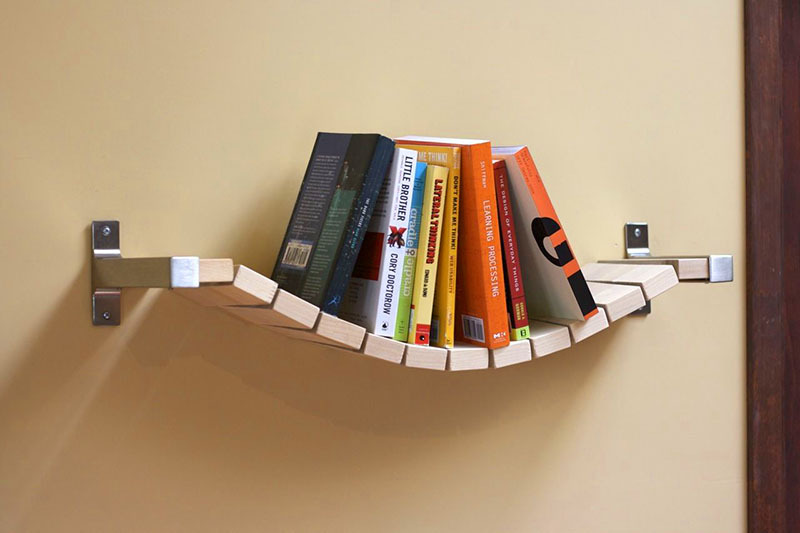
PHOTO: tr.pinterest.com
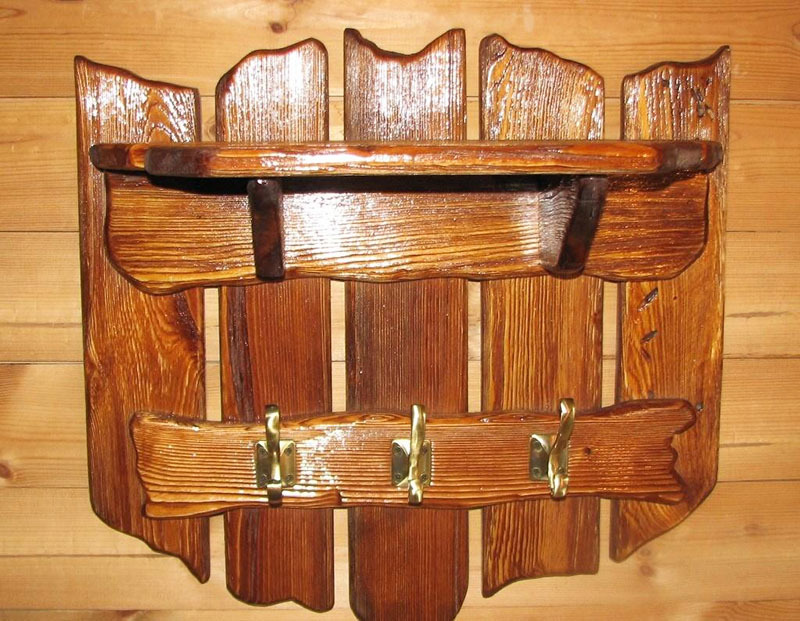
PHOTO: kitchenremont.ru
Summing up
Making beautiful shelves with their own hands - a very interesting and exciting creative process. We need to understand how to do something unusual way in which to connect the part than in the end cover wood to highlight its structure. And if you do everything correctly, the shelf, whether it be at home or in bathWill for a long time to please the master and his household. And you can be sure that, having made such a masterpiece only once, you will return again and again to such work, to create something even more beautiful and amazing.
We really hope that today's article will be useful for home craftsmen. If you have any questions, feel free to ask them in the discussions below. HouseChief editors will definitely answer each of them. There you can also comment on the Read or discuss whether on their own to do these things, or easier to buy a shelf in a store. Do not forget the evaluation, take care of yourself, your loved ones and stay healthy!

