All furniture ages over time, and chairs are no exception. And it seems like it's time to throw them away, buy new ones, but something gets in the way. For some, memory becomes a barrier, for others it is a banal habit. But whatever the obstacle, the outcome is often the same - the chairs are gathering dust in the closet. Or maybe it's time to get them and give them a second life? Today we'll talk about restoring old chairs with our own hands at no extra cost. And at the end of this master class, everyone will understand that such work is not so difficult, and everyone can do it.
Read in the article
- 1 How to upgrade an old chair yourself
- 1.1 What is required for restoration: tools, materials
- 2 Preparatory work: dismantling the seat
- 3 Chair frame: what needs to be done with it
- 3.1 Removing gloss from wooden surfaces
- 4 Painting the chair frame: what to look for
- 5 Working with a padded chair seat
- 5.1 Cutting foam rubber to size
- 5.2 Fitting the fabric and how to do it
- 6 Seat upholstery with new materials
- 6.1 Working with fabric and backing
- 6.2 Seat upholstery of the refurbished chair
- 7 Decorating the wooden frame of the chair: continued
- 7.1 Applying a protective layer to painted wood
- 8 What happened as a result of the restoration performed
- 9 Photo of some ideas for updating the design of chairs, brought to life
- 10 Summarizing the above
How to upgrade an old chair yourself
It should be noted right away that if it is planned high-quality restoration, then such work cannot be done quickly. However, there are undeniable advantages in updating furniture. The chairs that were made in the last century are of very high quality and, with proper care, will last for more than a dozen years. And most importantly, the home craftsman does not have to run around the shops looking for stools that fit perfectly into a particular interior. Here the owner himself will make them as needed.
What is required for restoration: tools, materials
As for the tools and materials, you will need a minimum of them.
You need to prepare:
- screwdrivers, pliers (if you plan a thorough cleaning with disassembling the chair);
- plain sandpaper;
- stapler;
- various brushes;
- acrylic paints (white, black or another color), varnish;
- foam rubber;
- fabric suitable for the interior.
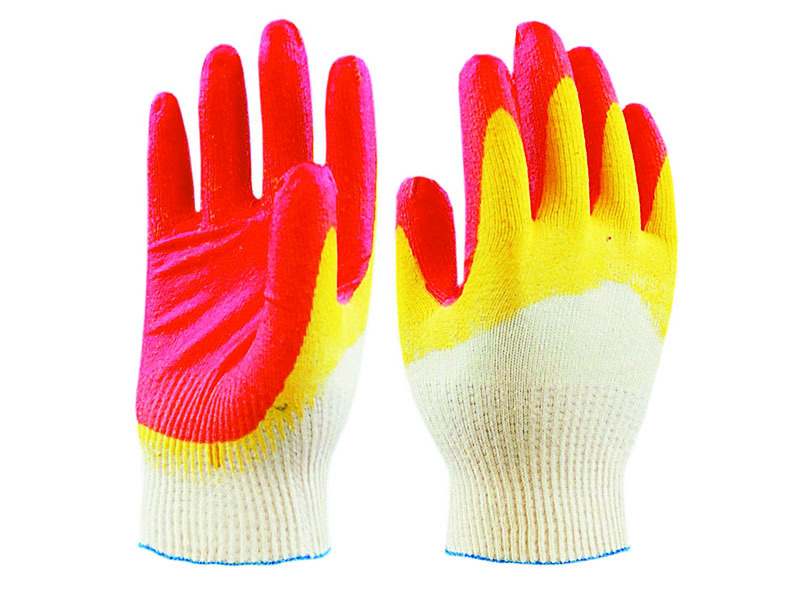
The main thing is not to forget about the means of protection. In the case of working with acrylic paints and a brush, you can only do with gloves. That, in fact, is all. And now let's try to figure out step by step what the algorithm of actions should be when updating an old wooden chair.
Preparatory work: dismantling the seat
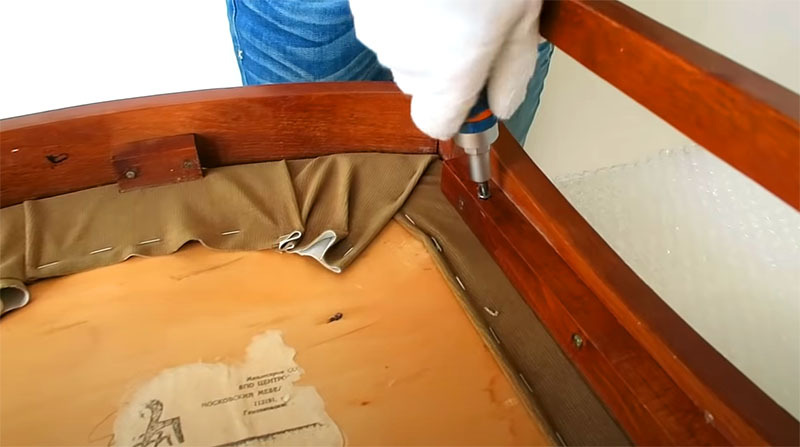
First, you need to dismantle the seat from the chair, the fabric on which has been thoroughly wiped off. If there is a soft back, it also needs to be unscrewed. At the first stage, the main task will be to deal with the fasteners. After all, old screws or screws can dry out, and it can be quite problematic to unscrew them. How can you simplify this process? Any anti-rust agent like WD-40 will do the trick, but it should be handled with care. If a lot of liquid is absorbed into the wood, the smell will take a very long time to disappear.
Chair frame: what needs to be done with it
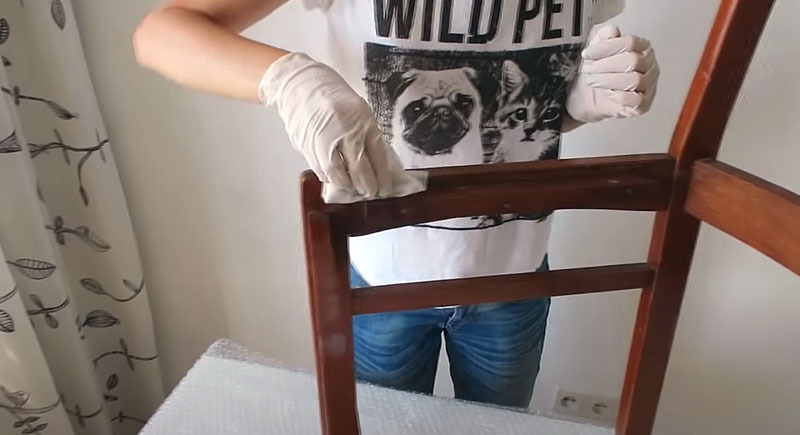
When all the soft parts are dismantled, you can start preparing the frame. To begin with, you need to thoroughly wash and dry it so that there is no old dirt left anywhere. If the chair is only covered with dust, a damp wipe may be enough. But at the same time, it is imperative to pay attention to every corner. Otherwise, during painting, dust will adhere to the brush, after which it will end up on the front side of the chair, which is unacceptable. This will ruin the whole work.
Removing gloss from wooden surfaces
In order for the adhesion to be maximized, it is necessary to remove the varnish from the old chair. This is easy to do with sandpaper. In addition, this procedure will help remove minor irregularities that inevitably appear on the furniture over time.
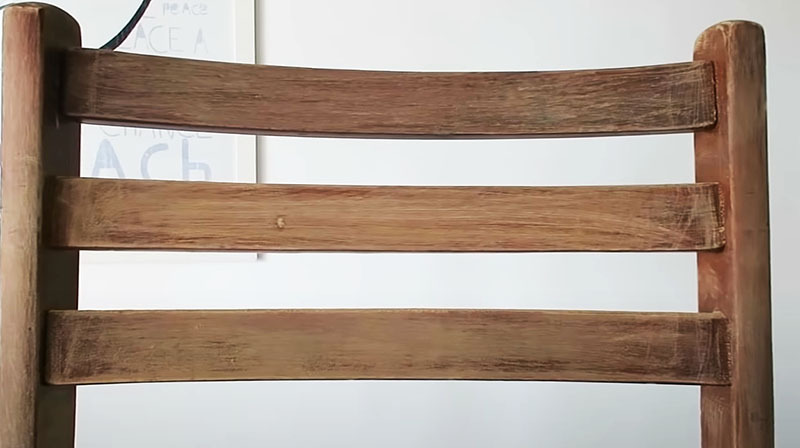
It remains to walk on all surfaces with a damp cloth to remove dust and wait until it dries completely.
Painting the chair frame: what to look for
Acrylic paints should be used to give the chair a new design. They dry out rather quickly and do not have a strong chemical odor. However, when working with them, it is better to keep the windows open. Painting can be done with a roller or brush - as it is more convenient for anyone. Do not hope that one layer will be enough for the base. Usually, two are required, and sometimes three. The main task at this stage is to achieve a uniform white color without dark streaks.
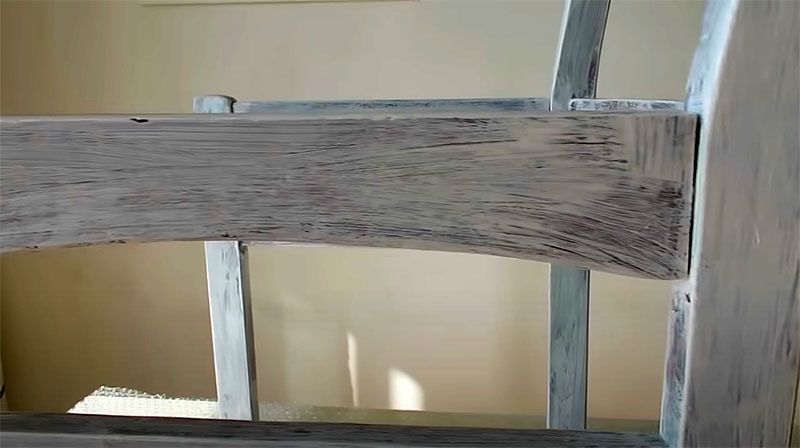
The second layer can be applied only after the first one is completely dry. When the second coat of paint is finished, let it dry. In the meantime, you can do the hauling of the soft elements of the chair.
Working with a padded chair seat
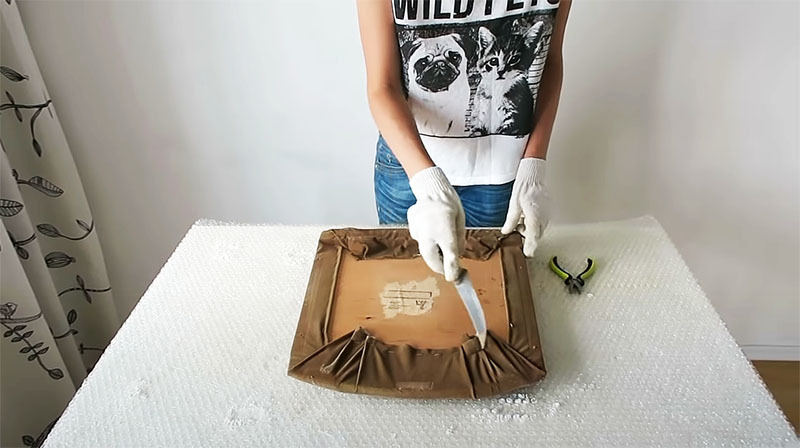
Of course, it was possible to go the simple way and sew a coverhowever, over time, the foam inside the seat is unlikely to remain normal. This means that it will need to be replaced. Therefore, you need to remove the fabric from the base. To do this, pull out all the brackets from below. This can be done with a screwdriver or knife, and pliers.
Often these staples simply break off. There is nothing wrong with that. You do not need to try to pull out the bracket that has broken off under the root, it will not interfere.
Cutting foam rubber to size
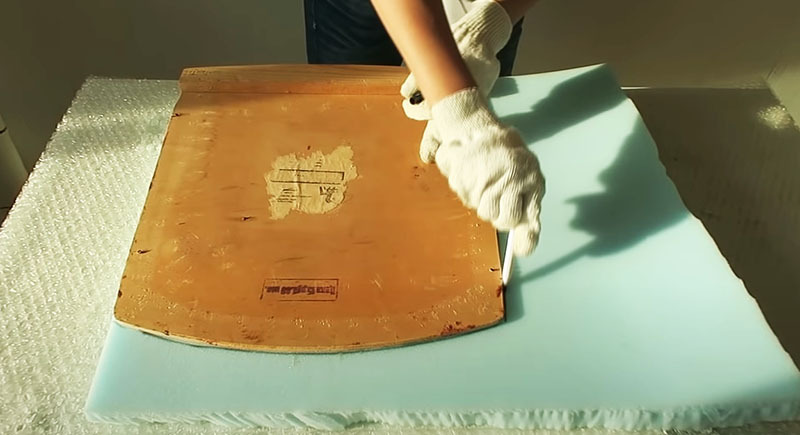
When the seat base is freed from the old fabric and filler, it should be laid on the new foam rubber and outlined with a marker, then cut along the contour with scissors or a utility knife.
Fitting the fabric and how to do it
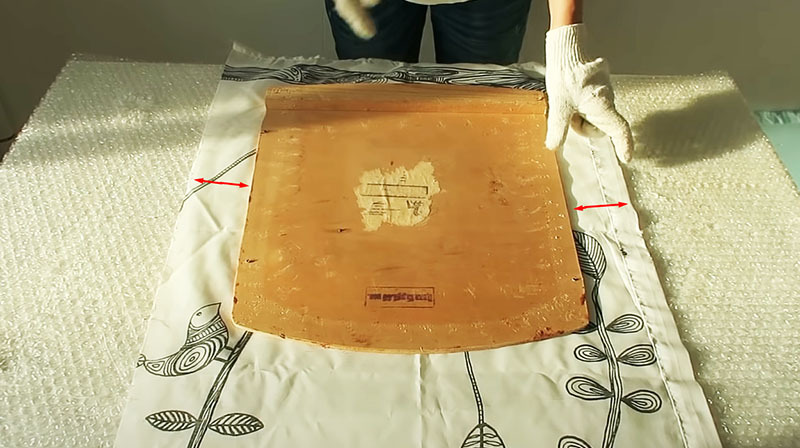
Now you can move on to the upholstery fabric. It needs to be laid face down and placed on top of the base of the chair, and then trim off the excess. Ideally, the fabric should be 10 cm larger plywood base from all sides. This will be enough.
Seat upholstery with new materials
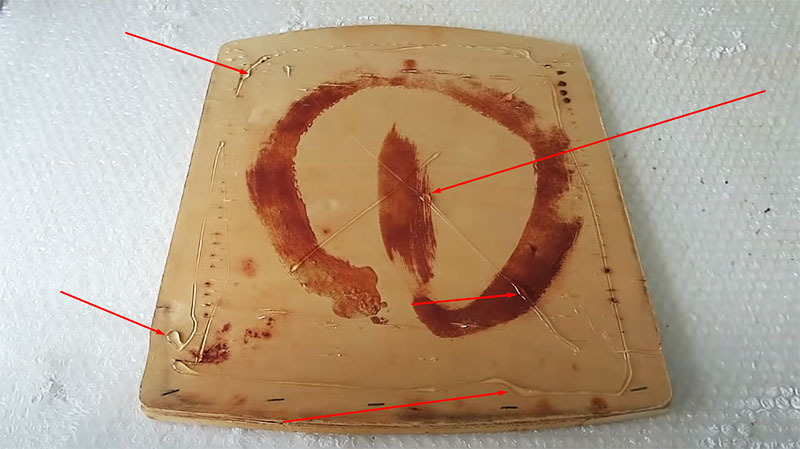
The main task is to prevent the foam rubber from slipping on the surface of the plywood. For this, glue is applied to the base. It is best to use thick, quick-drying compounds like Titan glue and the like.
The glue is applied along the perimeter as well as diagonally. After that, the foam rubber cut to size is tightly pressed to the base. Now you need to give him a little time so that the glue can "seize". Usually 3-5 minutes is enough until it is almost completely dry.
Working with fabric and backing
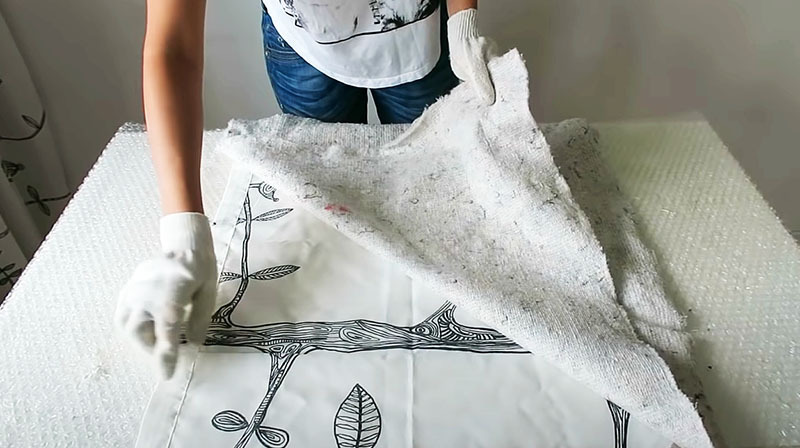
While the adhesive is drying, lay the upholstery fabric face down on the table. A substrate made of thick, even coarse, fabric is laid on it, which will protect the foam rubber from abrasion. The size of the backing and upholstery fabric is the same.
Seat upholstery of the refurbished chair
Now you need to lay the base with foam rubber on top of the substrate. The fabric will be stapled to the plywood with a stapler. You should start from the middle, the edges will be tightened later. Having fastened one side to a pair of brackets, you should go to the opposite. After that, the other two sides. If you fasten one side along the entire length, it will not be possible to get rid of wrinkles in the future.
The corners are locked last. For convenience, it is better to cut the substrate on them - this will be much more accurate. The folds in the corners should be unfolded so that they are on the side. If you leave them on the front side, it will look completely unaesthetic.
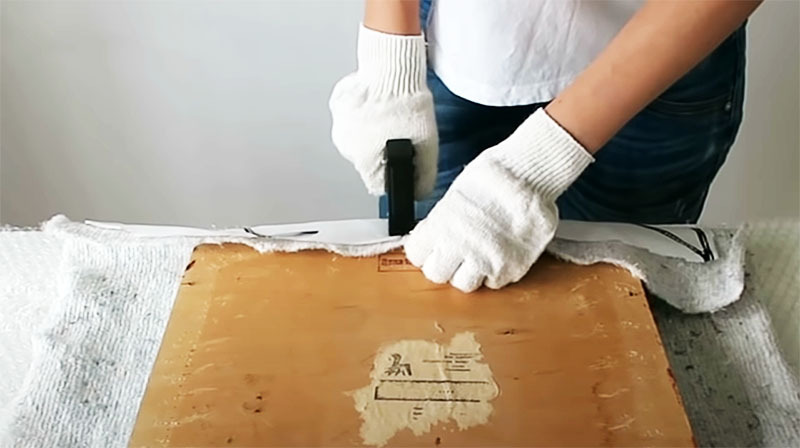
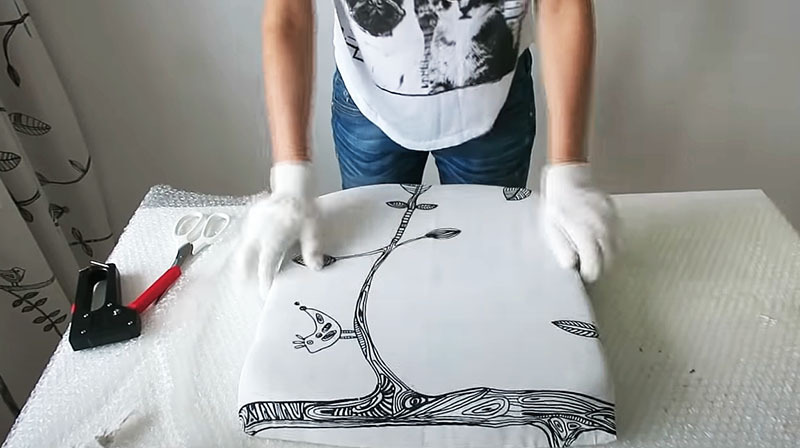
It is necessary to remember about the stretch. During the entire process of constriction, it must be uniform. If everything is done correctly, and most importantly, accurately, then the result will clearly delight the home master. Especially if you remember what happened first.
Decorating the wooden frame of the chair: continued
While the work was being carried out to tighten the seat, the second layer of acrylic paint has dried, which means that you can start further work with it. No gaps are visible after the second coat, but the usual white is rather dull. And if the chair is decorated in the same style with the seat fabric, it will turn out to be more interesting. To do this, you first need to draw a similar pattern on the painted wood with a simple pencil.
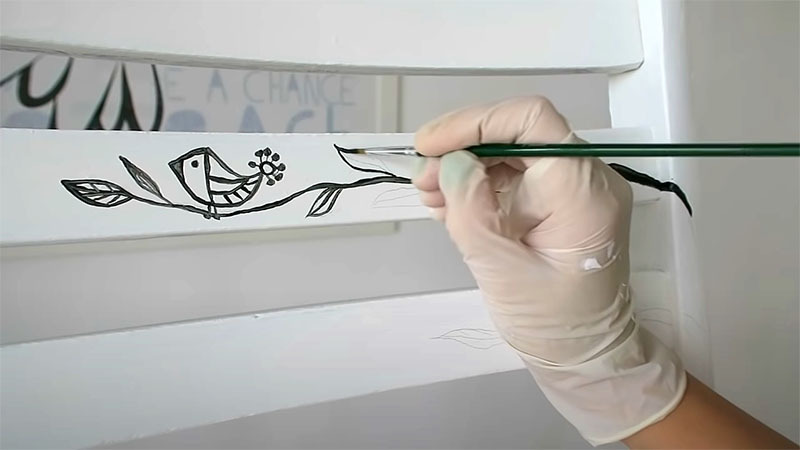
The pattern on the fabric is not complicated, which means that in order to draw something similar, art education is not required. After it is drawn with a simple pencil, a thin brush and black acrylic paint are used. Even if at first glance it seems that the drawing turns out to be too childish, you should not make hasty conclusions. Subsequently, this opinion will change. After all, what did the old people say? The fool is not shown half of the work. Completed work always looks much better than just started. In addition, here and on the fabric of the seat, the drawing cannot be called the height of artistic skill. And at the moment the task is to make the pattern look similar.

Applying a protective layer to painted wood
The drawing is applied, it remains to wait about two hours until the paint dries. Now you just need to apply a protective layer.
With a brush, a thin layer of acrylic varnish is applied to the surface. You shouldn't make it fat. If streaks appear at the final stage, it will be extremely unpleasant. Removing them is problematic, and these streaks will spoil the appearance thoroughly. Well, not really remodel?
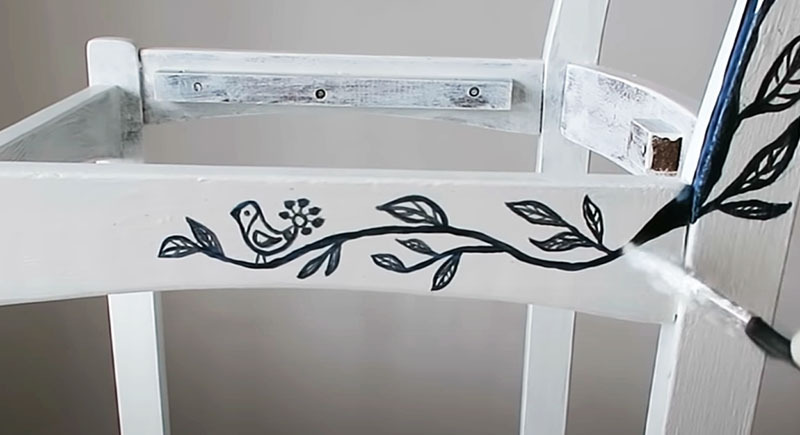
What happened as a result of the restoration performed
When the glue is completely dry, you can screw the seat in place and see what happened in the end. You can be sure that the home craftsman will be satisfied with his work. Of course, provided that all the steps were performed correctly.
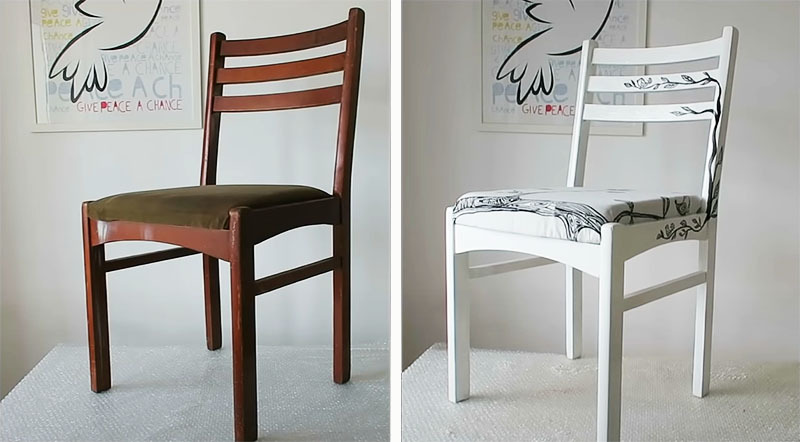
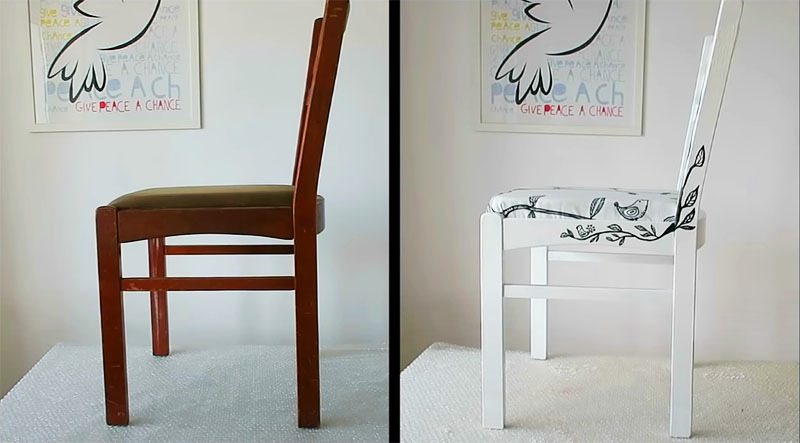
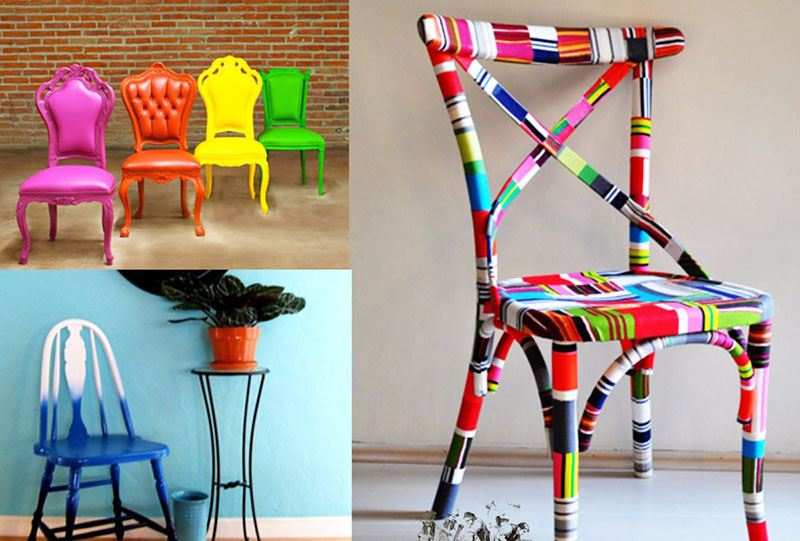
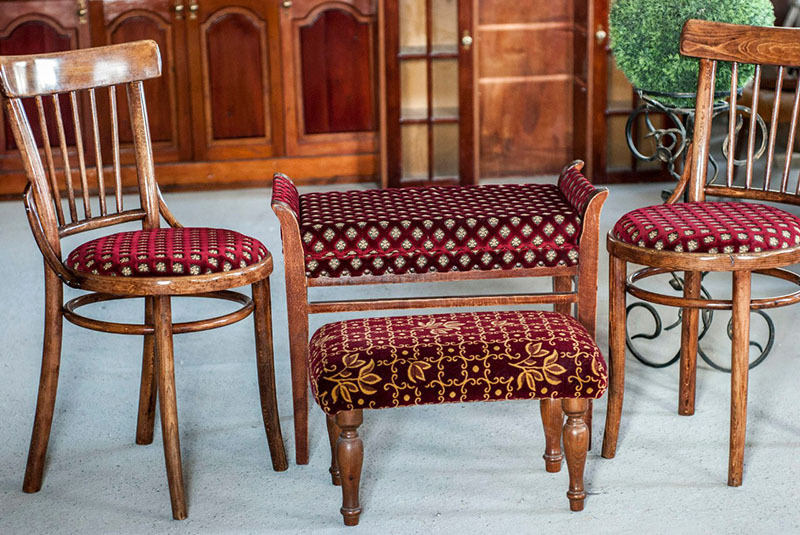
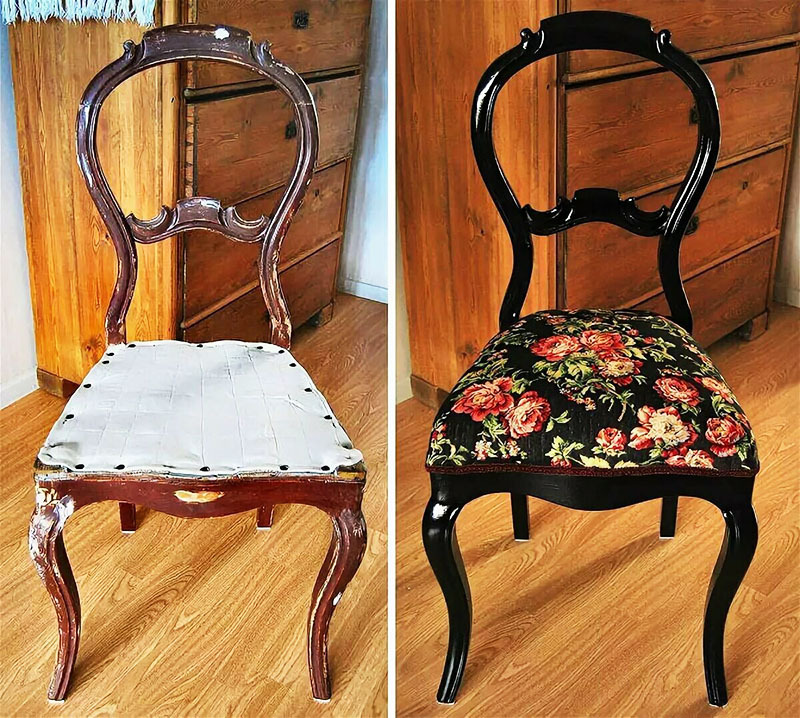
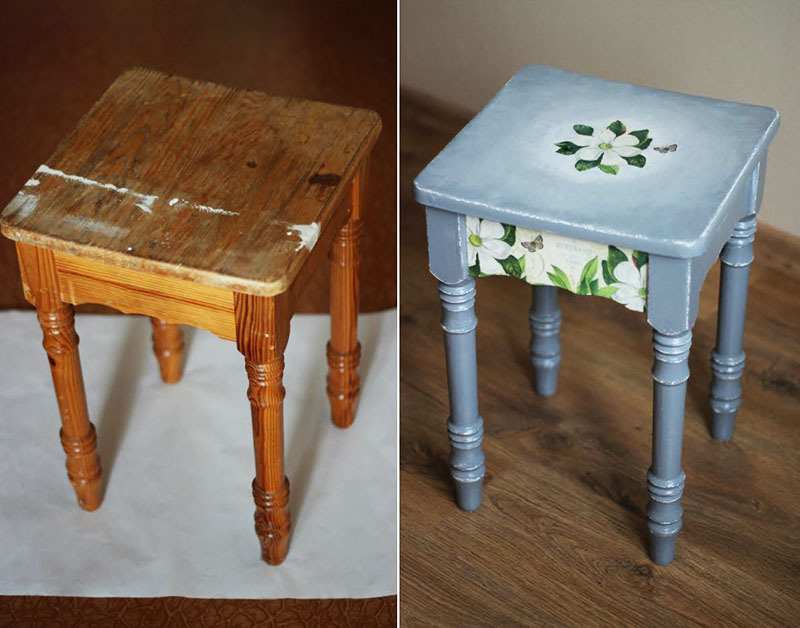
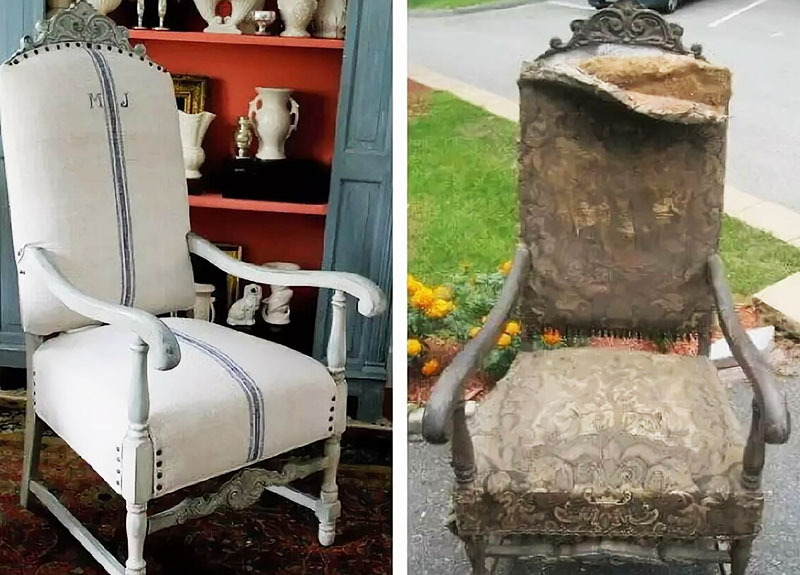
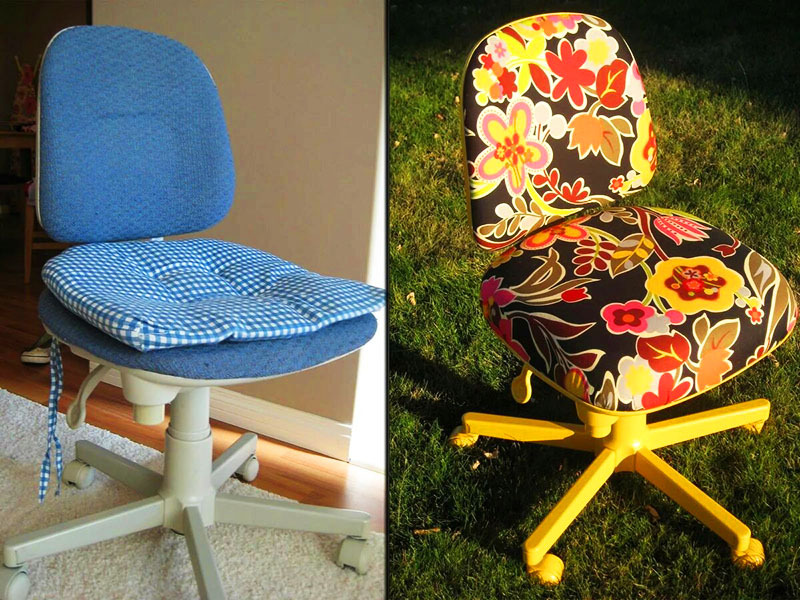
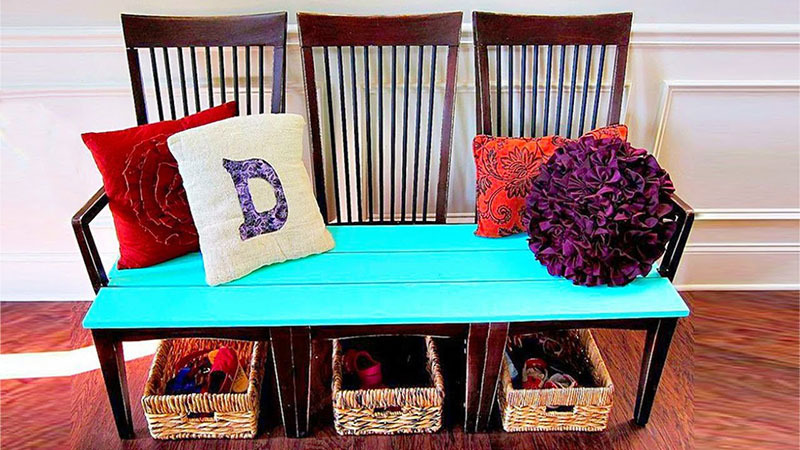
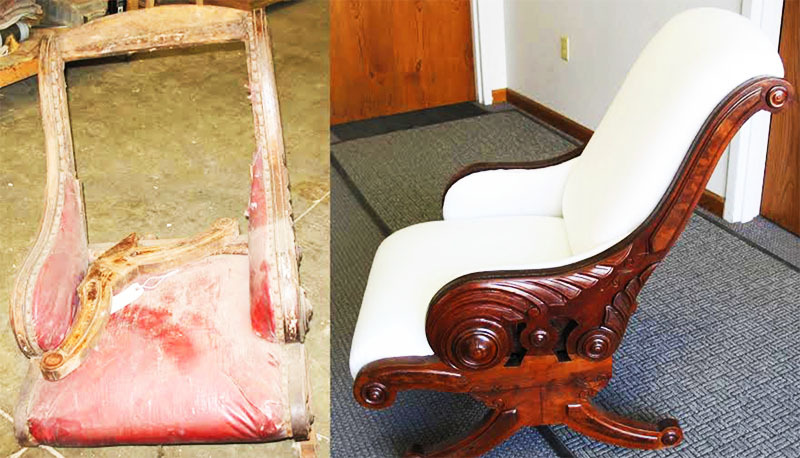
Photo of some ideas for updating the design of chairs, brought to life
Summarizing the above
Throwing away old, and sometimes even antique chairs is a crime. After all, if there is an opportunity to restore or update them, this is worth doing. Despite the fact that such work cannot be called simple, the result is worth it. Sometimes such chairs do not even need painting, a simple repair is enough. But modern life has taught most of us that it is easier to buy a new one in a store and not waste time, and old chairs are scrapped. But this is wrong. These chairs sometimes keep the memory of generations. So does it make sense to change them to depersonalized stools of the same type? Of course, everyone decides for himself. But the position of the HouseChief editorial staff is that old chairs should be given a second life. Moreover, during restoration they can be given any style, and they will easily fit into the renewed interior of an apartment or private house.
We hope that today's do-it-yourself workshop on the restoration of old chairs will be useful to our dear reader. If you still have questions about the above, ask them in the discussions below. HouseChief editors will be happy to answer each of them. There you can leave your comment on the article or share your personal opinion on whether it is worth doing such work. If you liked what you read, do not forget to rate it. And finally, as has already happened, we bring to your attention a short video that will more fully reveal today's topic.


