
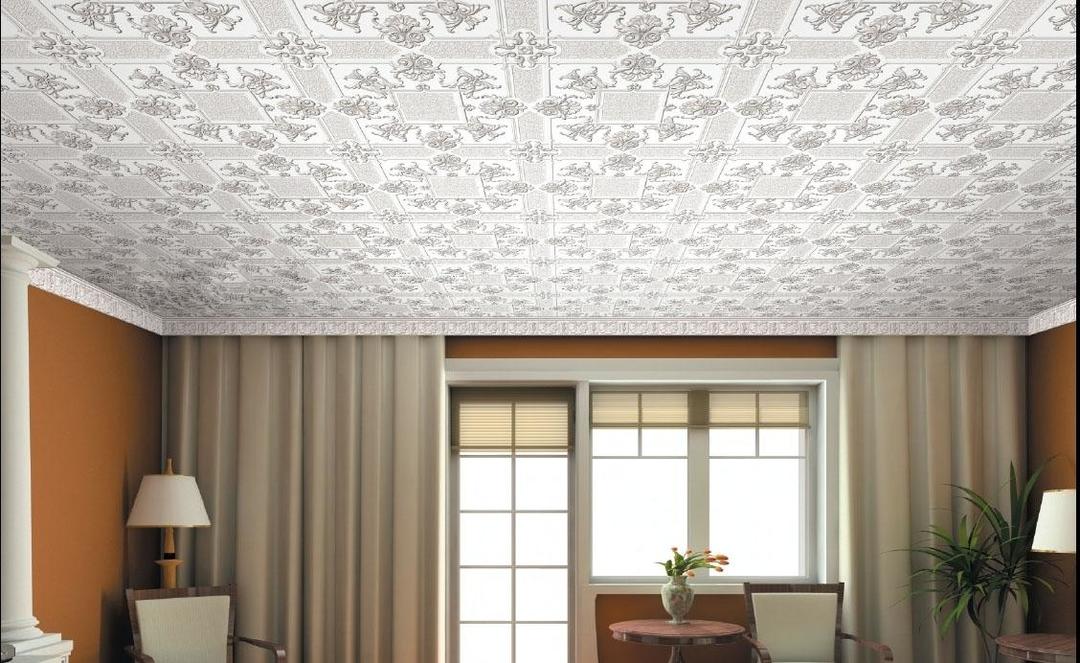
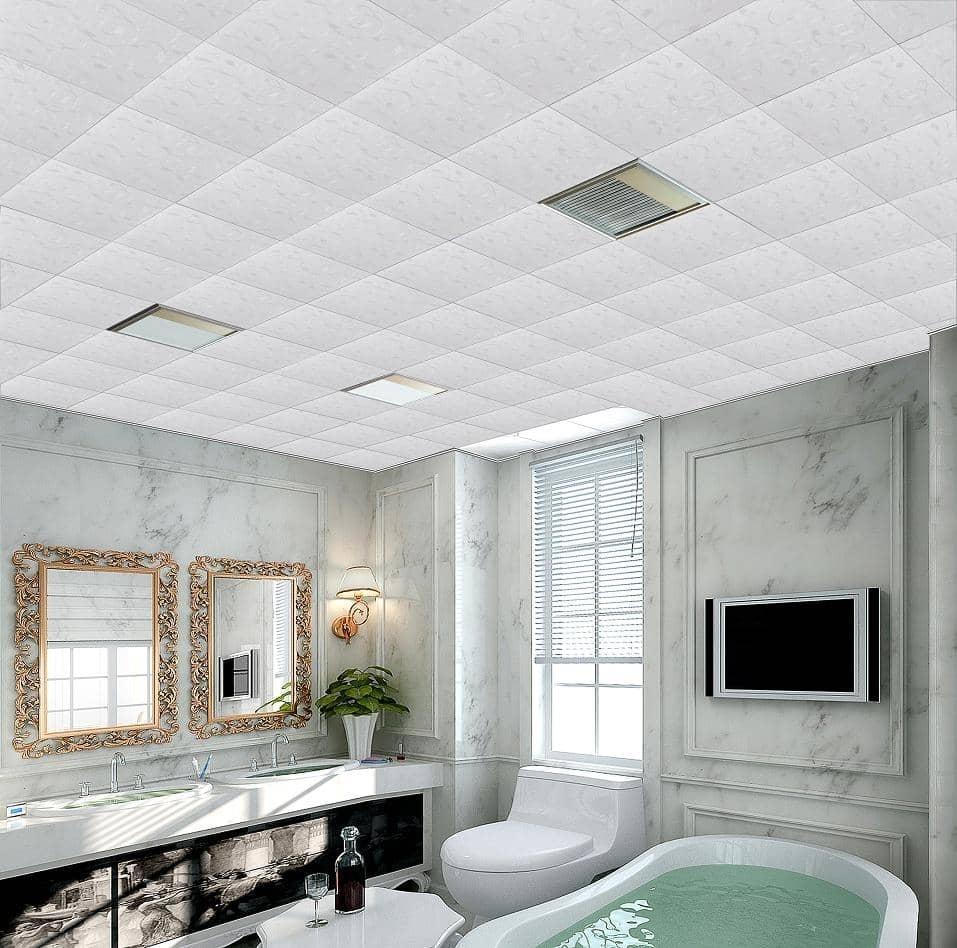
Perfectly smooth ceiling in the apartment - a rarity. Various flaws plates, their low-quality compound misalignment adjustment is a serious obstacle for repair. In order to cope with these shortcomings need the help of professionals. However, it does not always have the opportunity and reason to pay for expensive services. So you have to look for an alternative version of the trim, with which you can mask the defects themselves. One such material is a ceiling tile - beautiful, easy and affordable product. With it you can create a smooth and attractive finish which will delight you for years to come. In this article, we will analyze in detail the characteristics of different types of material, tell - how to calculate the necessary amount, and explain how to glue the ceiling tile.
Content
- Advantages and disadvantages
- Forms ceiling tiles
- plastic
- extruded
- foam
- injection
- By type of edge
- by drawing
- Calculating the number of tiles
- Choosing the glue
- Substrate preparation
- Schemes gluing tiles and ceiling layout
- Cleaning and putty joints
- conclusion
Advantages and disadvantages
Ceiling tiles made of high-tech modern equipment, thus ensuring a high quality structure and high operating performance of the material. It has many advantages, among which:
- great variety - products differ in composition, shape, style, texture, patterns and colors. Can mimic wood, glass, metal, fabric, leather;
- wide design possibilities - can be stacked and combined material in many different ways;
- a variety of forms - in addition to the standard, there are many options for design of tiles, which allows you to create a unique finish to any style, taking into account peculiarities of the ceiling;
- low weight - makes it possible to use an adhesive for mounting;
- easy installation - even a layman can handle it, and it is quite possible to do alone;
- good capacity for thermal insulation - this is particularly felt in the winter;
- insulating properties - a great bonus for getting rid of the background noise;
- the possibility of staining in any color;
- a wide range of products can be found in any store building materials;
- Low cost - is available to most buyers;
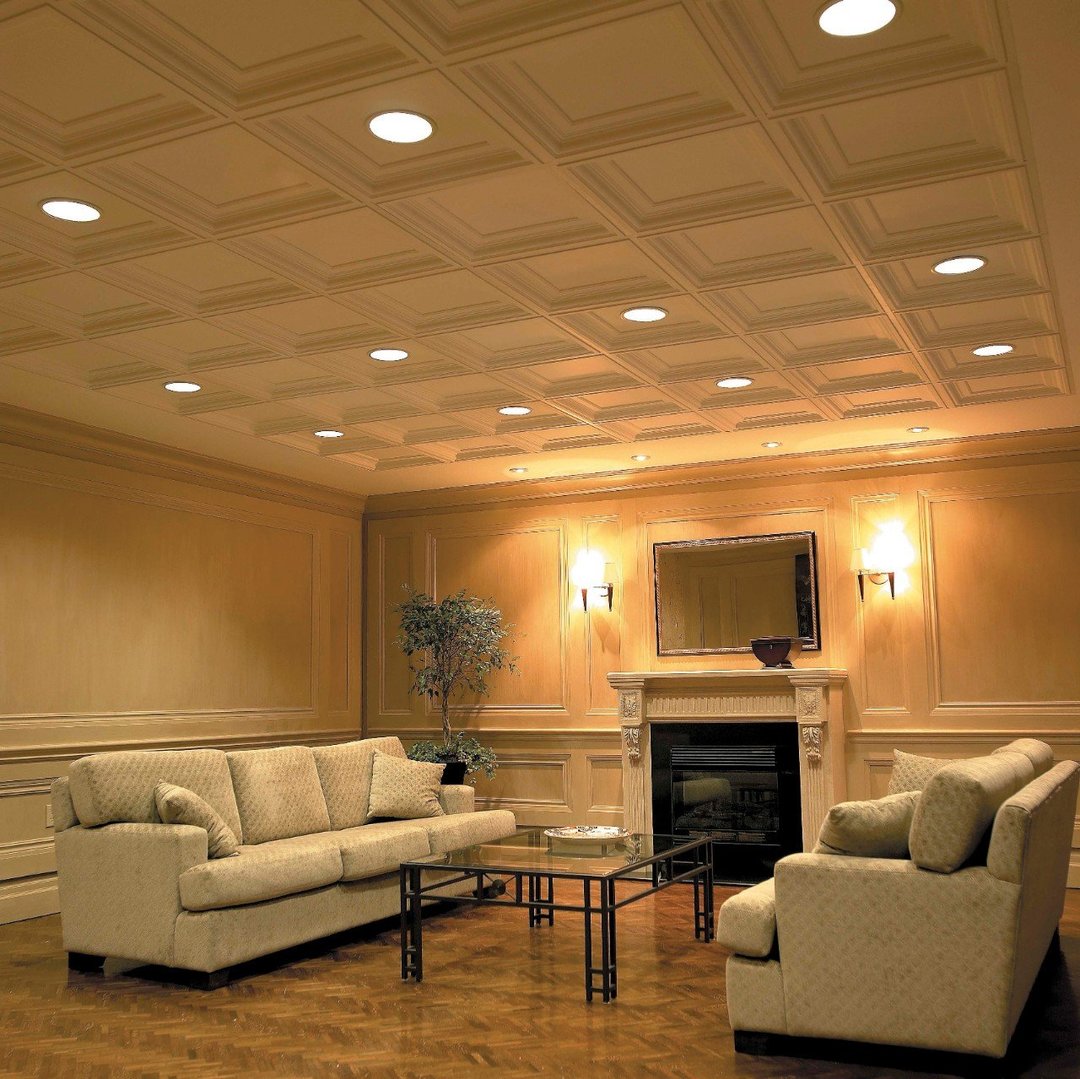
- It fits nicely in any room in the house. It is quite appropriate in the living room, office, nursery, bedroom, kitchen, hallway, bathroom, toilet. A variety of products allows you to choose the best option for any of the rooms.
In this case, this type of decoration has its drawbacks:
- material often have to be calibrated, as it may be non-identical. Consequently, the installation process may be delayed;
- Some varieties of tiles are highly fragile and can break. This leads to increased scrap rates and increase in the cost of repair;
- the tile is not deformed, for each species of the material is necessary to carefully select the type of glue;
- in contact with the adhesive on the front side, it is often impossible to remove completely, without damaging the surface. We recommend the installation of the most carefully;
- category porous tiles may shrink when the adhesive is applied and to pass it outside.


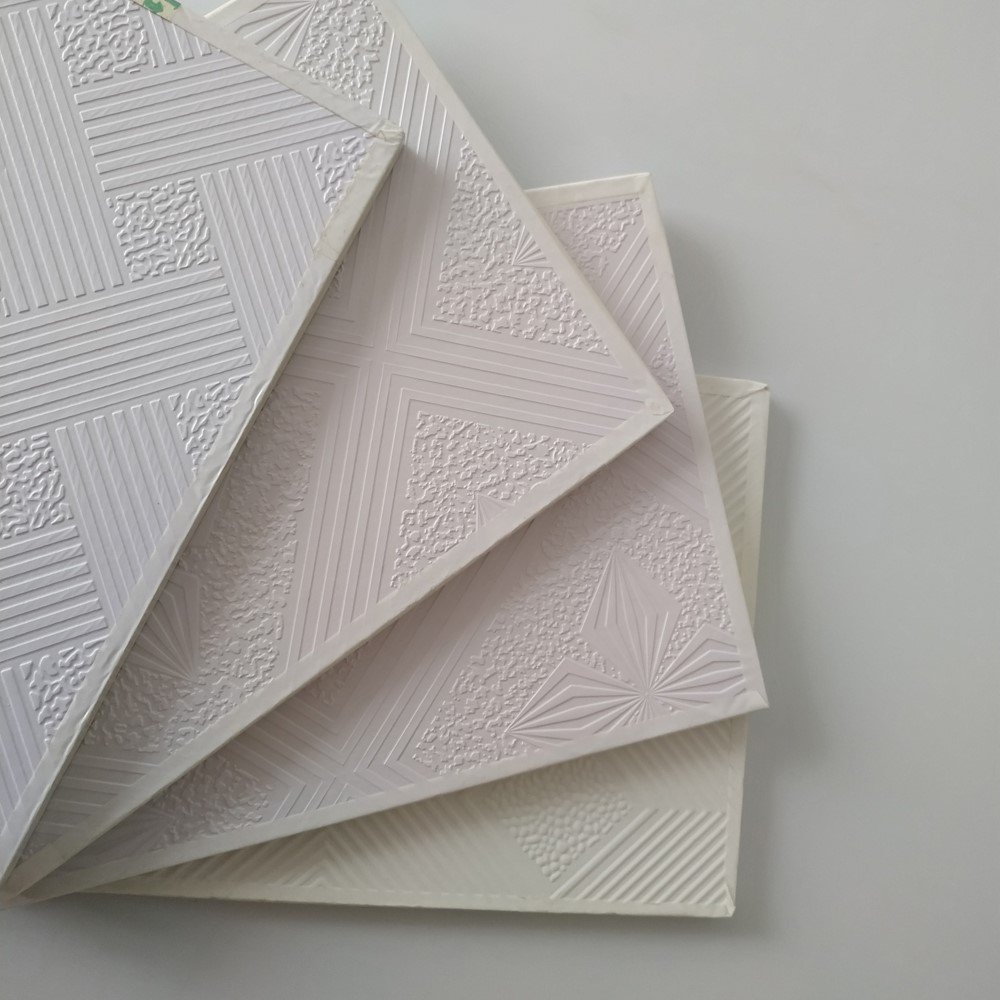
Forms ceiling tiles
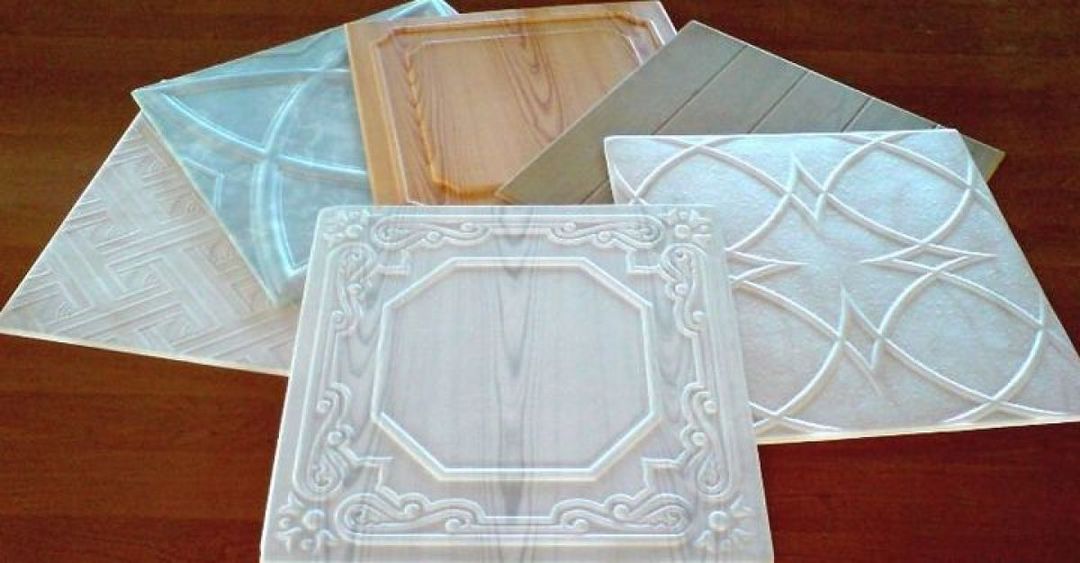
A variety of this material is impressive. Different types differ in texture, design, density and composition.
plastic
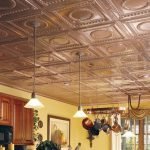
Tiles made of plastic, durable and lightweight, it is easy to wash and clean. However, it is not environmentally friendly material and burn in the sun, so it's best not to use it in a well sunlit areas - living room or nursery. But the bathroom is a great choice. In a moist environment under this tile is indispensable. It will not absorb water, it can easily be washed, not allowing the fungus to form. This tile - a good choice for finishing the ceiling in the kitchen, toilet, pantry and even a hallway.
Plastic tile has a number of advantages:
- reasonable price - innovative technologies have significantly reduce the cost of plastic manufacturing process, so the tiles of PVC is very competitive in the market of similar materials;
- speed of installation - the work of the most simple, is performed so as soon as possible;
- It allows you to create a unique design by an unusual location on the ceiling and a combination of different shades;
- tightness of the material makes it possible not to be afraid of the formation of fungus, which is especially important for bathrooms;
- hygiene - the material is not afraid of water, detergents and cleaning products, so keep it clean is a snap.
See also:Panels for ceilings: how to choose


extruded
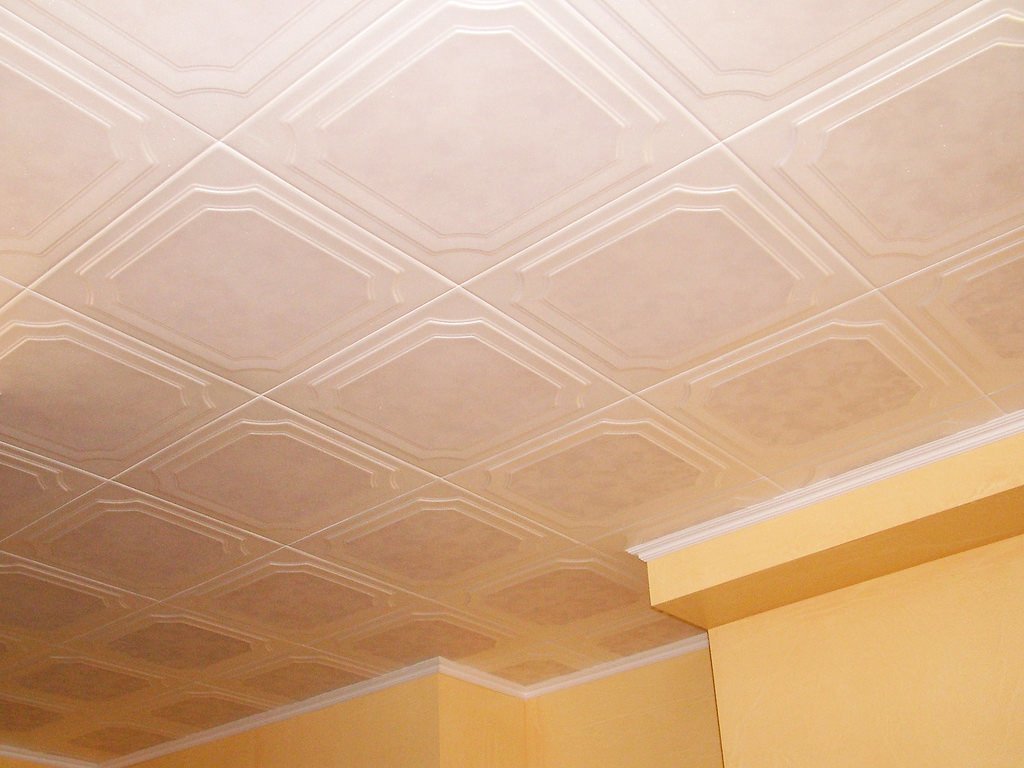
This is the most expensive material among all types of ceiling tiles. It is produced by molding with application of a protective coating as a film or staining. Tile different minimum thickness - less than 3 mm. However, it has high strength. Facing represented by a wide variety of colors and patterns. In addition, there are many options for products that simulate natural materials - for coloring wood, marble, granite. The surface of the laminated film products is tight, so it can be cleaned using detergents. This means that the material can be successfully used in wet conditions, the bathroom and the kitchen, where the ceiling is constantly exposed to attacks steam, grease and dust. Judging by the reviews of buyers is the most popular type of ceiling tile to date.


foam
The second title foam tiles - stamped. It is made by pressing. In most cases it has, on the front side of the embossed pattern, which is also pressed with a press. Tile has a loose, grainy texture and porous surface. Because of this, it can not be qualitatively clean and wash. over time, the pores are filled with mud, and the color fades material. The only salvation for such tiles can be a color, which must be done using acrylic paints dispersed. Water-based counterparts in this case do not fit.
The loose structure of the material does not provide sufficient strength. This tile is easy to break and crumble, so it is very difficult to trim quality. Cut edges must be hidden under the baseboard. To purchase items needed for facing with a reserve, the benefit is such that tile is quite inexpensive and do not hit your budget.


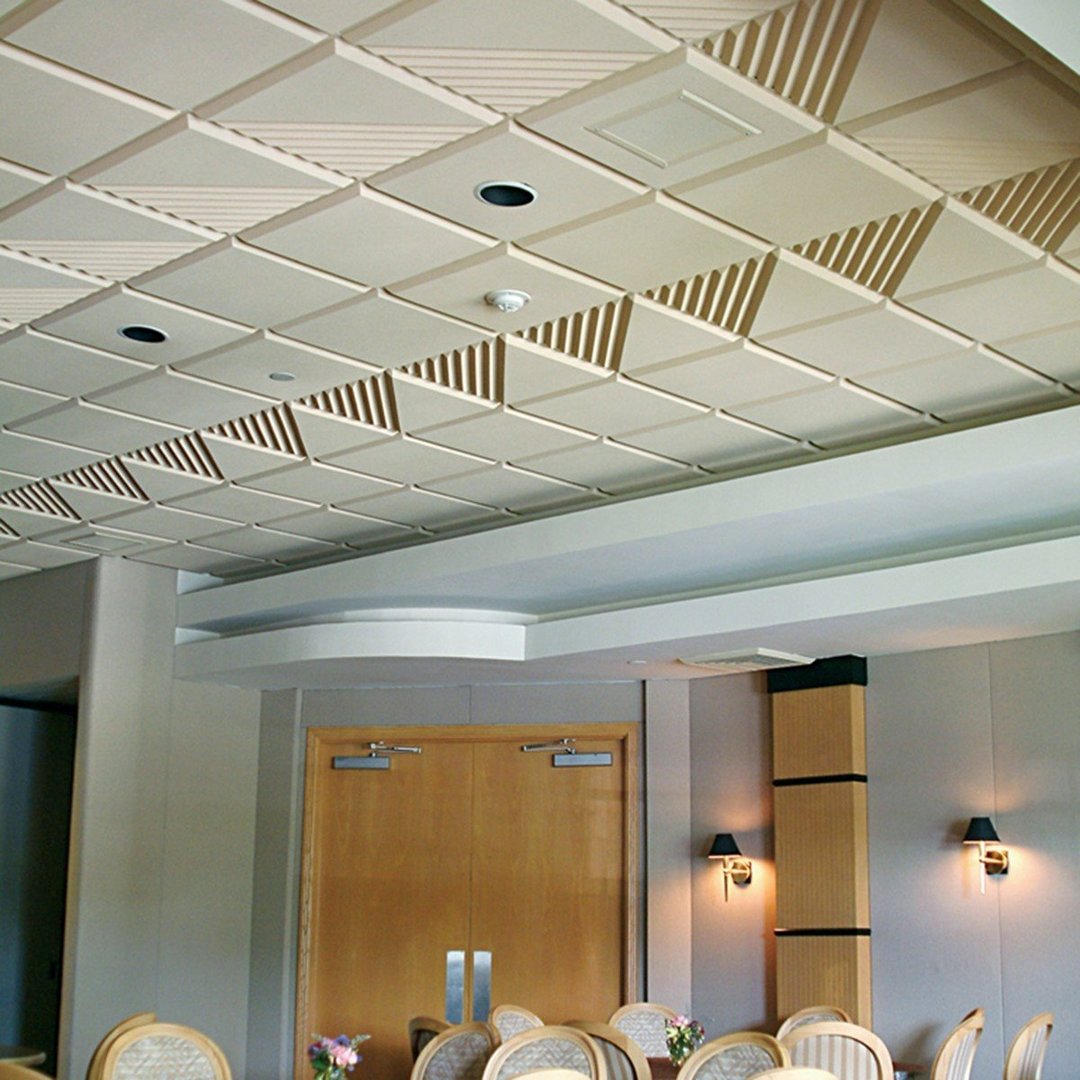
injection
During the injection tile production time using a mold in which the sintering polystyrene. Due to the resulting material has a much higher quality as compared to stamped analog. The thickness of this tile is from 9-14 mm.
Advantages of injection products
- They have good sound and thermal insulation properties.
- The edges of the products are of high quality, so that the seams on the coating formed by them practically invisible.
- It requires no calibration, because it has the exact dimensions and has a distinct pattern.
For all the merits it should be noted that the material as well absorb water, like the previous version, and its fragility does not allow to withstand even minor mechanical damage.


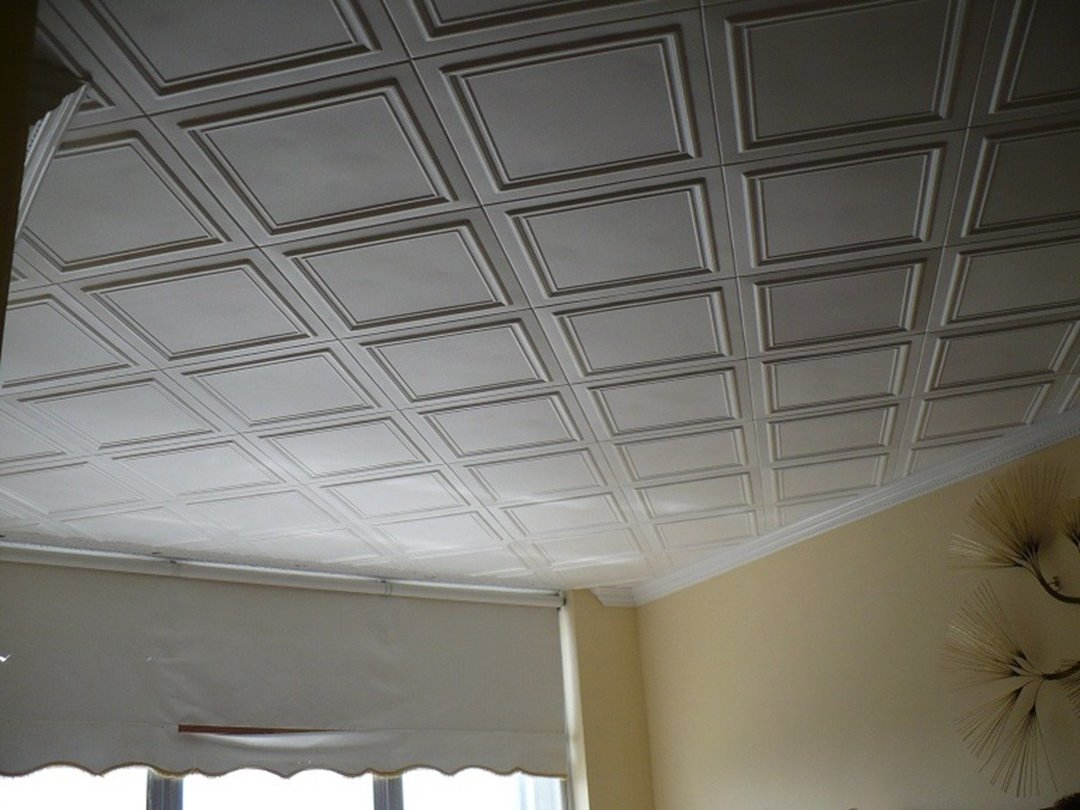
By type of edge
The edges of the ceiling tiles can be made in different ways. It depends on it - how it will look in the finished lining the form.
There are models in which the bezel is made:
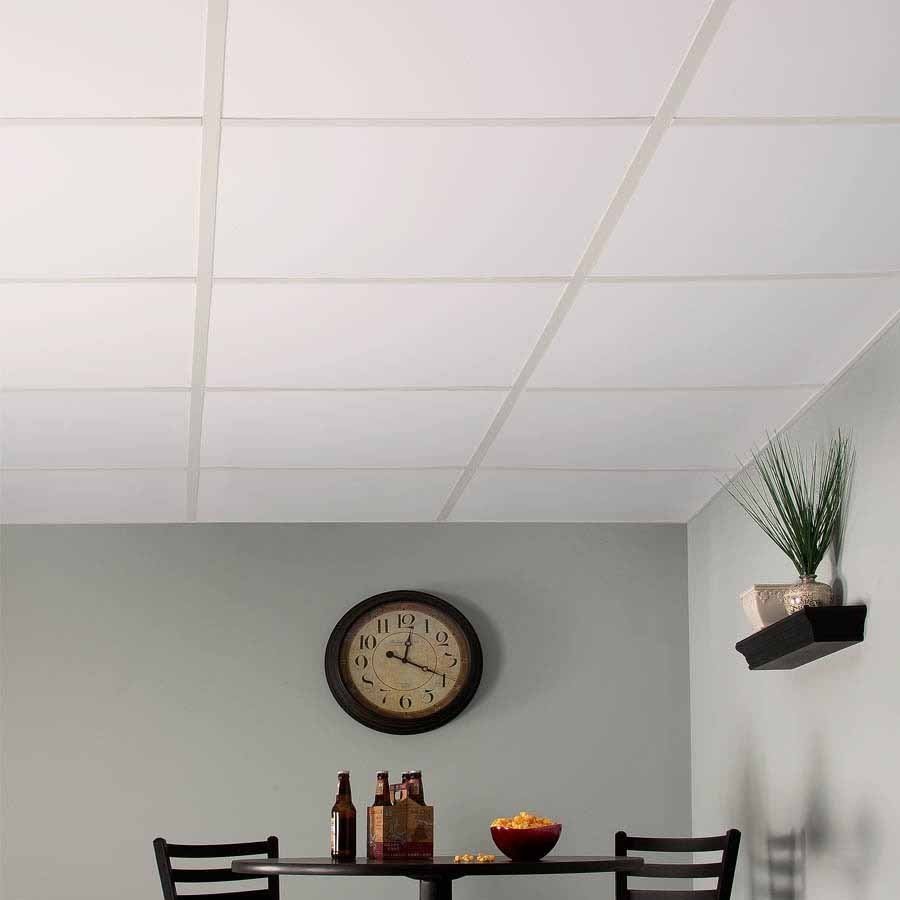
- with evenly cut straight edges without bevel. When mounting such material the seams will be the maximum imperceptible. This so-called seamless tile;
- with sharp edges or frames - form beautiful patterned coating;
- with uneven winding circuits - the works of design art, which allow you to create original and effective compositions on the ceiling.
Regardless of the type of edging installation process remains unchanged.

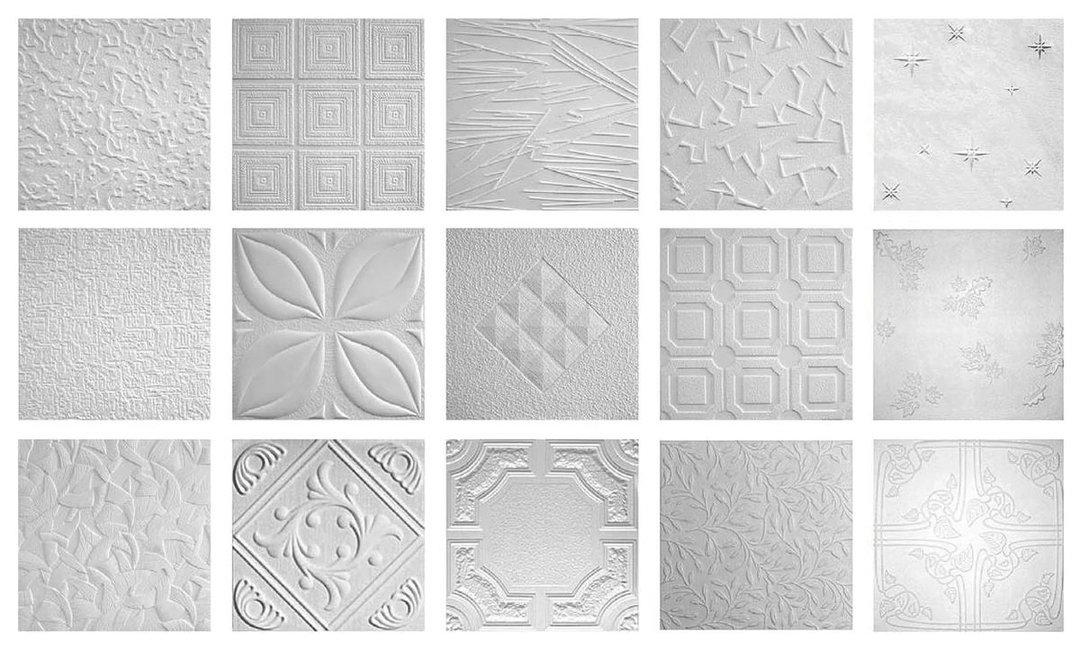
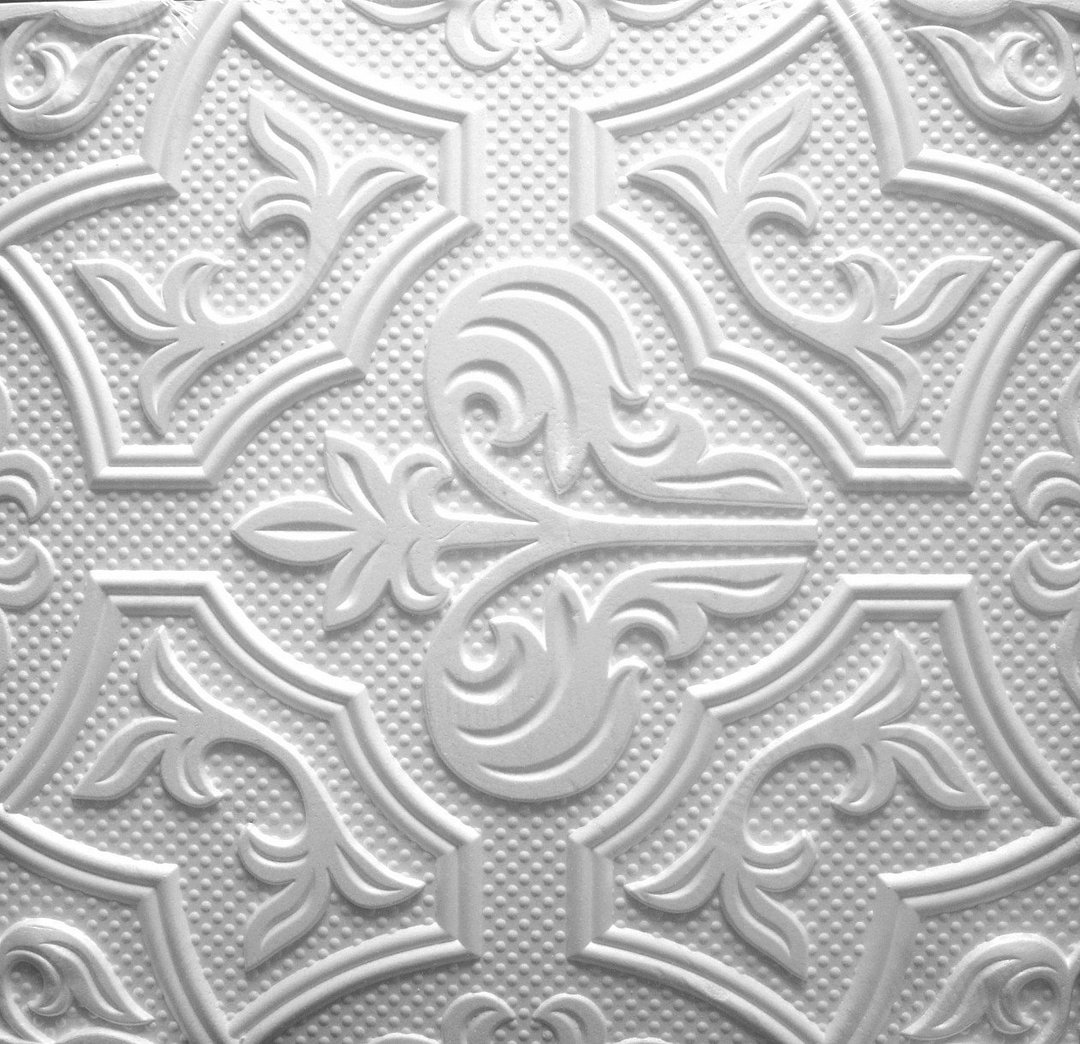
by drawing
Today, the material is produced with a huge variety of patterns and designs. There are products with:
- patterns in the form of geometric figures or lines concise;
- floral ornaments;
- imitation lace;
- ornaments, under plaster moldings;
- imitation wood, natural stone, bamboo straws;
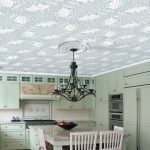
- photo printing - especially popular to decorate the ceiling tile with a picture of the sky with clouds.

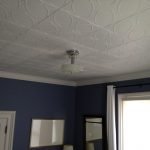
Tile, devoid of prints - neutral. It can be used as a stand alone material or combined with textured or painted elements. A little imagination and you have a beautiful, stylish, and most importantly - exclusive ceiling.


Calculating the number of tiles
Once you have decided on the kind of material and its design, it is necessary to calculate the required number of tiles. So you know - how much material you will need to cover a certain area. We recommend purchasing panels with a reserve in case of damage and rejection of products. In tiles can be broken corners, edges. When cutting and trimming may be a mistake, and then the material may not be enough. Buy more merchandise in the store is not always a good way out of the situation - it is possible that he will be out of the other party and will not be identical to the previously purchased. Therefore you should always buy 10-15% more.
See also:Black ceiling in the interior 75 photo
The calculation is performed as follows:
- Measure the ceiling and calculated its area.
- The area is divided into the ceiling area of one tile and the number of turns required cladding elements.

Choosing the glue
Outcome lining depends not only on the tile selection, but also on the quality of the glue. It must be resistant to moisture and temperature changes.
The main points to consider when selecting an adhesive:
- It should not be based on the solvent, which will destroy the material already during the application on the tiles. In addition, such adhesives contain toxic substances that negatively affect the health of people. The basis of the composition should be water.
- The adhesive properties of the mixture should be at the proper level. Otherwise, a good fix tiles on concrete or covered with putty bases will not work.
- Better to choose thick glue. He will hold the panel to prevent them from slipping. When using the liquid formulations have to wait for time to give them a little bit thicken. Only after this ceiling elements can be pasted. As a result, he spent too much time and the process is much slower than planned.
- It is not necessary to use a quick-money. Tiles must be adjusted, and this should be the time. Otherwise it will be impossible to correct inaccuracies.

Substrate preparation
Before you begin gluing the tiles should prepare the base of the ceiling.
First of all, you need to remove all the lighting devices, disconnect the cable and insulate the bare wires. Next, you need to remove the old finish, and it must be done with utmost care.
Selecting surface purification technology is made depending on the material to be removed.
- Whitewashing - it is necessary to dilute it using clean water. It will be enough to make it 2-3.
- Caulking or decorative plaster - pre-moistened with water and remove sharp iron scraper.
- Ceiling tiles - is torn off by a scraper, we clean the place with the remains of tiles and adhesives.
- Wallpaper - richly moistened with warm water and leave for full impregnation. Periodically sprinkled with water from a spray to prevent drying of the upper layer. Then remove the macerated material scraper without leaving paper and adhesive particles.
- Oil paint. It is necessary to scrape off, or to achieve good adhesion will not work. Use a scraper, a drill with a sanding nozzle or a pickaxe.
- Vodoemulsionku. If a weak composition is washed off with water as whitewash, the solid must be removed mechanically. Once the paint is stripped, wash the surface with soap and water.
If the layer of plaster or filler is strong enough to take it is not necessary.
After purification visiting the old base material. When detecting defects or surges exceeding 4-5 mm, produce alignment using the putty. After this, primed concrete or plaster surface to provide qualitative adhesion to the base tile. The primer should be applied 2-3 times, waiting for the complete drying of the previous layer.

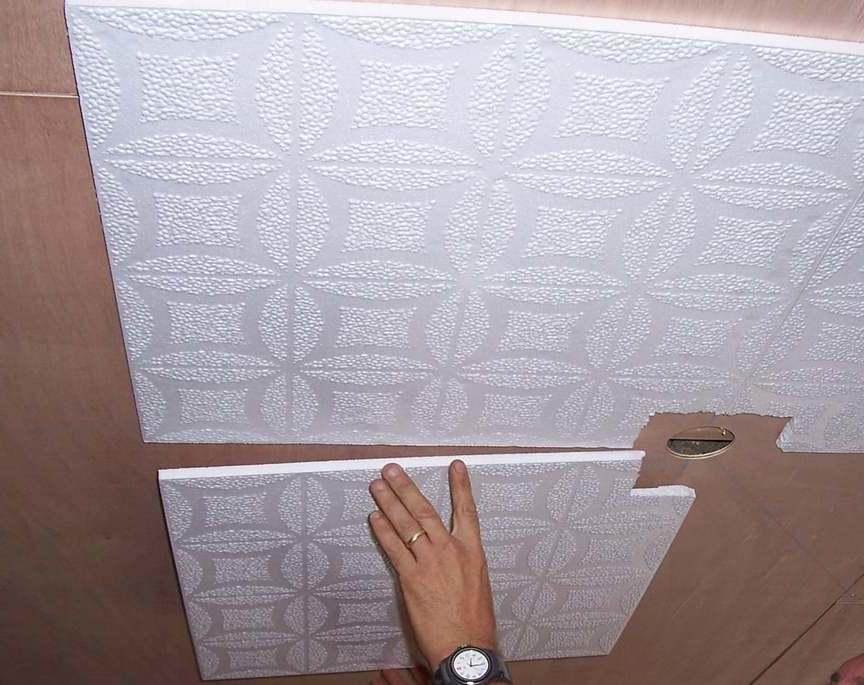
Schemes gluing tiles and ceiling layout
Because of the mistakes made during installation, even the most beautiful tiles will not look in the best way. To finish turned out spectacular and harmonious at the same time, you must draw a tile layout scheme. To do this, make measurements of the walls - keep in mind that the opposite walls may have differences in size. First, draw a plan on paper to scale. This is necessary in order to accurately calculate the number of plates and the order of their placement. After that, the drawing should be moved to the ceiling. You will need a ruler, pencil, square building and twine. The layout is made depending on the selected scheme. The method layout is determined by the height of the ceiling and the ideas of the designer.
See also:What to do with the low ceiling: Design Tricks
laying schemes:
- Classical. Tile is located in serried ranks along the walls. Pasting starts from the center. The decision to choose this method of installation shall, if they want to create a complete surface with a seamless tile. Another version of the classic version - with sliding the styling of each one half tile - like brickwork. Such ceilings look more interesting and airy. For this method, purchase a tile with a stock - will be a lot of scraps.
- Diagonally. Universal method which is suitable for lining the ceilings of all sizes. Partitioning is performed along the diagonals so that the styling was carried out along them. Start gluing need from chandeliers. It should be fixed on the center of the first square. It should be placed at an angle of 45 degrees with respect to each of the walls. To find the center is used tensioned thread. According to him it is possible to hold the diagonal. To the central element firmly attached next tile until until the entire surface is laid. Plates should be held strictly on the planned lines. Laying rhombus ceiling makes luxurious and presentable, visually adjust the dimensions. One minus - scraps remain much more than the traditional method.
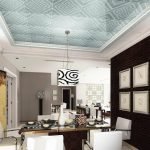
- The staggered. Equipment for "chessboard" in the ceiling panel will need two colors. Impressive look contrasting combinations - black with white, red, yellow, blue. It is important that the colors chosen were supported by the rest of the interior space. Starting from the center and pasting continues until completion. The rows of tiles arranged parallel to the walls. An additional advantage of this method is that it can be used to divert attention from irregularities base.
- Snake - is performed on the diagonal layout. It is important to choose a well combined with each other color. You can choose close or, conversely, contrasting shades and stick tiles prepared in accordance with the pattern. If the idea is to put a ceiling snake came up after buying a monochromatic tiles, or in the store is not found the material in suitable colors, the elements can simply be painted in colors that are suitable for this interior. Need white acrylic paint and two colored caramel.
With step by step instructions gluing tiles are available on video.
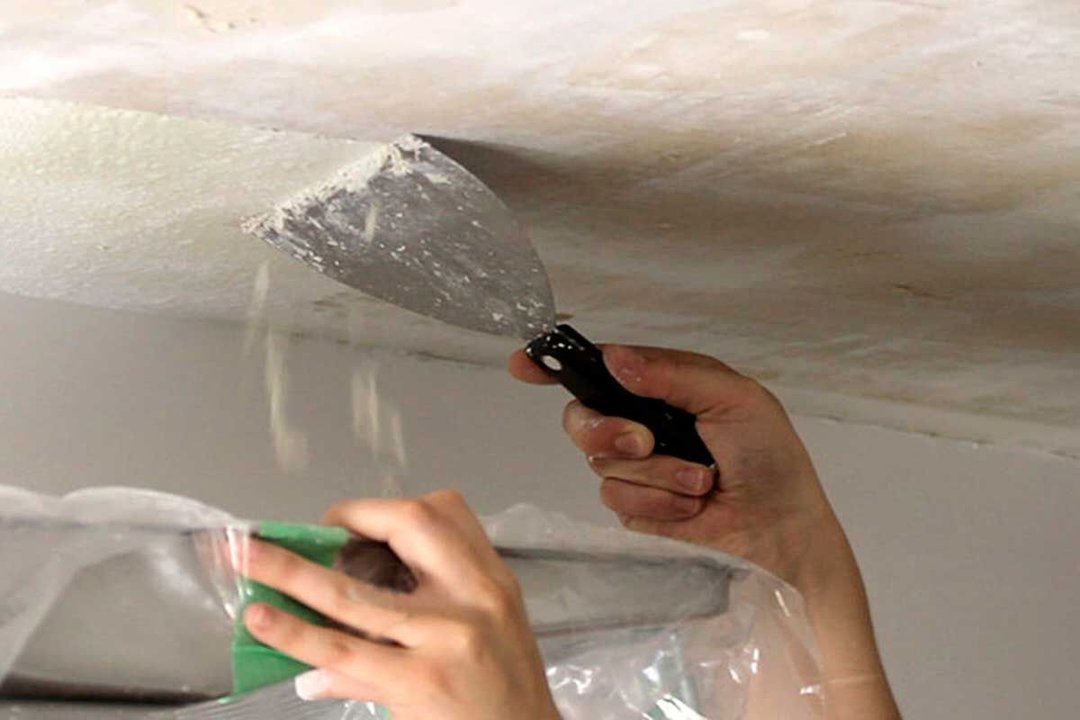
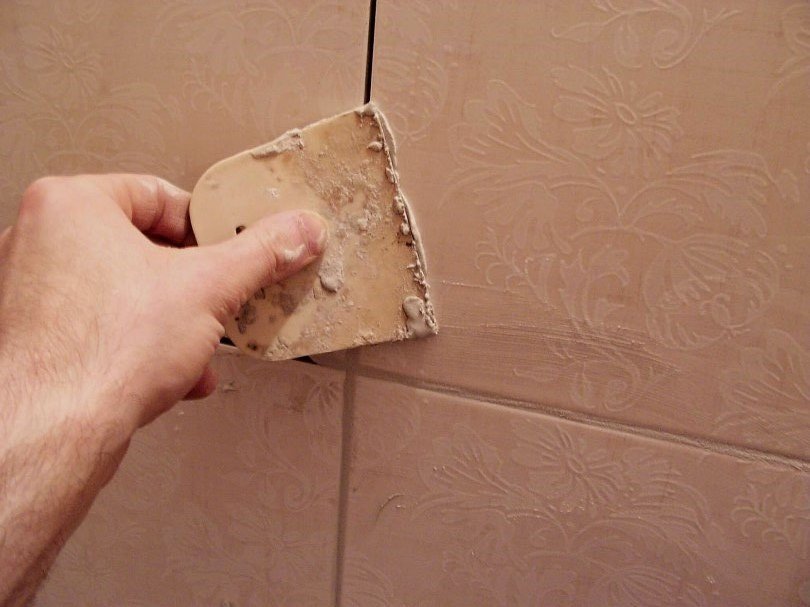
Cleaning and putty joints
After gluing panel surface must be cleaned from accidentally fallen on it or by speaking glue seam. It must be removed completely and not to postpone the case indefinitely. Wipe it with a damp sponge or cloth of a soft washable fabric. A few seconds delay can lead to the fact that the spot zastynut and will not be able to scrub. Therefore, while the nearby keep a rag and a bucket of water, and do not forget to clean each tile immediately after gluing.
If you did not put the tiles back to back, do not worry. Fill small voids with putty, which was used for the installation, or putty if it matches the color of the tiles. Well mask the joints with acrylic sealant white. It perfectly adheres to the facing materials and perfectly hides all the cracks. To fill the gaps, use a small rubber spatula. Smeary seam, immediately wipe off the excess with a damp sponge or cloth. If the seams are sealed carefully, they do not spoil the appearance of your ceiling.
conclusion
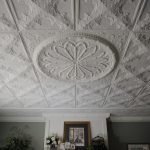
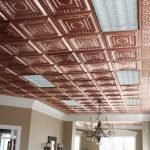
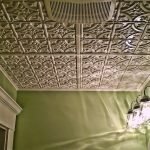
Now that you know how to use ceiling tiles can be your own hands quickly and easily, and most importantly, inexpensive to repair the ceiling. Design diversity of this material allows you to create a harmonious ceiling coverings for any style. Examples of interior with the ceiling tiles look at the photo.