Shopping - a very handy household item. With it you can go to the market for shopping, it is possible to add a lot of detail.
We offer you a few simple configurations for the manufacture of baskets with your own hands.
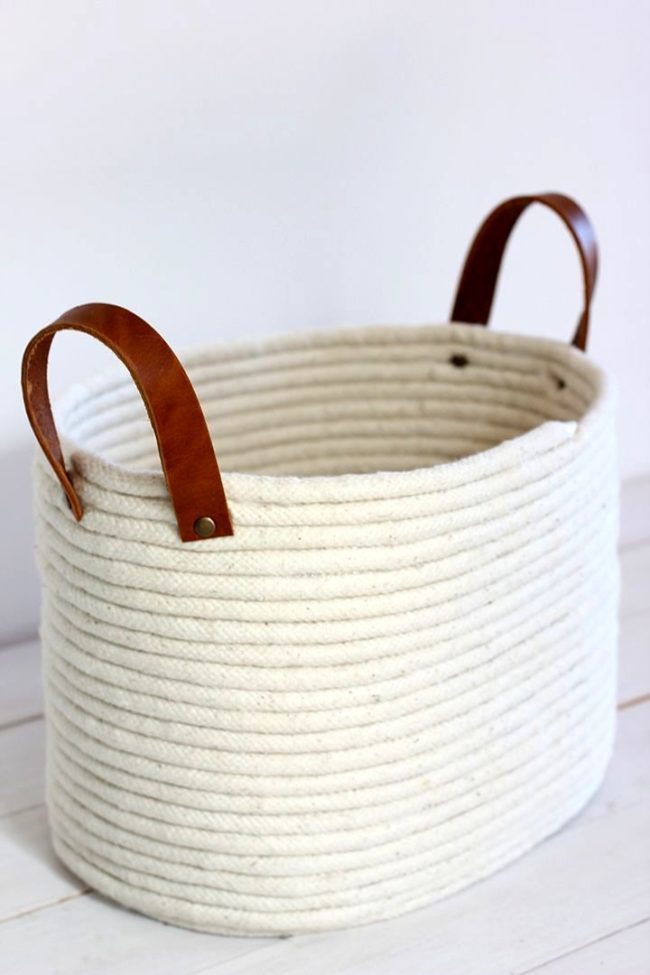
For the first option, you will need a long thick rope, glue-gun and convenient form. It would be the best conventional bucket round or oval. Thanks to the stable form of the basket manufacturing process will go faster, and the product will turn out perfectly smooth wall.
You will need:
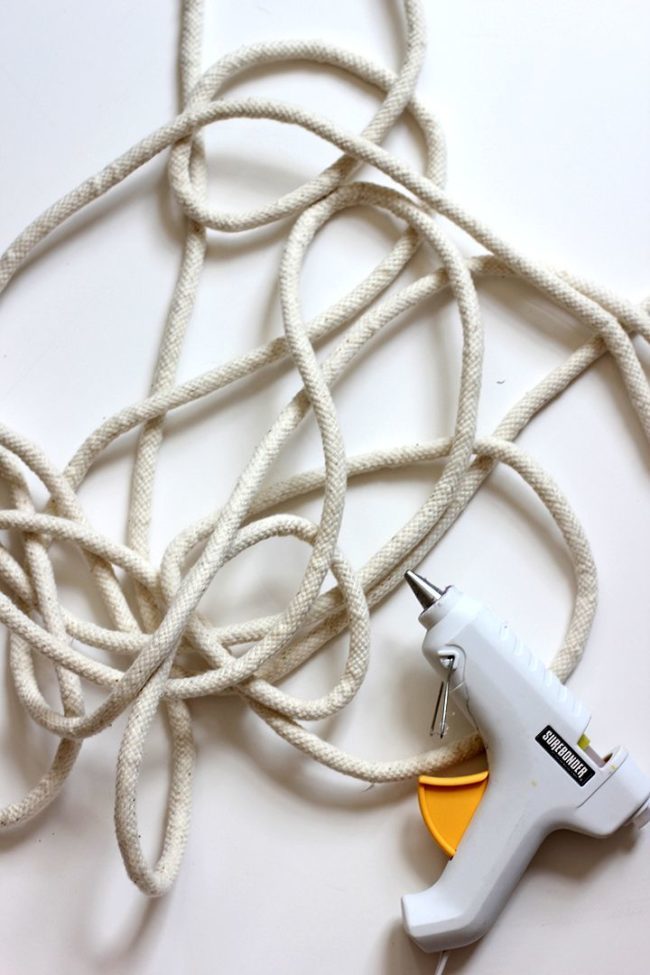
- rope (diameter 0.5 cm);
- gun with glue;
- bucket;
- scissors.
Step-by-step instruction:
- Make the bottom of the basket
Fold the rope in a circle, placed at the bottom of the bucket. Fasten the result by means of an adhesive. Leisurely wrap one circle to another rope, securing it with glue. This should be done until then, until will be completely wrapped in the bottom of the bucket.
- marginalia basket
After completion of winding the bottom is necessary to make additional rotation, gradually moving the rope to the bucket walls. Next, wrap the circles on the wall, parallel to the gluing rope.
Be careful! Do not stick to your shopping cart metal or plastic buckets!
Remove the container from the weave. Glue the end of the rope.

- Pens
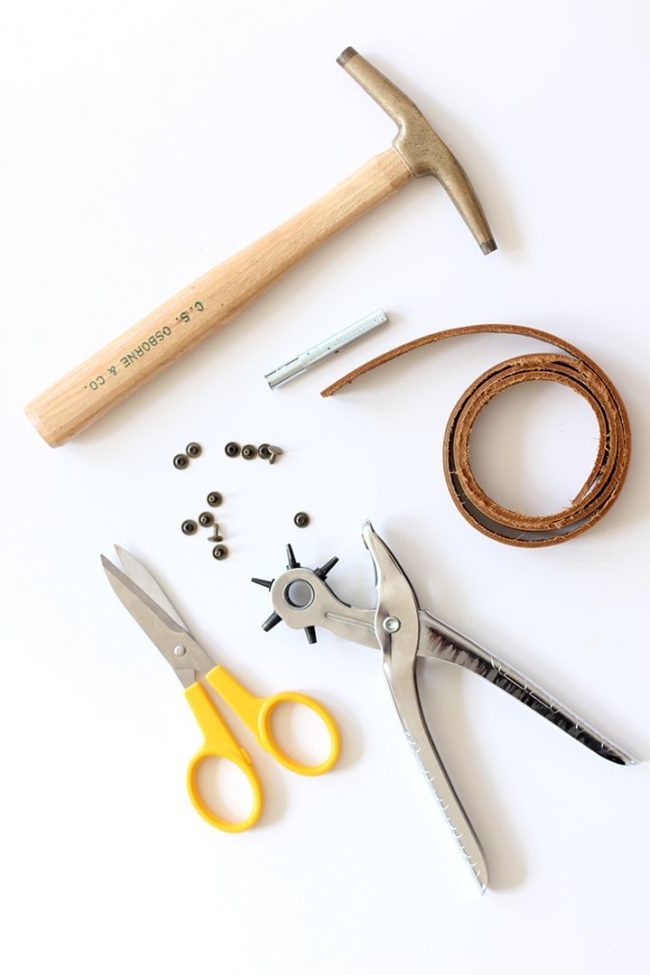
In the photo you can see leather handles. You can also use leather or leatherette or use a cord or ribbon.
- Take two ribbons or ropes of equal size;
- By rivets fasten them to the basket.
Content
- Cart "in the bag": a plastic container + yarn
- You will need:
- Step-by-step instruction:
- Wrap the wall
Cart "in the bag": a plastic container + yarn
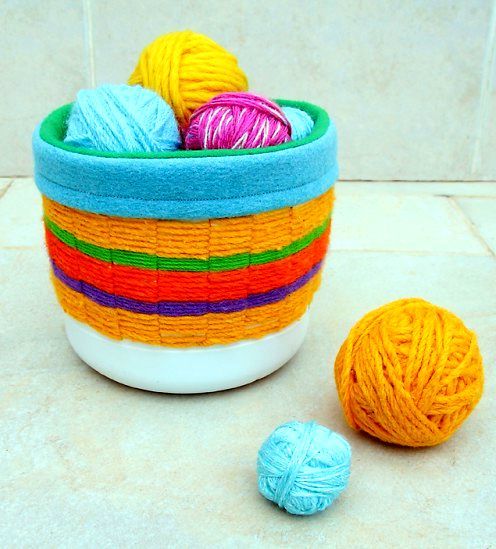
This version of the product should be even cheaper. You do not need a thick rope: You can use any available in the house with thick thread.
It seems as if the photograph shows a container with a cover, but it is not so. Not necessarily be able to knit.
You can use similar containers for different purposes - and as pots for flowers, and as the basket for various trifles.
You will need:
- large plastic bottle (5-6 liters) or plastic bucket;
- thick filaments (preferably select different shades and thickness);
- scissors.
Step-by-step instruction:
- get rid of the upper thicker part pail with scissors;
- Wash and dry the container;
- start to make cuts of the same size, pre-painted marker. A little before reaching the bottom, leave a few centimeters;
- ideally should have an odd number of bars. Choose the width of the bands themselves.
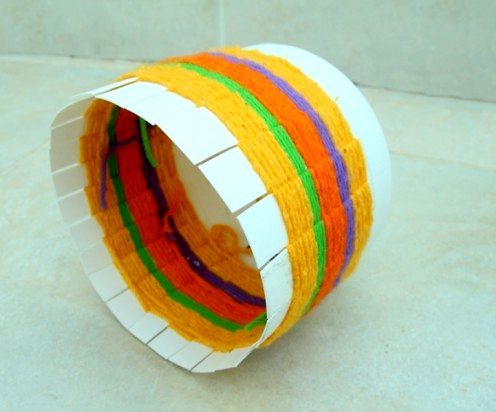
Wrap the wall
Tie a string around one bar, leave the knot inside the basket. Begin winding strip, one after another.
For the brightness pattern is better to use several kinds of thread.
When you get to the top, the result is secure with glue. In the presence of the cover (as pictured), comes to an end is not necessary.
