- How to sew a toy? Tips for beginners
- Master class for making toys
- How to sew a toy on hand?
The current market of children's toys is simply oversaturated with the assortment and variety of choice. Unfortunately, despite such wealth, it is quite difficult to find a quality and safe toy for your baby, and it is not cheap. That is why hand-made handicrafts are so valuable today. If you decided to make your child a loved one or a bunny with your own hand, we will tell you how to sew a toy at home quickly and accurately.
to the contents ↑How to sew a toy? Tips for beginners
Making this gift to your child is one of the best manifestations of parental feelings. During the work, you put all your love into the product, and by connecting a little imagination, you can satisfy even the most demanding connoisseurs of toys. To create it you do not need a lot of materials. Many parents often use what they already have at hand. Well, if you decide to go seriously to this matter, then all the necessary materials and accessories, you can buy in a special store for needlework.
Choose a fabric for the toy
You can choose absolutely any fabric, focusing on its tactile sensations and its taste preferences. Masters are most often chosen:
- Cotton. This - the most ideal option for sewing toys with their own hands. This tissue is hypoallergenic, and due to its pleasant texture and a large assortment of various colors, you can create a toy that will grow fond of your baby.
- Knitwear. Also a soft cloth, with an admixture of synthetic fibers. If you intend to make a large number of toys, you can safely purchase it.
Important! For a single tailoring, it is better to avoid knitwear, and to choose cotton materials.
- Wool. This is a rather often used fabric in the sewing of toys. In general, it acts as additional shreds or other decorative elements.
- Silk. It is used to make additional accessories that are attached over the background fabric.
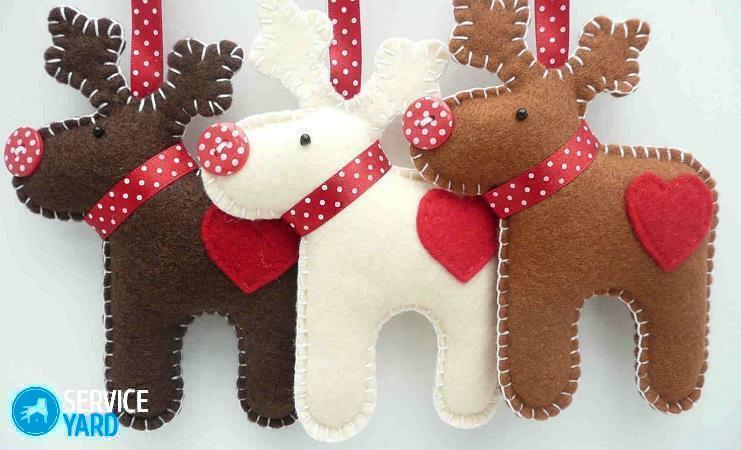
- Felt. To date, this is one of the most popular and inexpensive materials for the manufacture of children's toys. His popularity, he received due to the properties of good shape, does not shoe and do not shed.
We choose the packing
Also important is the choice of the inner stuffing of the toy. The most popular materials:
- Hollofbayber;
- Wadding;
- Foam;
- Synthetic down.
Important! If you want the toy not only to arouse the aesthetic pleasure of the baby, but also to develop fine motor skills, you can use buckwheat, rice or peas instead of the standard stuffing. The most important thing is to pre-dry the cereals before pouring them into the toy.
Tools for working
In addition to the above materials, you will also find useful:
- Scissors;
- Needle;
- Colored thread;
- Various decorative accessories, for example, tapes, buttons, beads, lace;
- Ruler;
- Removing;
- Paper;
- Sewing machine;
- Iron.
Master class for making toys
We bring to your attention several ideas how to make a toy with your own hands made of fabric. This process will not take much time, but in the end it will bring joy to you and your baby.
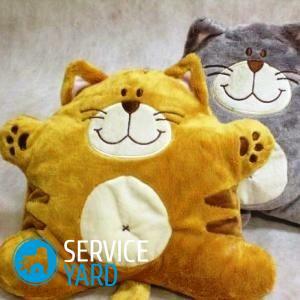
Kitty made of felt
This is a very bright and original toy that leaves no one indifferent and causes affection not only in children, but also in adults. For its manufacture you will need:
- Color felt;
- Filler;
- 2 beads( for the eyes);
- Various bows( optional);
- Colored threads.
How to sew:
- On paper, draw a drawing of your future kitten, cut it out.
- On the pattern, transfer the pattern to the fabric and cut out 2 parts.
- Then make out the face. Beads will play the role of eyes, and cilia can be made from thread or black line. The nose and mouth should be sewn with black thread.
- Stitched stitches with a stitching seam, but not all. One side should be left.
- Through the non-sewn hole fill the product with stuffing material and stitch it.
That's all. You can additionally decorate your kitten with ribbons, beads, embroidery or shreds.
All the beloved bunny
In order not to spend much effort, but at the same time the finished toy turned out to be original and nice, you can use the most common sock.
Important! It is best to use a soft terry toe. In addition, that your bunny will be rather unusual, such a toy will contribute to the development of your baby's tactile sensations.
In order to make a toy rabbit, you will need:
- plain socks;
- Pompon( you can buy it already ready or make yourself);
- Felt;
- Thin rubber bands;
- Beads;
- Tapes;
- Adhesive for fabric;
- Filler;
- Colored Ribbons.
You can sew this toy yourself using the following algorithm:
- The sock should be tightly filled with filler.
- Determine the place where the neck of your hare will be, tie it with a string or a thin band.
- The piece of the sock, which remained free, should be cut into two parts, sewed and shaped to fit the ears.
- Cut a few circles of felt from different sizes that can be glued to the navel, nose and teeth.
- As for the eyes, in this case everything depends on your taste preferences. To do this, you can use the same felt, buttons, beads, or embroider.
- You sew a small pom-pomchik as a tail. If desired, the hare can be decorated with bow or butterfly.
Cockerel - gold scallop
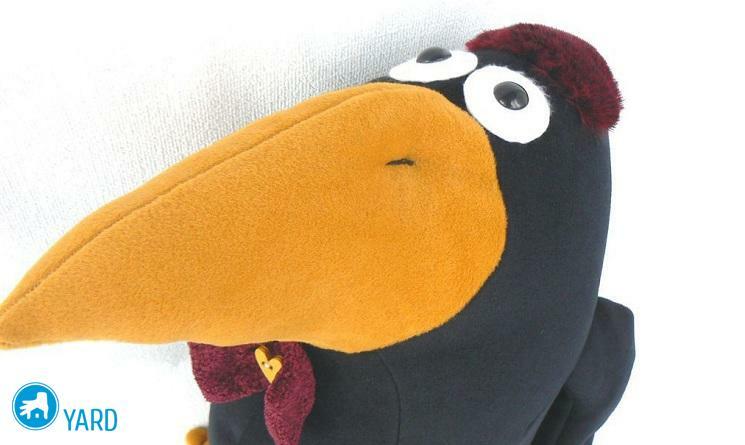
A cheerful multicolored cockerel can lift the mood for both children and adults, and even a beginner can sew such a toy with their own hands.
For this you will need the following materials:
- Colored fabric shreds;
- Colored thread;
- Sewing machine;
- Needles;
- Filler;
- Ready-made pattern.
Important! You can build a pattern yourself, or you can download an Internet ready from the Internet.
Sew a toy with our own hands:
- Using patterns, transfer the elements of the future product to the fabric and cut out the details.
Important! When cutting out parts, add about 2 centimeters for the allowances and joint processing.
- Sew the parts together, leaving one small hole.
- Fill the toy with stuffing material, sew up the gaps.
- Use felt to decorate scallop, eyes and beak.
Sew owls from clothes
If you have old things in your closet, they can serve as an excellent material for making a children's toy. We bring to your attention a master class on sewing an owl made of cloth. Under the same scheme, you can make more cats and other animals. The main thing - to connect the imagination. The process is fairly straightforward, and the finished result will certainly please you and your child.
You will need:
- Thick cardboard;
- Material for packing;
- Fabric;
- Needle;
- Multicolored thread;
- Decorative fittings;
- Scissors.
Tailoring Process:
- First you need to build a pattern. With the protractor draw straight lines, which at the point of their intersection will form an angle of 85 degrees. From the angle measure 12-15 centimeters( the height of your toy), connect the points with straight lines. In exactly the same way, build one more figure with an angle of 30 degrees. Cut them out of paper or cardboard.
- Finished elements of the pattern are applied to the fabric, cut out the future blanks.
- Sew all the parts( except the bottom) together. You should have a shape that resembles a cone.
- Separate a quarter of the total size using a tailor's pin.
- The bottom of the workpiece is tightly filled with filler and sewed.
- The end, separated by a pin, should be sewn to the trunk. If desired, you can seal the seam with a button. You will have the beak of an owl.
Important! If you sew a hare, then in this case the blank part of the workpiece should be cut in half, if desired - filled with filler. This way you will get ears.
- Next you can start decorating. For example, make eyes out of felt and small buttons. If you wish, you can add a bow, a butterfly or a bead.
Important! You can supplement such a toy with an original stand. To do this, take a large button, sew it with a cloth, and attach it to the bottom of the product.
Toy from the skin with your own hands
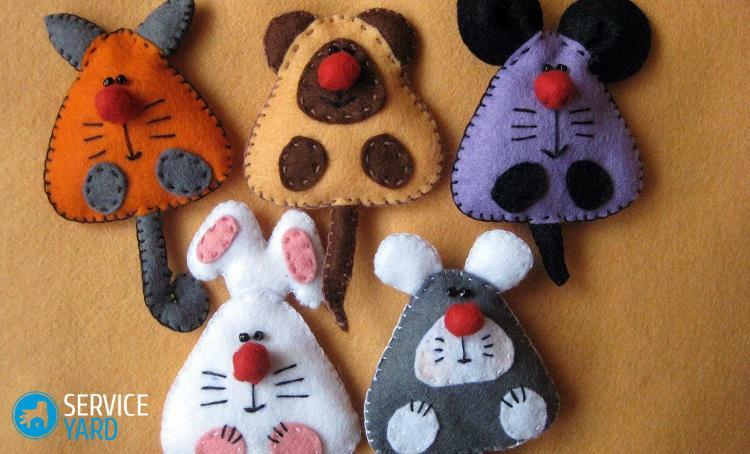
A toy made of leather is much stronger than fabric. Its advantage is that it will last much longer and will not be exposed to so much different contaminants. The only drawback is the painstakingness of its manufacture.
If you all decided on this, you will need the following materials:
- Pieces of colored leather;
- Material for packing;
- Thimble for manual stitching;
- Decorative fittings;
- Needles.
Important! Note that in this case, conventional needles will not work. To work with the skin there are special - faceted-sewing, with the point of the trihedral section. They are called saddlers.
Leather toys are made similarly, as well as fabric: the construction of patterns, transferring the pattern to the fabric, cutting out the necessary elements, stitching and decorating.
Important! To make the toy more interesting, you can paint it with acrylic paints.
to the contents ↑How to sew a toy on your hand?
Having made such a toy, you can create a home theater in which you will be the actor not only you, but also your children. To make it, you will need:
- 4 cloth shred of different colors;
- Finished application of the muzzle of an animal, for example, a cat;
- Filler;
- 3-5 small buttons.
When the materials are all ready, you can safely get down to work:
- You need to cut out the necessary parts from the fabric:
- Head 10х11 centimeters;
- Ears 5х5 centimeters;
- Dress is 15x18 centimeters;
- Paws 6x7 centimeters.
- All elements of the future toy must be sewn. Do not sew only the lower part of the paws, ears and head.
- Sew paws to the dress.
- Ears and a head fill with filler, after - sew them.
Important! To increase the interest of a young child, you can put a small rattle in the head of a future product.
- Sew your head to the dress.
- Decorate the outfit with buttons and bows.
As you can see, sewing children's toys is not so complicated, but it gives a lot of pleasure to loving parents, because during the process you invest in them all your love and care. Therefore, such toys are sure to please your baby and become the most loved.

