- Connect microphone
- Do I always need to install?
- Checking
Karaoke is popular today more and more, but not always in order to "prove yourself in all its glory," I want to get out of the house and go to a special cafe. And queues there are such that a maximum of 2-3 songs per evening will be on your table, and the rest of the time you will not have fun, but evaluate "other talents."And this is not so and it is necessary, you can even make karaoke at home. To do this, there are wired and wireless microphones. Some work on batteries, and some are powered directly. There are also devices with a battery, so as not to change the batteries five times. How to connect a wireless microphone to a computer for karaoke? Everything is very simple. This article is for you.
to the contents ↑Connect the microphone
First you need to ensure the correct connection of the components. It is worth noting that there is no difference in connection to a desktop computer and a laptop.
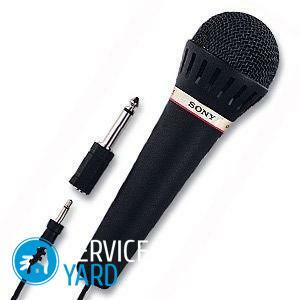
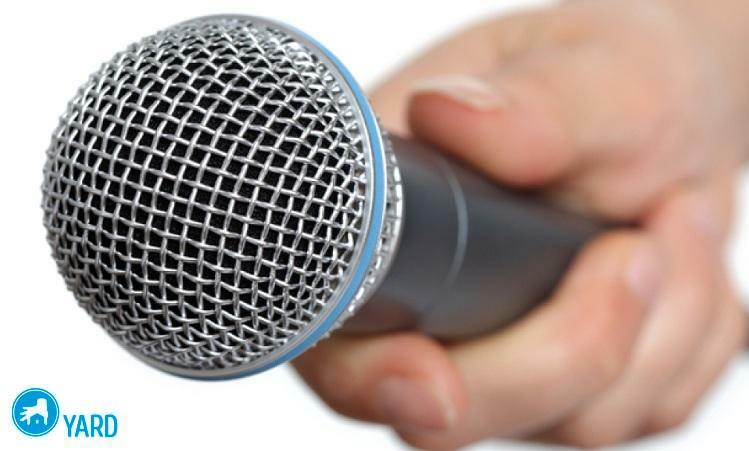
There are condenser and dynamic microphones:
- The second acoustic conditions of different spaces are less, which is a significant plus. Also they are less susceptible to overload, do not need a source of "phantom" power.
- Condensers deliver a cleaner, natural sound, work with a "phantom" power supply, which is approximately 48V.Such gadgets are used by professional studios for high-quality sound recording.
Windows XP
Next you need to understand the software connection:
- Go to the lower right corner, double click on the volume control icon.
- Open the "Options", then go to the property. Select the device "Microphone" in the list, confirm the actions by pressing the "OK" key.
- We see before ourselves a new column with the name "Microphone".We remove the checkmark next to "Off", if it is installed there.

Windows 7 and 8
To configure the microphone in this operating system:
- Right-click the volume icon to bring up the menu in which you want to open the "Recorders".
- We see the list before us, we select a microphone in it.
- Double-click to open the window where you should set the default usage in the "Device Usage" item.
- Do not forget to click "OK".
Important! The highest quality microphone does not provide you with the proper sound without installing the necessary software.
to the contents ↑Is it always necessary to install?
Before setting up the microphone on the laptop, you should check if you have your own recording device in your device. Virtually all stores on the shelves are laptops, netbooks, which have a built-in microphone by default. It is not low-power at the same time and is perfect for communication in Skype or "streams".If the functionality and quality of the built-in device do not suit you, you will have to purchase an additional device and, according to the instructions already passed, to connect it, configure it.
External
External microphones are connected in a standard way through all the familiar USB connector or 3.5mm Micro-Jack. Each computer is equipped with such connectors, so it will be difficult to get confused.
"No" connector is solved by purchasing a special adapter in the store, which is equipped with a connector for headphones and a microphone. There you can also buy adapters for 6.3 mm connectors.
Internal
These are devices that connect directly to the motherboard of your computer through a special PCI slot. If you strike at the finer points, such microphones benefit from the quality of sound recording. But this difference is almost not notice, if your computer does not have a specialized software for sound software.
to the contents ↑Test
How the wireless microphone for karaoke is understood. And you can check the operation of your device using the standard tools of the Windows operating system and the use of third-party software:
- In terms of third-party software, you can use the above mentioned program for Skype communication. Right during the conversation, you can diagnose the device by clicking on the corresponding connection icon.
- To check the correctness of the device without downloading any programs, just right-click on the volume control icon, select the recording devices and speak into the microphone. Near the model of your microphone there will be an indicator, the filling of which indicates that the microphone captures sound and transmits it.
Now you can easily connect and configure any technique of this kind to your computer. Let's remind once again that the owner of the laptop should think several times before the "new thing", and the owners of stationary computers - include in the category of searches for devices that connect to the "heart" of the computer.
If the setting and connection still cause problems, you should contact a qualified technician or take your device to the nearest service center. In the rest, the process is simple and you can do it. Enjoy singing at home, choosing that repertoire and in the amount you want.


