Surely, your children love magic tricks. But showing them is not only a professional fakir, but also you. After all, a simple square piece of paper can turn into a bird. And it does not require special skills in the art of origami, step by step photos to stick fairly presented a master class.

necessary material
we are for the manufacture of such birds are prepared:
- the green square-sided sheet of paper;
- plastic eyes.

process of manufacturing
First, a square sheet is folded in the future crafts color side diagonally inward.

Thereafter, the upper layer turns away outwardly so that the edges coincide and are aligned.

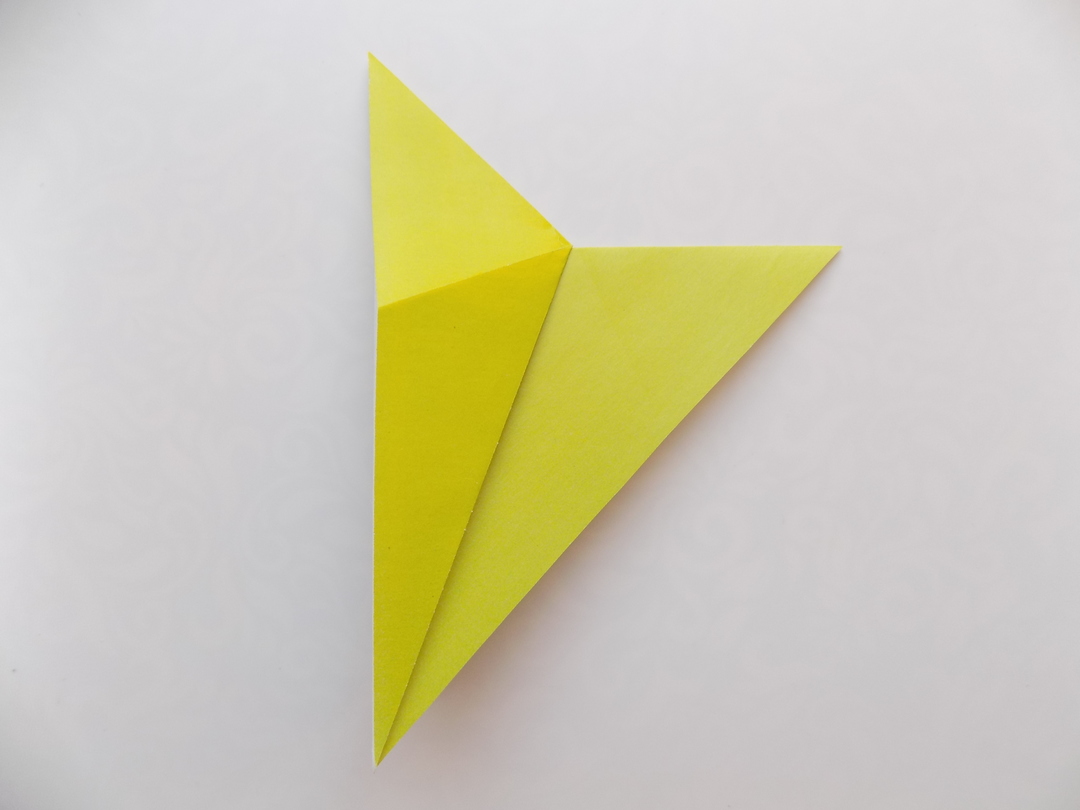
Now the resulting preform future birds should be folded in half by folding the upper corner downwards.

Next, the upper layer requires little spread and give it the shape of a triangle.

Take the lower area of the upper layer and bends upward. So we form a template for a future first flap birds.

On the reverse side we proceed similarly. We obtain a preform for our bird's wings.

Now turn down one wing to the side at an angle.

Similarly required to bend the wing and on the other hand.

The lower corner on the left side Fold and tuck into the corners.

Now we form the rear part of our birds. For this corner of the right side are bent upwards.

In place of the fold forming the resulting inner fold. So we got the tail of our bird.

It remains to make the head and beak. To do this, fold the top corner as follows.

Then perform an internal tab. So we formed our bird beak.

It remains to glue plastic eyes. Our bird of paper ready.


