- Algorithm for assembling the tank
- Installing the toilet
- How to connect the toilet bowl and tank to the communications?
- How to assemble the toilet lid?
The toilet is one of the most important elements of the bathroom. It turns out that you can mount and connect this device yourself. And, without much difficulty. How to assemble the toilet bowl and connect the plumber to the communications - this will be discussed in the article.
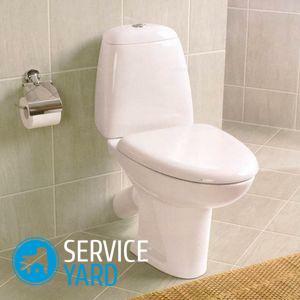
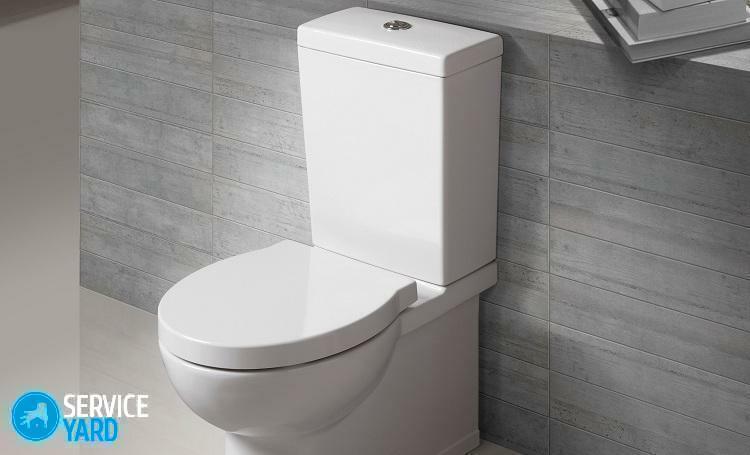
The modern design includes 2 parts: an outdoor bowl and a drain tank. The tank for draining the water is sold in disassembled form, therefore before assembling the structure it must first be assembled.
tank assembly algorithm First of all, carefully unpack all the parts included in the kit and read the installation instructions to properly assemble the toilet bowl of your model.
The tank includes the following components:
- Filling Fittings - is designed to automatically fill the tank after flushing is performed.
- Draining equipment. With its help, the water is drained from the tank to the floor cup.
- Flushing tank. This is a tank filled with tap water. When washing, the water from the tank goes into the bowl of the device.
- Overflow device - draws water from the reservoir into the bowl if the filling fixture has failed.
Filling the tank with the drainage mechanism
The work begins with the installation in the tank of the drainage mechanism. It is sold as an assembly, so no additional effort is required to install:
- Insert the mechanism into the hole on the bottom of the tank.
- In this case, in order to avoid leaks, you need to use a rubber gasket that is installed from inside the tank.
- The drainage mechanism is fixed by means of a special nut. Tighten the nut manually or with a special plastic wrench.
Important! Carry out all operations with the utmost care so as not to damage the plastic.

We put the tank on the toilet
The tank itself is mounted on the toilet with metal pins. If the product is not equipped with metal pins, but with plastic bolts, it is better to replace the plastic with metal beforehand.
Important! Plastic fastenings are fragile and quickly fail. Put a gasket and washer on each stud, then insert the fasteners into the specially designed holes.
The nut that holds the drainage mechanism is closed with a rubber seal.
Now you can install the drain tank on the toilet:
- Put the nuts on the studs and start twisting them alternately, while observing great care.
- Continue to tighten until the can is firmly attached to the bowl.
Installation of the float
The last moment is the installation of the float:
- Put a seal on the thread and insert it into the drain tank hole from the inside.
- From the outside, grip the float with a plastic nut.
- First, tighten it manually, and then tighten a little with a key.
Installing the toilet
Once the toilet bowl is assembled, you can start installing it in its place. The most common technique is the use of special fasteners that come with the product.
The procedure is as follows:
- Perform the markup. Install the toilet in the planned place, line the design. Carefully circle the base of the product. Mark the points at which the mount will be installed. Leave the plumber aside.
- Prepare holes for fasteners. Drill holes of the correct diameter with a perforator, insert plastic plugs into them.
- Reinstall the plumbing. Prepare the fasteners, not forgetting the washers and inserts. Tighten the fixings by fixing the device in place.
The toilet was installed. It remains to connect it to the engineering communications.
to the contents ↑How to connect the toilet bowl and the tank to the communications?
You can connect the reservoir to the water supply in two ways: by placing the connection at the top or bottom of the tank.
Important! The second option is preferable, since the water in the tank is recruited almost noiselessly.
It is desirable that the outlets of the tank and the water pipe are on one side, since it is much more convenient to connect the device. Of course, if the outlets of the water pipe and the tank are from different sides, this will not affect the operation of the device. It's all about the convenience of installation and aesthetical design.
Connecting the reservoir to the water pipe
For this, as a rule, flexible hoses with nuts are used. For sealing use a tape FUM or gaskets made of rubber.
Important! It is advisable to install a cut-off valve, which allows you to overlap the water locally if necessary. All other points of water intake will function in normal mode.
How to connect the toilet bowl to the sewer system?
If you are installing a new plumber instead of the old one, it is advisable to choose the equipment with the same type of connection. Depending on the location of the drain pipe, these types of toilet bowls are distinguished:
- With horizontal outlet( the drain pipe is parallel to the floor plane).
- With vertical outlet( drain pipe direction - perpendicular to the floor).
- With an oblique discharge( the drain pipe forms an angle of 30-40 degrees with the floor plane).

Toilet assembly: vertical outlet
The nozzle and siphon bowls of the toilet bowl are located vertically downwards. Such designs are popular in Western Europe.
Important! Their main advantage is that installation at any angle to the wall is possible.
The installation procedure is quite simple:
- After marking is done, mount a standard screw flange with a lock.
- Fit the sewer pipe into the hole in the center of the flange.
- Install the toilet bowl on the flange, turning it until it locks completely.
Horizontal edition
Taka plumbing is still the most popular in the post-Soviet countries. The connection of the toilet bowl and sewer outlet is made by a special sealing cuff.
The oblique release of
The procedure for connecting the toilet is as follows:
- Lubricate the release of plumbing with a mixture of drying oil and curd.
- Wind the resin seal, not bringing 5 mm to the outlet nozzle - this will make it possible to avoid blockage.
- Lubricate the wound with a curly strand.
- Fit the toilet bowl and fix the outlet in the sewer flue.
How to assemble the toilet lid?
The seat with the hinged lid should be selected so that it is not just convenient to use, but also fit into the bathroom interior. The market has a large number of offers of this product. The materials for the manufacture of the seat and cover can be:
- Plastic. The most popular and popular option. The plastic is easy to clean and install, neutral in relation to household chemicals.
Important! The drawback of it is that it does not differ in strength, is prone to scratches and chips.
- Duroplast - differs from conventional plastic strength and antibacterial effect. Outwardly and in terms of performance, it resembles ceramics.
- Plywood. It's not even yesterday, but the day before yesterday. Products do not differ either in attractive appearance or in convenience of operation.
- Tree. It has an attractive appearance and practicality.
Important! The disadvantage is a large mass, which can eventually lead to damage to the bowl of the toilet bowl.
Fixing the lid on the toilet is done with bolts or studs. Bottom wind the connecting nuts. At first, tightly twisting the connection, make sure that the seat was positioned correctly, and the lid could open freely without falling.
As you can see, the assembly of the toilet is not very complicated. However, if you feel that you can not cope, invite a specialist.
