- Advantages and disadvantages of plastic panels
- Why is plastic fastening better for liquid nails?
- The main stages of installing plastic panels for liquid nails
When planning repairs in your apartment, any person wants to get the best result, but at the same time to meet the tight deadlines and do without additional financial expenses. Even more worried about the question of cleaning after the repair work, because no one wants to spend a lot of time on it and discomfort to neighbors. In this case, the ideal solution is to install plastic panels. In this article, we'll look at how to fix plastic panels to the wall in the bathroom, delivering a minimum of inconvenience to people living in the neighborhood. If you follow the instructions clearly, then everything will turn out perfectly and you will not have to resort to the help of specialists.
to the contents ↑Advantages and disadvantages of plastic panels
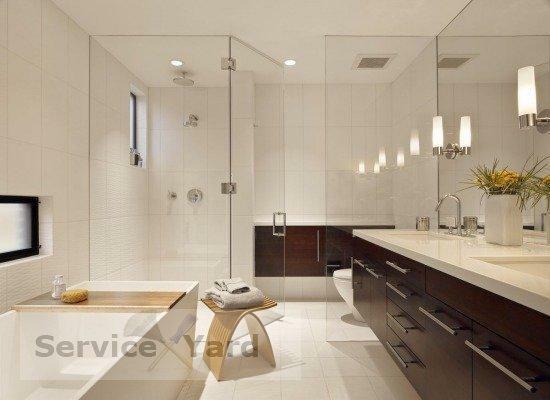
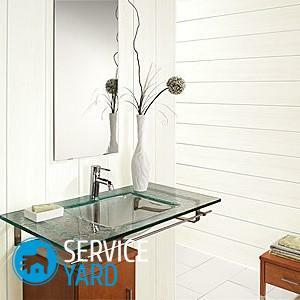
Walls in the bathroom with plastic panels have a lot of advantages, the most important of which are flexibility and resistance to moisture. Attention should be paid to the variety of plastic applications and how to attach PVC panels to the wall in the bathroom for "liquid nails", because this is the most popular method of installation.
Important! Thanks to constantly developing technologies, it became possible to transfer a wide variety of drawings to plastic, and due to this, customers are offered the widest range of this material.
Unquestionable advantages of PVC panels are also harmlessness and safety, therefore they are often used as a covering material in medical institutions. Of course, as in any field of production, unscrupulous suppliers come to make low-quality panels.
As for the disadvantages:
- The most important of these is the release of toxic and life-threatening fumes in case of fire. Such phenomena are rare, because the skin itself can not catch fire.
Important! In order for the plastic to ignite, it must be heated to a temperature in excess of 300 degrees.
- In terms of strength, they are also not considered the best among other sheathing materials. The plastic is brittle and does not stand up to serious blows. To leave a hole or a dent in it you can even hit your fist.
But these disadvantages are completely compensated due to the affordable cost and ease of installation.
to the contents ↑Why is it better to mount plastic on liquid nails?
The classic version of wall finishing with plastic panels is the installation of a wooden crate, on top of which plastic is installed. This technology needs careful preparation and greatly reduces the number of useful square meters. This factor must be taken into account in cases of repair in small bathrooms.
Due to the use of "liquid nails" in this process, all these problems can be avoided. With their help, the lining of walls with plastic can be made in just a few hours, while retaining every centimeter of useful space.
"Liquid nails" used for the installation of plastic panels, have the following advantages:
- The construction adhesive is not corroded and does not damage the plastic.
- The nails dry out quickly enough, but there remains the necessary time reserve to adjust the location of the plastic on the wall.
- No mechanical stress is required during bonding.
- Acrylic adhesive is perfectly safe for health and resistant to temperature changes and moisture.
In addition to numerous advantages, "liquid nails" have certain drawbacks. For example:
- Unpropylene formulations are too chemically aggressive, which is why when working with them, you must always use protective gloves and a respirator.
- After installing the panels, it is necessary to properly ventilate the room so that the unpleasant smell completely disappears.
In principle, these disadvantages can be easily experienced, because once the glue dries, it will become completely safe for health.
to the contents ↑Basic stages of installation of plastic panels for liquid nails
Two main stages of fastening of PVC panels can be distinguished:
- Preparing the surface for work.
- The installation process itself.
Preparing the walls for the
plastic lining Before attaching the PVC panels to the "liquid nails" in the bathroom, the walls must be properly prepared, as they must be clean, smooth and dry.
It is necessary:
- Remove the traces of the old coating from the walls and level the pits and deep cracks with the putty.
- Then treat the surface with a primer, so that it fixes the wall and provides protection against mold, fungus and moisture.
As soon as the primer dries, you can start to work on the finishing works.
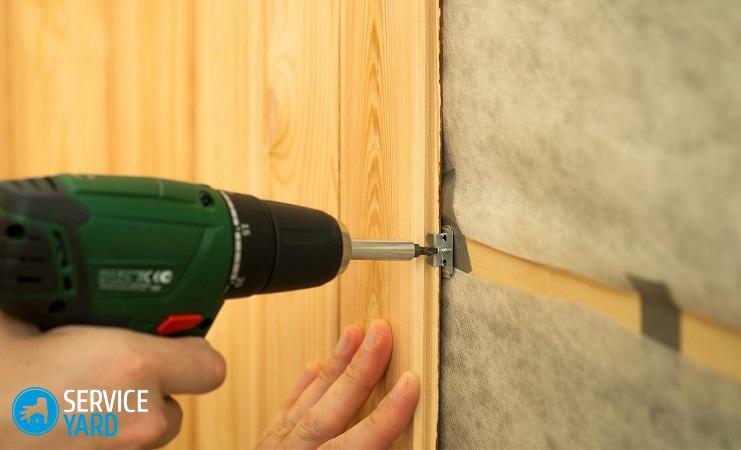 Prepare in advance and all the necessary tools, namely:
- Selected PVC panels.
- Scissors for plastic.
- Sealant. Screwdriver or screwdriver.
- Construction level, tape measure, marker or pencil.
- Stapler and hammer.
- Stepladders.
Important! Using a tape measure, you need to measure the work surface to correctly calculate the amount of material you need. Before installing plastic panels, it is recommended that they be kept at room temperature for at least half an hour. And do not rush to remove the protective film from them until the installation is complete, as it will help to keep their appearance in a normal state.
Features of installing PVC panels for liquid nails
Do not forget that the installation of PVC panels on the wall on "liquid nails" can be made only if the surface is perfectly flat. The installation process is as follows:
- Carefully check that the walls are clean from old wallpaper, plaster and tiles, and how well the primer has dried.
- Once the plates are adapted to the humidity level in your bathroom, you can start working.
- Prepare the "liquid nails".To do this, cut off the tip from the can, from above, put on the cap, open it and secure it securely in the construction gun.
- Draw a dot on the walls, a zigzag pattern or a grille.
- When gluing the panels to the wall, press them firmly so that the nails are better seized and evenly distributed under each element.
Important! Use for this can be a rubber roller. You can adjust the position of the panels, but this you will have only twenty minutes.
- The final stage is the sealing of seams between plastic parts and other elements present in the bathroom with a special tool. On this, the installation of the wall profile can be considered complete.
In this article, we told you about the simplest way of attaching plastic panels in the bathroom to "liquid nails".We hope you managed to do this job quickly and efficiently, and now the new design gives you exactly that feeling of comfort and coziness that you counted on.