How to make a portable reel carrier

Homemade tools and devices - this is what distinguishes a real Kulibin from a simple home lover. Some gadgets from such masters are so practical that they are worthy of repeated repetition and even an industrial patent. But while there is no patent, and such things have not appeared on sale, seize the moment and use the free master classes. An example of such a product was presented to his viewers by the author of the YouTube channel. Creates DIY. You can repeat it with your own hands and use it every day. It is a practical carry, suitable for many household and garden tasks.

Read in the article

  • 1 What you need to work: tools and materials
  • 2 Preparation of parts for the mechanism
  • 3 Sequential coil assembly

What you need to work: tools and materials

As the name suggests, you need a piece of sewer pipe to create the coil.
How to make a portable reel carrier
PHOTO: YouTube.com
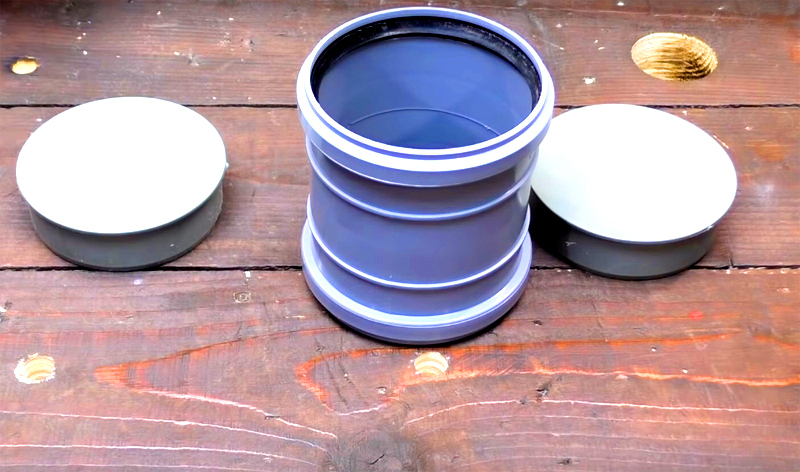
It's easier to take a short sleeve, its edges are already processed, and in addition, it is easier to pick up a couple of plugs for it

In addition to this coupling, you will need another piece of the same pipe of a smaller diameter, as well as tools: a screwdriver, an assembly knife, a tape measure and a corner. For carrying yourself, you need a long wire and plug, and a socket or lamp holder.

Preparation of parts for the mechanism

The idea is to hide the wire in a spool, making the carrier compact and tidy to store. This is a real problem as long wires have an uncomfortable tendency to get tangled up all the time.
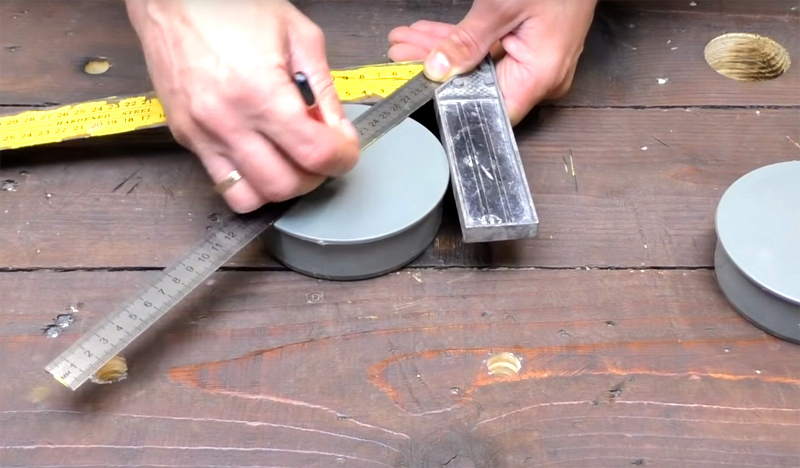
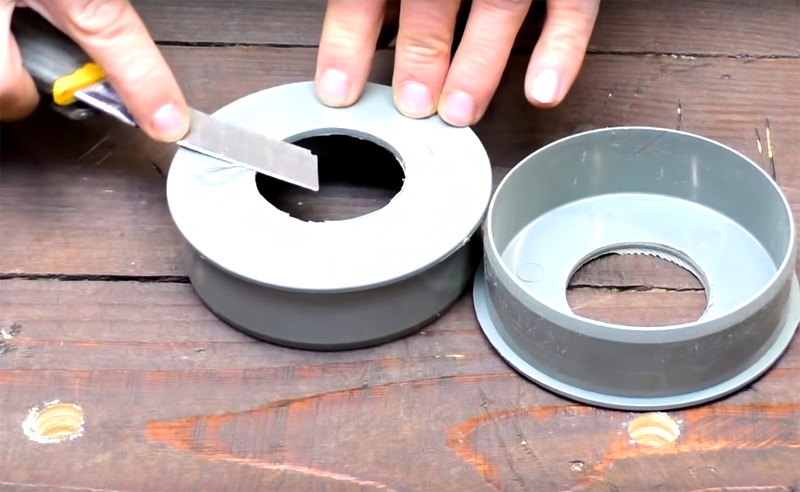
Start with the coupling plugs. You will need to find and mark the centers on these blanks.
PHOTO: YouTube.com
Start with the coupling plugs. You will need to find and mark the centers on these blanks.
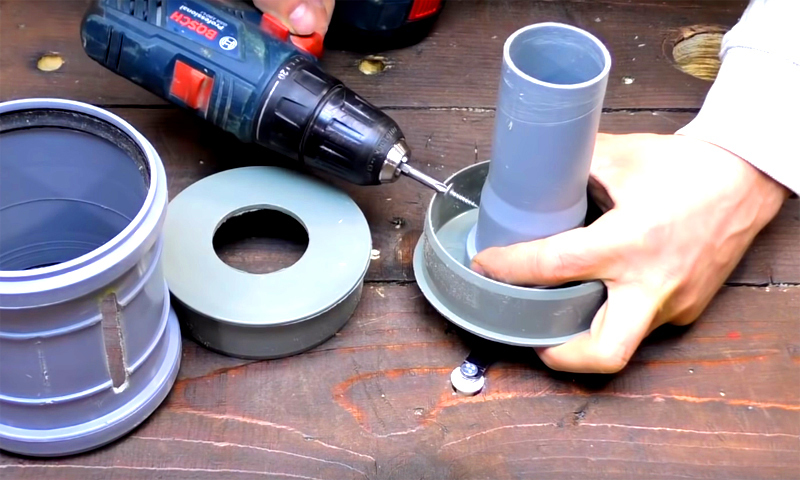
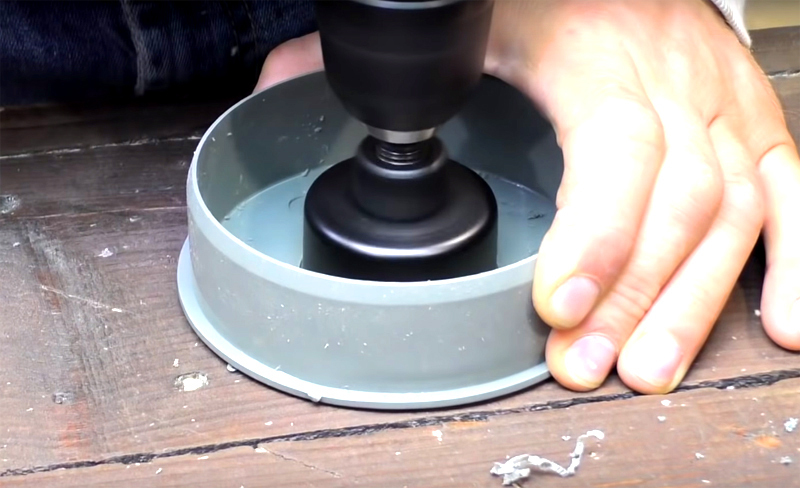
In the plugs, you need to make a hole of such a diameter so that the smaller pipe fits into it. To do this, you can use a special drill or a hot knife. The drill will turn out neater and much fasterPHOTO: YouTube.com
In the plugs, you need to make a hole of such a diameter so that the smaller pipe fits into it. To do this, you can use a special drill or a hot knife. The drill will turn out neater and much faster
The edges of the holes need to be deburred and sandedPHOTO: YouTube.com
The edges of the holes need to be deburred and sanded
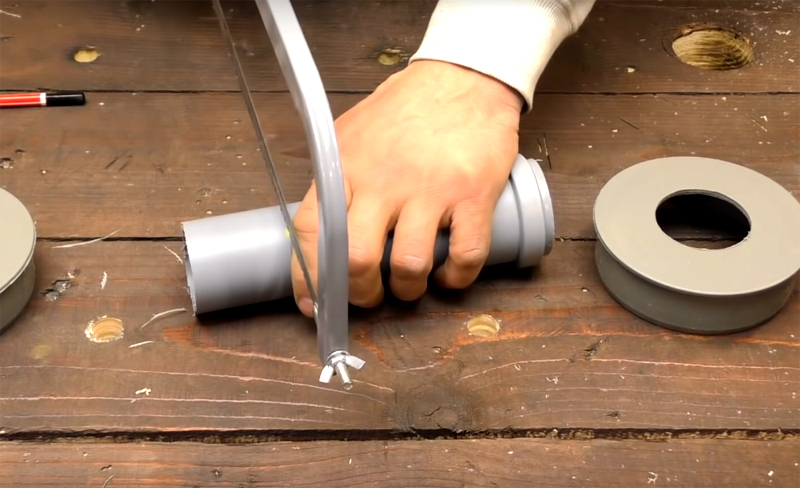
A pipe with a smaller diameter must be cut so that it is 1-1.5 cm wider than the couplingPHOTO: YouTube.com
A pipe with a smaller diameter must be cut so that it is 1-1.5 cm wider than the coupling
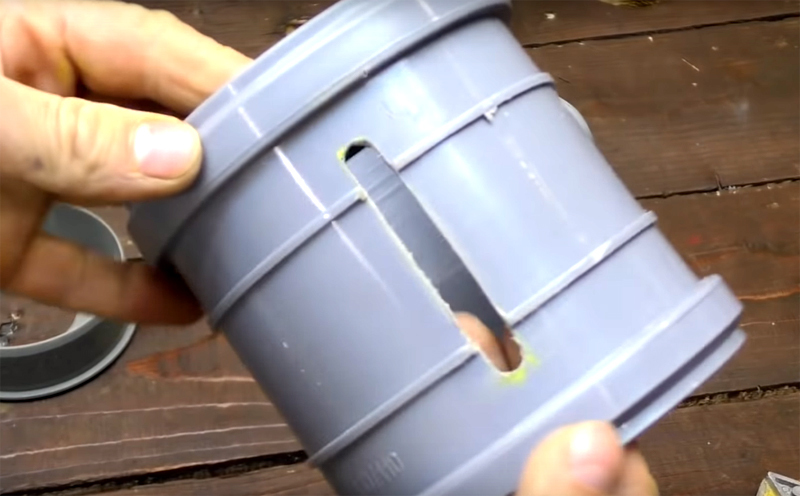
In the plastic sleeve itself, you need to make a longitudinal slot about 1 cm wide and 10 cm long. This slot will allow you to easily wind and unwind the wire.PHOTO: YouTube.com
In the plastic sleeve itself, you need to make a longitudinal slot about 1 cm wide and 10 cm long. This slot will allow you to easily wind and unwind the wire.
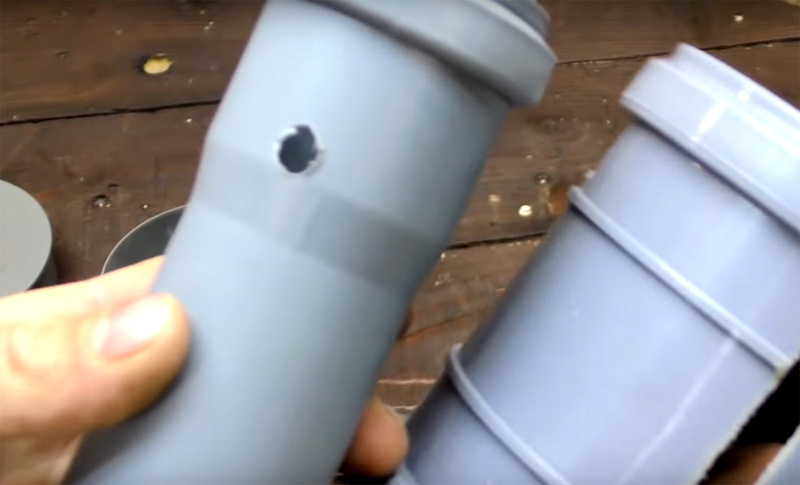
A hole must be drilled in the smaller pipe so that the wire can pass through. You can not drill, but use a hot knitting needlePHOTO: YouTube.com
A hole must be drilled in the smaller pipe so that the wire can pass through. You can not drill, but use a hot knitting needle
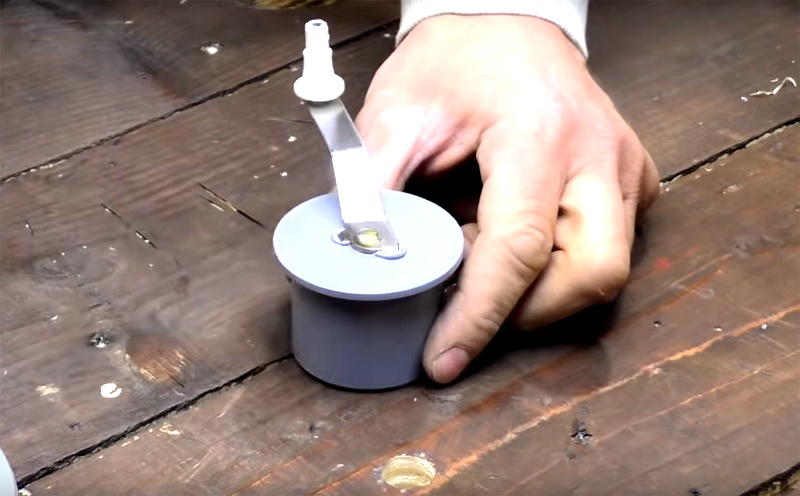
The last step in preparing the parts is the handle to rotate the coil. It is fixed on a plug for a pipe of a smaller diameter using a self-tapping screw. It will not be difficult for you to find such a pen, but if you wish, you can make it yourself from improvised materials, for example, from a toothbrush and a champagne corkPHOTO: YouTube.com
The last step in preparing the parts is the handle to rotate the coil. It is fixed on a plug for a pipe of a smaller diameter using a self-tapping screw. It will not be difficult for you to find such a pen, but if you wish, you can make it yourself from improvised materials, for example, from a toothbrush and a champagne cork

Sequential coil assembly

The final coil assembly will only take you a few minutes.
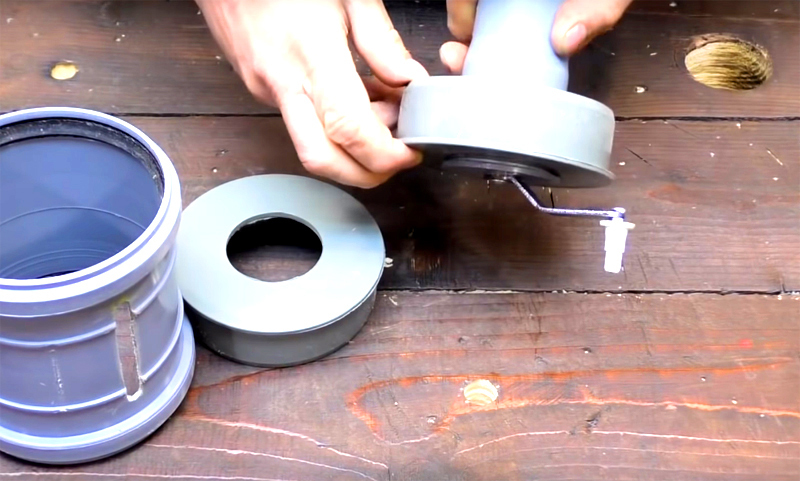
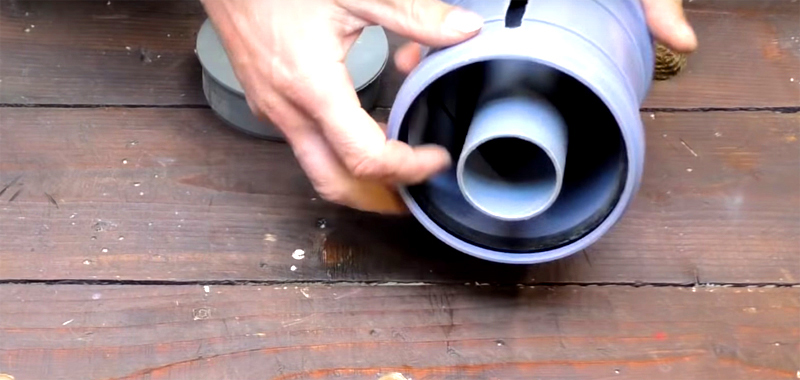
Insert thin tube with plug and handle into the large plugPHOTO: YouTube.com
Insert thin tube with plug and handle into the large plug
To prevent the coil from spinning, you need to fix the plug with at least one self-tapping screwPHOTO: YouTube.com
To prevent the coil from spinning, you need to fix the plug with at least one self-tapping screw
Place the finished structure in the plastic sleeve and secure with the second large plug. The mechanism is assembled, it remains only to " charge" it with a wirePHOTO: YouTube.com
Place the finished structure in the plastic sleeve and secure with the second large plug. The mechanism is assembled, it remains only to "charge" it with a wire
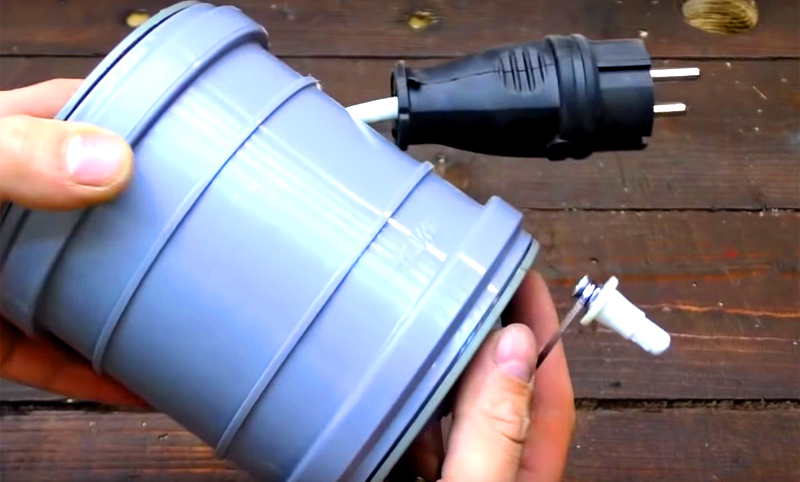
Pass the wire through the slot in the coupling housing and the hole in the smaller pipe. This is not a very easy task, but you only have to do it once.PHOTO: YouTube.com
Pass the wire through the slot in the coupling housing and the hole in the smaller pipe. This is not a very easy task, but you only have to do it once.
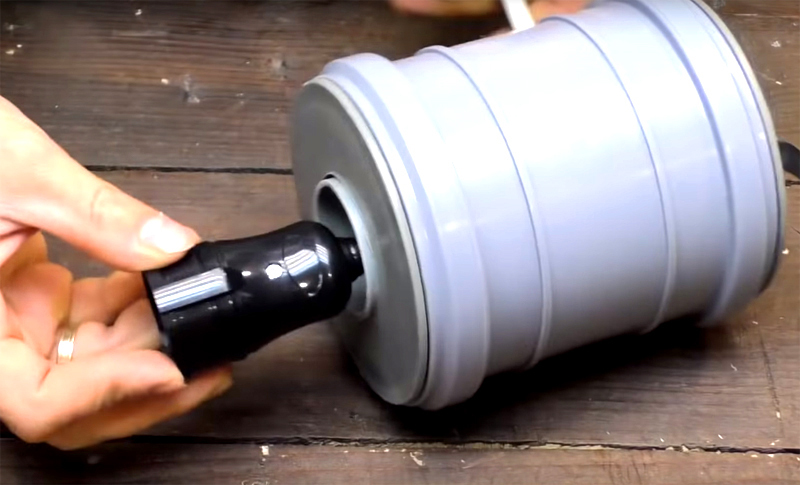
At this end of the wire, you need to mount a socket or lamp holder. When everything is ready, this detail will snuggle up in the pipe.PHOTO: YouTube.com
At this end of the wire, you need to mount a socket or lamp holder. When everything is ready, this detail will snuggle up in the pipe.
Form the opposite end of the wire with a plug and wind everything onto the spool using the handlePHOTO: YouTube.com
Form the opposite end of the wire with a plug and wind everything onto the spool using the handle
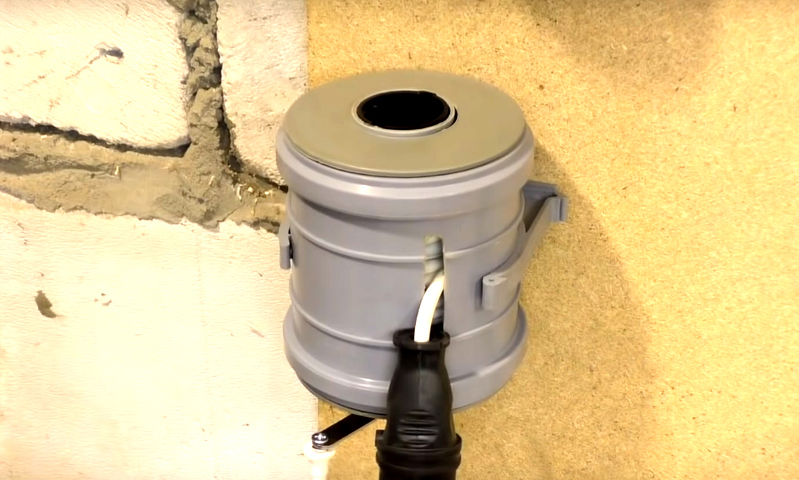
Carry storage can be enhanced with a special bracket on the wall of your workshopPHOTO: YouTube.com
Carry storage can be enhanced with a special bracket on the wall of your workshop

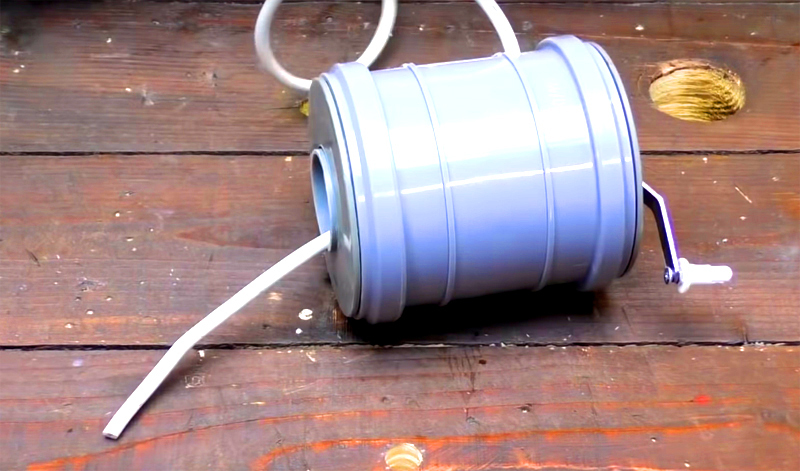
If you do everything as described, you will receive a compact carrying case with a protected wire. It will be easy to use and extremely convenient to store. You will appreciate the beauty of this invention the first time you use it.

This is not the only option for homemade wire coils, but perhaps the easiest to design and easiest to use. There are other developments from folk craftsmen. Here is one of them in the video:

If you liked the idea - write about it in the comments! If you tried to repeat the experience, send us your photos, what happened as a result. We are waiting for your own developments at the editorial office with a photo and a detailed description!

Discuss0