CONTENT
- 1 What are the cartridges of screwdrivers and drills
- 2 Types of attachments for screwdriver nozzles
- 3 How to properly remove cartridges from a drill and screwdriver: detailed instructions
- 4 The chuck of the drill and screwdriver is jammed, how to fix this situation
- 5 How to properly remove the cartridge from an already disassembled screwdriver
What are the cartridges of screwdrivers and drills
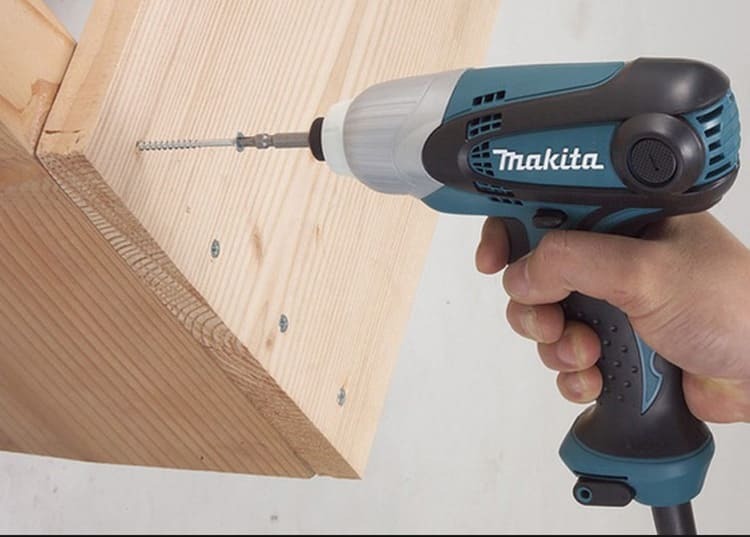
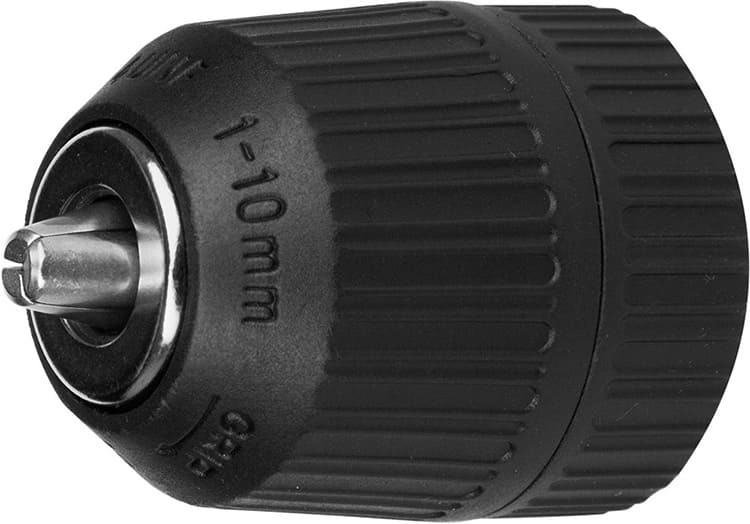
No matter what the design of chucks for rotating mechanisms screwdrivers are quite similar, it is customary to subdivide them into several types:
- quick-clamping (two-sleeve and single-sleeve);
- self-tightening;
- key.
The first two types have a similar structure and design. The second option is considered automatic and begins to function from the moment it is attached to the device. As for the differences in the number of couplings, the use of single-sleeve structures is rational only on models that have a lock. Such elements are clamped with one hand.
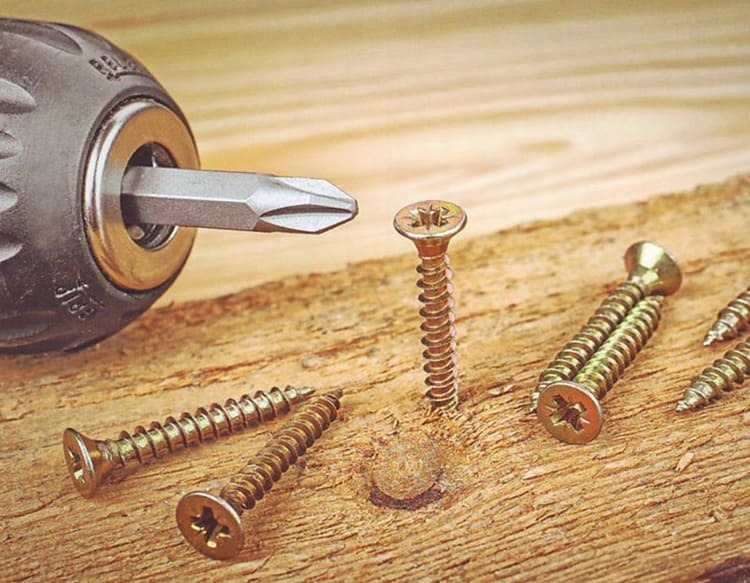
The double-sleeve type of chuck for a drill or screwdriver with a high power is suitable in case a locking mechanism on the tool is not provided by the design. You will have to fix the nozzle with both hands. Keyless and self-clamping chucks are used on modern units. For example, those that have a pneumatic operating mechanism.
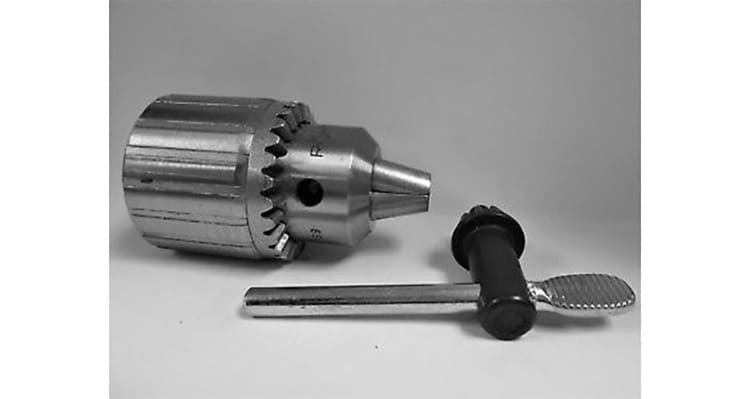
Key types of nozzles are suitable for several outdated models of electrical equipment, while they are considered many times more reliable, as they are resistant to serious shock loads. Such cartridges are also relevant for those devices that are used regularly and for a long time.
Types of attachments for screwdriver nozzles
Mounting options also affect the way you use screwdrivers. In the event of a conflict of mechanisms, there may be a problem of correct screwing of the screws into a solid surface. Therefore, it is recommended to purchase only cartridges with a mount that is provided on the tool itself.
Morse taper type
This type of fastener has been used on a device with a rotating mechanism for more than a dozen years. It can rightfully be considered one of the most popular. If you look closely at the structure, then its shaft resembles a cone, exactly the same as that of the cartridge. Thanks to the same base, two pieces can be easily joined together by hand. It is with this mechanism that all pneumatic models of screwdrivers are equipped.
Threaded fastening
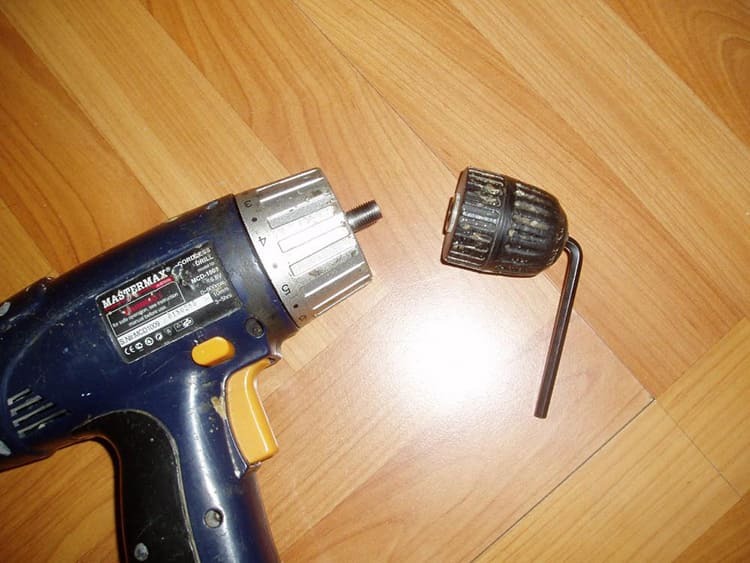
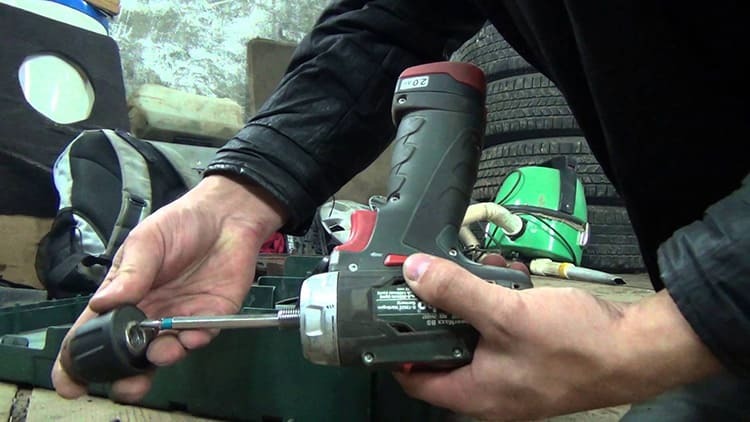
This switching option is the presence of larger and smaller threads on the shaft and on the cartridge, which are suitable for each other. The cylinder base is screwed onto the shaft.
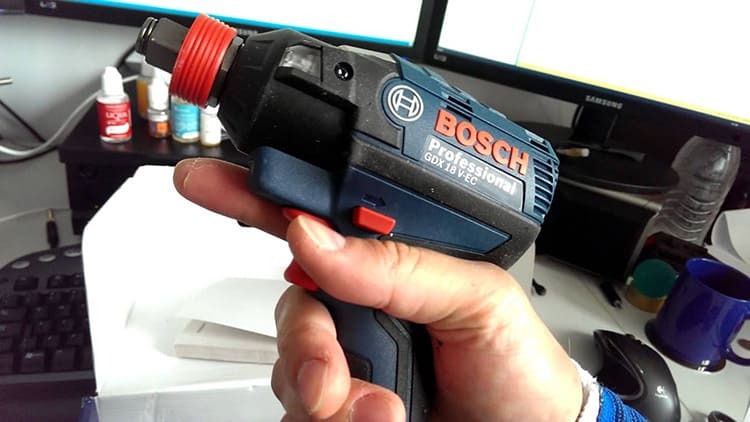
Fixing screw
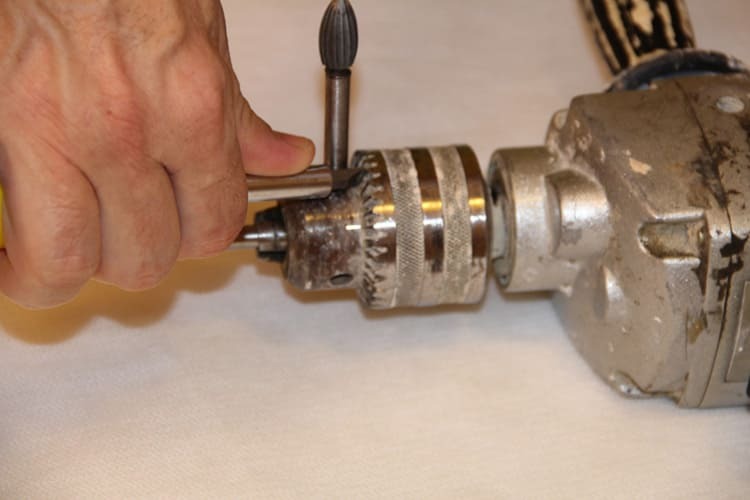
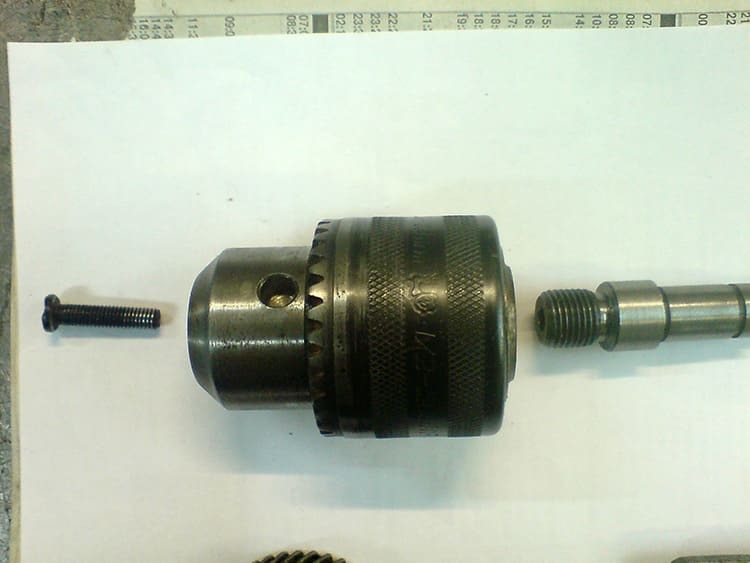
The screw provides a cross head, which can be seen by moving the cams apart. The screw mounts have a cross head and left-hand threading. Such a screw can be easily unscrewed using an ordinary flat screwdriver, provided that its size corresponds to the diameter of the inlet hole.
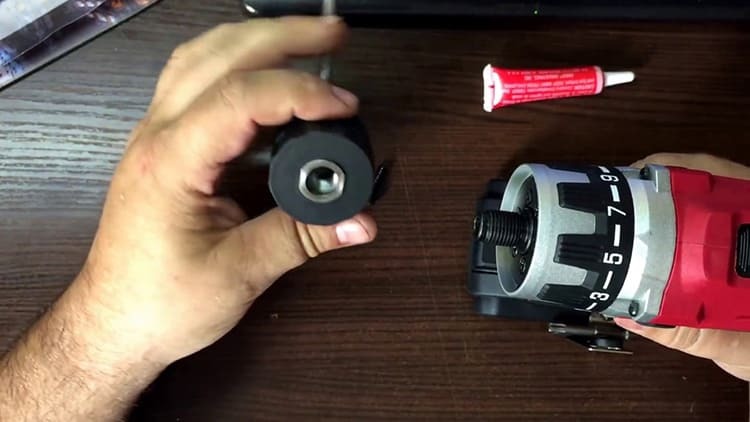
ON A NOTE!
Do not try to halve the screwdriver to unscrew the screw (if it has such a method of fastening) immediately after work. At this point, the tool is very hot, so it can jam. A screwdriver will only "lick" the edge.
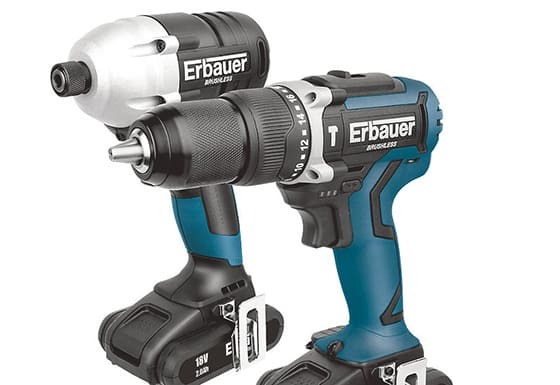
How to determine how to mount on your tool
Studying the working mechanism of the cartridge and the head of the electrical appliance itself will help you quickly figure out how the fastening of the moving structure is organized. Look carefully at the markings on the device body or on the removable head itself. Usually the following symbols are written on it: 1-6 B10, where:
- 1-6 - the size of the shank in diameter;
- B10 - the size of the cone (you can find it in any of the reference books);
As for the threaded connection, its marking usually looks like this: 1.0-11 M12 × 125. Where M12 × 125 are the parameters of the metric thread, and 1.0-11 are the limiting dimensions of the tool that can be fixed in the chuck. Please note that if you purchased a foreign-made device, then all the numbers should be converted into inches, while for domestic devices everything is measured in mm.
How to properly remove cartridges from a drill and screwdriver: detailed instructions
The process of removing the chuck from a drill or screwdriver takes a few minutes and is performed with simple manipulations. Of course, if the tool and its working head are coked, then you have to sweat. Removal method may vary depending on model type, brand, and attachment method.
Cam mount
To disassemble a device with a similar connection method, you need to follow several steps from the given algorithm:
- Unclench the head cams to maximum expansion. A screw should appear inside. It can have a different type of head. Most often, this is a hexagon.
- To remove the cartridge, it is necessary to unscrew the fasteners using the appropriate wrench.
- If the hexagon does not manage to smoothly remove the mount, it is necessary to make a sharp clockwise rotation. If necessary, you can make a jerk or blow on the key.
- If this does not work, it is allowed to clamp the tool in a vice and use a wrench to rip the retaining screw out of place.
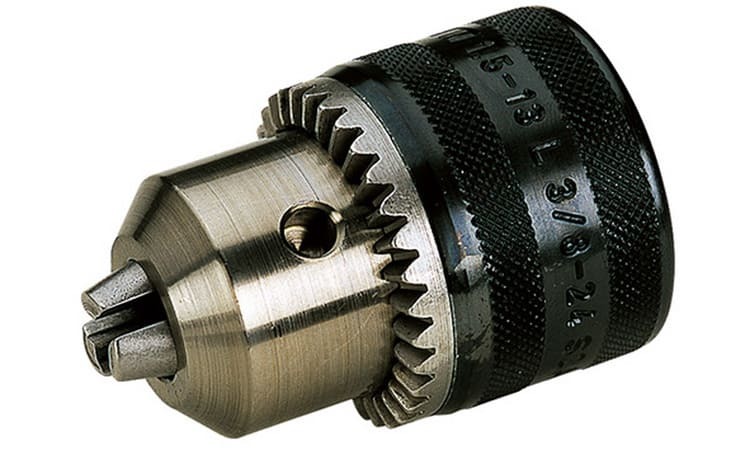
There are models of screwdrivers in which grooves are provided. They facilitate the removal of the cartridge.
Quick-release fastening
This option involves using a small hexagon. The key is inserted into the hole on the chuck and turned clockwise. Sometimes it needs to be pressed down or rest against a hard surface.
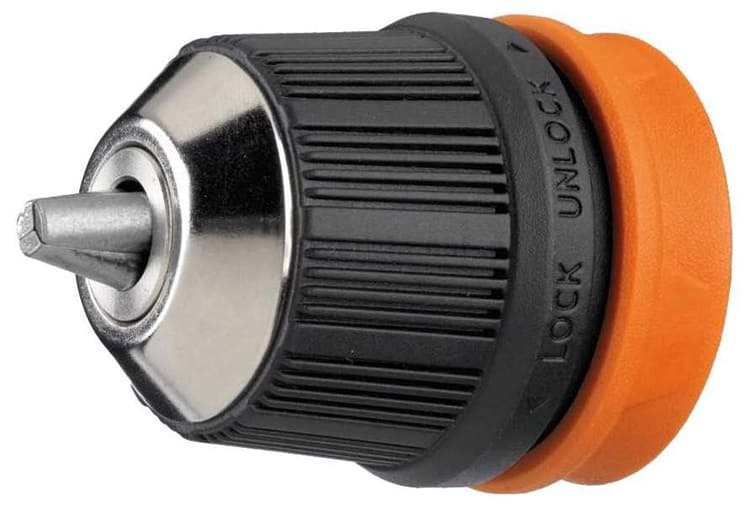
After the first turn is completed, it is necessary to smoothly continue removing the chuck from the shaft of the drill or screwdriver. Please note that, with the same mounting method, for both tools, all methods are considered similar.
Features for single-sleeve fasteners
To remove a chuck with one fastener sleeve, you must use a screwdriver or knife to help separate the sleeve. When this part is disconnected, the ring can be removed. This is easier than detaching the clutch.

The metal ring is pressed onto the cone, it is knocked out with a bolt, then the part is slightly squeezed with cams. Then, with a sharp push, the ring is squeezed out, which allows you to completely disassemble the cartridge.
Subtleties of disassembling double-sleeve fasteners
Double-sleeve cartridges are removed in the same way, only the number of steps in the course of the algorithm will increase. On all designs, the clip is removed in a similar way using a fixing screw.
For a detailed acquaintance, we recommend watching the following video.
How to remove a chuck with a tapered mount
Removing the taper chuck requires a few simple steps:
- clamp the key (hexagon) in the specially designated hole with the short end;
- start the device in operating mode and wait until the unwinding process begins;
- remove the hexagon and remove the chuck by hand. It turns along the thread that is provided by the factory on the cone and the base of the chuck.

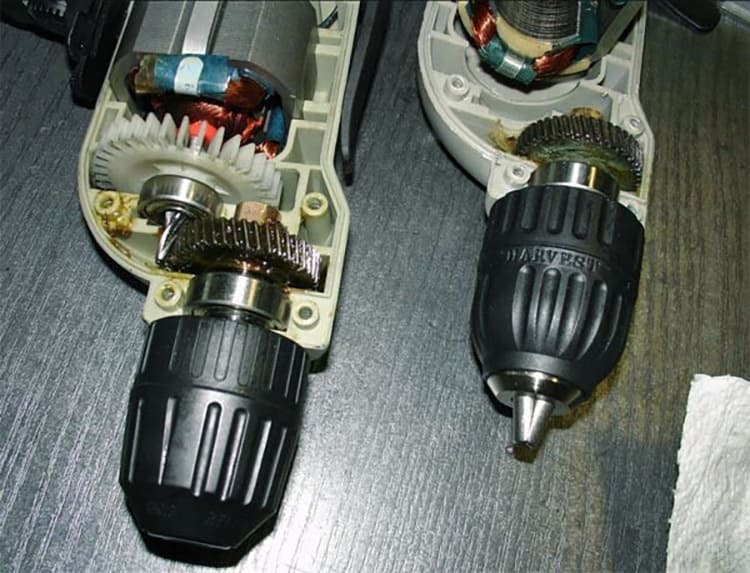
If none of the methods was successful, and the disassembly of the working head failed, you can try to completely disassemble the fixture.
ON A NOTE!
With a full disassembly of a drill or screwdriver, you can immediately lubricate all moving parts with machine oil, if necessary, clean the contaminated mechanisms.
The chuck of the drill and screwdriver is jammed, how to fix this situation
Usually the chuck is jammed due to improper operation of the device. For example, when trying to insert a drill of the wrong size into it, or untimely resting the mechanism.
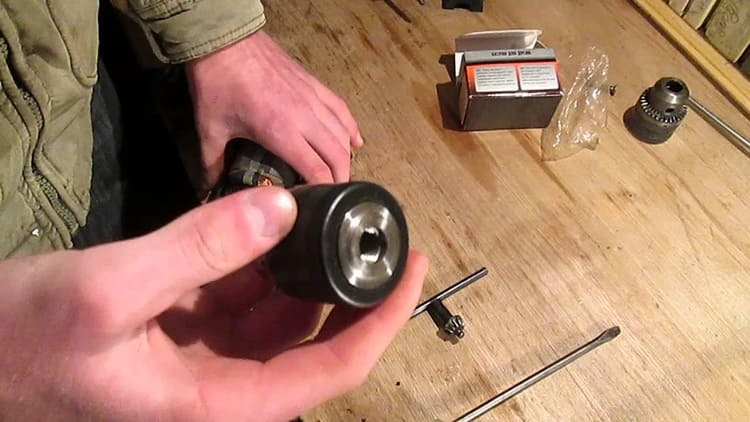
If such a situation exists, the only way out is to disassemble the entire structure to the smallest detail. Before starting this painstaking process, it is necessary to lubricate all movable parts with a special agent (a solvent is also suitable). Most mechanics use WD spray for this purpose. It eliminates sticking between the contacts of the joints and facilitates the movement of rubbing parts.

How to properly remove the cartridge from an already disassembled screwdriver
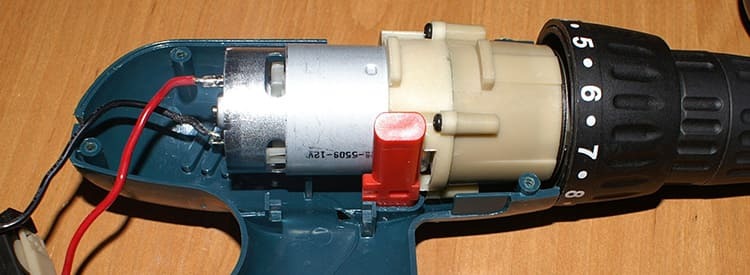
Above, our specialists have highlighted all the options that will help to remove the clip only on the whole electrical device. Let's consider how it can be released if the entire structure has already been disassembled. As a result, the cartridge is removed together with the gearbox. For these purposes, a vise is required.
- We clamp the gearbox between the flaps of the vice, after placing the gaskets so as not to crumble the body.
- Take the rotary key and insert it into a suitable hole.
- We hit the hex with a hammer, trying to rip off the cartridge.
- We select the size of the wrench so that its base fits snugly on the three pins of the gearbox.
- We make turns counterclockwise. As a result, the mechanism will disconnect the cartridge.

Most likely, this clip will no longer be able to be used, since the thread often remains damaged. Therefore, you need to stock up on a new cartridge that fits the model, size and type of fixation.
Dear users, if you still have questions about how to disassemble drills and screwdrivers, and also have a personal opinion on this matter, be sure to write about it in the comments under the article. We will gladly accept your information and will be happy to help!
