It happens that just today some part is required for the mechanism, but it is not at hand. If you buy it, then it is fraught with high costs, about which the "toad" sitting inside, even forbids thinking. How then to be? The way out, as always, was found by our craftsmen with golden hands. YouTube channel author Veter NSK talked about the method of casting aluminum parts using a self-made mold from stucco.
Read in the article
- 1 What can be made from aluminum
- 2 Making a mold for plaster casting
- 3 Pouring stucco into a mold
- 4 Adjusting the mold for casting to the desired state
- 5 Hole in a mold for pouring molten aluminum
- 6 Melting and pouring aluminum into a mold
- 7 Disassembly of the form and completion of the part
- 8 Conclusion
What can be made from aluminum
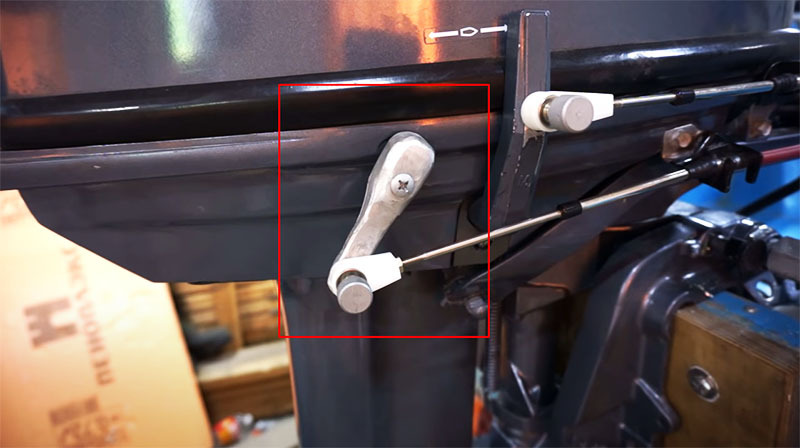
In fact, there are no restrictions on the complexity of the cast part. It can be either the simplest plate with grooves, or a part from the engine. Today we will talk about such a part as the engine throttle foot for the Yamaha 30 motor boat. A similar item when purchased in a specialized store will cost more than two thousand rubles. It is on the example of this element that today the technology of manufacturing a matrix and casting parts will be considered.
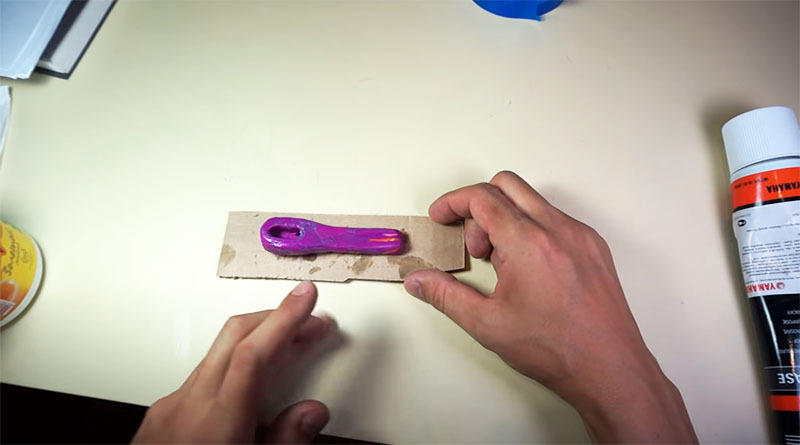
The first thing to do is to form a part from ordinary children's plasticine. This process is unlikely to take long.
Making a mold for plaster casting
As a material for a disposable form, ordinary cardboard is quite suitable. A blank is cut out of it, which needs to be pasted over with tape, so it will not get wet.
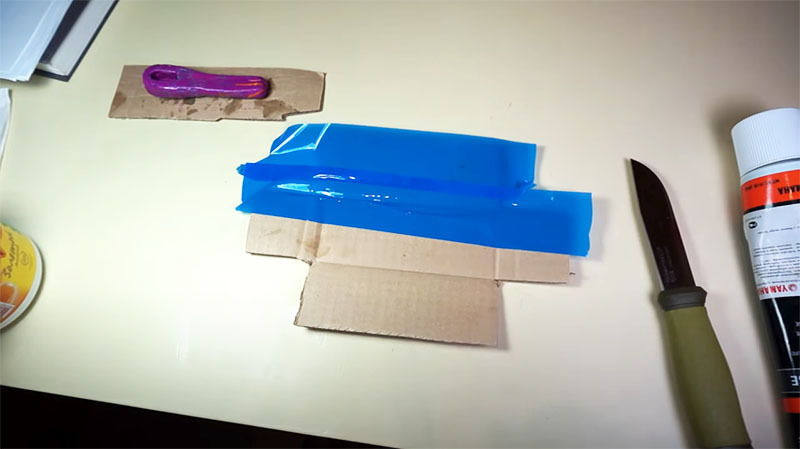
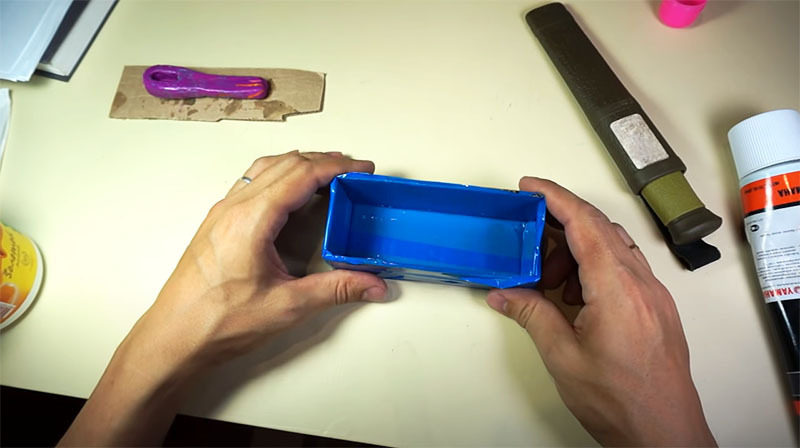
Then the form is folded and fixed with the same tape. That, in fact, is all, you can knead gypsum.
Pouring stucco into a mold
Do not knead a large amount of gypsum. It should be enough for half the mold. But before mixing it, the form needs to be lubricated from the inside. Any thick grease like grease or lithol is suitable for this.
First, the mold is filled in half.
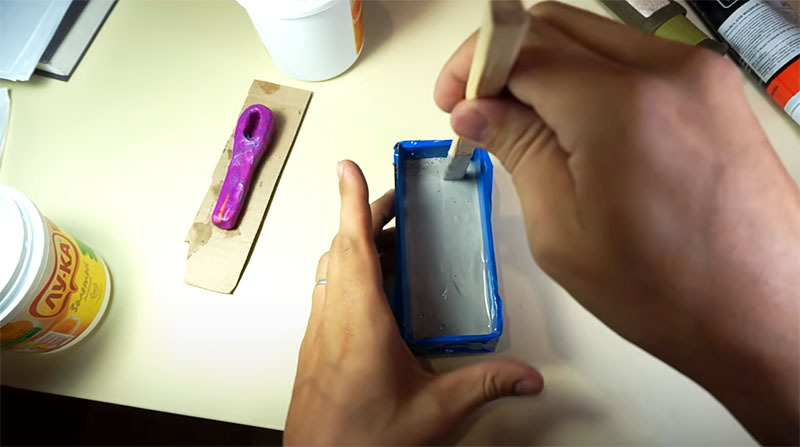
Now you need to put in plaster and slightly immerse the part sculpted from plasticine. The part must be sunk to the upper level of the plaster. Now it remains to wait until the alabaster dries up. After that, small indentations are made in it with a drill. Subsequently, they will not allow the parts of the formwork to move in relation to each other.
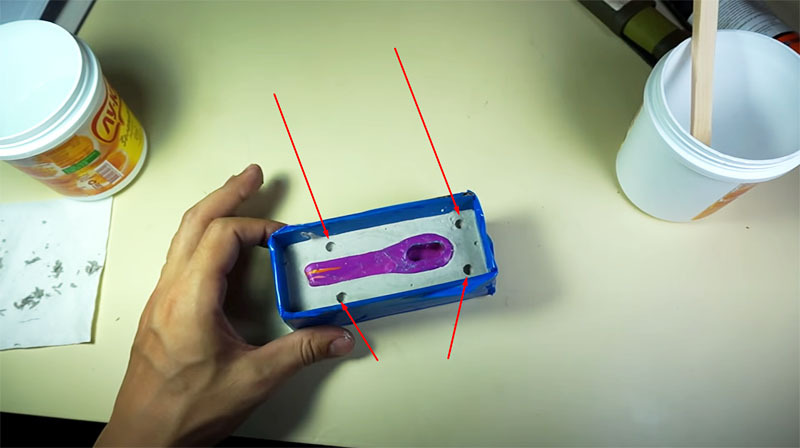
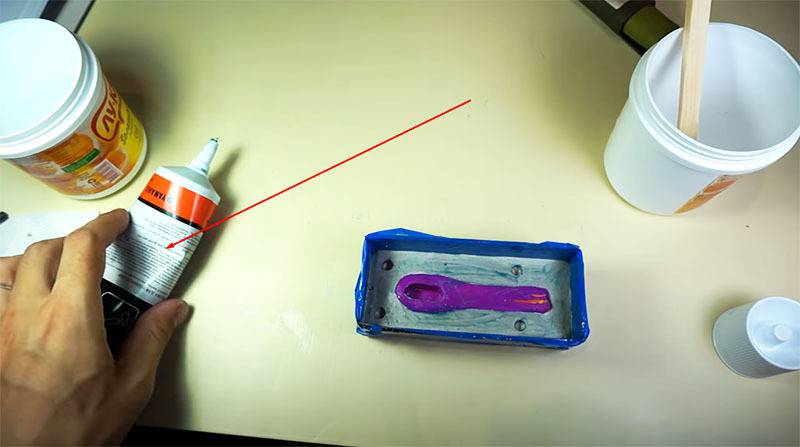
Lubrication is used again. It is applied to the entire horizontal surface. Now you can knead the plaster again and top up. The casting mold is almost ready.
Adjusting the mold for casting to the desired state
When the gypsum is dry, the cardboard shell needs to be cut at the corners and removed, it is no longer needed.
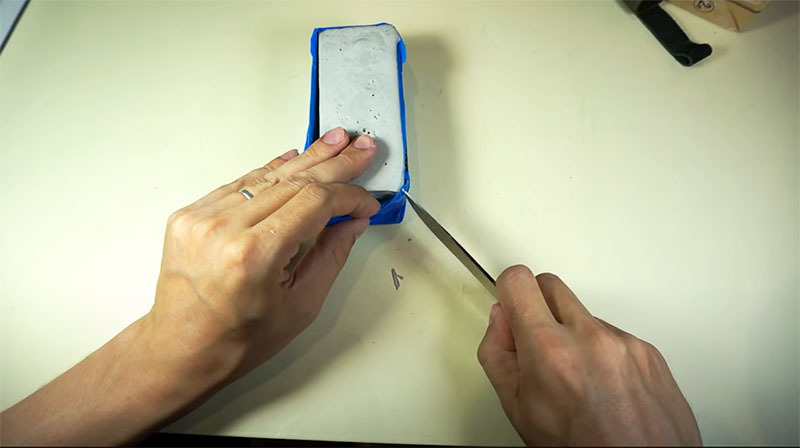
When separating the halves, be careful not to break the guides. Plasticine is also removed from the inside. Now the plaster cast needs to dry thoroughly. If moisture remains inside, the hot aluminum will boil. You should not expect anything good from this.

Hole in a mold for pouring molten aluminum
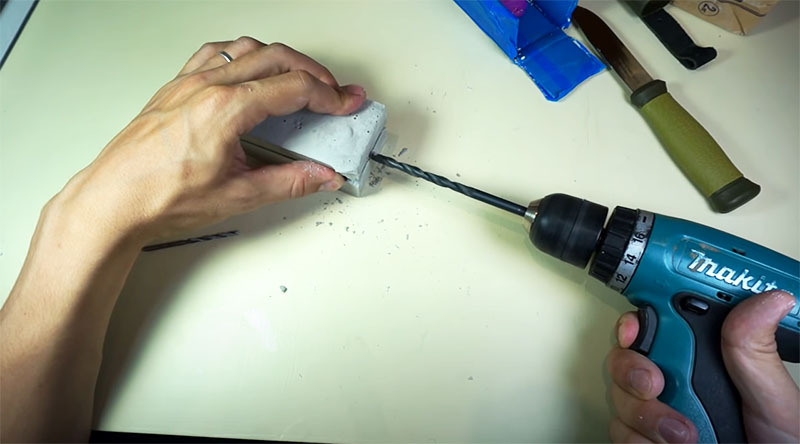
The hole in the mold is made with a conventional drill or screwdriver. Gypsum is easy to process, which means that there will be no problems with this work.
Melting and pouring aluminum into a mold
Aluminum can be melted in any tin can. A gas burner should be used as a heat source. At the same time, a portable torch is much better. The fact is that the combustion temperature of propane is lower than isobutane, which is used to fill cartridges for portable stoves and burners. Although propane is able to melt aluminum wire and sheet metal.
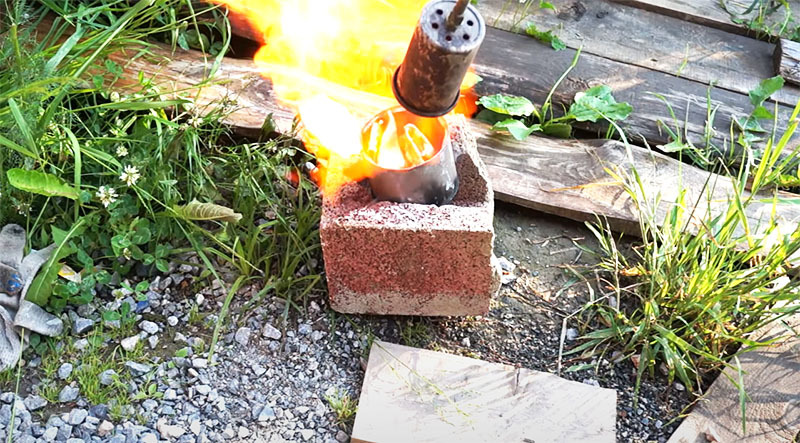
When the metal is melted, it can be poured into a mold. In this case, the parts of the plaster mold must be pulled together. A clamp is the ideal tool for this. The scotch tape used earlier will not work here - it will simply melt.

It remains to wait until it cools completely.
Disassembly of the form and completion of the part
The aluminum has cooled down, which means it's time to check what happened. The mold is disconnected, the casting is taken out from the inside. In fact, it is only a workpiece that still has to be processed. This can help manual engraving machine with a suitable cutter.
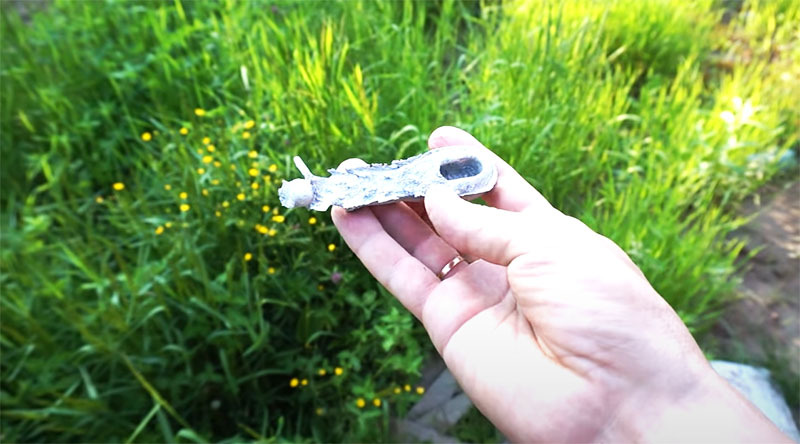
After the processing of the workpiece is completed, the part will take its final form. It will be possible to install it in the place intended for it and check the correctness of the forms - whether it hurts where, whether it interferes with the work of other nodes.
Conclusion
Despite the fact that more than three hours were spent on the casting of the aluminum part, not counting the subsequent processing, it can be concluded that the work was not done in vain. Money was saved, invaluable experience gained. After all, if you look at the costs of casting, only stucco (in small quantities) and gas for the burner were spent. We can assume that the costs turned out to be zero, which means that the work performed was not empty.
We really hope that today's article was not only interesting, but also useful to our dear reader. HouseChief editors will be happy to answer all questions on the topic, if any, have arisen in the process of reviewing the information. You just have to state them in the comments below. There you can also express your personal opinion about such work. How long do you think a self-cast part will last? Let's discuss this issue. Yes, and don't forget to rate what you read. Then we will at least understand how readers feel about the work of our authors. Take care of yourself, your loved ones and be healthy!


