Keeping food fresh on the road for a long time is sometimes a top priority. And even when going out into nature, having a picnic or fishing, this question is quite acute. Of course, you can purchase a thermal bag or, as it is also called, a portable refrigerator in a specialized store. However, the cost of such a product has been constantly growing lately. The author of the YouTube channel offers his budget solution to this issue. Mill, who made such a cooler bag in just 15–20 minutes.
Read in the article
- 1 What is required to make a cooler bag at home
- 2 Making the walls of the box of the future refrigerator
- 2.1 Manufacturing of a lid for a thermal bag
- 3 Thermal insulation of a box made of expanded polystyrene
- 4 What to sew a cover for a cooler bag
- 5 First tests of the cooler bag
- 6 Is it convenient to use such a cooler bag
- 7 Summarize
What is required to make a cooler bag at home
Let's make a reservation right away that the time period indicated above refers to the manufacture of the thermal container itself. Sewing a cover is already a separate story, which today will be considered only in passing.
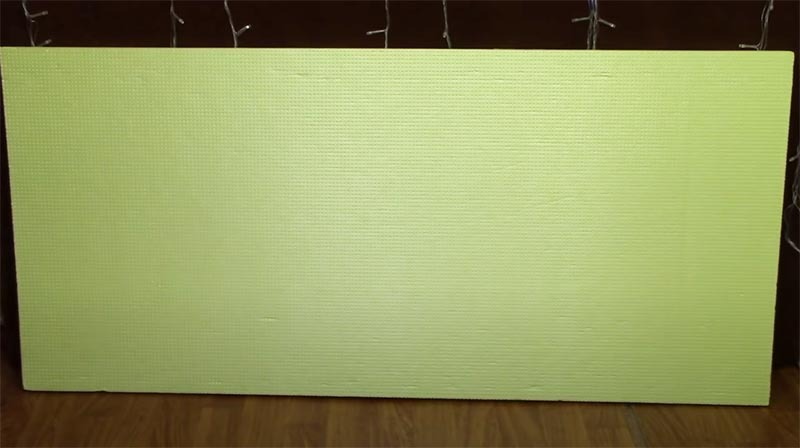
Foam polystyrene with a thickness of 20 mm is used as the main material for the manufacture of containers for the thermal bag. You will need it a little. In total, you will need to make elements of the following sizes:
- 410 × 280 - 2 pcs.;
- 215 × 280 - 2 pcs.;
- 410 × 255 - 2 pcs.;
- 370 × 215 - 1 pc.
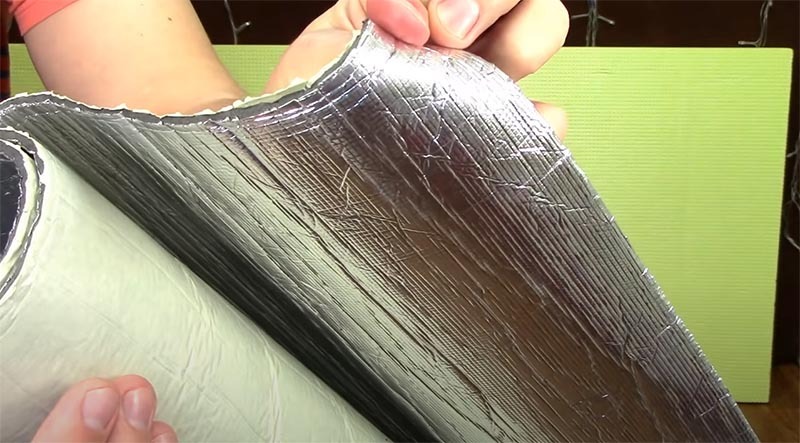
Also, to reduce heat transfer, it is necessary to prepare foil thermal insulation with a self-adhesive layer. Although, in the absence of such, even foil-clad foam is suitable.
Making the walls of the box of the future refrigerator
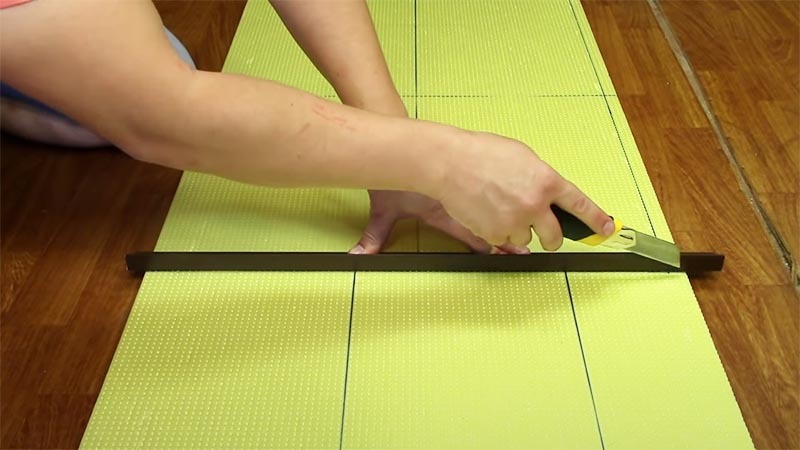
Penoplex is a material that is perfectly cut with any knife. However, it is better to use a special cutter for these purposes. The expanded polystyrene sheet is marked according to the dimensions indicated above. For an even cut, you can use any corner, ruler, rail.
Next, the box is assembled together. In this case, the ends of the elements made of expanded polystyrene are coated with silicone sealant, after which they are fastened with self-tapping screws. To do this, it is better to use a screwdriver: this way the work will go much faster, and your hands will not get tired of turning with a screwdriver.
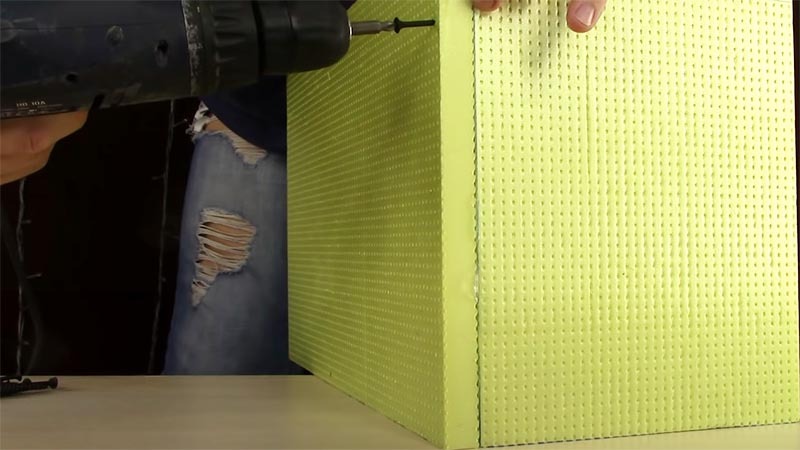
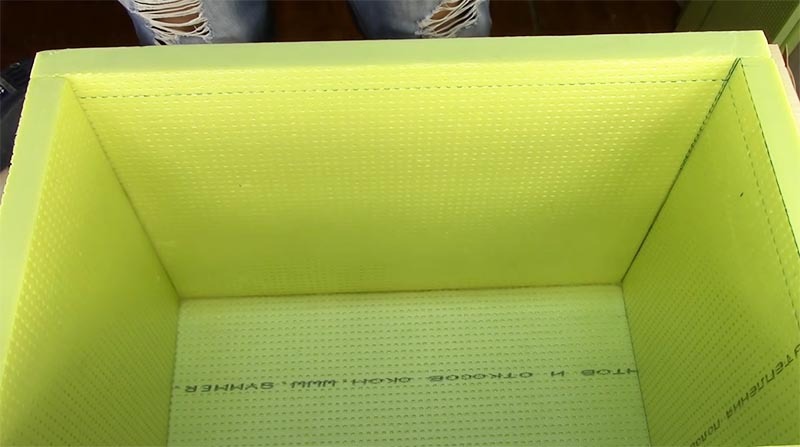
The result should be a correct rectangular box. It is very important here that the corners are straight. Otherwise, it will be very difficult to fit the cover so that it is sealed.
Manufacturing of a lid for a thermal bag
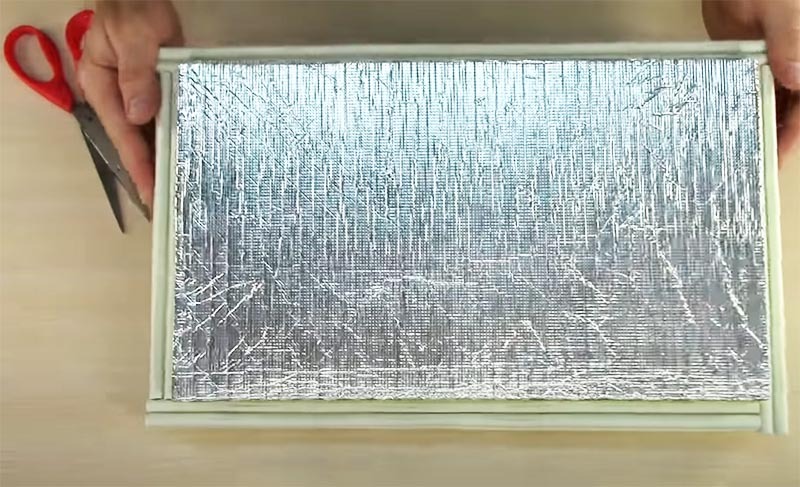
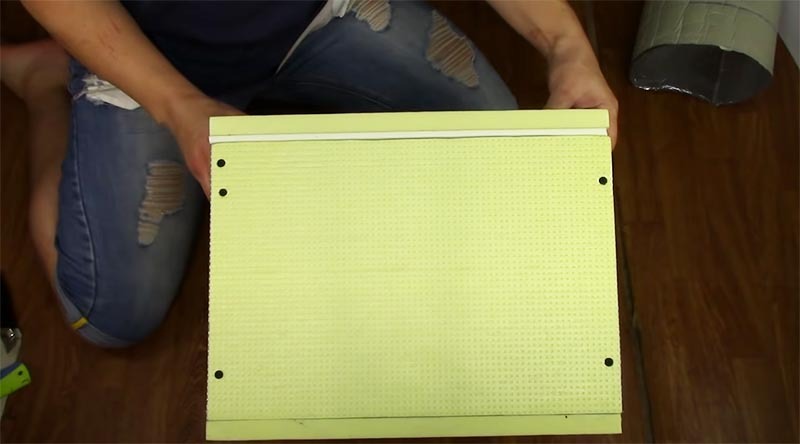
After making the box, two pieces of polystyrene foam should remain. On the larger of them, it is necessary to make a markup by drawing lines with an indent of 20 mm from the edge along the perimeter. It is along these boundaries that the smaller element should be located. It is glued with a sealant, after which a thermal insulating foil sheet is applied to it.
The final touch here will be the gluing of silicone insulation (which is also purchased in the store) around the perimeter of the lid.
Thermal insulation of a box made of expanded polystyrene
It is necessary to glue the box inside with the same thermal insulating foil sheet. Here, one cannot do without an accurate drawing with dimensions. In order not to waste time compiling it, take a look at the photo below.
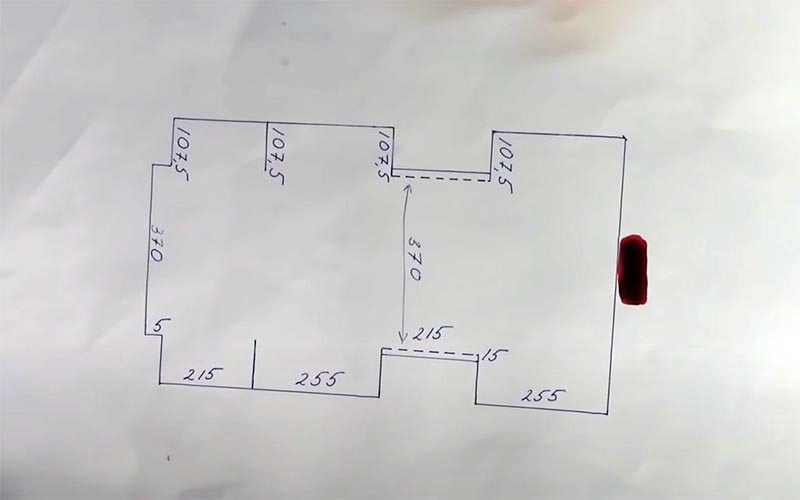
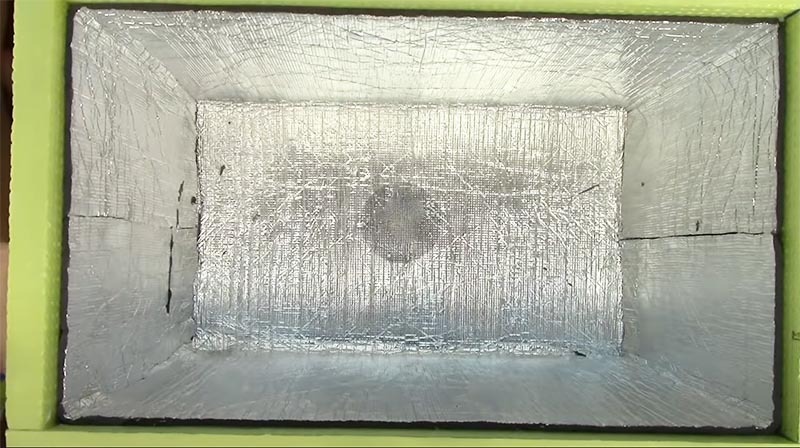
It will not be easy to stick thermal insulation inside the box, but you need to try to ensure that all the lines converge. In this case, a strip 20 mm high should remain unsticked along the perimeter of the box on top. It is necessary so that the lid fits tightly into the box.
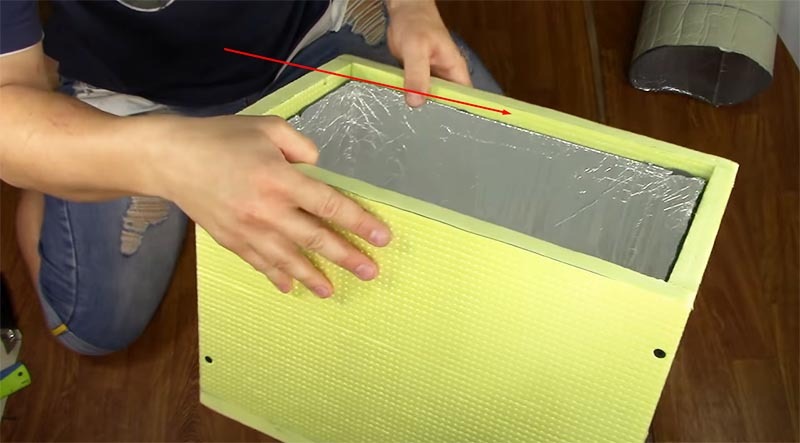
Now you can try on the lid. It should fit inside tightly enough, but at the same time the expanded polystyrene should not bully. If this happens, you need to trim the edges a little.
What to sew a cover for a cooler bag
For these purposes, it is better to use rough furniture fabric. Fasteners can be made with buttons, zippers or in any other convenient way. Consideration should also be given to attaching a shoulder strap for ease of transport.
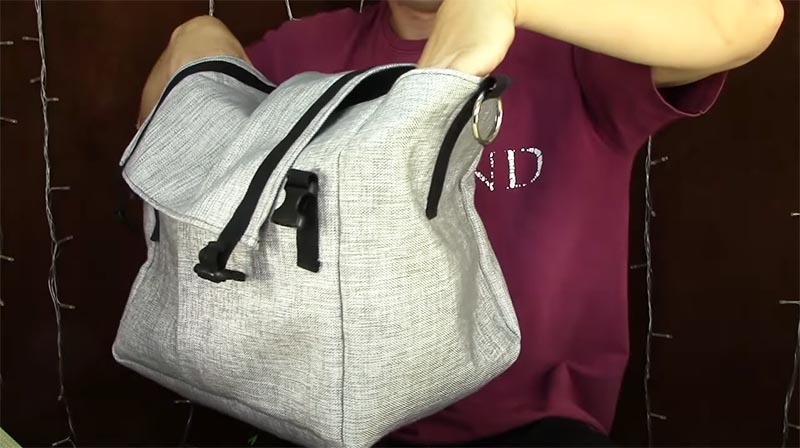
First tests of the cooler bag
To check how the cooler bag will keep cold, you can do the following: put frozen food on the bottom of the box, and place a cold generator on top. This can be a special frozen container of liquid or even a regular plastic ice bottle.
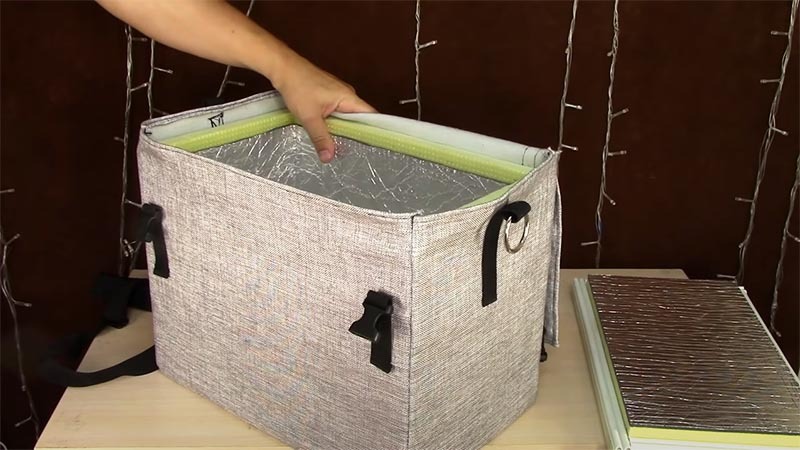
After everything you need is put in the box, the lid is closed and the bag remains in a warm room for 12 hours. If during this time the products have not defrosted, then the home craftsman has achieved the desired result.
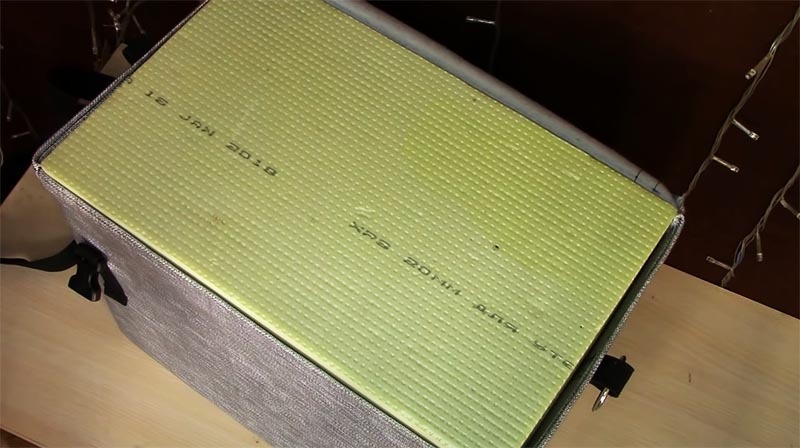
Is it convenient to use such a cooler bag
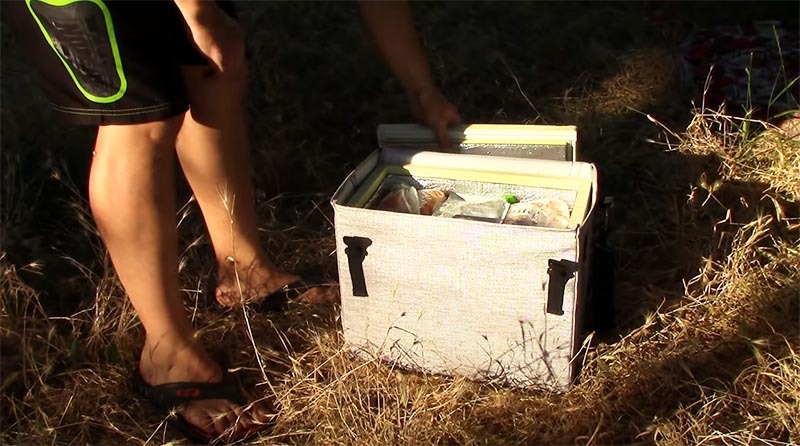
This bag is very convenient to use. It can be easily carried while on the move using the shoulder strap. However, you should be careful when transporting a thermobox in a car. When cornering, if there is an unsecured load in the trunk along with the bag, it can simply be crushed.
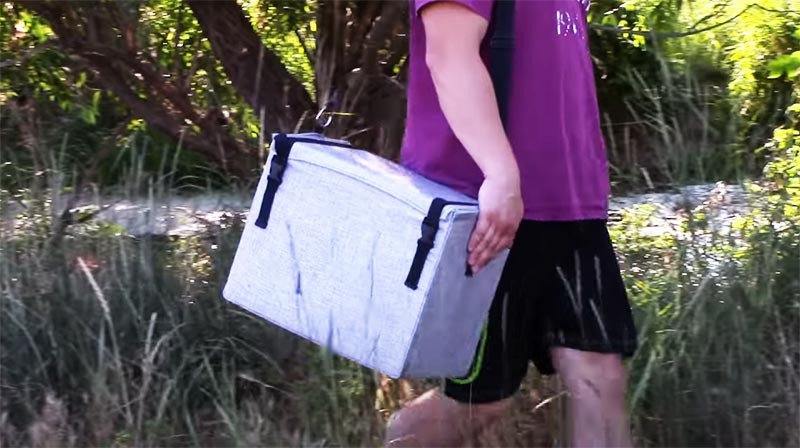
The bag has enough capacity for a family of 3-4 people (for a picnic). For fishing, where you rarely go with your family, this volume is all the more sufficient.
Summarize
Making a cooler bag, or rather a box for it, is an extremely simple job. It will not take long even for a master who first encountered such a homemade product. In addition, without taking into account the material for the cover, the cost of such a device is extremely low. As of October 2020, it will average 600-700 rubles. This amount can hardly be compared with the price you have to pay in the store when buying a factory version.
We hope you find the information presented today useful. If you have any questions on the topic, you can ask them in the comments below. HouseChief editors will be happy to answer them as soon as possible. There you can also discuss how useful a cooler bag can be in a given situation. Was the article interesting to you? Then don't forget to rate. Every opinion matters to us. Take care of yourself, your loved ones and be healthy!

