How to make a reusable aerosol can

click fraud protection

Aerosol cans are a very handy painting tool. The paint applied in this way does not have the characteristic streaks or irregularities of the brush, which are left by the nap of the roller. In this way, you can apply not only paint, but also varnish. The small can is comfortable to hold and easy to transport, while the aerosol will help paint hard-to-reach parts that are difficult to reach with a brush. In short, the spray can is very easy to use. But he has one significant drawback - disposable packaging. There is not so much paint in a cylinder, and to paint a large part, you will need more than one cylinder. It turns out that you have to pay for packaging over and over again, and the consumption of the paint itself turns out to be very small. How can this situation be corrected? There are two options. First, an airbrush can become an alternative to a spray can, but the cost of such a device starts at 800 rubles, and you still need to get used to using it. And the second option is to make the can... reusable. How this can be done, showed the author of the YouTube channel The labOtomy.

Read in the article

  • 1 What is required for work
  • 2 Converting a disposable cartridge to a reusable one
  • 3 How to make an airbrush from scrap materials

What is required for work

So what's the point of the rework? We need to find a way to fill a sealed container with paint and pump air into it to create the necessary pressure. Moreover, it is important that no special tool is required for this procedure.
How to make a reusable aerosol can
PHOTO: YouTube.com
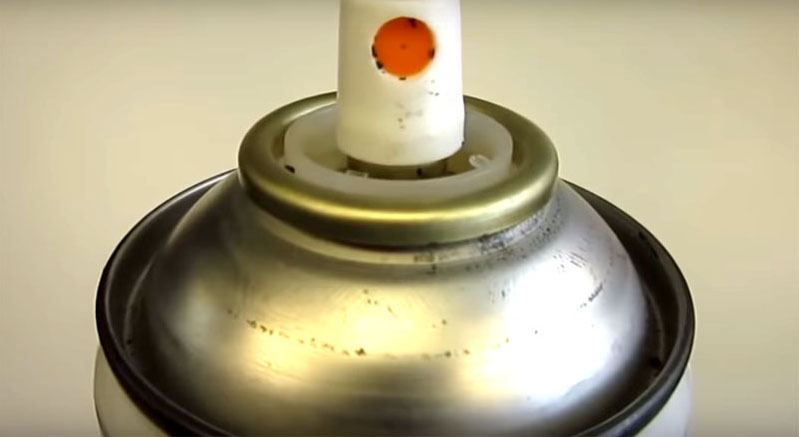
The aerosol can has no additional holes, it is hermetically sealed and filled with paint and air

To make a reusable aerosol can, you only need one additional part, which you can easily find - a bicycle nipple.
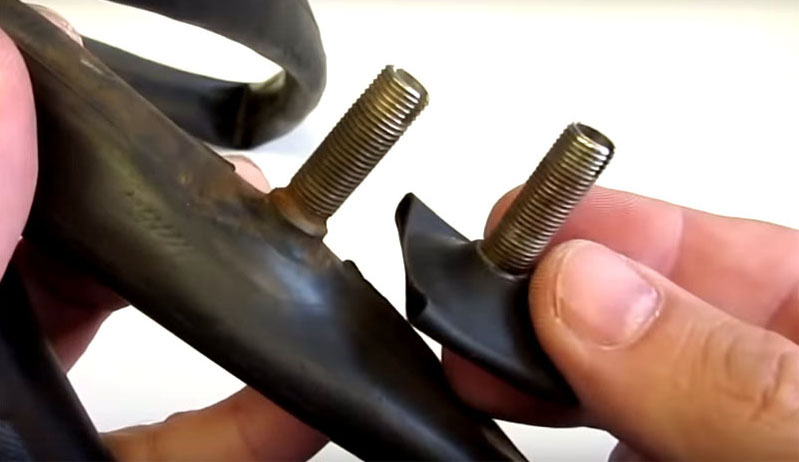
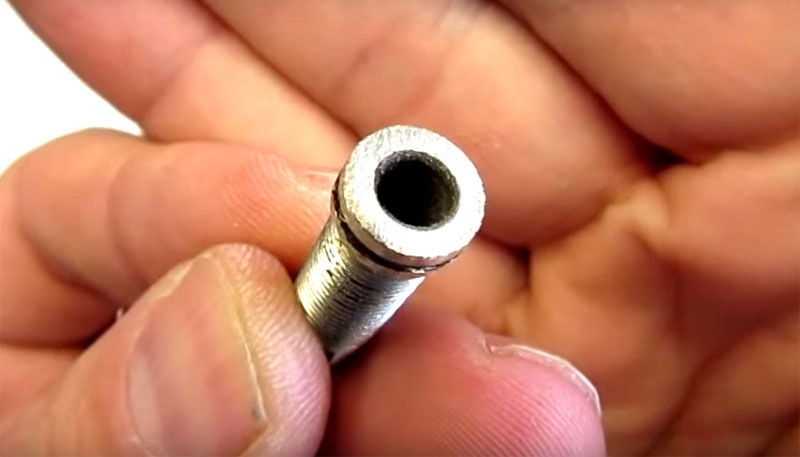
You can buy a finished part or get it from a punched camera
PHOTO: YouTube.com
You can buy a finished part or get it from a punched camera
The nipple has such a small hole, and a drill should be selected for its sizePHOTO: YouTube.com
The nipple has such a small hole, and a drill should be selected for its size

It remains only to assemble all the parts of the device into one whole.

Converting a disposable cartridge to a reusable one

To install the nipple, you need to choose a place at the top of the can.
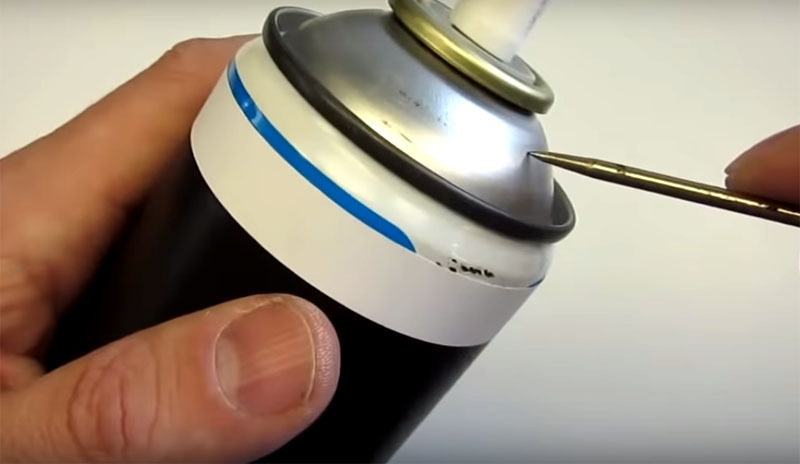
First, mark the location for drilling with the awl. It will not pierce the metal of the can, but will make a recess in which it will be convenient to drill. The drill will not slip to the side.PHOTO: YouTube.com
First, mark the location for drilling with the awl. It will not pierce the metal of the can, but will make a recess in which it will be convenient to drill. The drill will not slip to the side.
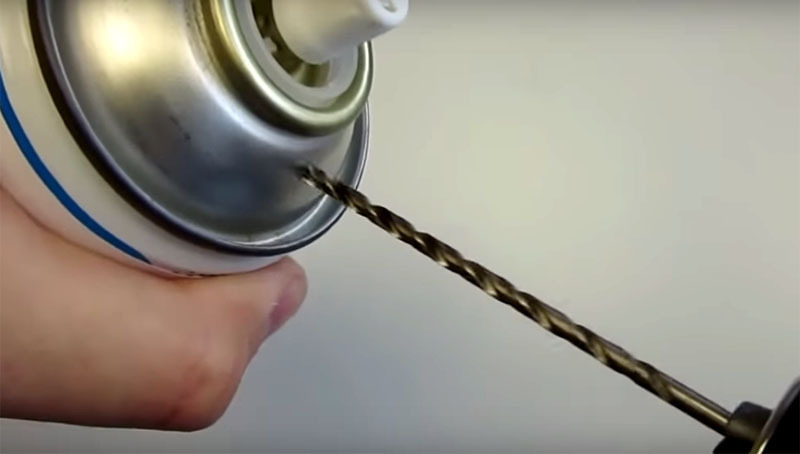
Carefully drill the can, tilting it downward relative to the drill to prevent chips from entering. It is very important to do this only with an empty can, otherwise you risk being covered in paint from head to toe, and this is at best. Never perform this procedure with gas cylinders, they can explode right in your hands.PHOTO: YouTube.com
Carefully drill the can, tilting it downward relative to the drill to prevent chips from entering. It is very important to do this only with an empty can, otherwise you risk being covered in paint from head to toe, and this is at best. Never perform this procedure with gas cylinders, they can explode right in your hands.
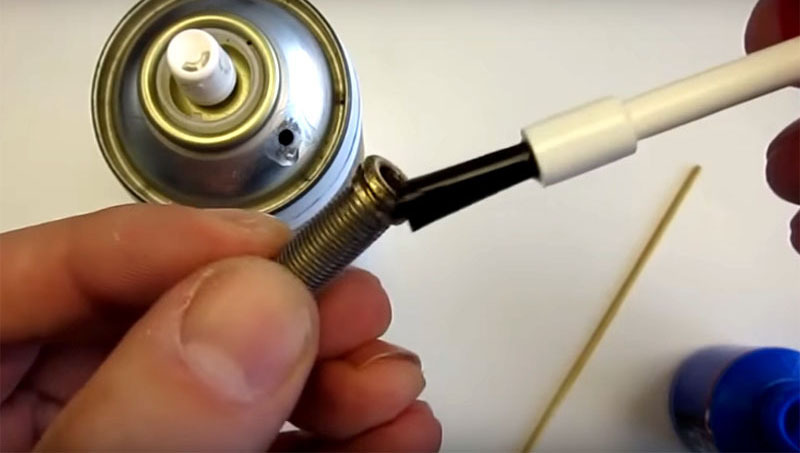
Now the nipple needs to be glued to the can. Epoxy glue is best suited for this purpose, it will firmly connect the parts and withstand the pressure loadPHOTO: YouTube.com
Now the nipple needs to be glued to the can. Epoxy glue is best suited for this purpose, it will firmly connect the parts and withstand the pressure load
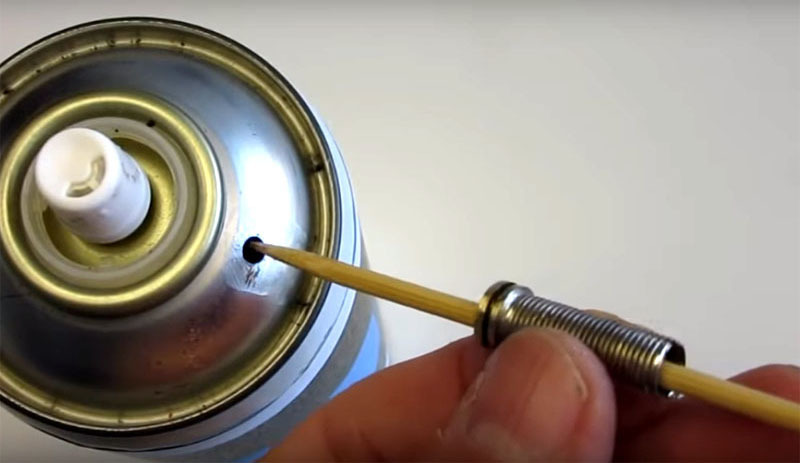
An important point: you need to accurately align the nipple and the hole in the cylinder that you made with the drill when gluing. The easiest way is to use a wooden skewer. It will act as a guide and help to accurately align the details.PHOTO: YouTube.com
An important point: you need to accurately align the nipple and the hole in the cylinder that you made with the drill when gluing. The easiest way is to use a wooden skewer. It will act as a guide and help to accurately align the details.

Just glue is not enough to connect the parts; you need to additionally strengthen this place with soldering. For this procedure, you will need a can of gas and a special nozzle - a gun, which gives a constant, narrowly directed flame. In general, such a nozzle will come in handy in many household chores and will be completely irreplaceable when making live fire. So if you have not yet acquired this device, it makes sense to do it. Such a gun costs about 200 rubles, and you can buy it at any hardware store.
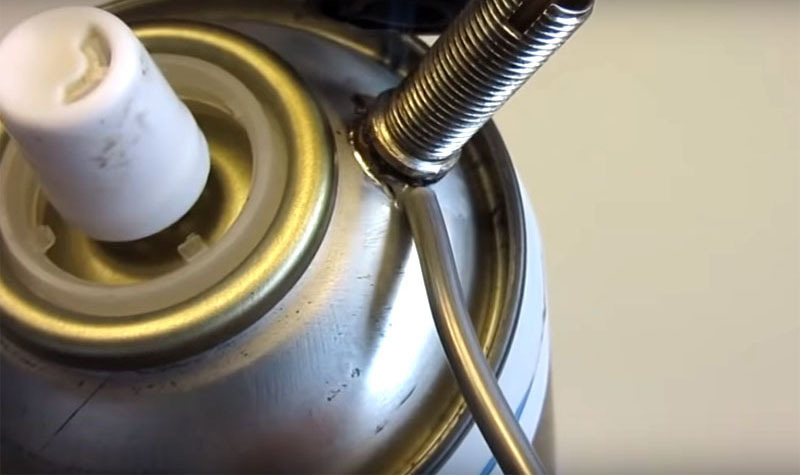
Use tin solder. Under the flame of the burner, it will easily melt and fill all possible gaps in the jointPHOTO: YouTube.com
Use tin solder. Under the flame of the burner, it will easily melt and fill all possible gaps in the joint

The nipple opening in the bottle is very small, so it will be convenient to fill in paint through a syringe without a needle. The size of the under-needle cone is just right for this task. But there is a nuance: the cylinder cannot be filled completely, there must be room for air in it.
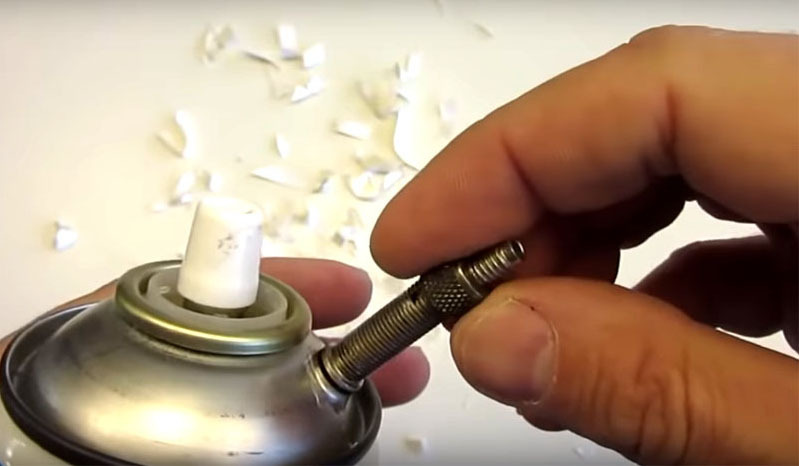
When the paint is filled, screw the cap onto the nipple, inside of which there is a valve that does not release airPHOTO: YouTube.com
When the paint is filled, screw the cap onto the nipple, inside of which there is a valve that does not release air

And now there is only one small step left to make the cylinder operational - you need to create the necessary pressure in it by pumping air.
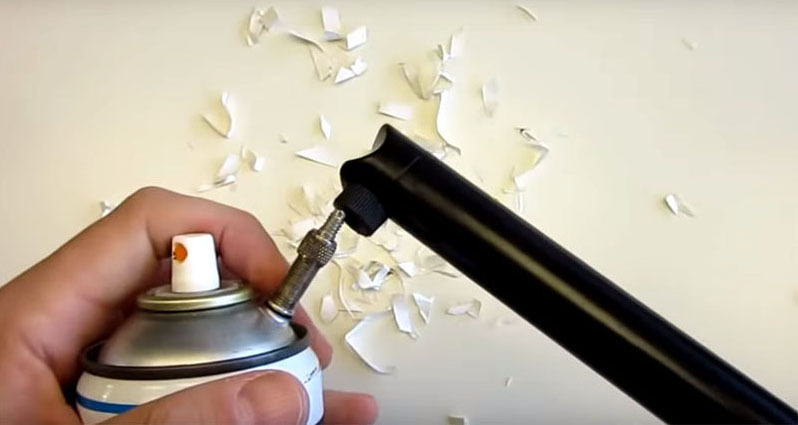
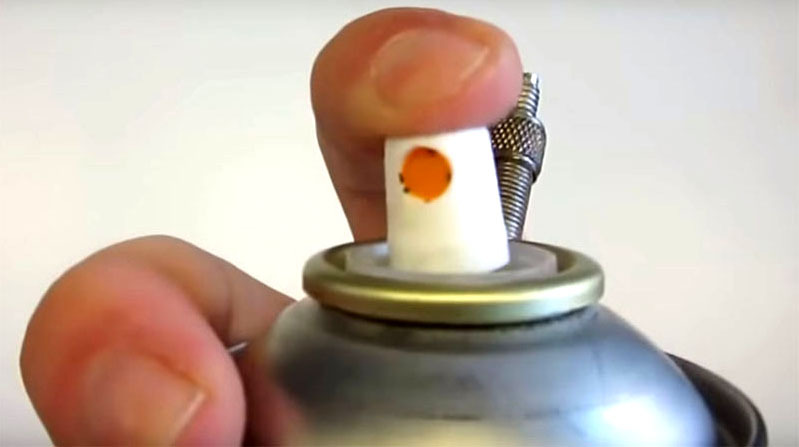
You can pump air into the cylinder with a regular bicycle pump. Do not over-pump it, otherwise the pressure can break the nipple.PHOTO: YouTube.com
You can pump air into the cylinder with a regular bicycle pump. Do not over-pump it, otherwise the pressure can break the nipple.
The aerosol can can now be used multiple times. It should be filled with paint of the same color, so as not to get unexpected mixing. Make sure the paint is thinned and free of lumps. Shake the can before use, and then wipe the spray bottle with a swab dipped in solvent so that the dried paint does not clog the hole.PHOTO: YouTube.com
The aerosol can can now be used multiple times. It should be filled with paint of the same color, so as not to get unexpected mixing. Make sure the paint is thinned and free of lumps. Shake the can before use, and then wipe the spray bottle with a swab dipped in solvent so that the dried paint does not clog the hole.

You can prepare several cans this way if you want to use paint to create multi-colored images.

How to make an airbrush from scrap materials

It is very convenient to use aerosol for creativity and fine work. And if necessary, you can build the airbrush yourself, using a ballpoint pen. How to do this is clearly shown in this small video:

What do you think of such a redesign of the cylinder? Write about it in the comments. And if you have tried this procedure in practice, be sure to share your impressions!

Discuss0