The Japanese are recognized as masters of paper crafts. Let's remember origami. And this is no accident. They are known for their reverent attitude to this material because of the same sound of the word "kami", which means the concepts of "god" and "paper".
Content
- What is a parcel
- What you need to know about the nuances of work
- What you need to work
- Requirements for paper
- The role of liquid glass for coating the finished composition
- Master classes for beginners
- Technique of work
- Flowers from the porch
- Volumetric compositions on the wall
What is a parcel
The papertol technique also belongs to the traditional Japanese paper art, with the help of which three-dimensional images are manually created from flat printing. Identical "pictures" are glued on top of each other using adhesive pads or scotch tape, which results in two- and three-dimensional compositions.
There are quite a lot of "paper" masters in the Land of the Rising Sun, and everyone is trying to bring something new to this art, using different initial images and their own inexhaustible imagination.
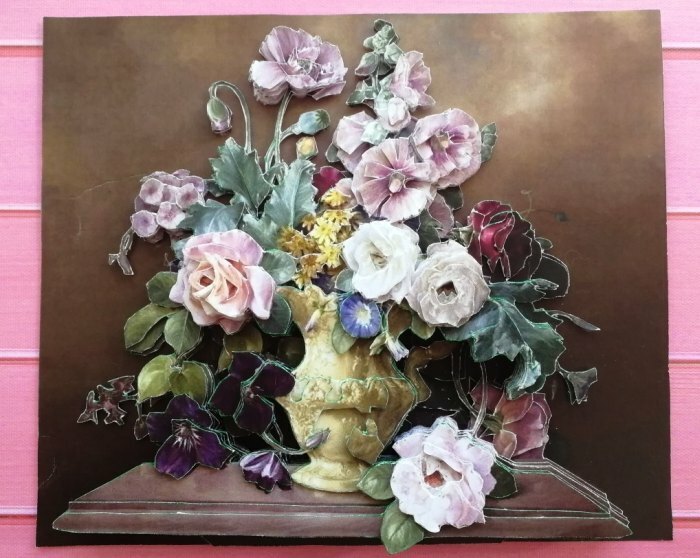
The first handicrafts in the papertol style came to Europe in the 17th century and immediately caused an exuberant demand for decoupage. However, the latter and the papertol are different types of art and are similar to each other only in the source material.
What you need to know about the nuances of work
The parquet technique can be easily mastered by every beginner in this business. However, there are some subtleties that need to be considered at the beginning of the process and during processing.
- Beginners are advised to choose images that have large details: they are easier to work with at first.
- The main rule for creating compositions in this technique is to correctly select the background, intermediate and frontal zones of the picture.
- You must first determine the order in which the paper elements will be combined.
The naturalness of the picture will be given by additional decor such as dry leaves, flowers and other natural elements. - Volumetricness, the desired three-dimensionality of a picture made using this technique, will be provided by processing with varnish on water-based, with the help of which light reflections will be reflected, emphasizing the volumetric structure products.
- To achieve a more realistic effect, 3D masters are advised to insert the picture into a special recessed frame.
If the purpose of the work is to create a "semi-antique" painting, then it is not recommended to use varnish.
What you need to work
If you are familiar with the decoupage technique, then you know what is needed to work in volumetric decoupage. This is:
- paper with the image of a blank drawing on it, which has different textures,
- Double-sided tape,
- sharp, slightly curved and straight scissors to cut out fragments,
- transparent glue,
- multicolored felt-tip pens with a thin "nose",
- in case of presence of small elements - tweezers,
- "Rug" for cutting.
Requirements for paper
For that so that the finished composition does not lose its shape and color, paper and glue should be of high quality. It would be nice if the latter had a silicone base, without acetic acid, otherwise, having impregnated the paper, it will depict streaks on the "facade" of the product.
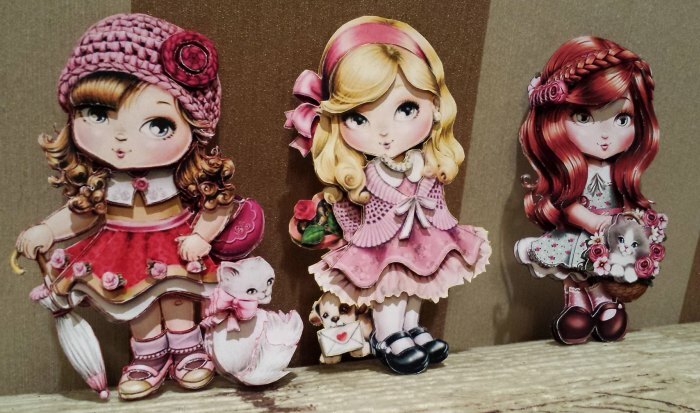
If we talk about paper, then it should be strong, dense and quite heavy. Cutting too thin paper material into fragments, it will be very difficult to glue the sheets, and then process the finished craft with varnish.
The role of liquid glass for coating the finished composition
If you cover the finished picture with liquid glass, then, in addition to the fact that the product will acquire an appearance resembling porcelain, it will receive, as it were, additional volume and depth, it will also be durable. Having made a similar treatment, the composition can be placed in a frame without glass.
The ready-made sets for the papertol contain cards made on this type of paper, which, if covered with liquid glass, will have an even brighter and more interesting "look".
Liquid glass consists of acrylic lacquer and two more components. They are mixed in proportional parts and applied to a three-dimensional picture. The result is the effect of the image "behind the glass": a smooth, transparent, solid surface.
Master classes for beginners
Beginners can be encouraged to start their first steps with simple subject images with a limited number of small fragments.
Technique of work
A good way out in this case is the ready-made sets, which have already been mentioned. They consist of ready-made and even numbered elements. To start the workflow, you need to print the picture in three or four copies and start gluing.
We offer step-by-step instructions.
- A thick piece of paper with one of the printed copies will be the basis for the future picture, and all subsequent paper parts will be attached on top of it. When moving on to work with other layers, do not forget that three centimeters must be retreated from the edge of the sheet, making room for the frame.
- Taking the second copy, some details of the picture are cut out of it - those that create a distant background, such as houses or natural elements. Most often these are small fragments. Larger parts are glued later.
- These drawings are glued to the background with tape with both sticky sides.
- To make the picture look more accurate, cut through the fragments without going into their "territory", pass them with a felt-tip pen of the appropriate color.
- The next layers are performed in the same way, but all the new details of the picture are already involved.
ADVICE. There should not be too many layers so that the finished composition does not look overly overloaded with details and therefore chaotic.
Flowers from the porch
Making "parquet" flowers is very exciting and interesting, especially for people who already to a certain extent know this technique.
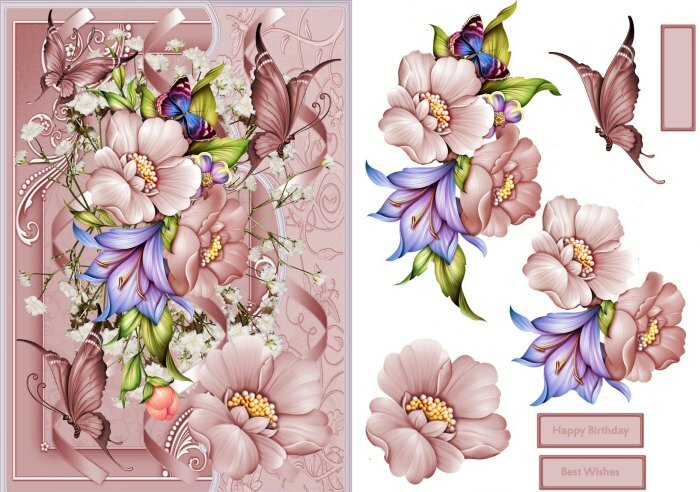
Flowers are small parts in the form of petals, leaves and buds, interesting color transitions.
- An uncut drawing is glued to the base sheet.
- White background fragments are cut out of the second whole picture, and the remaining picture is glued to the base.
- Then cut out smaller pieces - flower leaves. They will "grow" above the base sheet and the first layers. If, say, bunches of lilac flowers are being developed, then for greater bulk they are glued in several layers.
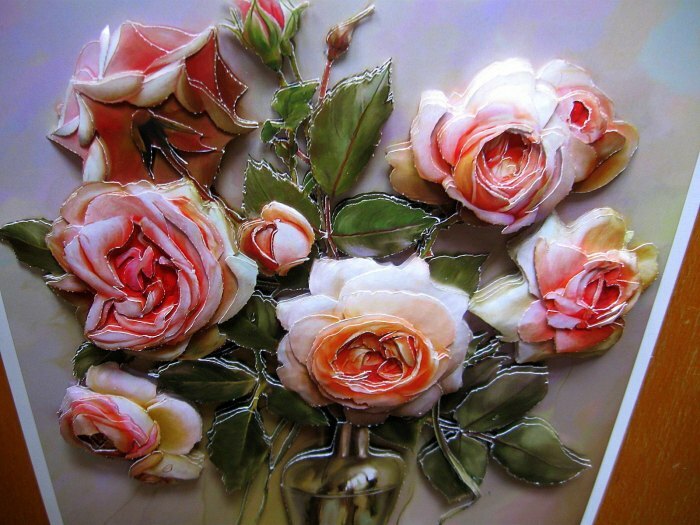
It is worth noting that the floral and floral theme in this technique will always be relevant - it is both a wonderful gift and a nice piece of furniture, for example, in a kitchen designed in a country style.
Volumetric compositions on the wall
A simple type of wall decoration and other surfaces is decoupage, which allows you to make any flat element volumetric with the help of an available material. Even beginners can do this kind of work. The main advantage is the ability to make a flat element volumetric, using the material at hand.
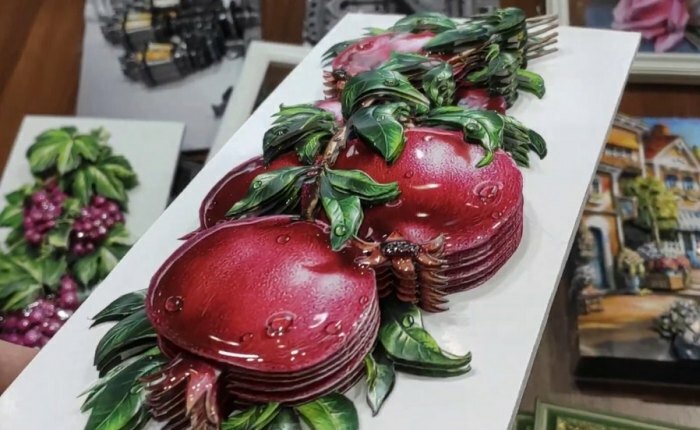
To create 3D decoupage, you need the following items and materials:
- a piece of colored, specially "decoupage" paper or wallpaper / photo wallpaper, foil,
- polymer clay,
- brush,
- glue,
- scissors,
- napkin, cloth.
The process of creating a painting on the wall looks like this:
- The desired picture is cut out of paper or other selected material. You can print a drawing using printing.
- The drawing is soaked in water and blotted with a cloth.
- The reverse side is coated with glue and glued tightly to the wall.
- They do the same with other fragments of the drawing, making sure that the joints coincide and the integrity is not violated.
The drawing will turn out three-dimensionalif you paste the image over the finished picture again. The final action is to varnish the drawing.
Depending on the purpose of the room, you can create a three-dimensional picture of a winter or blooming garden, sea underwater landscapes. In the kitchen, you can "paint" a picture with cereals, beans. Moreover, the material can be anything that can be found in the house.
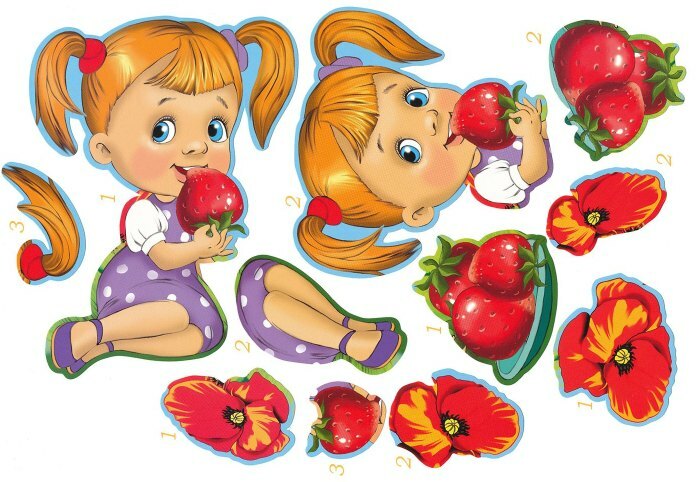
The porch technique is interesting for its limitless creative possibilities. And these are not only original paintings or wall decoration, but also smaller items, including souvenir ones: notebooks and magnets, postcards and folders.

