From the moment that man invented the torch, he always tried to improve the means for lighting their homes. We used torch, candles, and later there was the first electric light bulb. But this man was not enough, he thought that the lamp has not only fulfilled their direct function, but it was nice when decorating a room. we describe in this review HouseChief, how to make their own hands a lamp, and instructions and execution of ideas and workshops will help you in creating a lighting fixture for your apartment or houses.
Read article
- 1 A bit of luminaires
- 2 How to make your own hands an original ceiling lamp
- 2.1 What is needed for the manufacture of
- 2.2 Step-by-step instruction
- 3 Bra made of wood with their hands
- 3.1 Step by step instructions for making and decoration lampshade wall lamp
- 4 Master-class on making lamp from scrap materials
- 5 The original 3D-LED-lamp
- 5.1 Materials and tools for the design of the assembly
- 5.2 Step-by-step instruction
- 6 How to make an original lamp for a child's room
- 7 Interesting ideas for homemade lamps with photos in the interior
A bit of luminaires
Lamp I went with the man a long way to its present form: from a burning branch to modern lighting fixture with remote control. Look at the photo story of the usual devices for us.
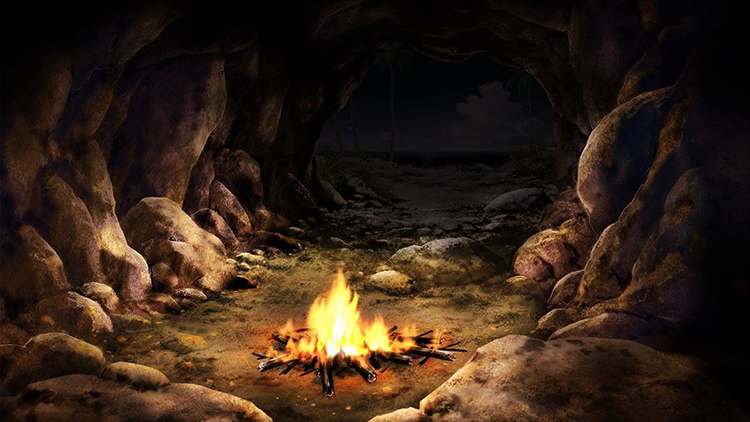
PHOTO: i.pinimg.com
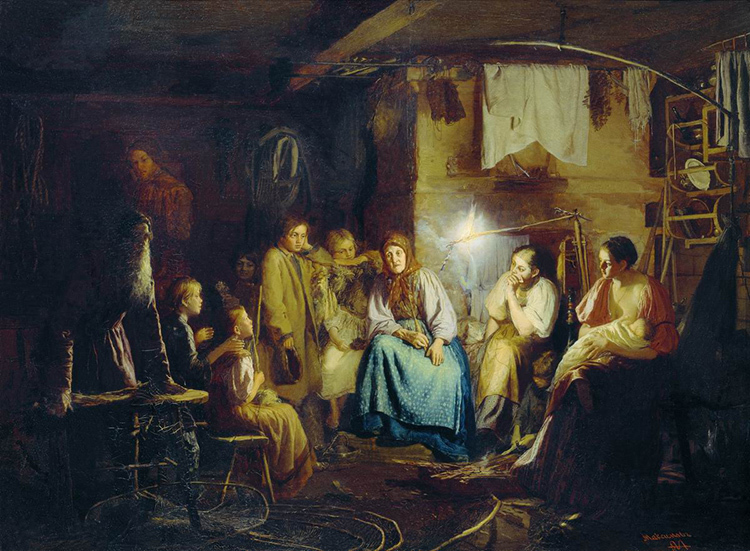
PHOTO: cont.ws
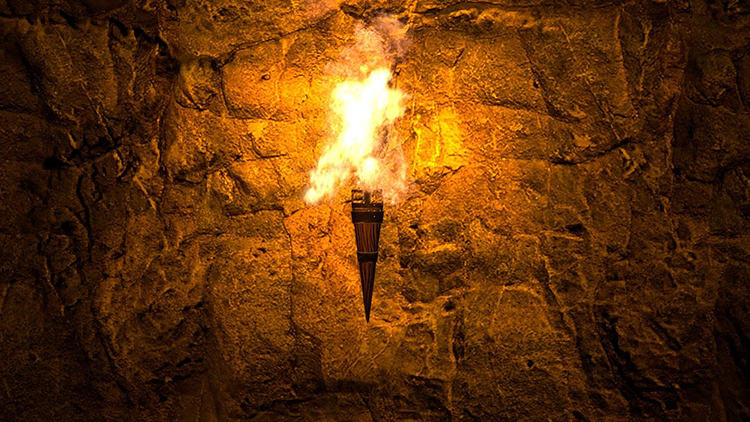
PHOTO: i.pinimg.com

PHOTO: cdn.pixabay.com
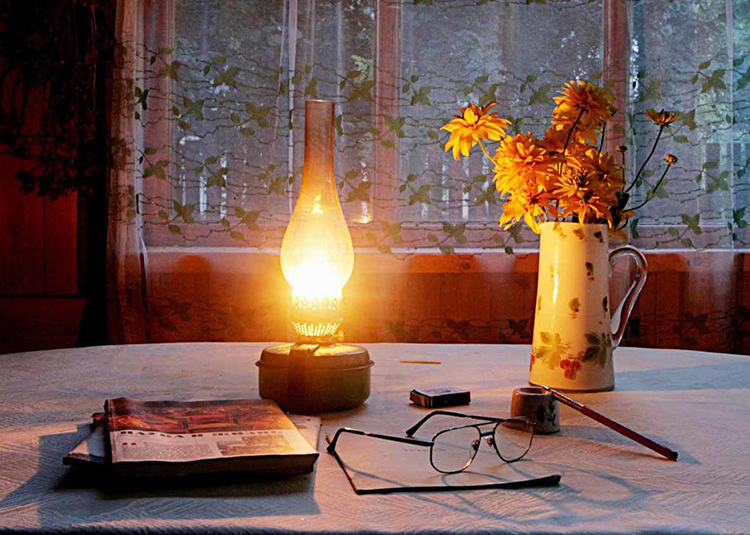
PHOTO: gazeta-bam.ru
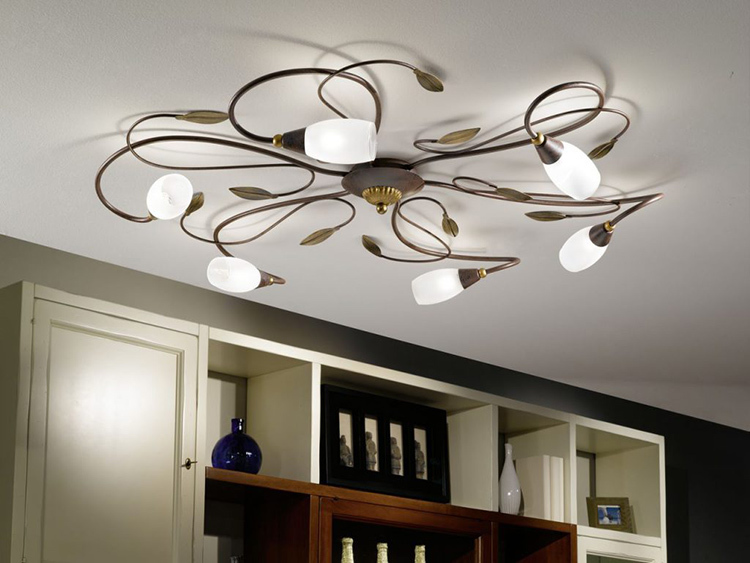
PHOTO: postroikado.ru
How to make your own hands an original ceiling lamp
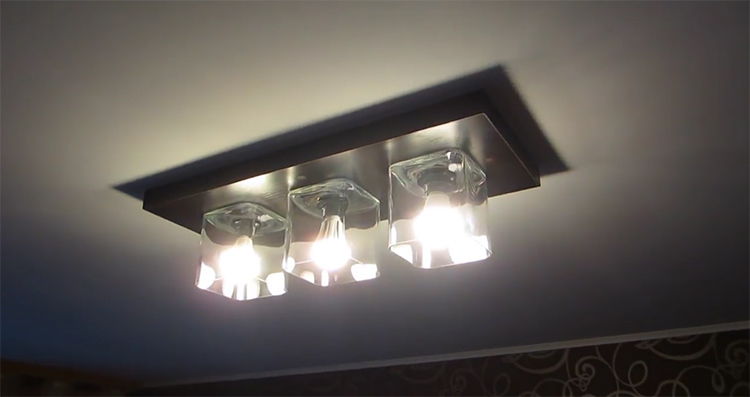
For sale is a lot of variety of lighting products for every taste, but it's consumer goods, and each person you want something unusual and original. Offer the user manual for the manufacture of ceiling lamp glass vases square shape.
What is needed for the manufacture of
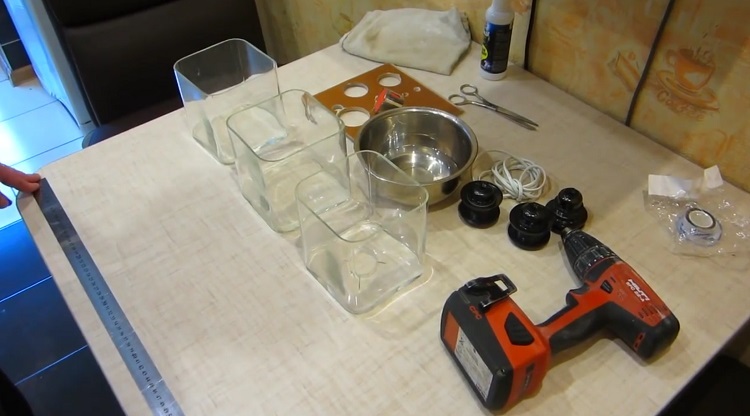
To create a lamp, we need:
- 3 glass vases square shape of thick glass;
- 2 pieces of 16 mm thick chipboard desired color;
- 3 chuck for LED lamp socket E 27;
- two-wire line;
- terminal block.
Needed to work tools:
- Screwdriver.
- Jigsaw.
- Diamond crown glass, corresponding to the diameter of the cartridge for lamps.
- Mounting gun with tuba "liquid nails".
- Sponge and water for cooling.
- Drill according tree diameter of 5 mm.
- Countersink.
- Rulers, markers.
- Double-sided tape.
- Screws with plastic dowels for fastening design - 6 pieces.
Step-by-step instruction
ceiling light, Production of which will be discussed in the following instructions, perfect for interior of any modern style.
| Picture | Process description |
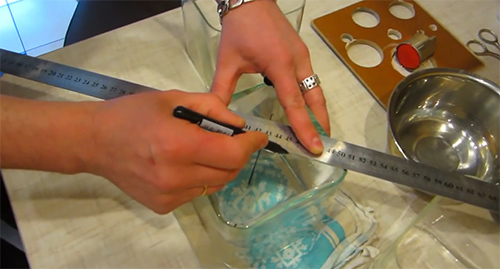 | Mark up the center on the bottom glass vases |
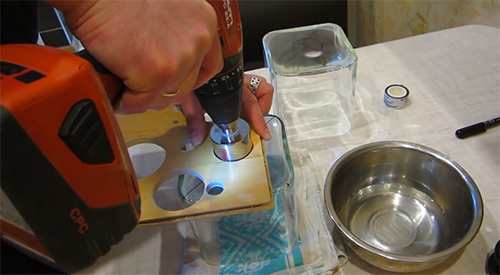 | Double-sided tape on the set template. Take the diamond crown, into which is inserted a sponge, damp and begin to gently drill. Do not forget to periodically wet mill |
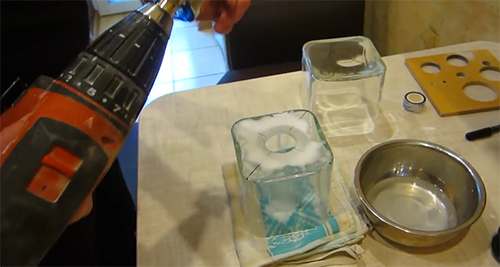 | You should get here this hole. We perform this operation with other vases |
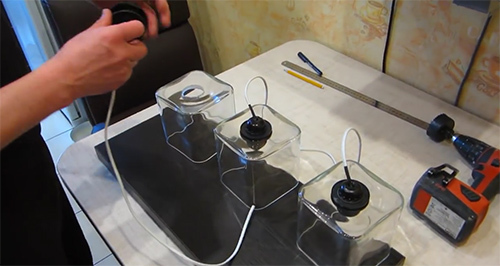 | We collect cartridges with wires and fasten them in the resulting holes |
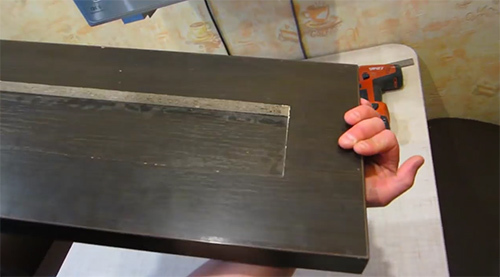 | Take two pieces of chipboard. In one do with the help of a drill and jigsaw rectangular cutout. Further, the two blanks are interconnected with screws and fining perimeter edge PVC |
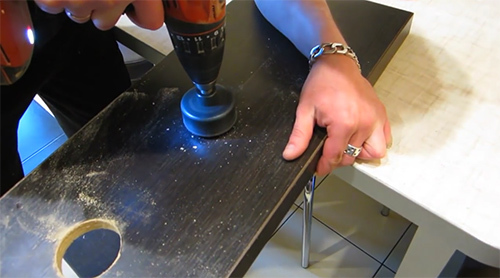 | Mark up on the front of the installation location lampshades and ceiling mounting. We are making the necessary holes |
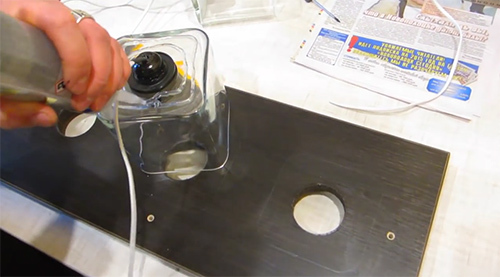 | With "liquid nail" fasten plafones with cartridges to the base, having passed the wires in the holes made |
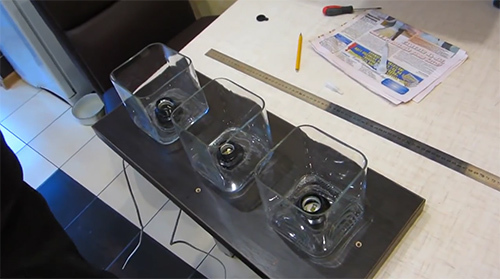 | Give the design to dry |
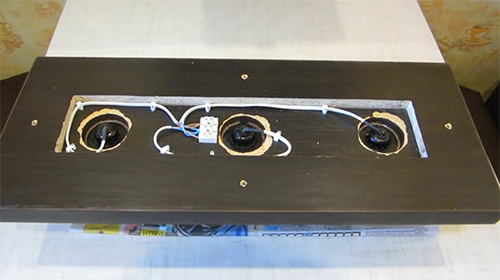 | Connect the wires to the terminal block |
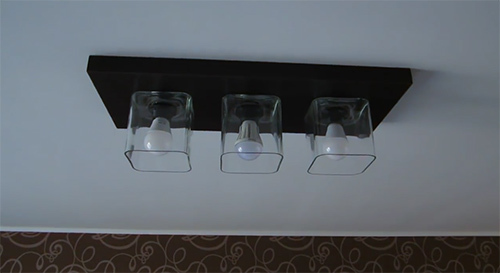 | Connect the wiring to the lamp, mounted to the ceiling, LED bulbs are screwed, and clicking switch. It is possible to make switching of lamps into groups "1 + 2", or all three lighting elements simultaneously |
That's relatively easy and quick to make an original chandelier with his own hands, of course, if they grow properly.
Bra made of wood with their hands
Beautifully will look in the interior in the style of a loft or a country sconces made of natural wood. This will require the board to plywood template, screwdriver for lamp holder, wire, jigsaw, angle Grinder Flap Disc, fine-grained emery paper, wood drill bit with a diameter of 4 mm and Rework lamp.
Step by step instructions for making and decoration lampshade wall lamp
This option is a good solution if you have remained the foundation of the old lamps, which had a broken lampshade. Using a relatively small piece of board and his desire, it is possible to give a second life to a lamp.
| Picture | Process description |
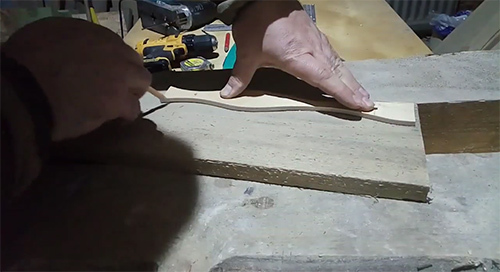 | Plywood making template (form can be any). Encircles circuit board future procurement |
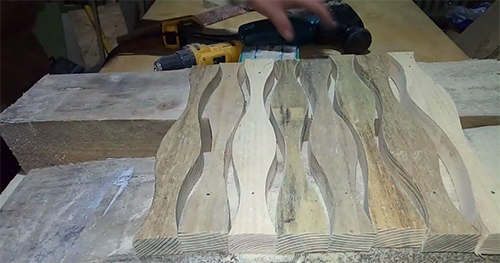 | Scrollsaw jigsaw elements lampshade |
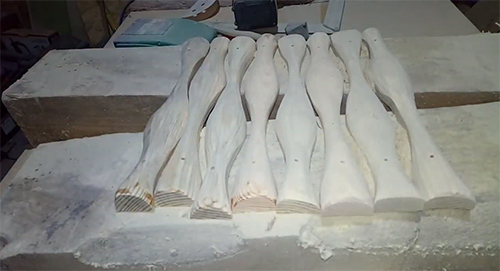 | By means of the corner sander (grinder) with lobed grinding disc blanks attach semicircular shape |
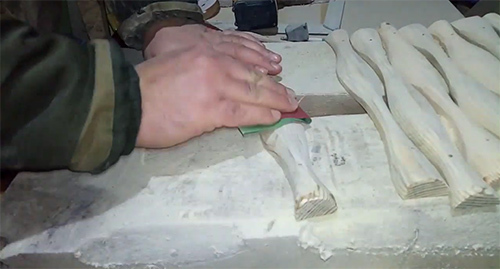 | Fine emery paper well grind parts |
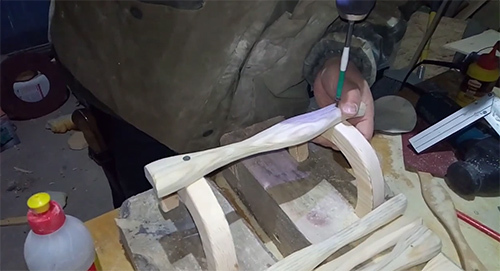 | To advance from the sawn boards and polished poluobodam screws and screwdrivers fasten elements lampshade |
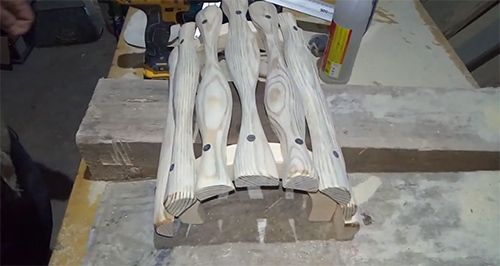 | It should get here this design |
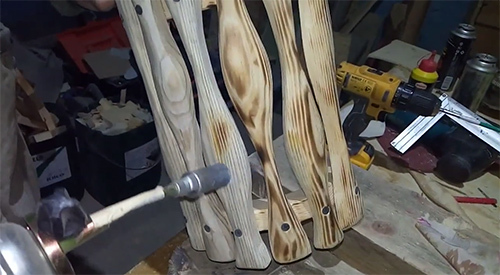 | With blowtorch decorate lamp technique "firing" |
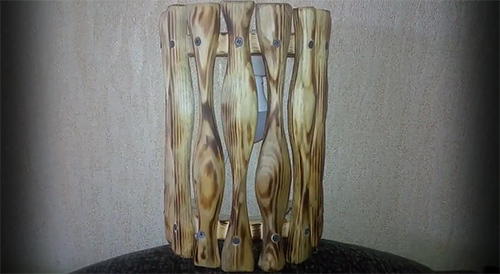 | Fasten electrical component sconces, and we get this this beauty |
Instead of natural wood, you can use any available materials, it all depends only on your imagination, wishes and possibilities.
Master-class on making lamp from scrap materials
Lighting can be made from almost anything. For example, for the manufacture of lamp perfectly suitable old tank of the washing machine. With a little imagination, work and you become the owner of the original lamp, which perfectly fit into the interior in the loft.
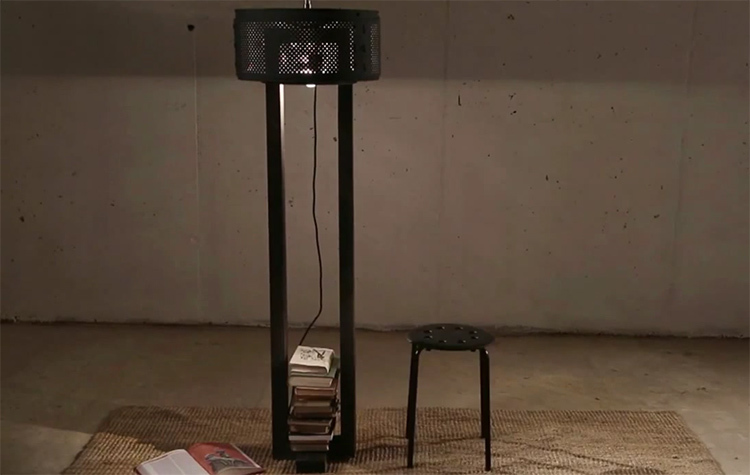
We offer watch the video detailed description of the process of manufacturing the floor lamp:
The original 3D-LED-lamp
Now very popular all that is associated with the 3D-format and LED strip. So we decided to keep, we offer to make their own hands the original LED-lamp, which will adorn your apartment.

Materials and tools for the design of the assembly
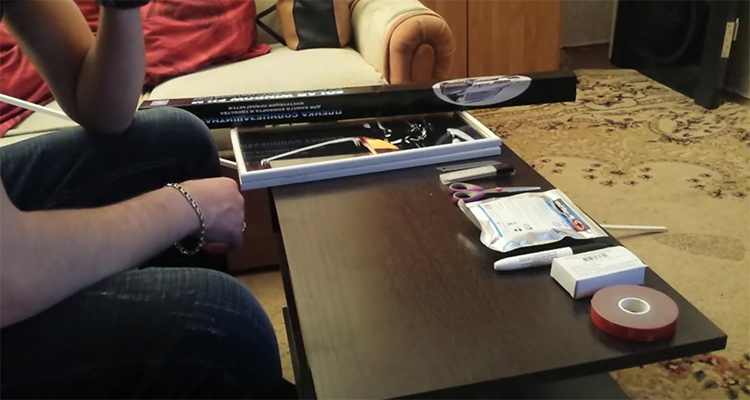
For the manufacture of 3D-lamp we need the following materials and tools:
- 2 rectangular pieces of glass, 3.2 mm (dimensions at your discretion). In our case, there were two printing pictures taken within that immediately solved the problem with a decorative frame;
- wooden lath or rectangular plastic cable duct of small cross section equal in length to the perimeter of the glass preform;
- SLR film for auto-glass;
- if you just cut out the windows of a suitable size, it will take an art prints (the most simple, wooden or plastic);
- adhesive and double-sided tape;
- LED strip (white or colored);
- a step-down transformer;
- control unit and the remote control (optional);
- detergent for glass and soap solution sticking to the film;
- glass cutter (if you decide to make your own glass panels on their size);
- hacksaw;
- Scissors and stationery knife;
- line, square, pencil and marker;
- plastic spatula for mirror films labels (can use old bank card).
Step-by-step instruction
In the manufacture of our luminaire it is important to perform all the steps carefully, slowly. Especially since we are dealing with glass.
| Picture | Process description |
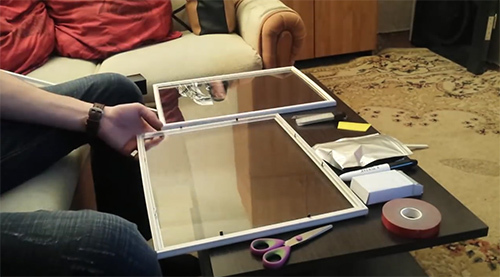 | As we have printed a picture framed with glass, it is necessary to disassemble the structure into parts |
 | Glass dusted |
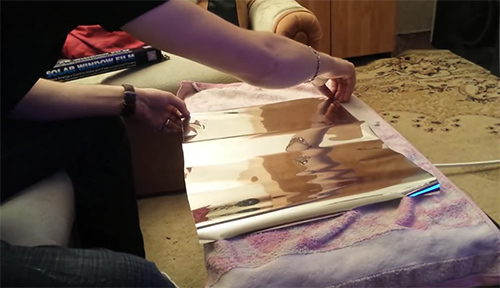 | Wets the surface of the glass with soapy water and start to gently stick car reflective tape |
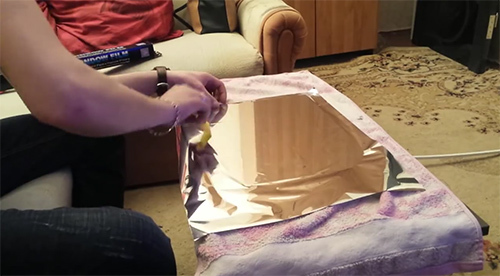 | The label should be done very carefully, driving with a spatula or by credit card air and residue solution (such as wallpaper) |
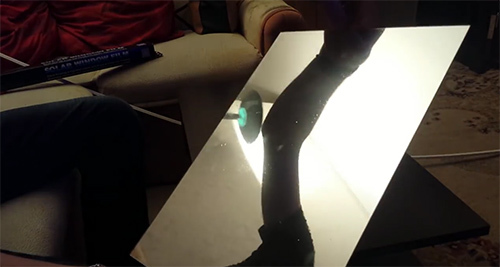 | Here are two such mirror glass should work. Why not take a conventional mirror? The fact is that during their production on the glass a layer of black enamel, and it does not miss the light |
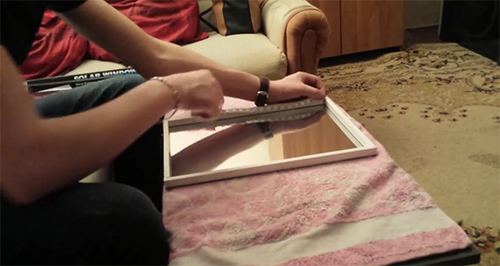
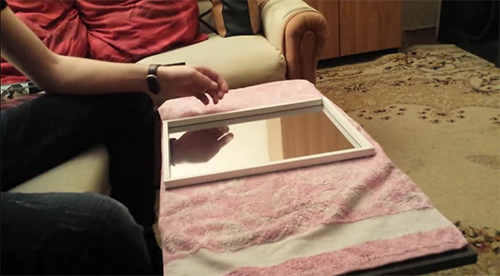 | Now, from the wooden slats or plastic cable channel to do a frame-gasket. The resulting construct can be attached to the glass by means of double-sided tape or a "liquid nail". In one corner of the frame leaving a small gap |
 | Along the perimeter of the frame fasten LED tape. A small piece of tape with terminals for output through available in the corner gap and fasten it to the reverse side of the glass |
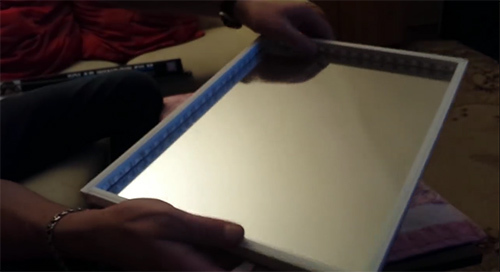 | As a result, we have turned here is a tray. But this is only half the battle |
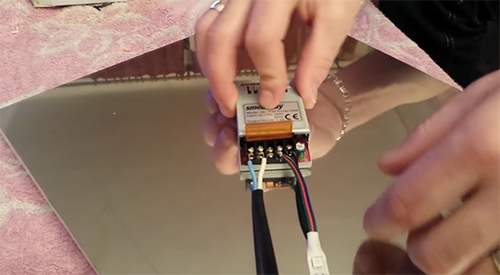 | On the reverse side of glass fastened down transformer and perform connection LED strip and wire, which will go to the mains |
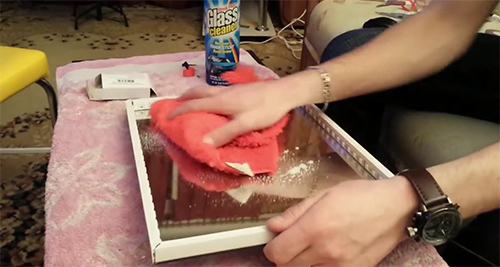 | Good wipe with detergent, both glass |
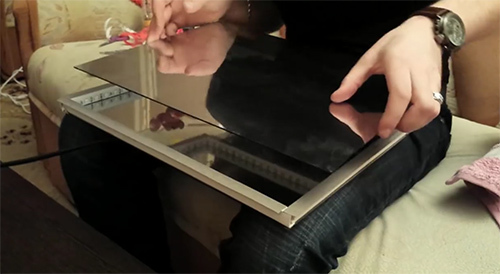 | Along the perimeter of the frame paste the double-sided tape |
 | Carefully glue the glass on the tape. Do not hurry. If something goes wrong, it will be difficult to separate the design, and the glass may break and injure you |
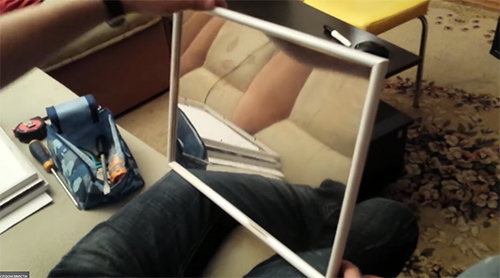 | In principle, our lamp is ready. As decoration, you can use art or baguette frame of the picture, taken with a glass |
 | Connect the lamp to the network and enjoy the result of their work. It can be hung from the ceiling, mounted on a wall or use as the original table lamp |
As you can see, nothing complicated in the creation of this unusual lamp with 3D-effects there. It would be a desire, patience and a little time.
How to make an original lamp for a child's room
It's no secret that most young children afraid to sleep in the dark, so the children's room, in addition to the main lighting, and a small need nochnichok. It is necessary that the lamp is not only rescued the child from the terrible darkness, but it pleased with its appearance. We offer you to watch videos which show how you can easily do with his hands original and interesting lamps for children's rooms.
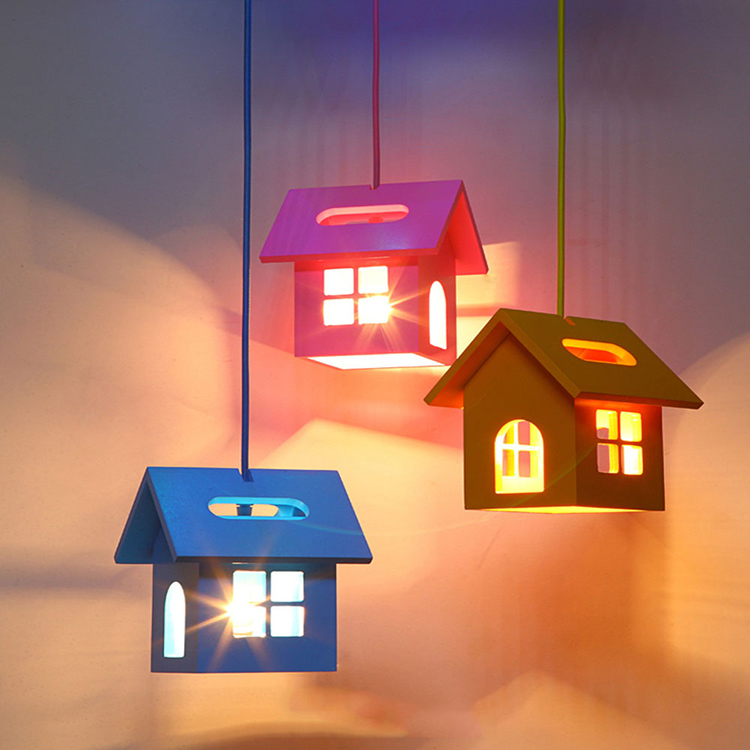
PHOTO: ae01.alicdn.com
Interesting ideas for homemade lamps with photos in the interior
Chandeliers, floor lamps, table lamps, bedside lamp or wall sconces can be made of any material. Models can be very difficult or lungs, made by any style. Become a designer of lamps, you might like it. Here are just a few fotoprimerov original lighting, which, if desired, can make any man.
1 of 13
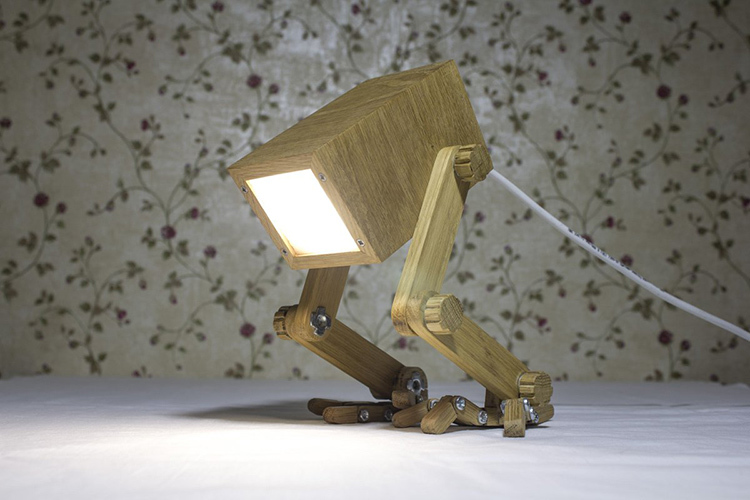
PHOTO: pbs.twimg.com

Prepare everything you need for work

PHOTO: i.pinimg.com
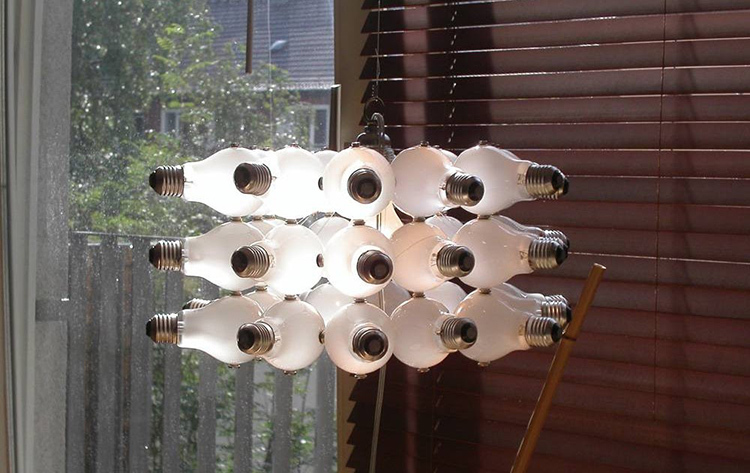
PHOTO: pol-master.com
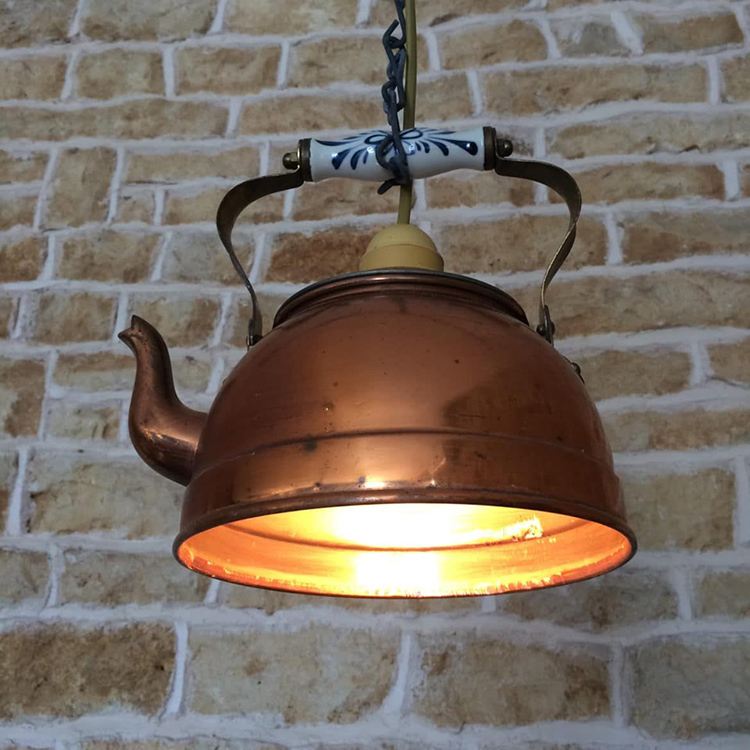
PHOTO: i.pinimg.com
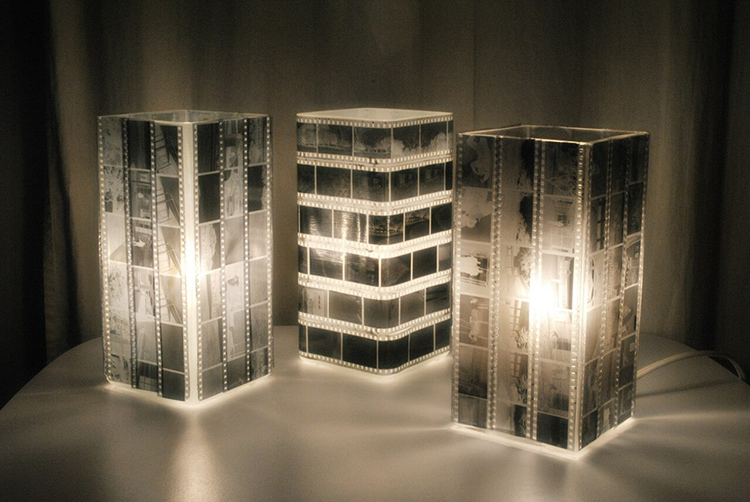
PHOTO: brodude.ru
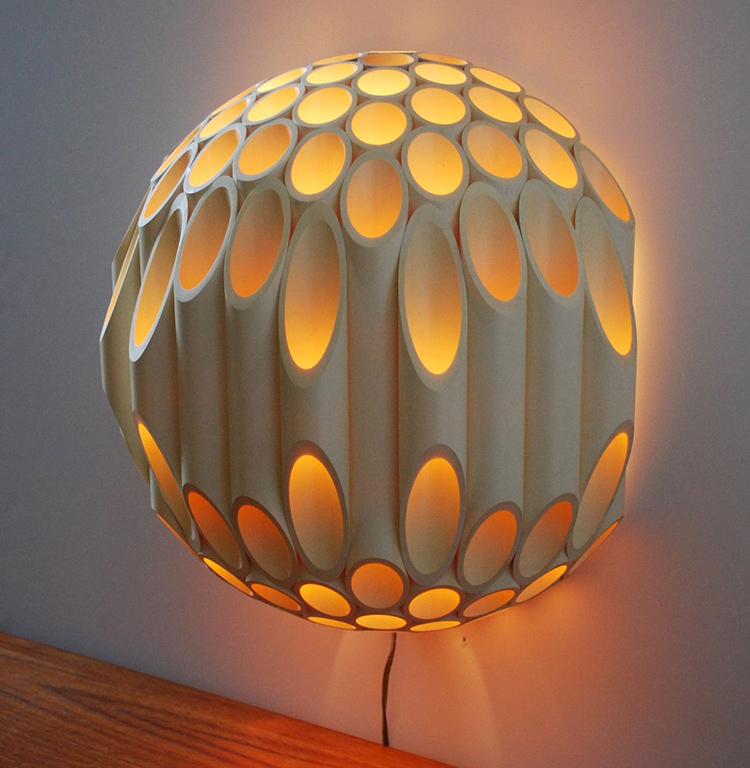
PHOTO: i.pinimg.com
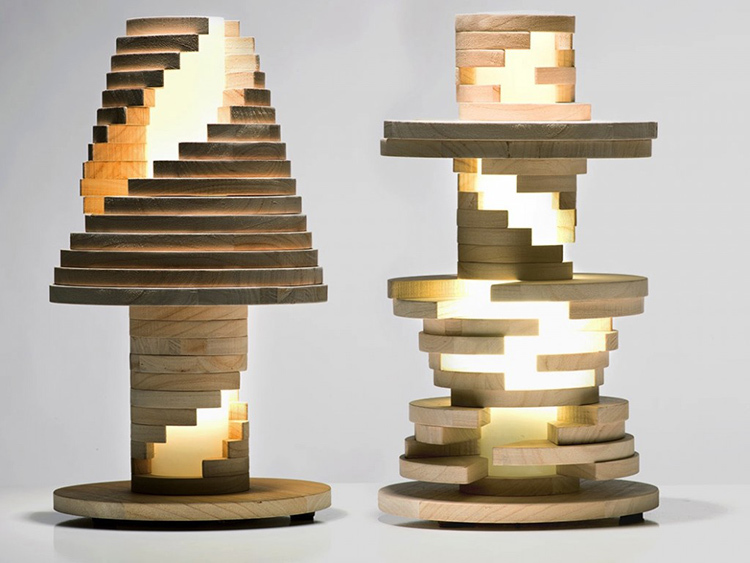
PHOTO: omegashop.com.ua
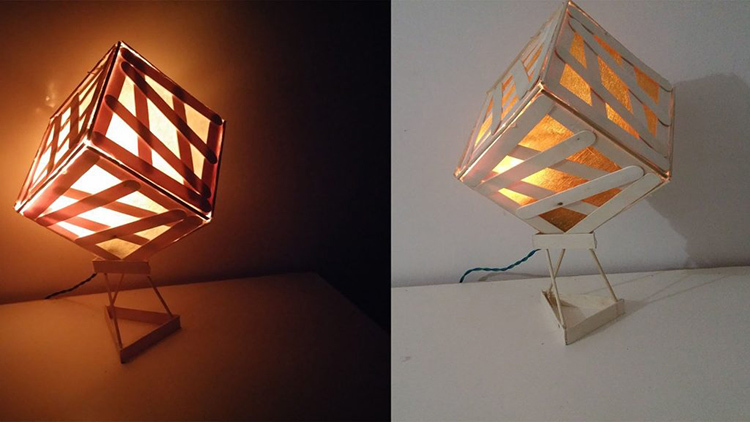
PHOTO: dekormyhome.ru
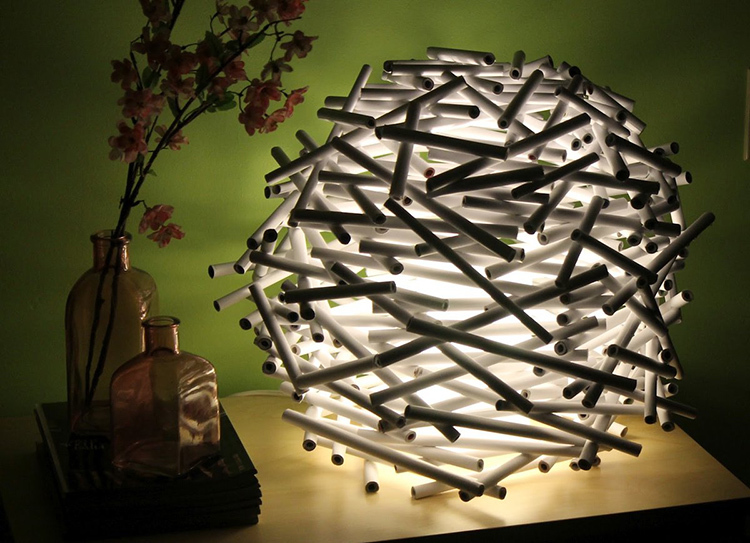
PHOTO: avatars.mds.yandex.net
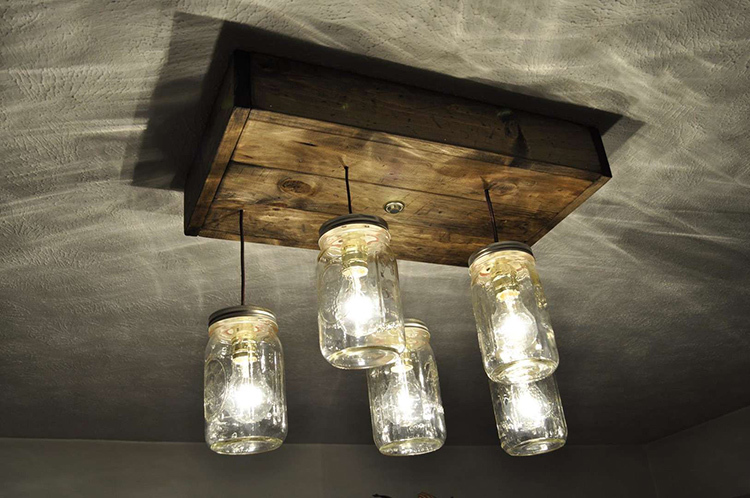
PHOTO: i.pinimg.com
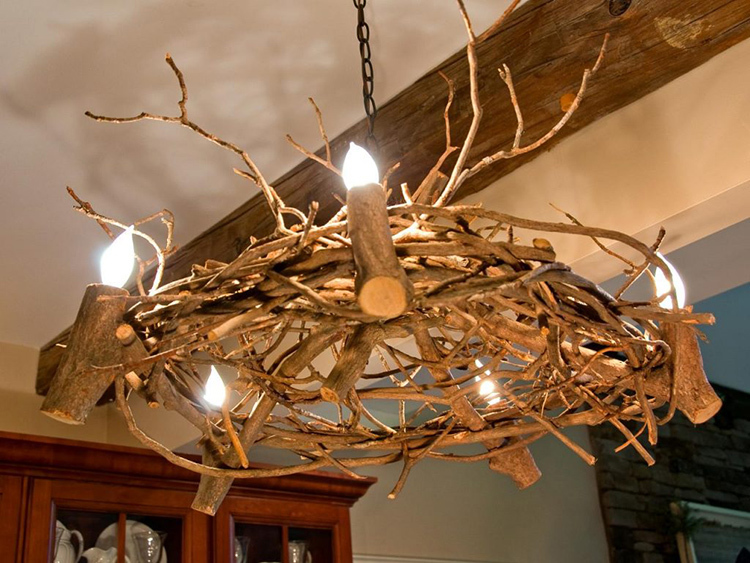
PHOTO: koffkindom.ru
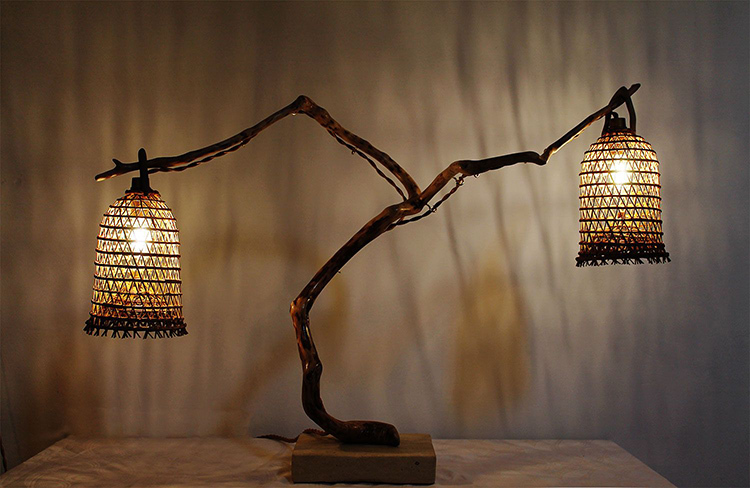
PHOTO: i.pinimg.com
