
- Step 1
- Step 2
- Step 3
- Step 4
- Step 5
- How do I disassemble the remote from the Philips TV?
- Useful advices:
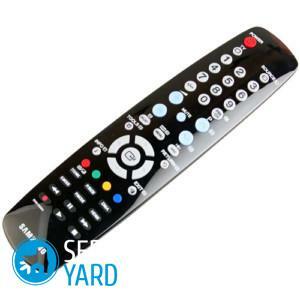
The situation when you urgently need to switch the TV to the right channel, and the remote does not work well is a frequent occurrence if you do not clean your equipment in time. All the blame for various pollution - this is food, because who does not like to eat in front of the TV, and pouring liquids - from banal tea to liquids to remove varnish. The result of all these situations is one - we are wondering how to disassemble the remote from the Samsung TV to clean it, because this process is not an easy thing, here you need a certain skill and knowledge. Now we will look in detail how to open the remote from the Samsung TV.
to the contents ↑Step 1
First, study the remote control - whether the back cover is fastened with screws. Then it is necessary:
- Open the back cover where the batteries stand.
- Remove the batteries and see if there are fixing bolts in this compartment. They are usually small and with a Phillips screwdriver.
Next - take a screwdriver and screw the screws around the entire perimeter.
Important! Do not forget the battery compartment. Otherwise - in the process of disassembling the remote from the Samsung TV, you will forget about these fasteners, and you can break the whole case.
to the contents ↑Step 2
To further disassemble the console:
- Take a plastic card and insert it with a corner into the console, gently podkovyrnuv cover.
- Run around the entire perimeter of the cabinet with the card - be careful not to break the latches. After you do this, you need to gently remove the contacts for the batteries from the grooves.
Important! In the cover itself there are batteries and their power supply system, that is, those springs or terminals that provide the power supply to the console.
to the contents ↑Step 3
After opening the back cover, pay attention to how and how the card is attached to the remote control system. Again, if it's cogs, then just unscrew them. If it's a latch, then gently open it.
Important! It happens in most cases that the chip is simply pressed against the back cover, which we have already opened.
to the contents ↑Step 4
Notice how the IR diode is located in the socket. In most cases, it is free. If it is somehow fixed, then simply with special care, release it from the nest. Next - take out the board.
to the contents ↑Step 5
The rubber buttons get very easy. You just need to shake them out of the seats. If they do not want to go out, then you can press on them and release them from the front.
Now you can continue to do what was planned, for example, cleaning the device, because you have already managed to cope with the disassembly. And this was one of the main tasks in this process.
to the contents ↑How to disassemble the remote from the Philips TV?
If, in your case, the Philips TV, and you do not know how to disassemble the remote from the Philips TV?You do not have to go far, since the remotes of all TV brands are almost identical in the manufacturing plants. Therefore, if you use our tips above, how to disassemble the remote from the Samsung TV, then you will not make mistakes and successfully conduct this manipulation.
to the contents ↑Useful tips:
- To properly clean the console, prepare a suitable inventory - alcohol or liquid containing it, a special cleaner for professional cleaning, clean rags and a soft brush, toothpicks, cotton swabs.
- To assemble the entire device in reverse order - lay out the parts on the table in the order in which they are removed. It is desirable, that on a surface, except for details of technics more anything superfluous was not present.
- Try to keep the remote from your plasma as far away from food and drinks. Put it in the same place, then you do not have to hurry to find it to quickly switch the channel.
- Periodically clean the console, since the dust in any case gets inside, clogs the contacts and contributes to premature wear of the machine parts.
We wish you success!