It is difficult to find the owner of an apartment or house who has never experienced a sudden loss of electricity. This happens, and quite often. In most cases, the problem is related to the central shutdown, and this is easy to check (for example, if the light does not work in other rooms either and the neighbors do not have it). The second thing to check is the integrity of the machine. And last but not least, it could be a broken wire. How to find this damage in the wall? There are several options for how to determine the wiring, and today we will discuss them.
Read in the article
- 1 What can happen to the wire in the wall
- 2 How to look for a broken wire in the thickness of the wall
- 2.1 How to test with a multimeter
- 2.2 Typical mistakes when connecting to vending machines
- 2.3 How to localize a cliff area
- 2.4 How to find a break point
- 3 What to do with a broken cable
- 4 Homemade and improvised devices for finding a broken wire
What can happen to the wire in the wall
The question is quite logical. Really what? Indeed, in the wall, the wiring is protected not only by the shell, but also by plaster. However, the reasons may be different. Most often, problems with electrical wiring are associated with shortcomings during installation work or gross violations of the rules for operating devices. Without any external influence, the wire in the thickness of the wall will not break on its own - there is always a reason.
Most often, the chain, unexpectedly for the owner, opens at the terminals, and there are quite a few of them along the route: on shields, in boxes, in sockets and switches.
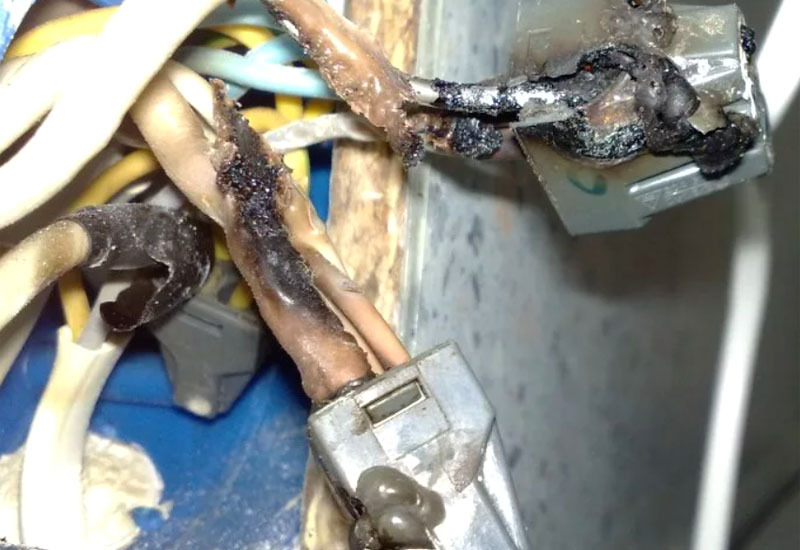
So if you suspect a wiring malfunction, after checking the machines and neighbors, you should look at the condition of the terminal connections.
Vulnerable points are the places of numerous wire connections in junction boxes. Particularly risky are the so-called twists, wrapped over the connection with electrical tape. Many home craftsmen believe that this option is reliable in the old fashioned way, and they are very mistaken, especially when it comes to the combined connection of copper and aluminum wires. Not only is this twisting option strictly prohibited, the “craftsmen” also manage to assemble a thick single-core wire and a flexible wire from many cores in one place. And then they wonder how to understand what is burning, and why did the fire start?
Or one more thing: often there are terminals instead of twisting, and the connection is gone and sparks. What is the reason? The fact that these terminals do not correspond to the line load.
All the reasons for the loss of the connection described above, in principle, are not so difficult to detect, because after all, you can easily look into the box by removing the lid.
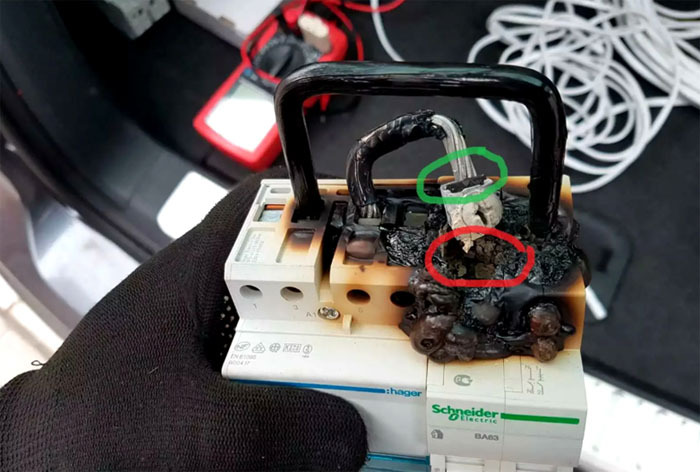
It is quite another matter if the contact is lost in the wall. The reason for such a collapse is most often repair work. They wanted to hang a shelf, drilled a hole for fasteners - and lost current in the outlet. Consider yourself lucky, because you could have been electrocuted. And if you didn’t completely cut off the electricity supply channel, but only scratched it with a drill, then this is even worse, because without insulation in the wall, current leakage will begin to occur, the insulation will melt and, as a result, the matter will end with a short circuit. Finding the location of such damage is not easy, and it can take years before a minor defect leads to a serious problem.
Theoretically, the owner of the apartment should be aware of where the cables run inside the wall. But the owners change, years and repairs pass, and then what happens happens. One day, starting your own repair in the secondary housing in a panel house, you will also play the "lottery" with the wiring. And it’s not a fact that you will be lucky like the previous owners.
But even without drilling, something similar can happen. Owners of old houses and apartments that still have aluminum wiring can have such problems.

Another option for damage to the wiring in the wall is a hall during installation. It may not be noticed, but after a while the place of the slightest violation of integrity will begin to progressively collapse. Years may pass, and when you buy an apartment, you will not even suspect what kind of “bomb” is planted in its wall.
Wire breaks in the thickness of the wall are a difficult task to detect because you will not see any external signs.
So, if you do not have a wiring diagram in the house and you have recently made repairs, the wiring itself is quite old and the current has disappeared in the socket or on the chandelier, look for a hidden enemy. And, by the way, this is another reason to think about completely replacing the wiring with a modern one, because problems can appear literally one by one.
How to look for a broken wire in the thickness of the wall
As already mentioned, first of all, you need to check all other causes of current loss: shield, neighbors and terminals. On the shield, as a result of a visual inspection, you can determine the cause of the breakdown - burnt contacts on the terminals of the machine.
So, you have a strong suspicion that there was a leak in the thickness of the wall. Next, start by turning on the logic: analyze if you or your neighbors behind the wall have carried out repair work using a drill or puncher. Or perhaps you recently experienced flooding from upstairs neighbors. Think about whether there were primary symptoms: maybe the light blinked for no apparent reason, a crackling sound was heard, or an incomprehensible smell of burning appeared?

How to test with a multimeter
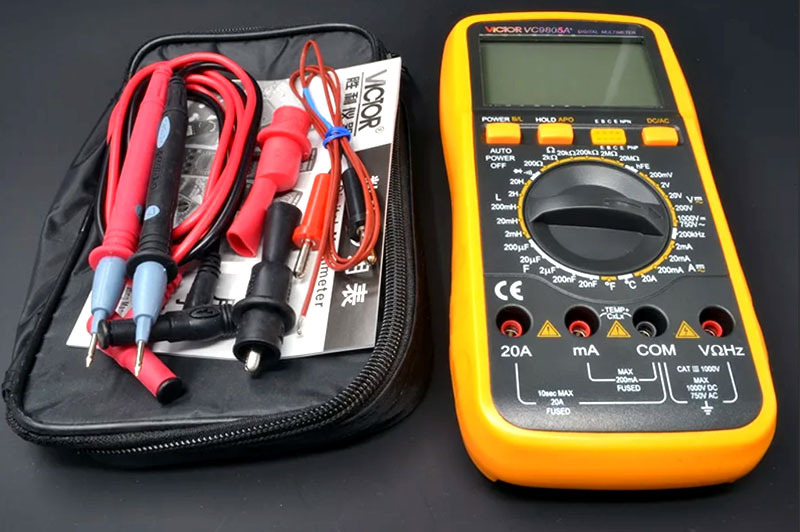
If you have a multimeter at home, immediately check for voltage at the introductory machine. If the voltage is normal, but in fact there is no current in the apartment, it is a leak.
Before starting the test, you need to set the multimeter switch to an alternating voltage of 250 volts. For many appliances, the limit can be 500-750 volts.
In principle, you can make a simple check using a simpler gadget - an indicator screwdriver, but it will show only the absence or presence of phase voltage, and in fact a break can be zero conductor.
There is an option to check the break using an even simpler device - a light bulb in a cartridge with two wires with bare ends. Such a device will quickly show if there is current in the outlet or junction box. But it is dangerous to use it, not for nothing that all safety instructions categorically prohibit this. You can get a strong electric shock, which will lead to the most sad consequences.
Typical mistakes when connecting to vending machines
After checking the introductory machine, it and the rest should be turned off. After disconnection, you need to look at how tightly the conductors are clamped in the terminal connections, busbars and ground contact. Often at this stage the problem is solved.
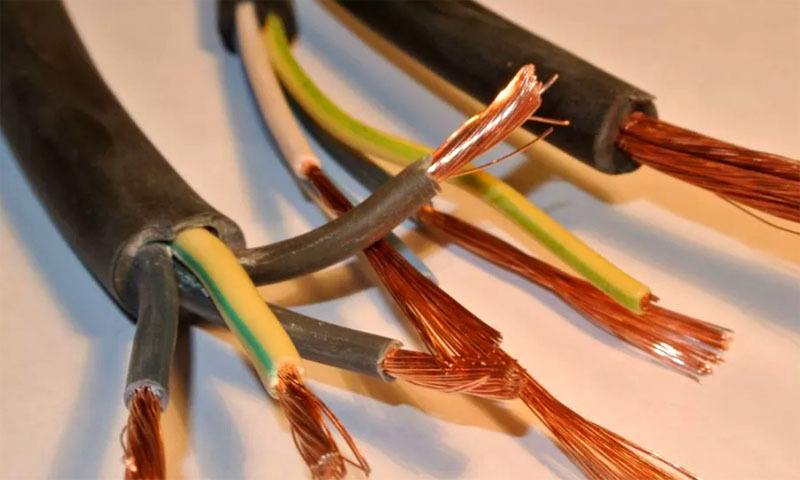
Non-professionals make some typical mistakes that are worth mentioning. For example, the lack of termination on stranded conductors. Even if you wrapped the terminals very well, after a while the fastening will loosen, and the thin strands of the conductor may break off. In principle, the masters recommend not using such wiring in shields at all, preference should be given to a single-core wire of the required cross section. But if the situation is hopeless, you need to put terminal lugs on stranded wires. They cost a penny and are installed in seconds, and the resource is extended significantly.
Another typical novice mistake is to insert the stripped ends too deep into the terminals. When you tighten the contact, the tip of the wire will rest against the insulating layer, and these are the prerequisites for heating and sparking.
Finishing the check of the shield, turn on the introductory machine and check all the other switches, each of them must have a working phase. You can check its presence with a conventional indicator screwdriver or the same multitester.
How to localize a cliff area
It makes sense to search, starting from the shield, if the electricity is gone in the whole house or apartment. But if a break occurs somewhere after the shield, then not all of them stop working, but some of the sockets or lighting devices.
Competent electricians usually divide the wiring into groups and allocate sockets for high-power household appliances. That is, the lines are separated in order to make it easier to manage and repair them if necessary. For example, rooms are divided into groups, a separate line for a washing machine and a refrigerator is allocated. In this case, each profile machine is signed for its intended purpose and each wire is marked to determine its direction.
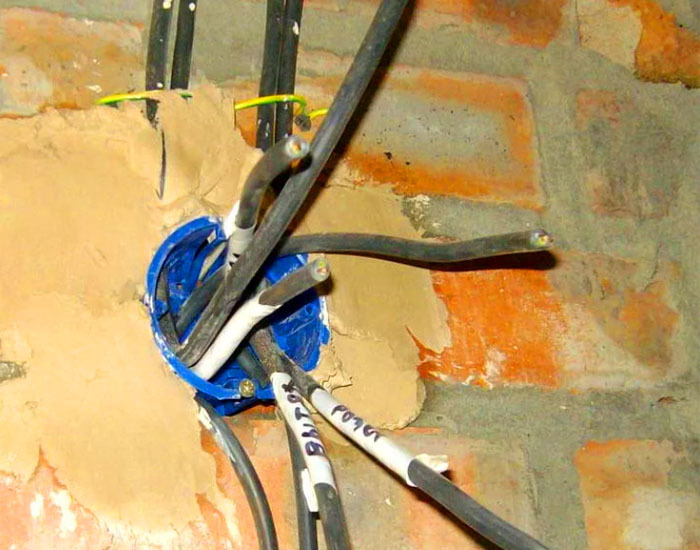
If in your case all connections are closed on a pair of automata, then the task becomes more complicated. In any case, the search must be conducted from the shield. First, to the junction box, there check the wiring and all contacts for burning. If not, then from the box to a specific outlet where the voltage has disappeared. It may also be that the wiring does not provide for the presence of junction boxes at all. In this case, the sockets are connected in series with each other, and you will have to start looking for a break from the first one in terms of location from the shield.
How to find a break point
In the absence of a wiring diagram, of course, the task looks very difficult. But if you have already been able to localize the area of the leak, then you just need to be patient and methodically look for the place of the break. It is better to do this with the machine turned off, because by default there is a wire break somewhere, and this is already a potential danger. For example, you can look for a break with an indicator screwdriver, but, as already mentioned, it will only show the presence of a phase, and a break in the neutral conductor will not.
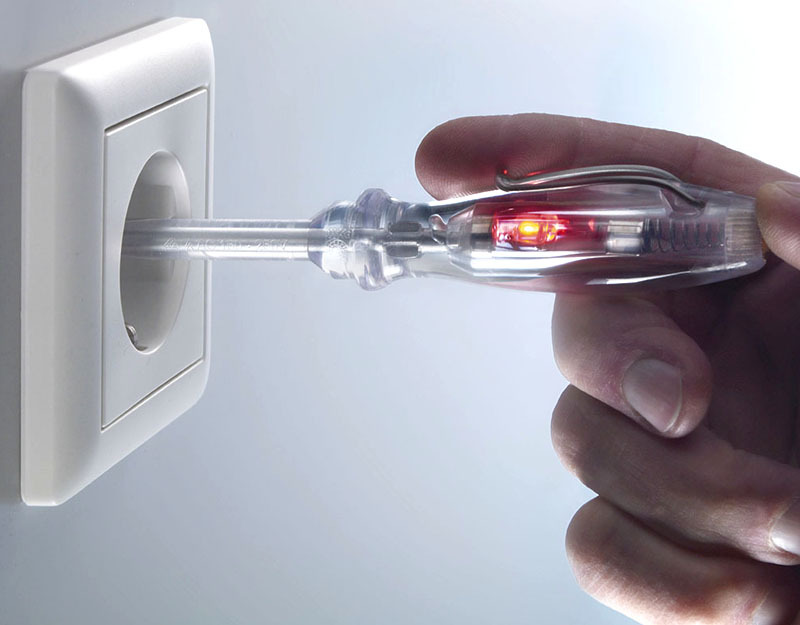
It is much safer and more reliable to ring the wires with a tester. To do this, the line is de-energized, and all of it: zero, phase and ground. The multimeter is transferred to the Ω position or to a special mode (if any) and a dialing is carried out. If the length of the wire being tested is too long, an extension cord is prepared from a flexible wire with a small cross section and long enough to reach the junction box. It goes without saying that the extension cord must be intact, and it is better to equip its ends with terminals with a lever lock.
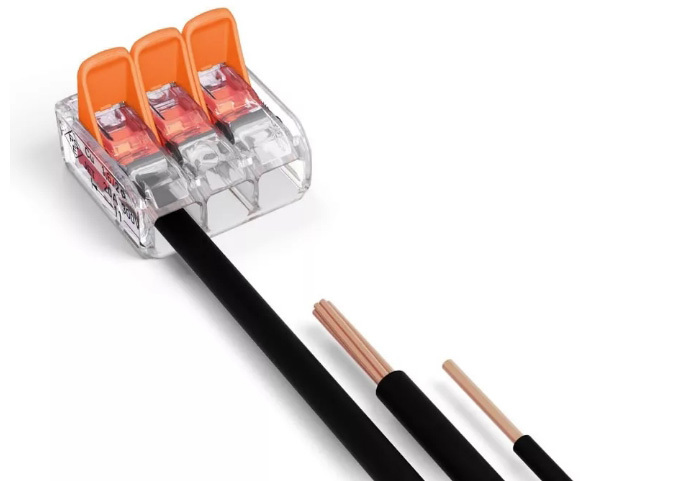
You need to ring, starting from the shield first to the junction box, and already further from it. If there are a lot of connections in the junction box, before dealing with them, take a picture of how everything was connected or draw a diagram so that you don’t have to guess how to return everything to its original position. If the twists are made reliably, it is better not to unwind them. You just need to find a place where it is convenient to find a contact for the probe. Each cable is called separately: phase, zero and ground. If one is correct, move on to the next.
Advice! Since I had to deal with this matter, it makes sense to immediately sketch out the connection diagram, if up to this point you did not have one. This will save you a lot of time in the future.
To check the cable coming from the junction box, you will have to disassemble the socket and at the same time tighten all the contacts on it. In the absence of a junction box, the sockets are connected in series, and you need to check them by first disconnecting the cable going to the next socket group.
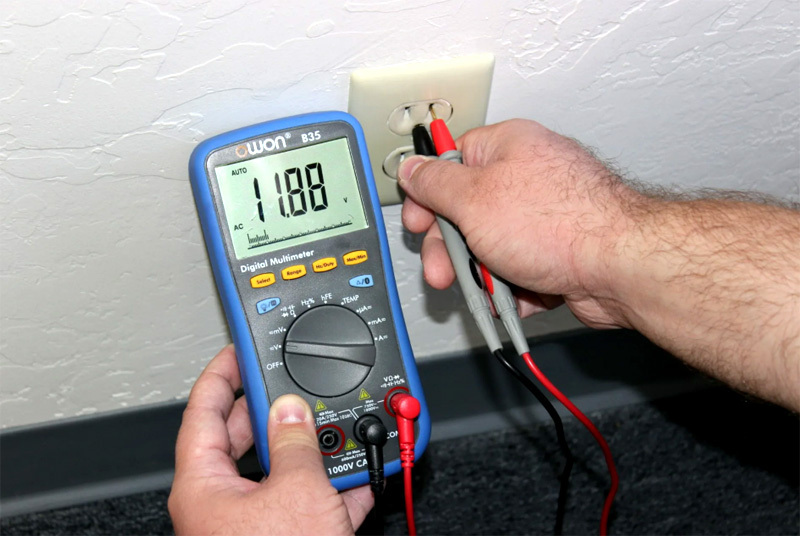
At some point, you will understand which of the conductors is broken, with the help of a multimeter - by its silence.
What to do with a broken cable
How to find the cable, we have already figured out. The required damaged wire is found, and the question arises, what to do with it? If nothing is fixed after crimping the terminal connections, then the problem is somewhere in the thickness of the wall. Therefore, you will have to decide for what purpose and how you will proceed further: will you open the plaster to search for breakage and its repair, or simply replace this piece of conductor with minimal losses for your interior. The second option is usually more preferable, because the opening will take up a much larger area than laying a new cable.
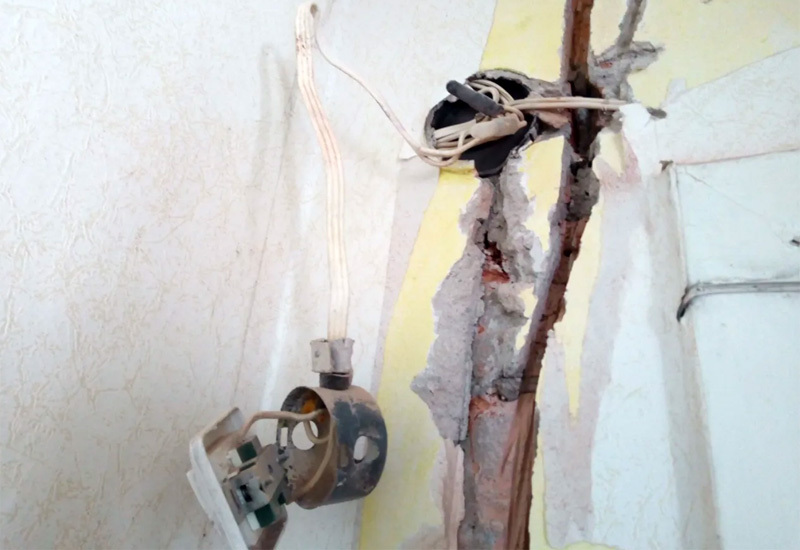
To find the wire, you will need a chisel and a hammer. You need to act very carefully and, of course, with the power off. It is necessary to knock out the plaster, stepping back a little from the intended route, so as not to cause even more damage. The length of the strobe must be determined so that there is enough scope for repair, that is, to eliminate the damaged area, strip and install the jumper with a soldering iron. It is not recommended to make twists in the thickness of the wall, as this is an unreliable connection. Soldering in this case is the right choice, and double insulation should be added to it, preferably heat shrink.
Homemade and improvised devices for finding a broken wire
There are some dubious, but well-known uses for improvised devices for detecting wiring defects. How to detect a cable with their help?
For example, you can use a radio receiver. To search for a wiring fault, tune a portable radio to 100 hertz and walk along the cable. In theory, clearly audible interference will appear at the place of the leak.

But you can also make a wiring detector yourself if you have radio components. Here is an example of such a device with a circuit in a short video:
It should be mentioned that such homemade devices and unusual detection methods only work when a phase is broken.
If the phase is working and you suspect a break in the neutral conductor, you need to do this as follows: turn off power supply on the shield, then connect the neutral conductor to the phase contact, first on the shield and then on socket. Then turn on the machine and search in the same way as a phase. After finding the break point, be sure to turn off the shield and return all the wires to their place.
Have you ever had to look for a break? What device did you use? Write in the comments!
Like 10m. Enough tape for 1.5m of fence?!
This is most likely an Internet modem like yota. And, I remember, they used both polarizers ...
Wicker fence is a waste of time and money. When we were equipping the site, we bought: up to ...
6 acres is a fairly small area, so there were no problems with zoning ...
Those who usually suck at life really do not understand a lot of things. And in general they regretted ...
That blogging shit again... Suck on!!!
I just can’t understand: where do juvenile cockerels and swallowers get such incomes from? Who encourage...
Basements in cities and private houses should not be built, they are often drowned. Regarding similar...
There was an idea to buy a country house with a carport. We found an interesting place near the…
We have been wanting to buy a painting on canvas for a long time and recently we were pleased with this by the company Va…
Didn't like the renovation. The kitchen is narrow, it was necessary to visually solve this particular pr …
unlike the palaces of our president's friends, this is just a miserable hut, albeit in style ...
